The individuals that are employed in the sales departments have really extensive information about the products they sell, and what is necessary to be able to do this yourself with great results. The better rigid the substrate, the better opportunity the tile has of remaining crack totally free throughout its life. You are able to work with a wet ceramic saw or perhaps a utility knife to do the cutting.
Images about Install Bathtub Over Tile Floor
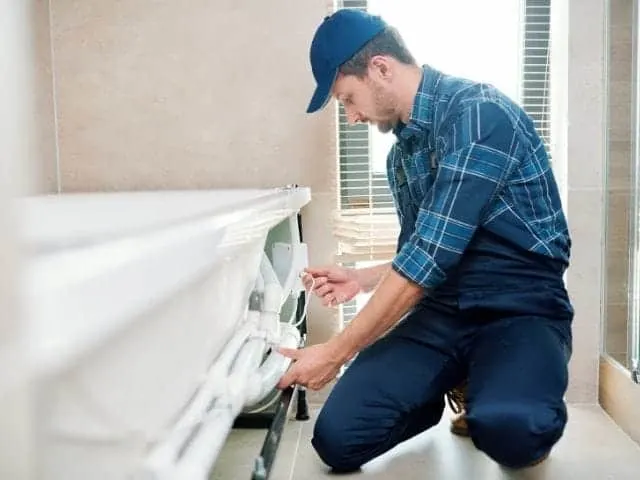
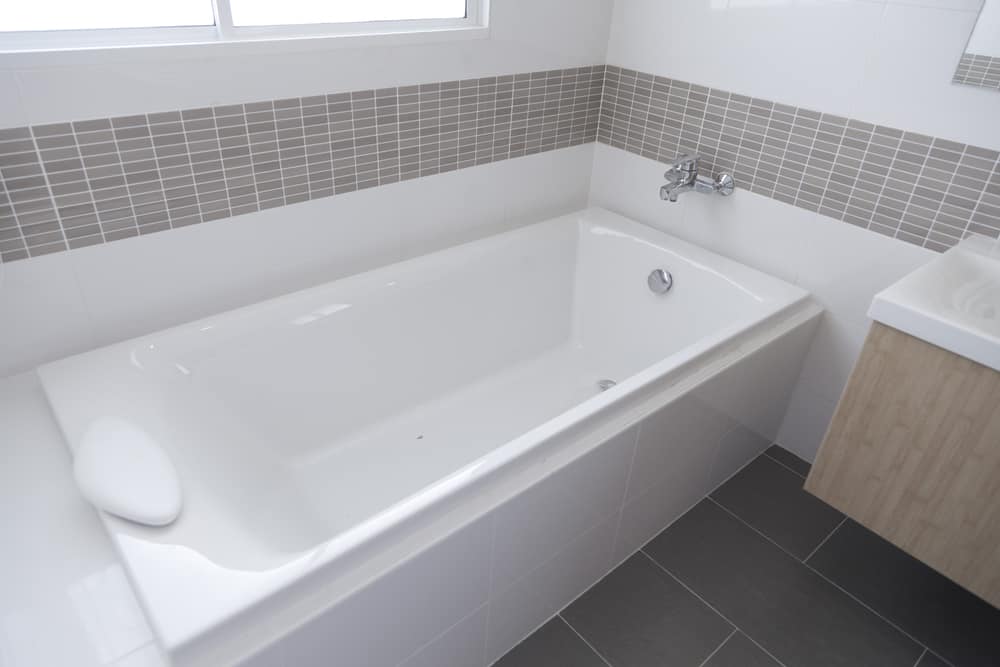
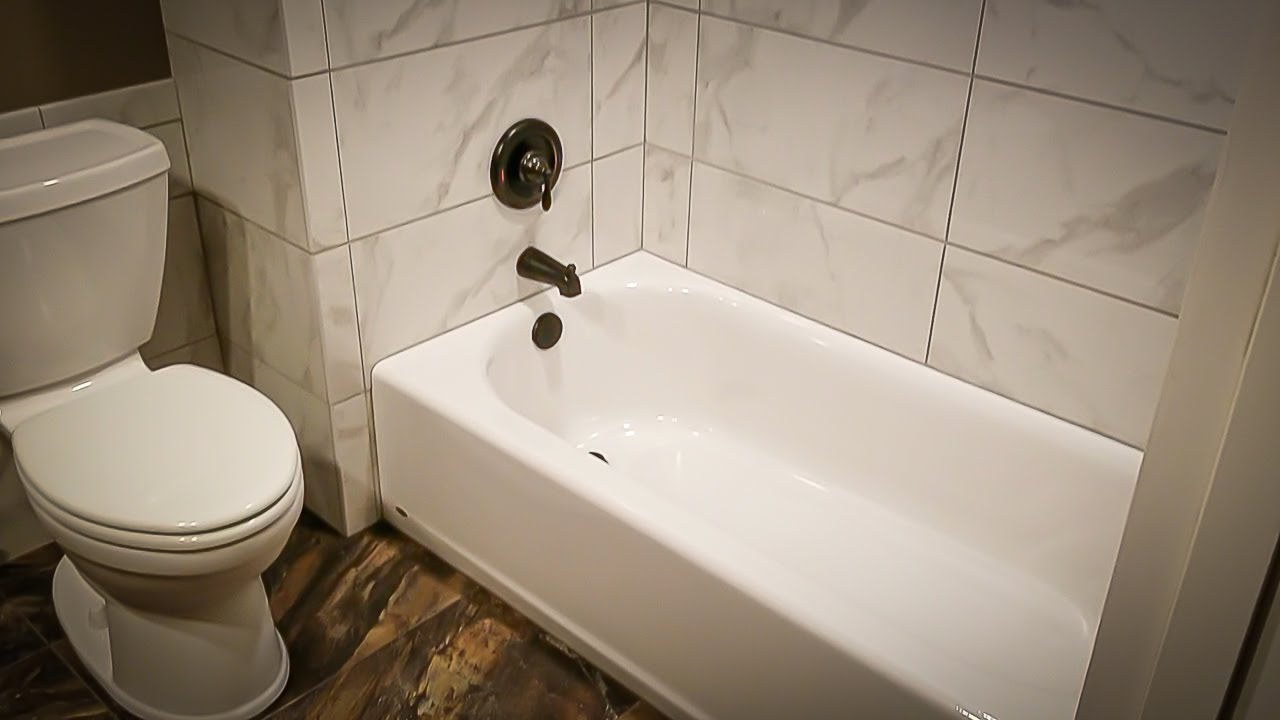
Install Bathtub Over Tile Floor
The furnishings legs of yours should have felt pads on them to avoid scratching the tiles. Although some consumers have shifted towards carpeting and wood flooring, style flooring still eclipses the majority in popularity. When the floor is put in by a professional installer, they will warrant the tile and work that they have done. Which you make use of is dependent on the thickness of the ceramic tile flooring of yours.
Tile Installation: Backer Board Around a Bathtub Family Handyman

With innovations and advancements in home design in addition to growing style and imagination, tile flooring ideas now go beyond the bathroom as well as the kitchen area. You are able to get tile flooring in colors which are solid too, but in a larger variety of colors as well as textures.
How to Install Tile Around a Bathtub

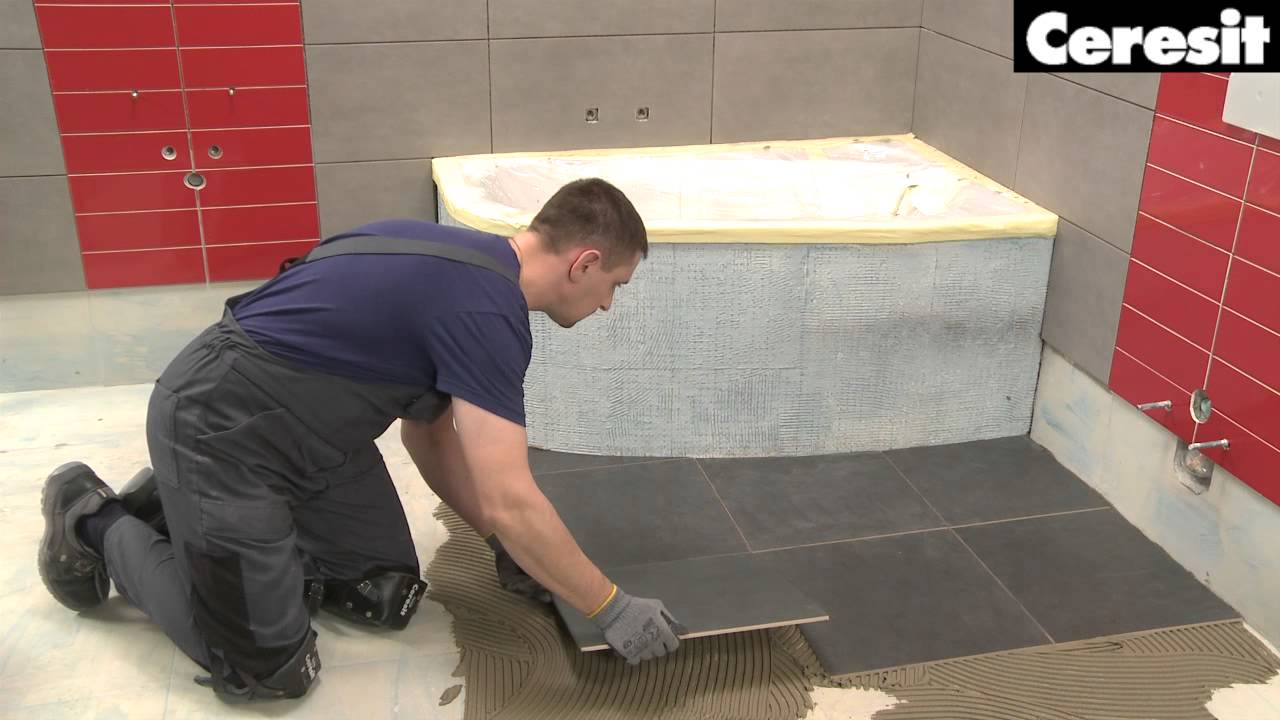
How to tile over tile.
Can You Put a Bathtub Wall Kit Over Old-Fashioned Ceramic Tiles on

An Overview of an Acrylic Tub Installation – Extreme How To
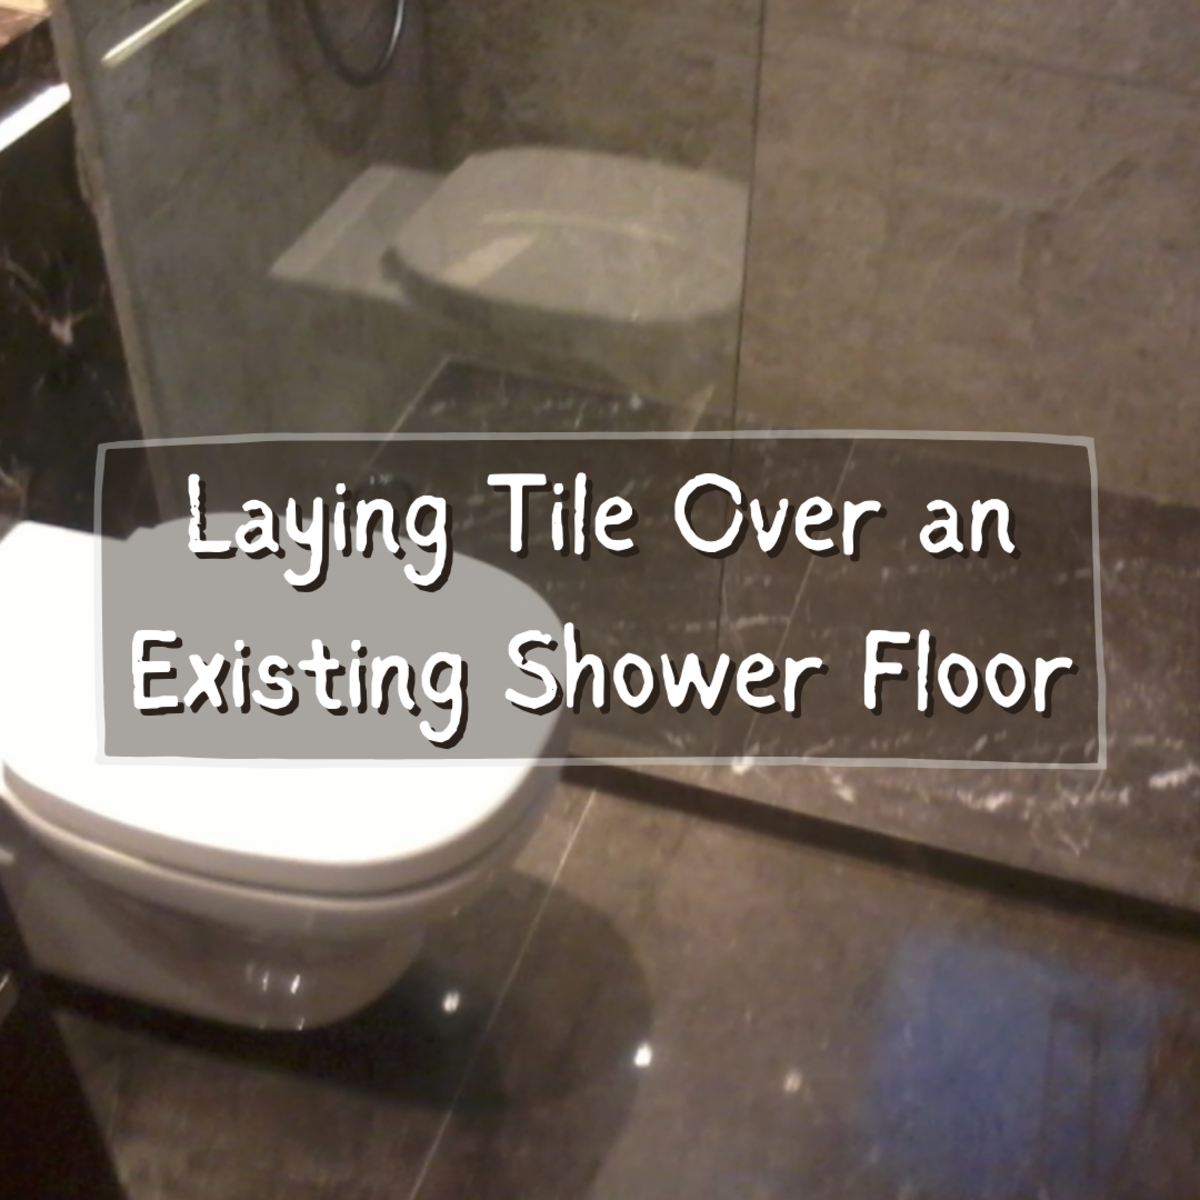
How to Lay Tile Over an Existing Shower Floor – Dengarden
2022 Bathtub Liners Cost Acrylic Tub Inserts u0026 Fitting Prices

Bathtub Liner: Everything You Need to Know!
Tile Setting – How to Set Tile Around Your Tub
Related Posts:
- Coral Tile Flooring
- Tile Floor Room Transitions
- Old World Tile Flooring
- Slip Resistant Porcelain Tile Flooring
- Best Way To Mop Ceramic Tile Floors
- How To Clean Terrazzo Tile Floors
- Driftwood Ceramic Tile Flooring
- How To Seal Quarry Tile Floors
- How To Clean Tile Floors In Bathroom
- Ideas Covering Tile Floors
Install a Bathtub Over Tile Floor
Installing a bathtub over tile floor is a great way to upgrade your home without having to take on a major renovation. Many modern bathrooms are equipped with tile floors, so this task can be completed quickly and easily. It’s also important to remember that there will be some additional challenges if your bathroom is an older one with dated tiling or other issues.
Tools and Materials Needed for Installation
Before you begin the installation process, you’ll need to make sure that you have all the necessary tools and materials. This includes a level, caulk, screws, nuts, and bolts, a drill and bits, and a hacksaw. You may also need additional items such as tile cutters, saw horses, and a grinder. You should also make sure that you have the correct type of bathtub for your bathroom.
Preparing the Bathtub and Tile Floor
Once you have all the required tools and materials in place, you can start to prepare both the bathtub and the tile floor for installation. Start by inspecting the underside of the bathtub for any damage or dirt that may have accumulated over time. If necessary, use a brush or vacuum to clean off any debris before proceeding further.
Once you have inspected the underside of the bathtub, it’s time to move onto the tile floor. Use a shop vac or broom to ensure that any debris is removed from between the tiles. If there are any cracks or chips in any of the tiles, they should be repaired before continuing with installation procedures.
Laying Out the Layout
After you’ve finished preparing both the bathtub and tile floor for installation, it’s time to start laying out the layout. You should take into account any pipes or other obstacles that may interfere with installation procedures. It’s also important to make sure that all measurements are accurate when laying out the layout.
Once you’ve laid out the layout of the bathtub on the floor, it’s time to start pre-drilling holes into both surfaces in order to attach them together securely. Take great care when drilling these holes as they must be accurate in order to ensure a perfect fit between the two surfaces. Once all of these holes have been drilled, it’s time to begin attaching each surface together using screws, nuts, and bolts.
Securing the Bathtub
The last step in installing a bathtub over tile floor is to secure it into place. This can be accomplished by using grout to fill in any gaps between both surfaces. Make sure that there is an even coverage of grout across both surfaces for maximum stability and strength. Once you’ve finished grouting, allow it sufficient time to dry before using it for its intended purpose.
After ensuring that your grout is completely dry, then you can finally test out your new installation! Enjoy taking baths without worrying about your tiles shifting underneath you or water seeping through your flooring!
FAQs about Installing a Bathtub Over Tile Floor
Q1: Is it possible to install a bathtub over tile floor?
A1: Yes, it is possible to install a bathtub over tile flooring as long as you take all necessary precautions when laying out the layout, pre-drilling holes into both surfaces, attaching them together securely with screws and grouting them together for extra stability and strength.
Q2: What tools do I need for this installation?
A2: You will need a level, caulk, screws & nuts, drill & drill bits, hacksaw, tile cutters (optional), saw horses (optional), and grinder (optional).
Q3: Are there any special considerations when installing a brand new bathtub?
A3: Yes. When installing a brand new bathtub over an existing tile flooring installation, make sure that you measure twice so that your layout is accurate and everything fits perfectly into place. It’s also important to make sure that all pre-drilled holes are drilled accurately so that they fit securely against each other when attaching them together with screws & nuts . Lastly, employing the use of grout will go a long way in ensuring extra stability and strength of your new installation.
How do you waterproof a tile floor before installing a bathtub?
The best way to waterproof a tile floor before installing a bathtub is to use a liquid waterproofing membrane. This can be applied to the entire floor surface, including any cracks and gaps. The waterproofing membrane forms a barrier that helps keep moisture from seeping underneath the bathtub and into the underlayment. Once the membrane has been applied and dried, a vapor barrier should be installed to completely seal the floor. This will provide an extra layer of protection to the underlayment and ensure that any moisture that does penetrate the tile will not be able to cause damage to the underlying floor structure.
What type of material should be used to waterproof a tile floor before installing a bathtub?
A suitable waterproof membrane should be used to waterproof the tile floor before installing a bathtub. The most popular and effective waterproof membranes are typically made of rubberized asphalt, modified bitumen, PVC, or polyethylene. It is important to follow the manufacturer’s instructions when installing a waterproof membrane to ensure it is properly adhered and sealed. It is best practice to use a sealant for any cracks and seams that may be present in the floor. This will help ensure that no water can penetrate beneath the bathtub and cause damage to the underlying structure.
What is the best way to waterproof a tile floor before installing a bathtub?
The best way to waterproof a tile floor before installing a bathtub is to use a waterproofing membrane. This can be as simple as painting on a liquid-applied membrane or using a more robust pre-formed sheet product. The most important step is to ensure that the membrane is applied correctly and fully sealed around the entire area to be protected. Once the membrane is in place, any additional sealant should be applied around the outside edges of the bathtub to prevent water from seeping through any grout joints or openings.
What type of sealer should be used to waterproof a tile floor before installing a bathtub?
The best type of sealer to use to waterproof a tile floor before installing a bathtub is an epoxy grout sealer. This sealer forms a waterproof barrier that blocks any water from passing through the grout lines and around the edges of the bathtub. For extra protection, a waterproof caulk can be used to fill any cracks or gaps in the tile or grout during installation. Epoxy grout sealer should be applied after installation and before any bath products are added.