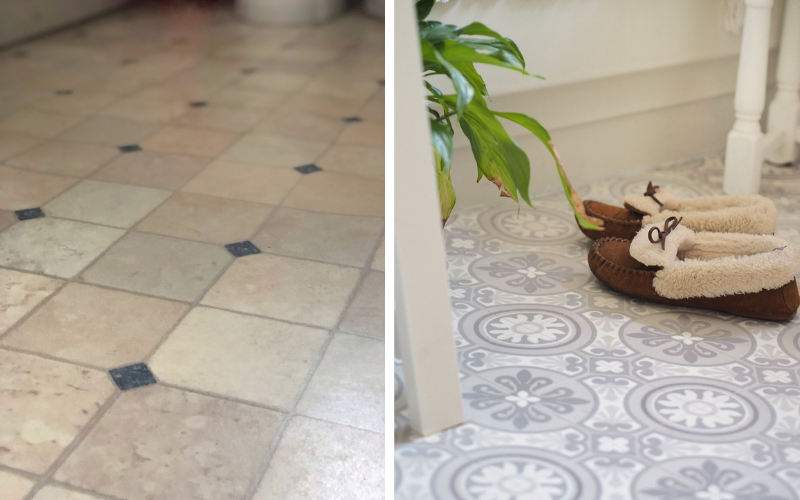
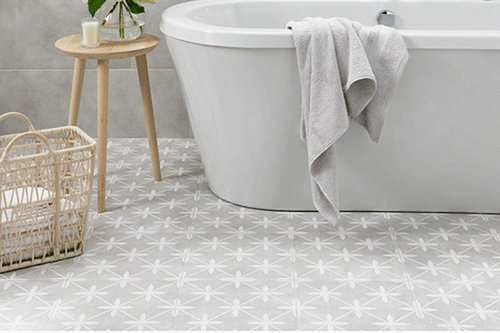
Why Choose Vinyl Flooring for Your Bathroom?
If you’re in the process of renovating your bathroom, flooring is probably at the top of your list. While tile and laminate are popular choices, vinyl flooring has been gaining traction as a top choice for bathrooms. Below are the reasons why vinyl flooring might be the perfect fit for your space.
- Affordability without Sacrifice
One of the biggest advantages of vinyl flooring is its affordability. Compared to ceramic or natural stone tiles, vinyl is often a fraction of the cost, allowing you to save money without compromising on style. This cost-effectiveness makes it a go-to choice for homeowners on a budget or those looking to keep costs low. - Variety of Styles and Designs
Vinyl flooring offers a nearly endless array of styles, colors, and patterns, including options that mimic natural stone or wood. Whether you want a minimalist look, a rustic vibe, or something modern and chic, vinyl can easily complement your style. Plus, with luxury vinyl tiles (LVT) and planks (LVP), you can get high-end looks without the high-end price tag. - Water Resistance
Bathrooms are moisture-prone areas, so water resistance is crucial. Vinyl flooring is typically waterproof or highly water-resistant, making it suitable for wet areas. Unlike wood or laminate, which can warp or swell when exposed to water, vinyl withstands moisture, ensuring your floor stays intact and beautiful. - Ease of Maintenance
Vinyl is known for being incredibly low-maintenance. Regular sweeping and occasional mopping are all it takes to keep it looking new. You won’t have to worry about grout lines collecting mold or water seeping into crevices, making vinyl a hassle-free option for a bathroom setting. - Comfort and Warmth
Unlike ceramic or stone, vinyl has a softer underfoot feel. This can make walking barefoot in the bathroom more comfortable, especially in the colder months. Many people also appreciate that vinyl retains warmth, unlike tile, which can feel chilly underfoot. - Quick and Easy Installation
Vinyl flooring can be a DIY-friendly option, especially with peel-and-stick or click-lock vinyl planks and tiles. Even if you decide to hire a professional, installation is usually quicker and less labor-intensive than tile or hardwood, saving time and reducing installation costs.
Types of Vinyl Flooring: Which One is Right for Your Bathroom?
With vinyl, you’ve got choices! From vinyl sheets to luxury vinyl planks, each type has its own benefits and unique features. Here’s a closer look at the various types of vinyl flooring and how to choose the best option for your bathroom.
Vinyl Sheets
Vinyl sheet flooring comes in large, continuous sheets that are highly water-resistant and often more affordable. Since sheets have fewer seams, they provide excellent water protection, making them ideal for bathrooms. Sheet vinyl is a great option if you’re looking for a seamless, moisture-proof flooring choice.
Vinyl Tiles
Vinyl tiles are easy to install and offer a modular, customizable look. They come in various patterns and sizes, so you can create unique designs. While vinyl tiles are generally water-resistant, the seams between each tile need proper sealing to prevent water from seeping through.
Luxury Vinyl Planks (LVP)
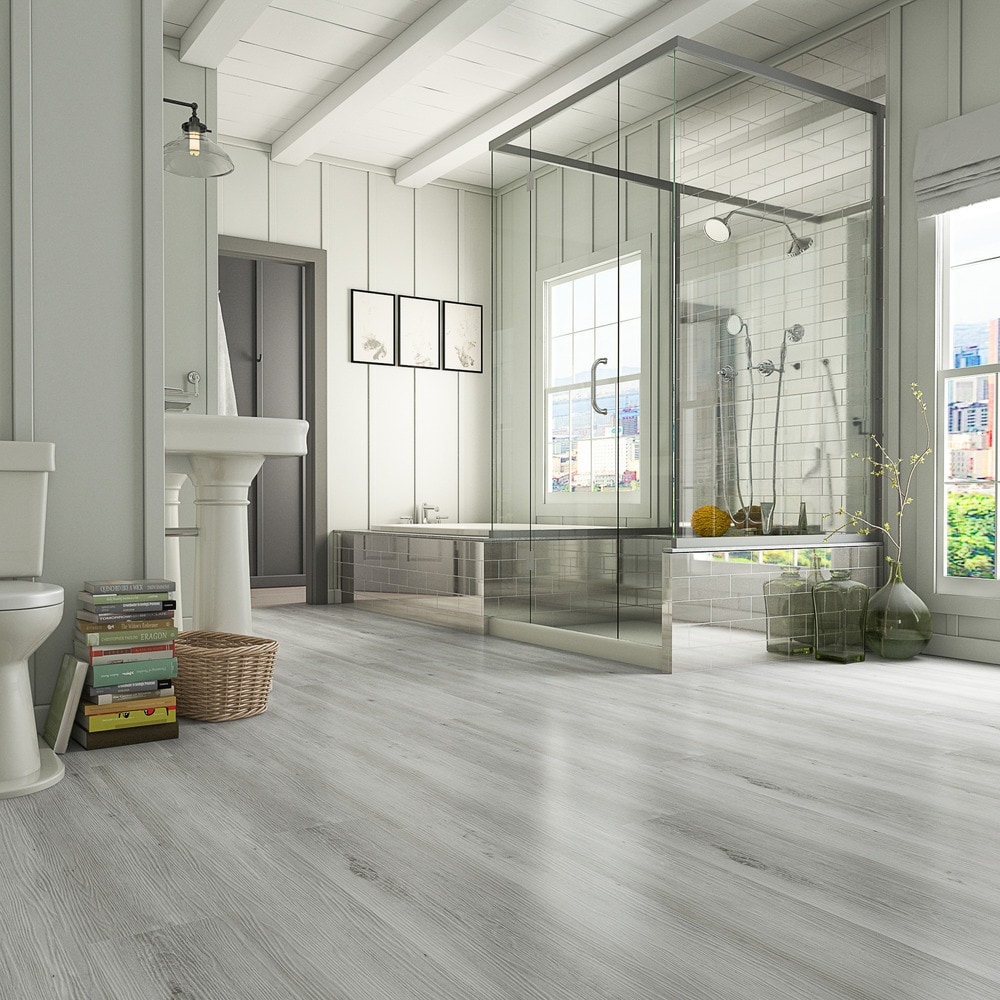
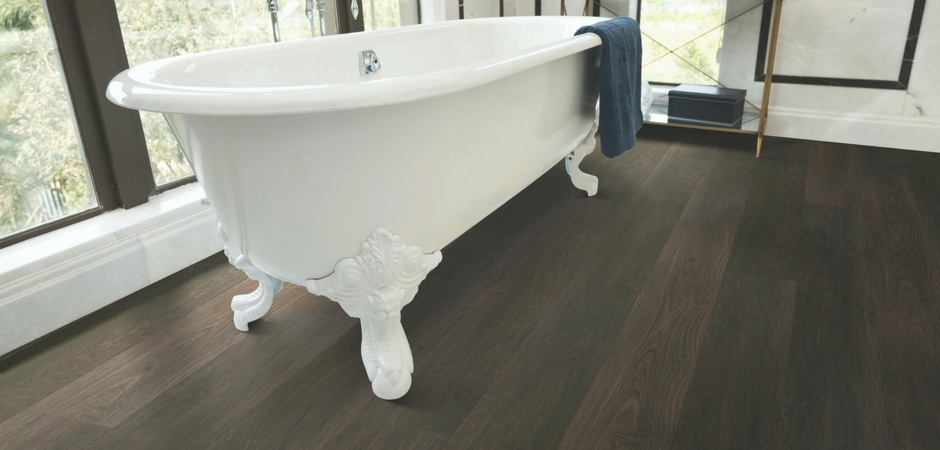
LVP is popular for its realistic wood-like appearance. Made from multiple layers of vinyl and often a wear-resistant layer on top, LVP mimics the look and feel of hardwood but is waterproof, making it ideal for bathrooms. LVP provides a high-end aesthetic without the worry of moisture damage.
Luxury Vinyl Tiles (LVT)
Similar to LVP, luxury vinyl tiles mimic stone or ceramic tiles, offering a high-end look. LVT is durable, waterproof, and comes in a wide range of finishes. If you want a tile look without the grout lines or risk of cracking, LVT is an excellent choice for bathrooms.
Rigid Core Vinyl
Rigid core vinyl flooring has a thicker, sturdier core that provides enhanced durability. It’s resistant to dents and is highly waterproof, often using click-lock installation for easy fitting. Rigid core vinyl is perfect for high-traffic bathrooms, offering stability and a premium feel.
Peel-and-Stick Vinyl Tiles
This option is incredibly DIY-friendly and budget-conscious. Peel-and-stick vinyl tiles allow you to place each tile with an adhesive backing. While not as durable as other types, peel-and-stick tiles work well for small bathrooms or low-traffic spaces where you want an easy and quick upgrade.
Waterproof and Moisture-Resistant Properties of Vinyl Flooring
Bathrooms are notorious for moisture, and waterproofing is essential for a long-lasting floor. Vinyl’s moisture resistance makes it an outstanding choice for bathrooms. Let’s explore how this property sets vinyl apart and helps protect your floors.
Waterproof from Top to Bottom
Vinyl flooring is designed with layers that resist water, making it almost entirely waterproof. Unlike other types of flooring, vinyl won’t absorb moisture, meaning no swelling, buckling, or other damage from everyday splashes and spills.
Protecting Against Mold and Mildew
Because vinyl flooring is non-porous, it doesn’t allow water to seep in and create mold and mildew. This is particularly beneficial for bathrooms where mold is often a concern. Vinyl’s moisture resistance helps keep the area hygienic and free from these issues.
Seamless Sheet Vinyl for Full Water Resistance
Vinyl sheets are often chosen for bathrooms because they cover the entire floor with minimal seams. This reduces the chance of water getting underneath the flooring, ensuring maximum water resistance for bathrooms.
Special Coatings for Extra Protection
Many vinyl options come with a waterproof or water-resistant coating on the surface, adding extra durability against moisture. These coatings can also protect against spills, stains, and minor scratches, making maintenance a breeze.
A Practical Solution for High-Moisture Areas
Bathrooms see more moisture than other rooms, so a material that can withstand regular exposure is ideal. Vinyl’s waterproof properties make it a reliable and practical choice for the wettest areas, giving you peace of mind that your floor will endure.
Pairing with Underlayment for Extra Protection
Some vinyl flooring types can be installed with a waterproof underlayment to add extra moisture protection. An underlayment helps with insulation and keeps the floor even drier, providing an added layer of comfort and durability.
Design Options: Styles, Colors, and Patterns for a Perfect Bathroom Look
Vinyl flooring has evolved from basic designs to modern, stylish options that can elevate any bathroom. Here’s a breakdown of the exciting design possibilities you can achieve with vinyl flooring.
Natural Stone and Marble Looks
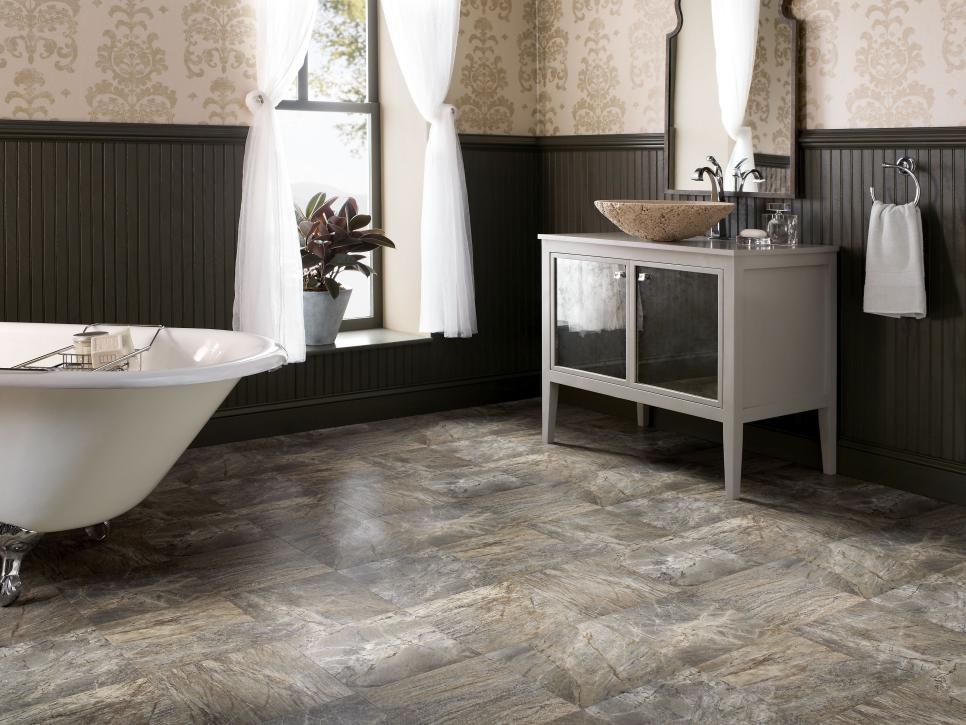
Vinyl can replicate the luxurious look of natural stone or marble at a fraction of the cost. With high-definition printing, it’s easy to achieve the elegance of marble tiles without concerns about durability and maintenance.
Wood-Look Vinyl for Warmth and Texture
Wood-look vinyl adds warmth to your bathroom, creating a spa-like feel without compromising on durability. Choose from light oak, deep mahogany, or even gray-toned wood styles to add character to your space.
Unique Patterns and Geometric Designs
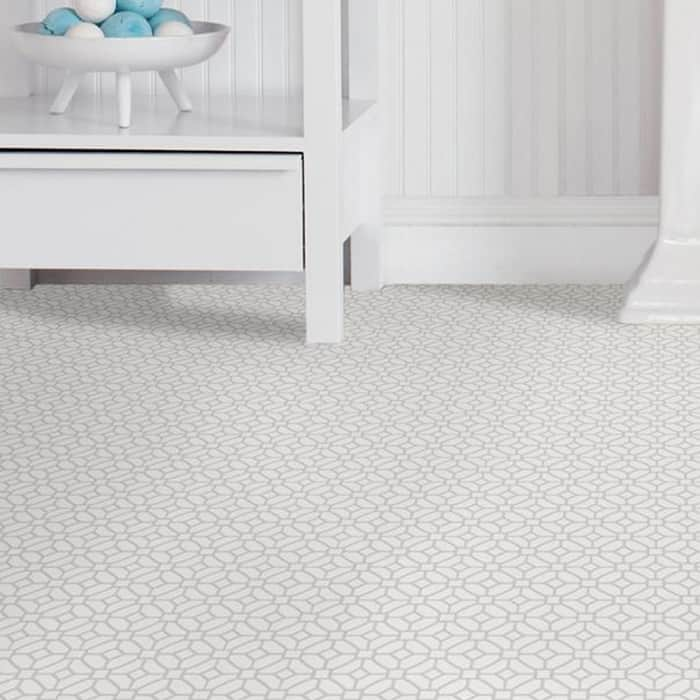
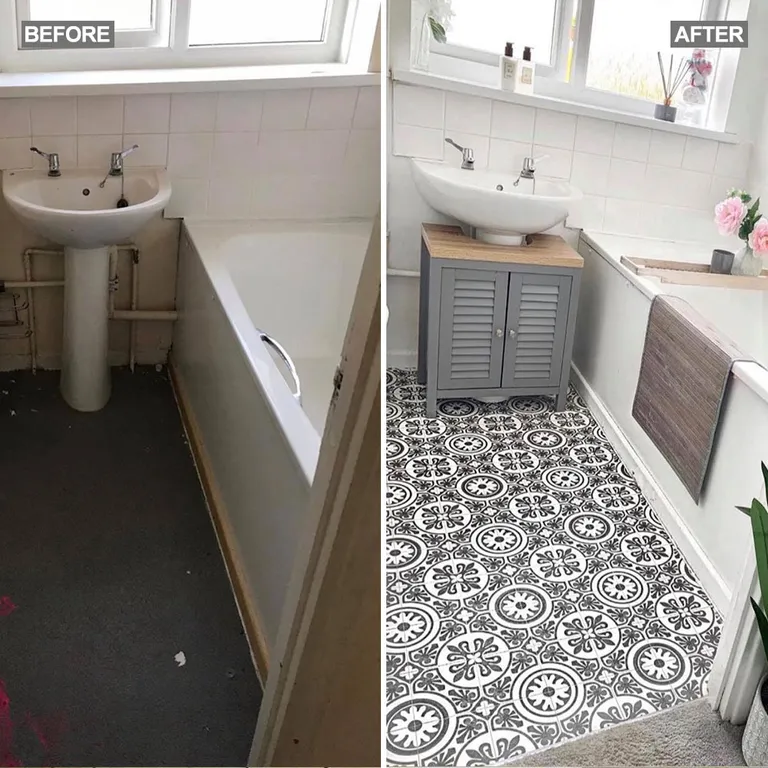
Bold patterns like herringbone, chevron, and geometric tiles are available in vinyl for a striking visual impact. These designs add a trendy flair to your bathroom, allowing you to be adventurous with your style choices.
Minimalistic and Solid Colors
For a sleek, modern look, consider solid-colored vinyl flooring. Simple shades like gray, black, or white can make a bathroom feel larger and more open, while also creating a clean, minimalistic aesthetic.
Textured Vinyl for Added Depth
Some vinyl options come with textured finishes that resemble natural materials, providing a tactile experience. Textured vinyl not only looks more authentic but also offers slip resistance, which can be beneficial in a bathroom setting.
Customizable Patterns with Vinyl Tiles
With vinyl tiles, you have the flexibility to create custom patterns. You can mix and match colors, create borders, or even create a mosaic-inspired design, giving your bathroom a unique, personalized look.
Installation Tips: How to Install Vinyl Flooring in a Bathroom
Installing vinyl flooring in a bathroom is a project you can handle yourself with the right tools and preparation. Here are step-by-step tips to help you achieve a professional-looking vinyl installation that lasts.
Prepare the Subfloor
The first step to a successful vinyl flooring installation is a smooth, clean subfloor. Start by cleaning the subfloor thoroughly to remove any dust or debris. If your subfloor has cracks or uneven areas, fill them in and sand down any high spots. A clean, level surface will ensure that your vinyl lays flat and adheres well.
Choose the Right Type of Vinyl for Your Skill Level
Some vinyl types are easier to install than others. Peel-and-stick vinyl tiles, for instance, are ideal for DIY beginners, while sheet vinyl requires more skill and precision. Consider your experience level and the size of your bathroom when deciding on a vinyl type. Click-lock vinyl planks are also popular for their easy installation.
Measure and Cut with Care
Accurate measurements are crucial for a good fit. Measure the bathroom’s length and width, then add about 10% extra to account for cuts and waste. For sheet vinyl, make a paper template of the bathroom floor to use as a guide. Cut your vinyl pieces with a utility knife, taking your time around fixtures like the toilet and sink to get a precise fit.
Dry-Fit the Flooring Before Adhering
Before you start adhering to the vinyl, lay it out in place as a “dry fit” to check alignment and make sure everything fits. This helps you identify any additional adjustments needed, especially around corners, doorways, or fixtures. Make any final cuts now to avoid surprises once you start sticking down the vinyl.
Use Adhesive or Locking Mechanism Properly
Depending on the type of vinyl, you may need to use an adhesive or rely on a click-lock mechanism. For peel-and-stick vinyl, peel off the backing and press the tiles down firmly. For glue-down vinyl, apply adhesive evenly and press the vinyl into place. For click-lock planks, snap each piece together, working row by row until the floor is covered.
Seal Edges for Extra Water Resistance
To protect against water seepage, apply a bead of silicone caulk around the edges of the vinyl flooring, especially around the toilet, bathtub, and sink areas. This helps create a watertight seal that prevents moisture from seeping beneath the vinyl, extending the floor’s durability and lifespan.
Maintenance and Cleaning Tips
Vinyl flooring is one of the easiest materials to maintain, making it perfect for high-traffic areas like bathrooms. Here’s how to keep your vinyl bathroom floor looking pristine for years to come.
Regular Sweeping and Vacuuming
Regularly sweeping or vacuuming your bathroom vinyl floor will prevent dust, dirt, and grime from building up. Fine particles can scratch the surface over time, so it’s best to keep the floor clean with a soft-bristle broom or vacuum attachment designed for hard floors.
Mopping with Mild Cleaners
Vinyl flooring doesn’t require harsh chemicals to stay clean. Use a damp mop and a mild cleaning solution to wipe down the surface as needed. Avoid soaking the floor; just use enough water to clean the surface without allowing it to seep into the seams. A gentle, pH-balanced cleaner works well to remove any stains or buildup.
Avoid Abrasive Cleaners and Tools
Harsh cleaners and abrasive scrubbers can damage vinyl, leaving it looking dull. Stick to soft cloths, microfiber mops, and non-abrasive sponges. For tougher stains, a mixture of water and a little vinegar can help lift dirt without harming the vinyl finish.
Promptly Clean Up Spills
Bathroom floors are prone to spills, and while vinyl is water-resistant, it’s a good habit to clean up any water or liquid quickly. This helps prevent moisture from seeping into seams or edges, especially in high-traffic areas around sinks and tubs.
Protect Against Scratches
Vinyl is durable, but sharp objects can still cause scratches. If you use a bath mat or rug, consider non-slip options that won’t scratch or discolor the vinyl. Avoid dragging heavy objects across the floor, and consider felt pads on the bottom of any movable furniture.
Reseal Edges Periodically for Extra Protection
Over time, the edges and seams of vinyl flooring may need resealing to keep water out. Check the edges annually, especially around high-moisture areas. Apply a fresh bead of silicone caulk as needed to maintain a waterproof barrier, helping the floor stay in peak condition.
Can Vinyl Flooring Be Used In A Bathroom? Hallmark Floors
How to lay vinyl floor in a bathroom Dove Cottage
How to Install Sheet Vinyl Flooring Over Tile
Vinyl flooring for bathroom
How To Install Vinyl Plank Flooring In A Bathroom As A Beginner Home Renovation
Related Posts:
