At one time sealants and also epoxy coverings were the sole choices for protecting commercial and residential storage area space. But probably the most effective reason behind covering the garage floor of yours with a specific flooring cover is the fact that it will help the floor to be more durable. Giving your garage floor a thorough and deep cleaning will help prepare it for its new paint job.
Images about Epoxy Garage Floor How To
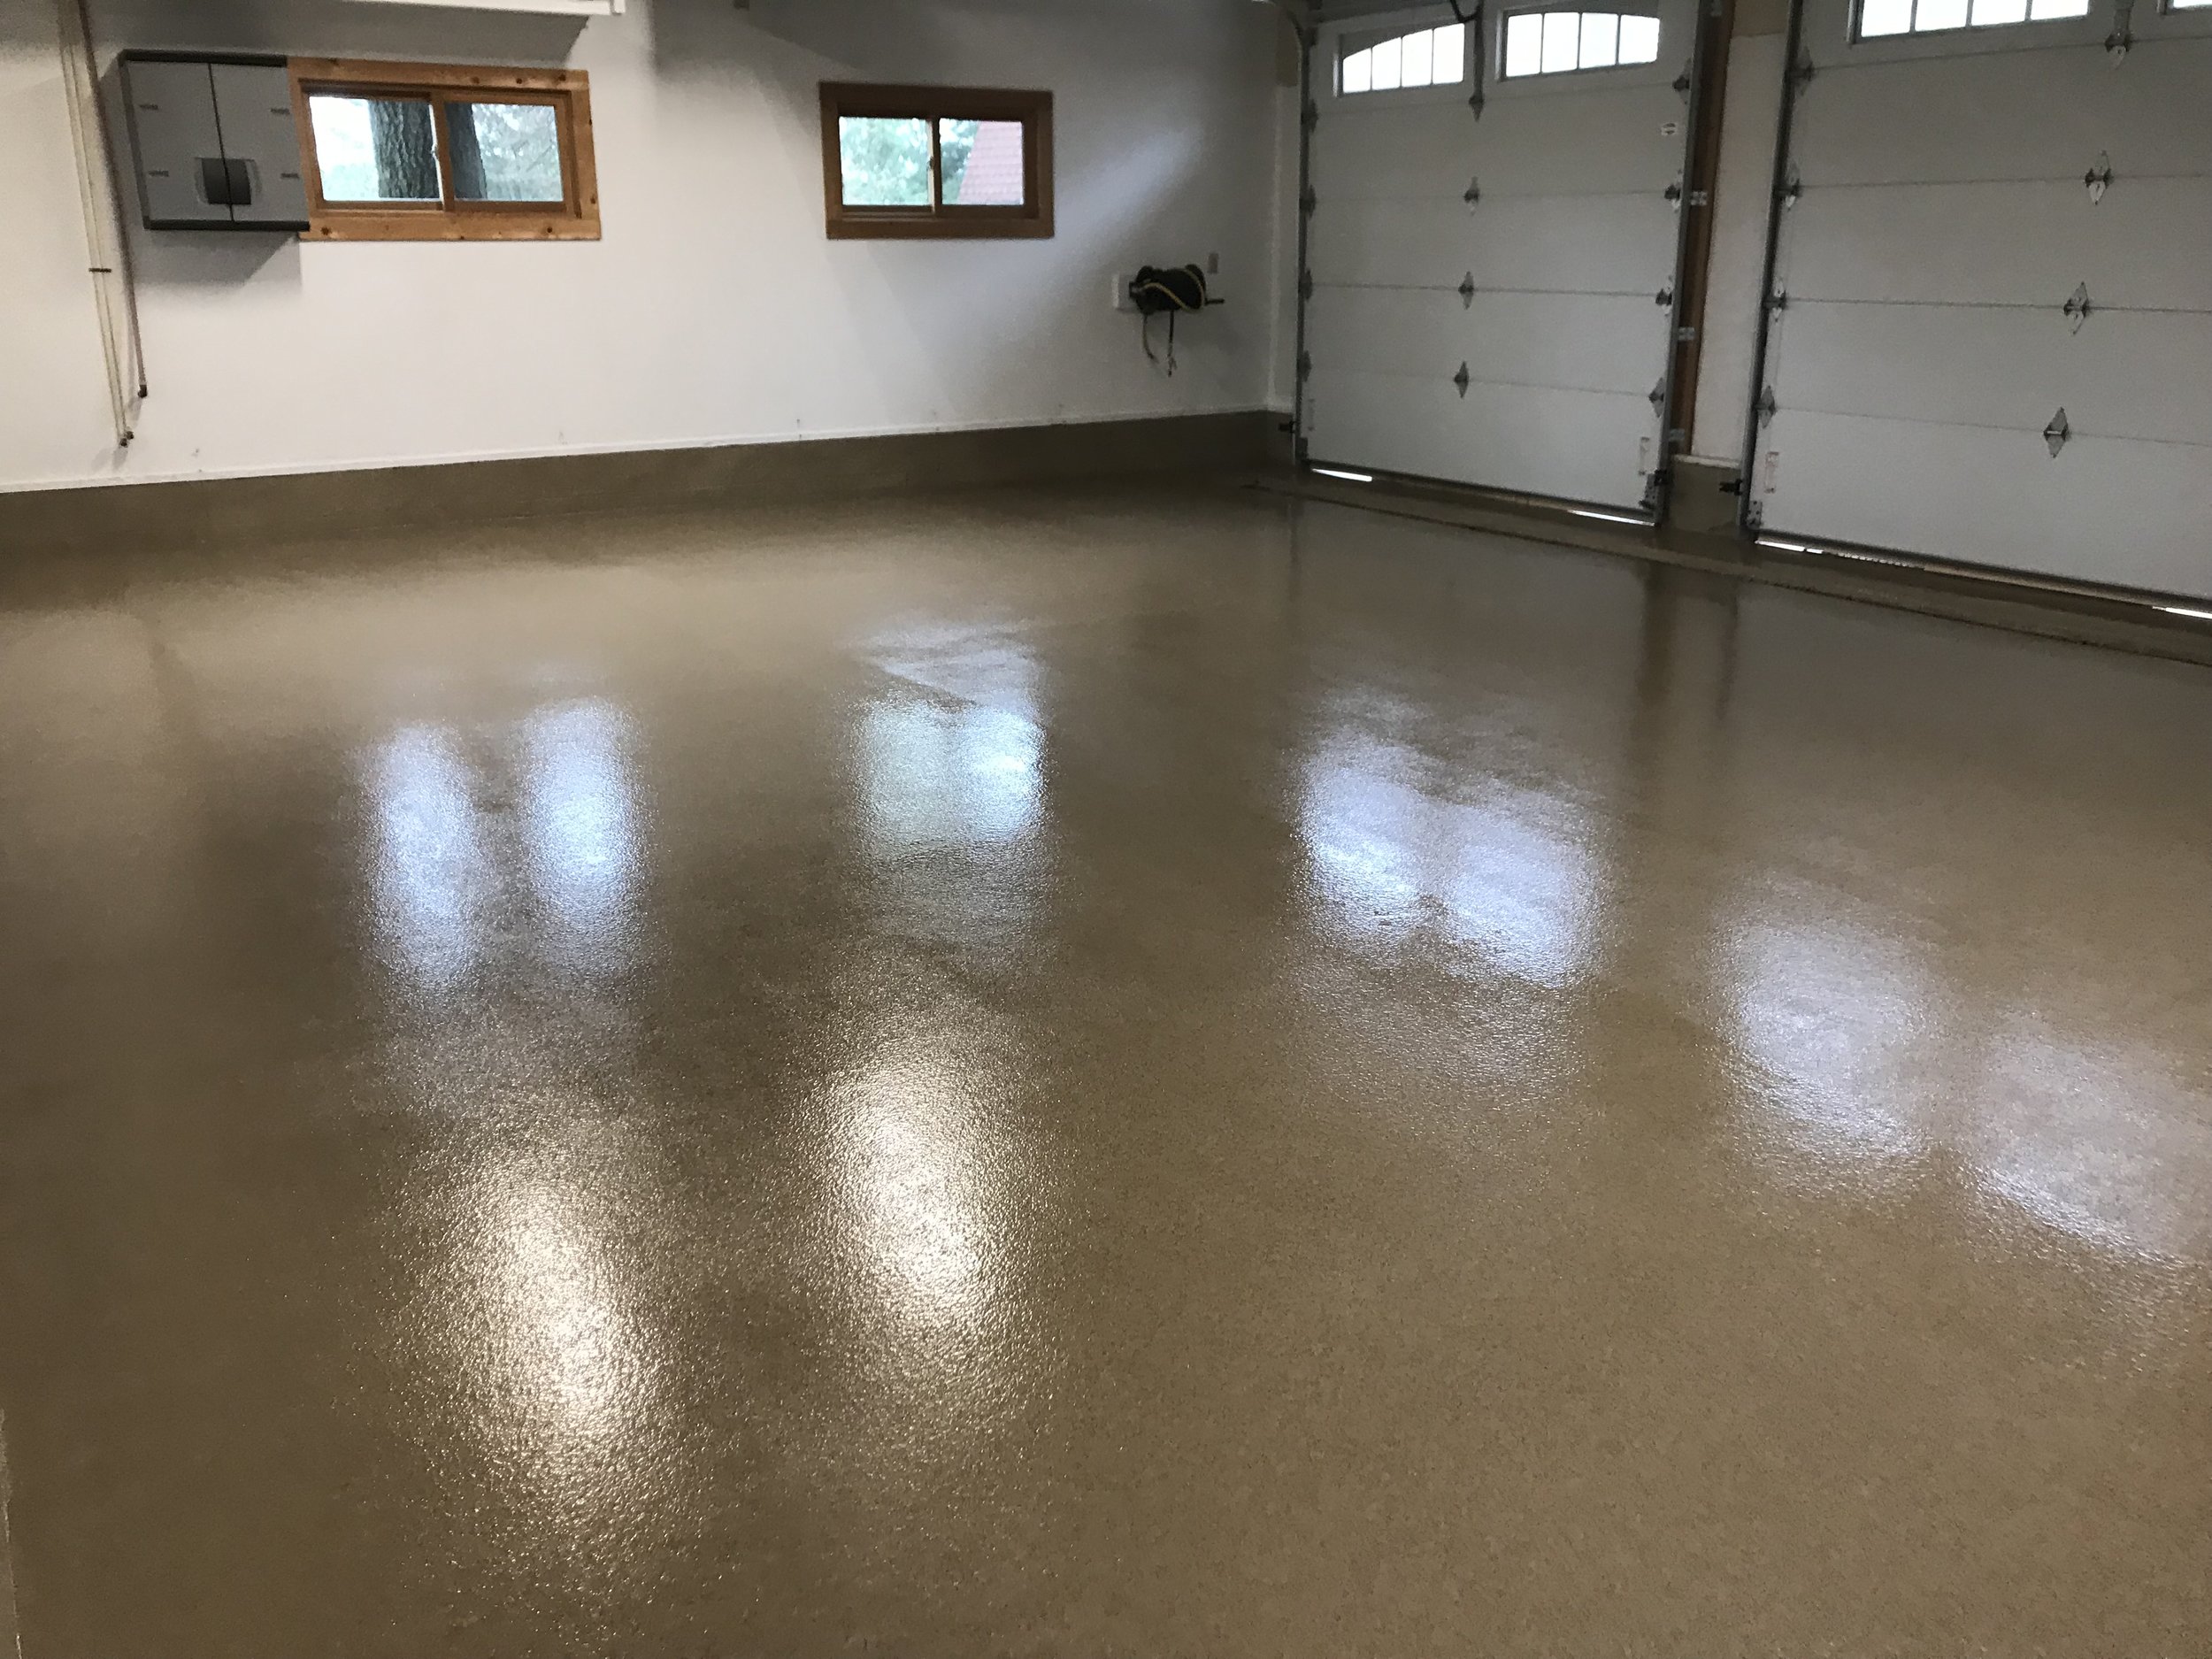
Epoxy Garage Floor How To
Probably the fastest way to improve the garage of yours is by the use of floor mats developed to cover either part or all of the floor region. I've seen that sort of paint on garage flooring before and it seems really good. It does not take up more than a week's period to finish the task. Occasionally this brings about an issue, at times it doesn't.
Kansas City Epoxy Garage Floors-Amazing Garage Floors #1 KC

That can accommodate several products on the wall, therefore saving the floor from becoming damaged. The investment in your garage floor can be a terrific way to include value to your garage as well as home while indulging the creative side of yours. Several varieties of this sort of tile can be purchased. Garage flooring is actually like the finishing touches on a master piece.
How to Apply Epoxy Coating to a Garage Floor
/clean-garage-178594527-ed57fd7843ba42f59bb637cf7cf5d47d.jpg)
The Benefits of Epoxy Garage Floor Coatings All Garage Floors
Is It Worth It To Epoxy Garage Floor? Garage Floor Epoxy
How to Prep Your Garage Floor for Epoxy Epoxy Colorado
Concrete Coating Contractors in Draper, Utah Lifetime Epoxy
Garage Floor Epoxy Resurfacing in Thousand Oaks, CA – Epoxy.LA
ArmorClad Garage Floor Epoxy Best Garage Floor Epoxy Kit
Epoxy Garage Flooring Contractor Artisan Garage Floors

Epoxy Garage Floor Coatings in San Diego Garage Excell
Epoxy Garage Flooring Charlotte Titan Garage Floors

DIY vs. Professional Garage Floor Coatings u2014 Advanced Flooring Systems
Epoxy Garage Flooring: How good is it, and why you should consider it

Related Posts:
- Garage Floor Epoxy DIY
- Garage Floor Concrete Stain
- Garage Floor Refinishing
- Durable Garage Floor Covering
- Garage Floor Paint Preparation
- Garage Floor Makeover Ideas
- Garage Floor Epoxy White
- Heavy Duty Garage Floor Coating
- High Gloss Garage Floor Coating
- Garage Floor Epoxy Sealer
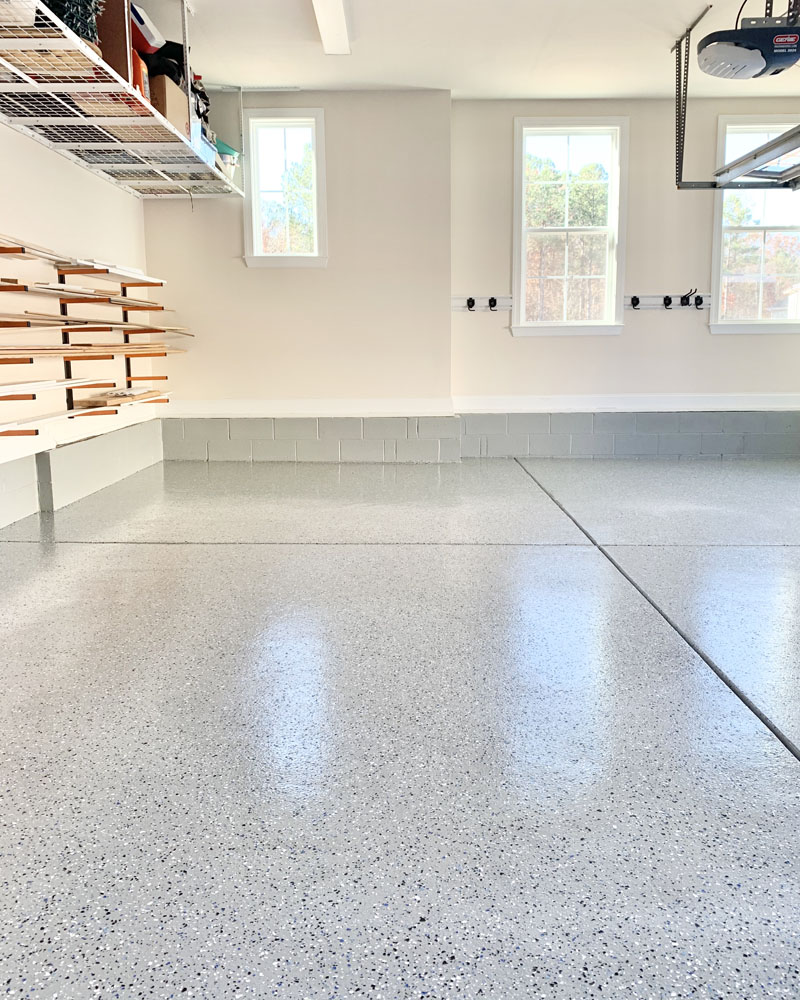
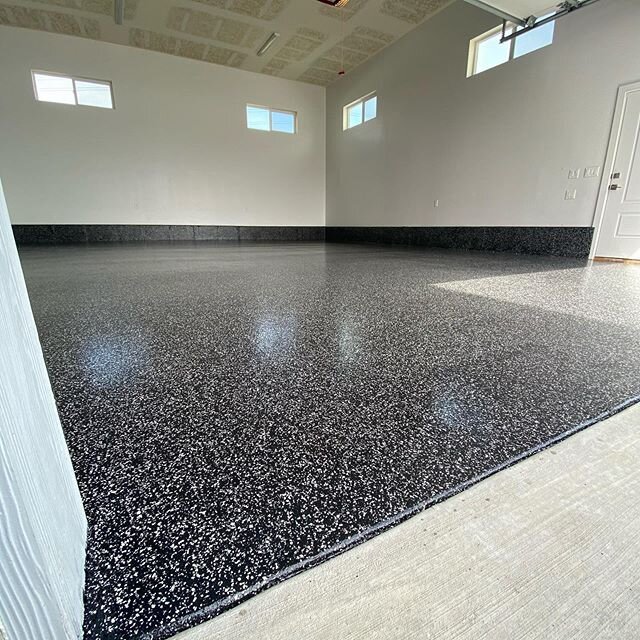
Epoxy Garage Floor: How To Transform Your Garage Floor with an Epoxy Makeover
A garage is usually the most overlooked room in the home; it’s often filled with boxes, tools, and all kinds of items that are rarely seen. But, if you’re looking for a way to transform your garage, consider epoxy flooring. Epoxy garage flooring is an attractive and durable solution that will make your garage look brand new. With a few simple steps, you can easily install an epoxy floor in your garage and enjoy a beautiful new surface.
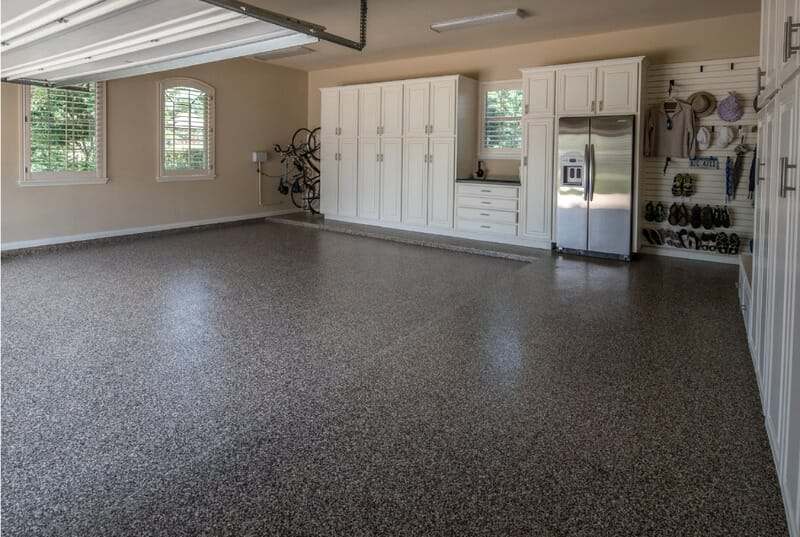
What Is Epoxy Flooring?
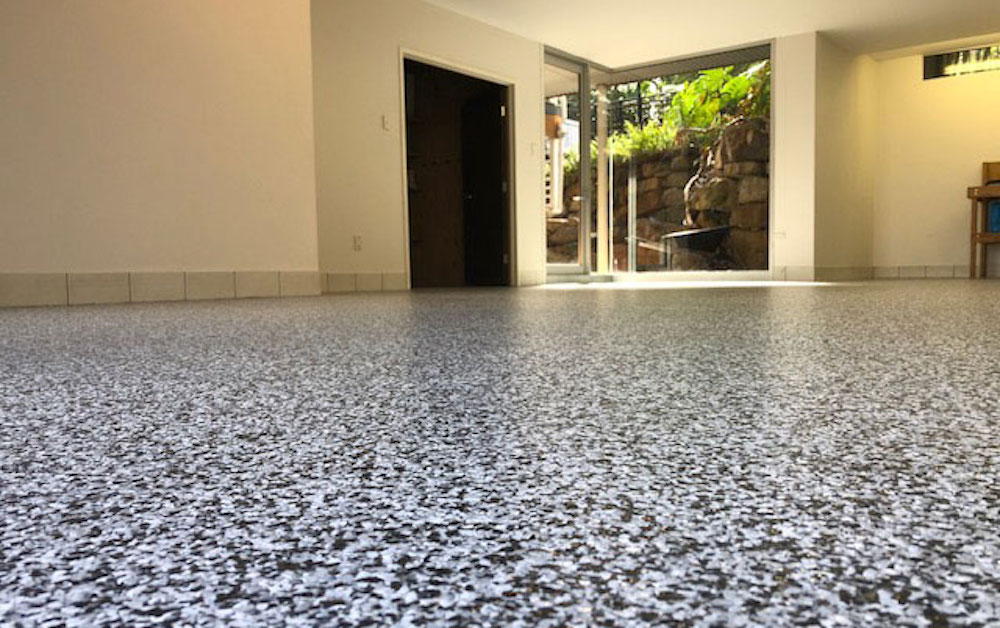
Epoxy flooring is a two-part material that consists of a resin and a hardener. When the two parts are mixed together, they form a strong bond that creates a durable and attractive finish. Epoxy flooring is extremely durable and can withstand heavy traffic, making it ideal for garages and other high-traffic areas. It’s also easy to clean and maintain, so it won’t require much effort to keep it looking like new for years to come.
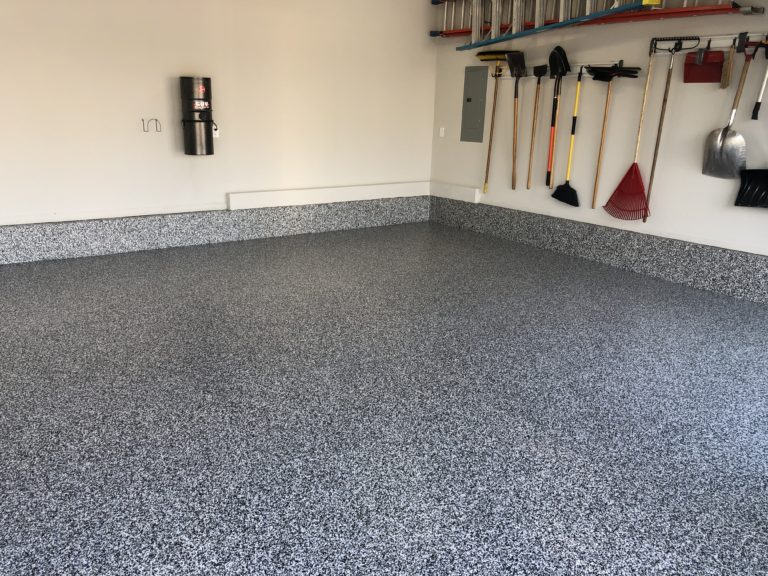
Preparing Your Garage for Epoxy Flooring
Before you begin installing epoxy flooring in your garage, there are a few things you need to do to prepare the space. First, you need to make sure the surface is clean and free of dirt, dust, grease, and oil. You should also check for any cracks or other damage that could affect the installation process. Once the area is clean and free of debris, you can begin applying the epoxy.
Applying the Epoxy Flooring
Applying epoxy flooring is not complicated, but it does require some preparation. Before you begin, you need to make sure the surface is completely clean and dry. You should also make sure the temperature of the room is between 50°F and 80°F, as this will affect how the epoxy bonds with the surface. Once the area is ready, it’s time to apply the epoxy.
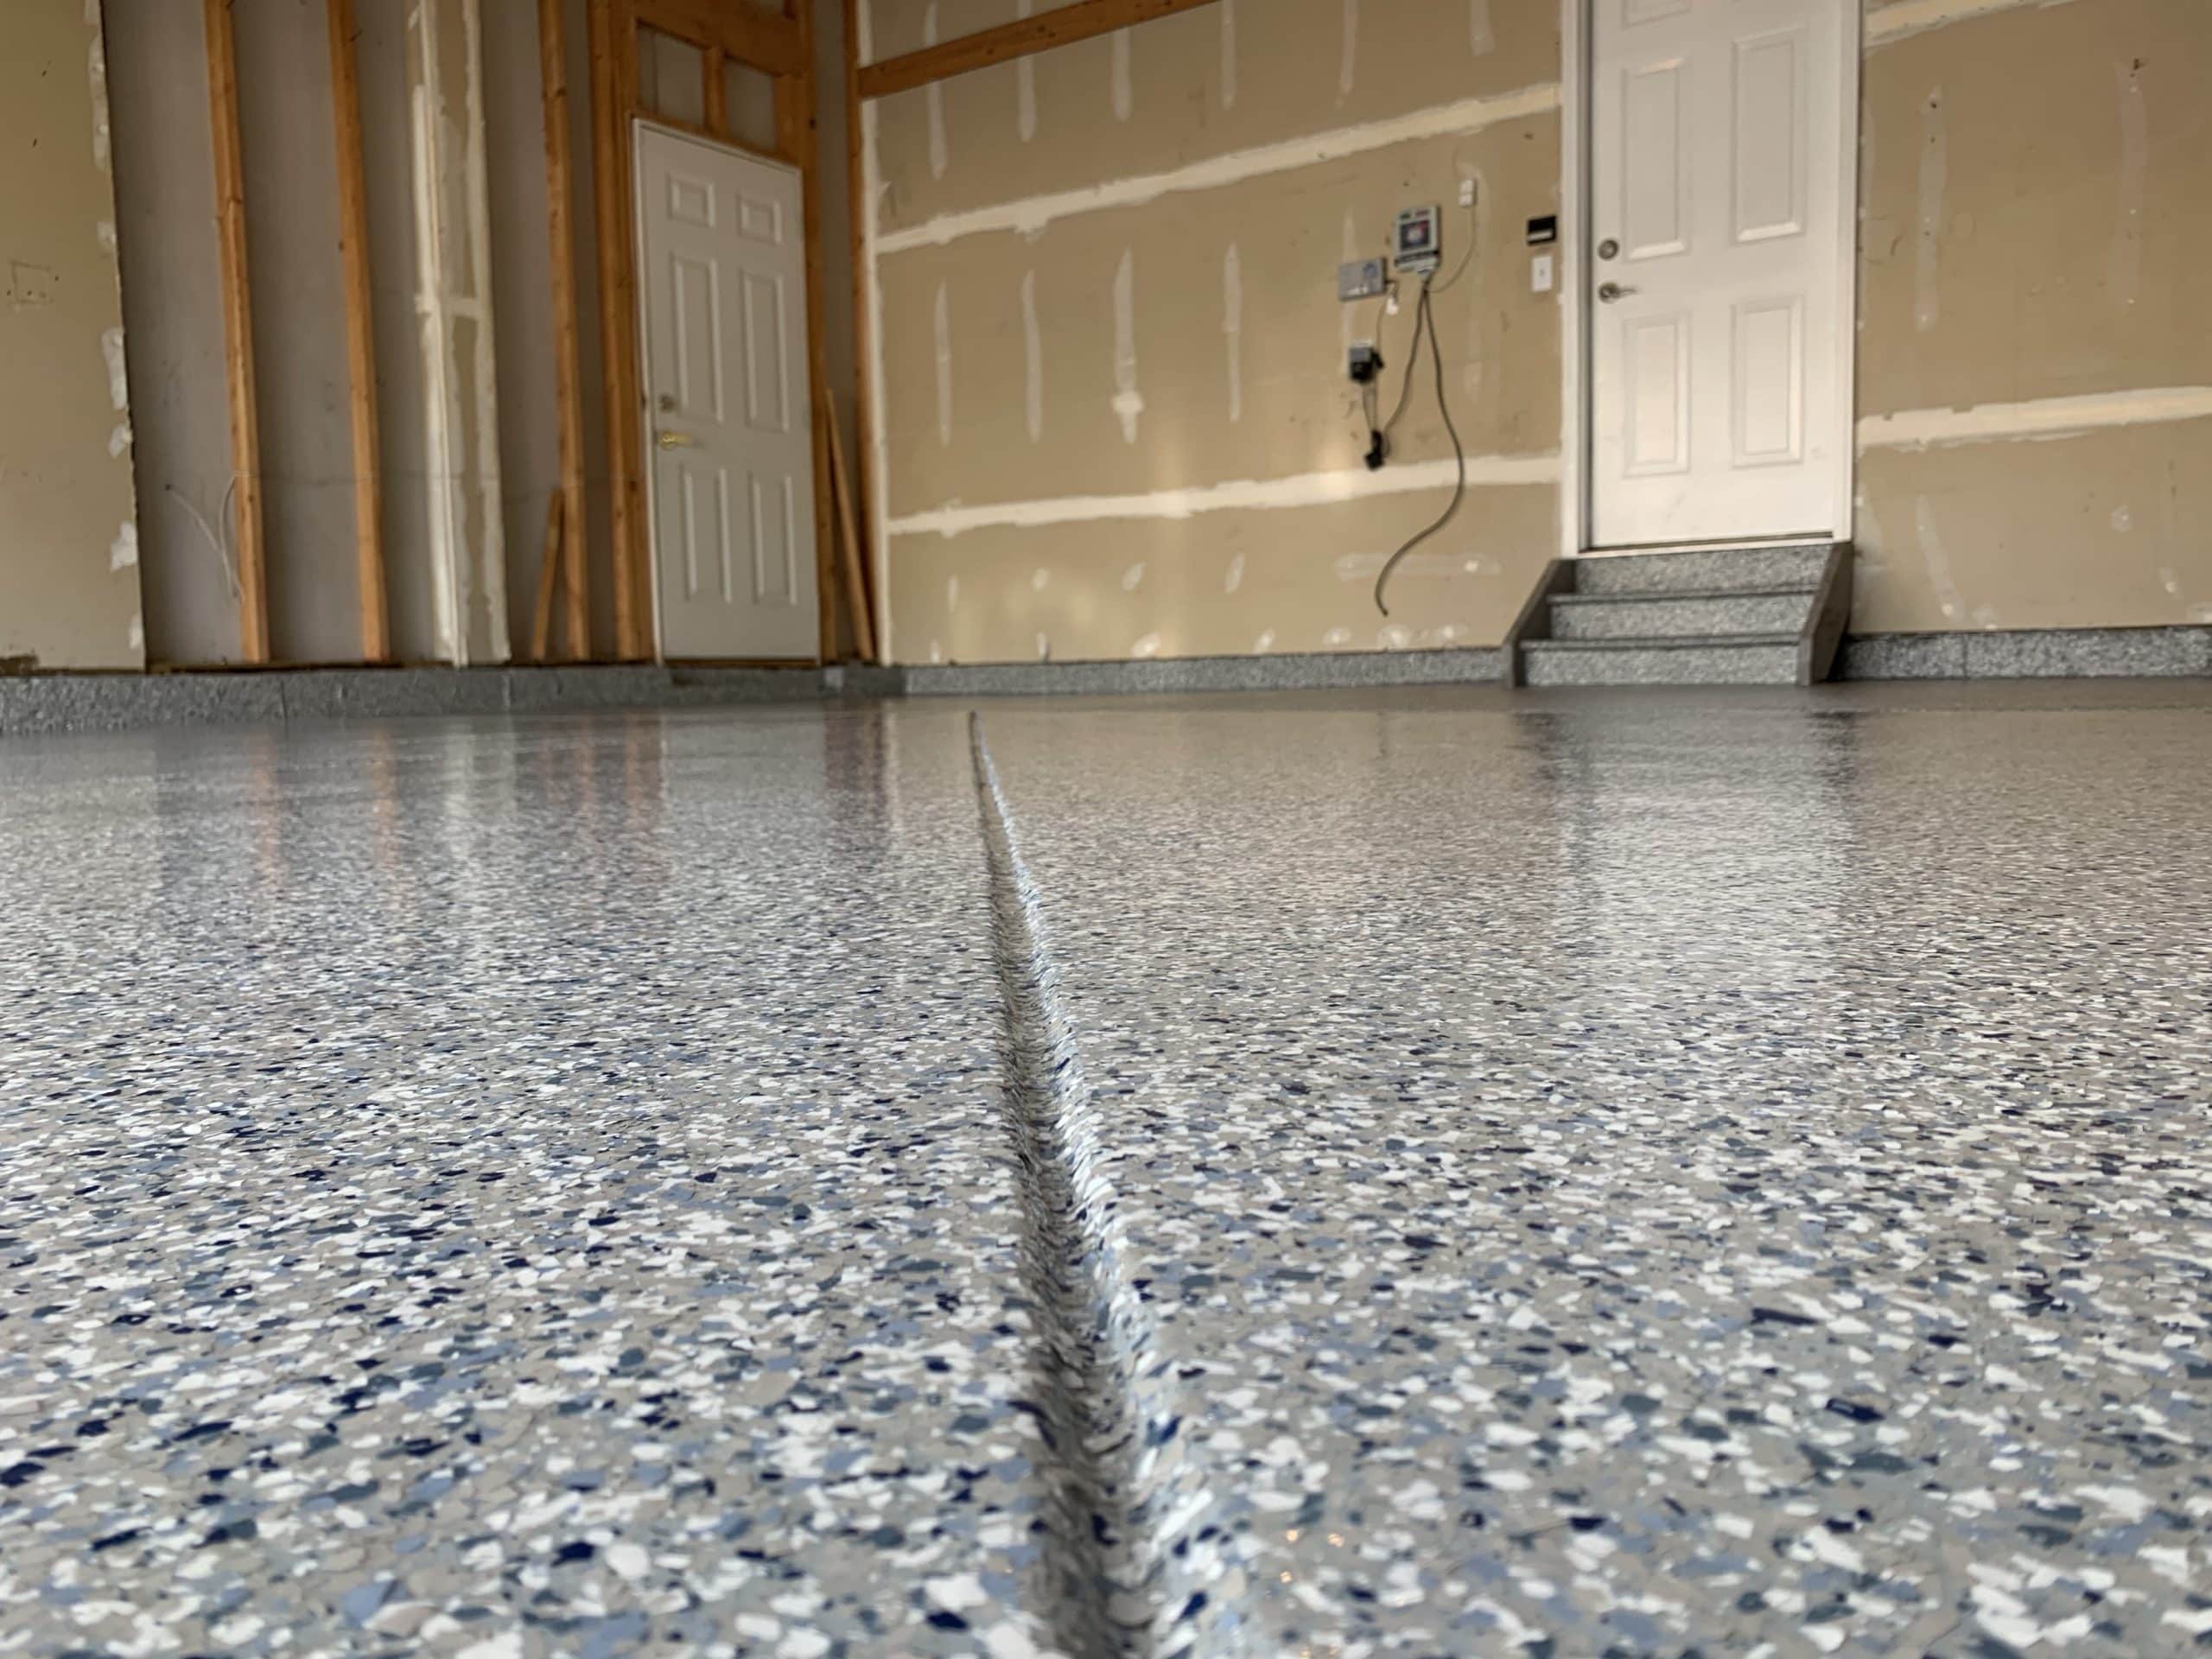
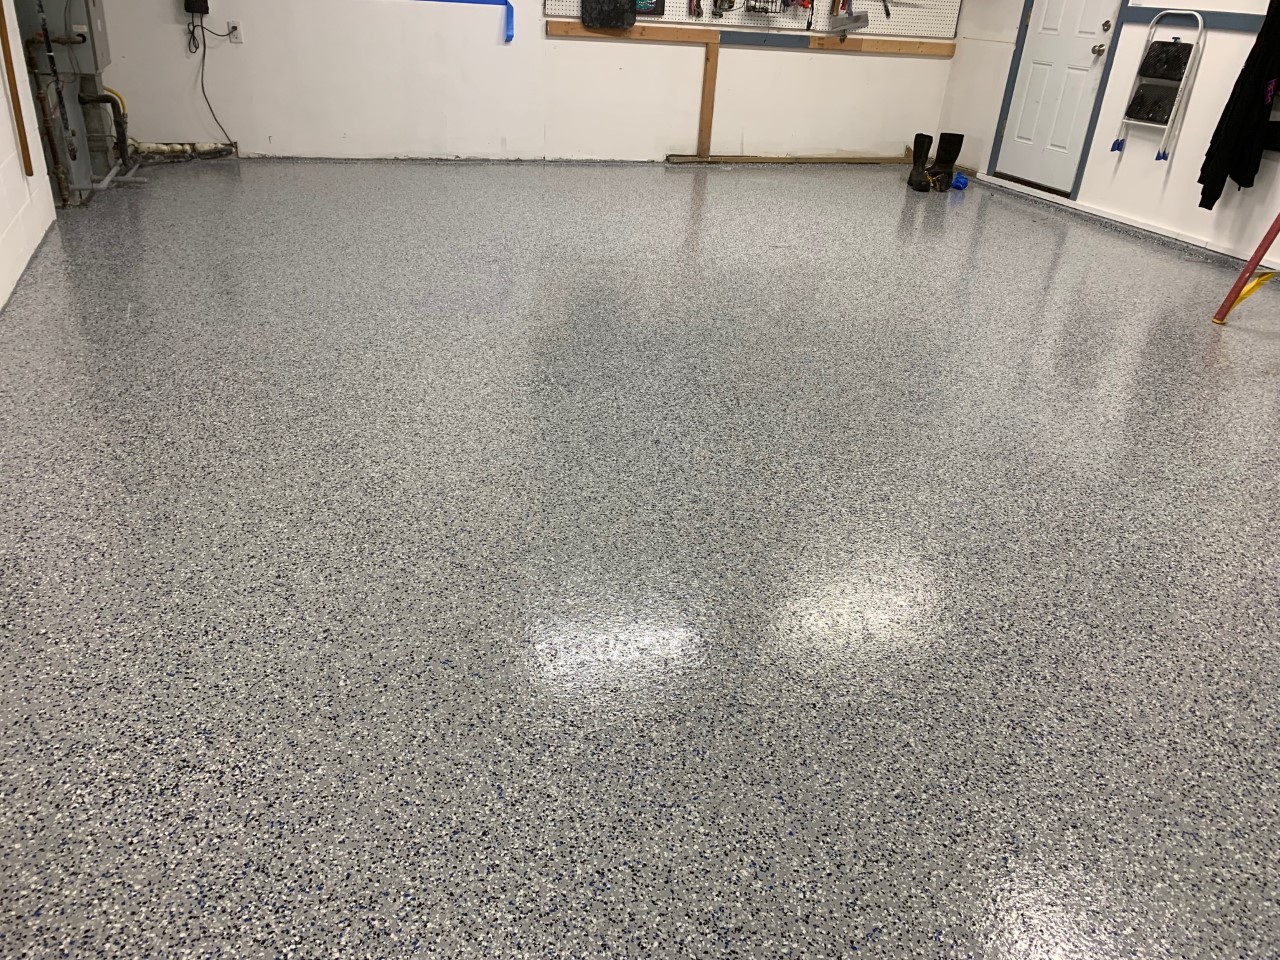
Start by mixing the two parts of the epoxy together according to the instructions on the package. Once mixed, spread a thin layer of epoxy over the entire surface using a roller or brush. Make sure to spread it evenly so there are no gaps or bubbles in the coating. Allow this first coat to dry before applying a second coat for extra protection and durability.
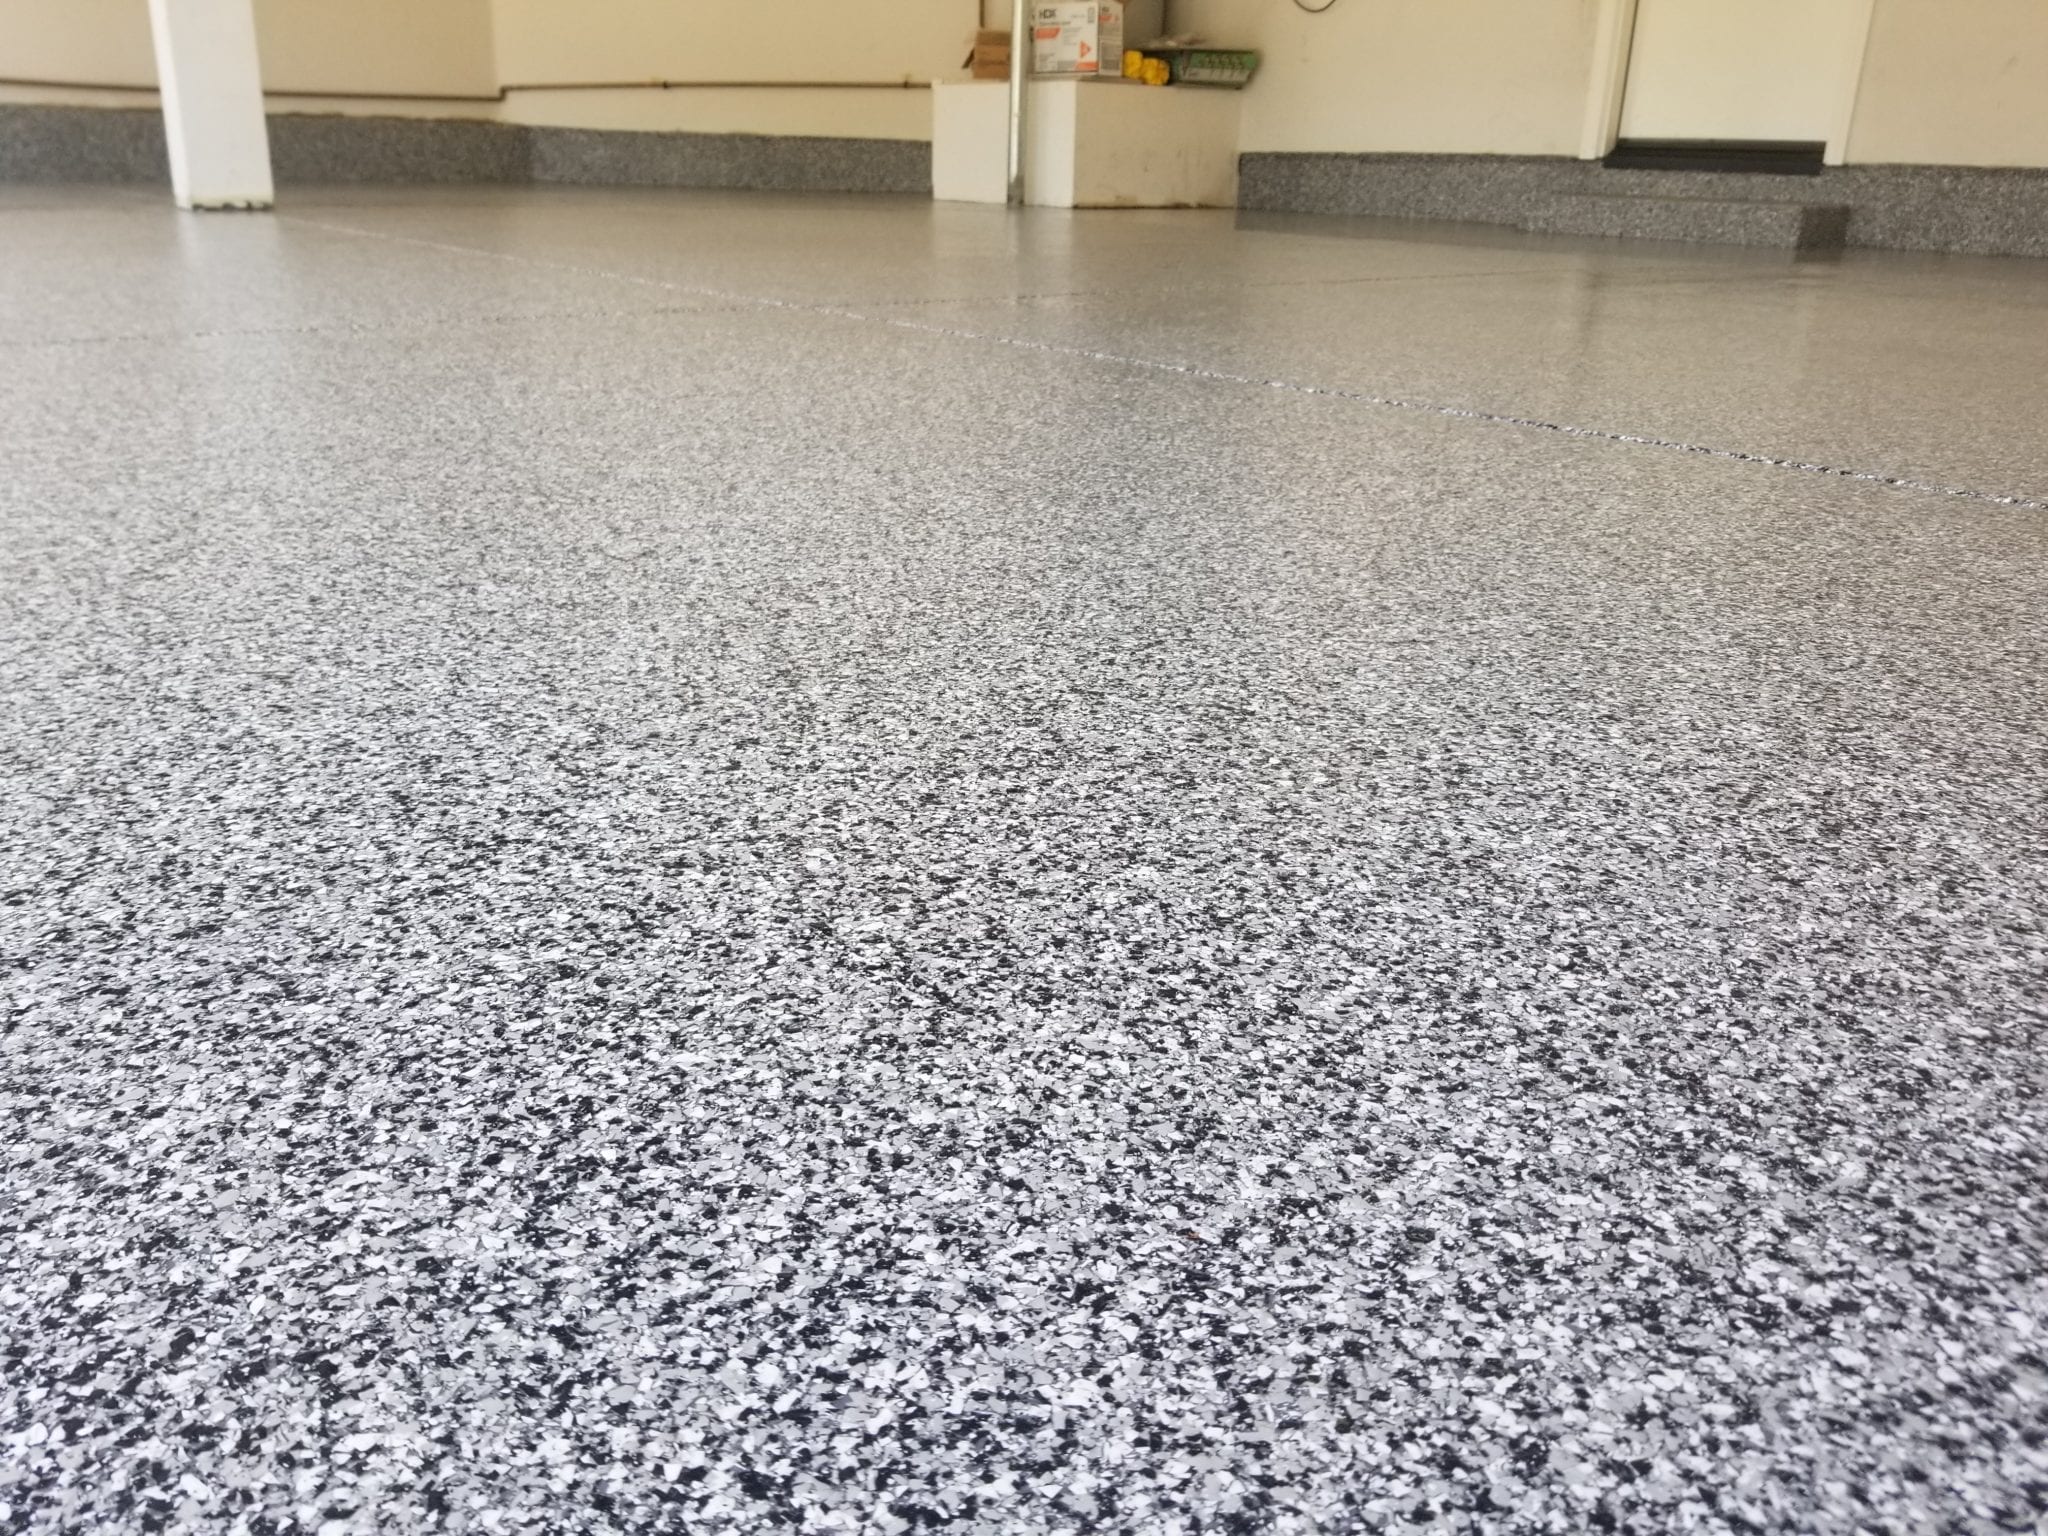
Once both coats are dry, you can add decorative chips or flakes to create an attractive pattern or design on your epoxy floor. These chips come in a variety of colors and textures, so you can customize your floor to fit your style or décor. Once you have finished decorating your epoxy garage floor, you can let it dry for 24 hours before walking on it or moving items back into the space.
FAQs about Epoxy Garage Floor How To
Q: What type of tools do I need to apply epoxy?
A: You will need a few basic tools such as a roller or brush for applying the epoxy, gloves for protection, and mixing cups and stirrers for mixing the two parts of the epoxy together. Depending on what type of decorative chips or flakes you use, you may also need additional tools such as an adhesive trowel or sprayer for applying them to the floor.
Q: How long will it take for my epoxy garage floor to dry?
A: The drying time will vary depending on temperature and humidity levels in your garage, but generally it should take 24 hours for the epoxy to fully cure and be ready for use. Make sure not to walk on or move items onto your garage floor until it has had a chance to dry completely.
Q: How long will my epoxy floor last?
A: With proper care and maintenance, an epoxy garage floor should last 5-10 years before needing to be replaced or touched up. Regular cleaning with mild soap and water can help extend its life even further by preventing dirt and debris from building up on the surface.
Q: Can I paint over my epoxy garage floor?
A