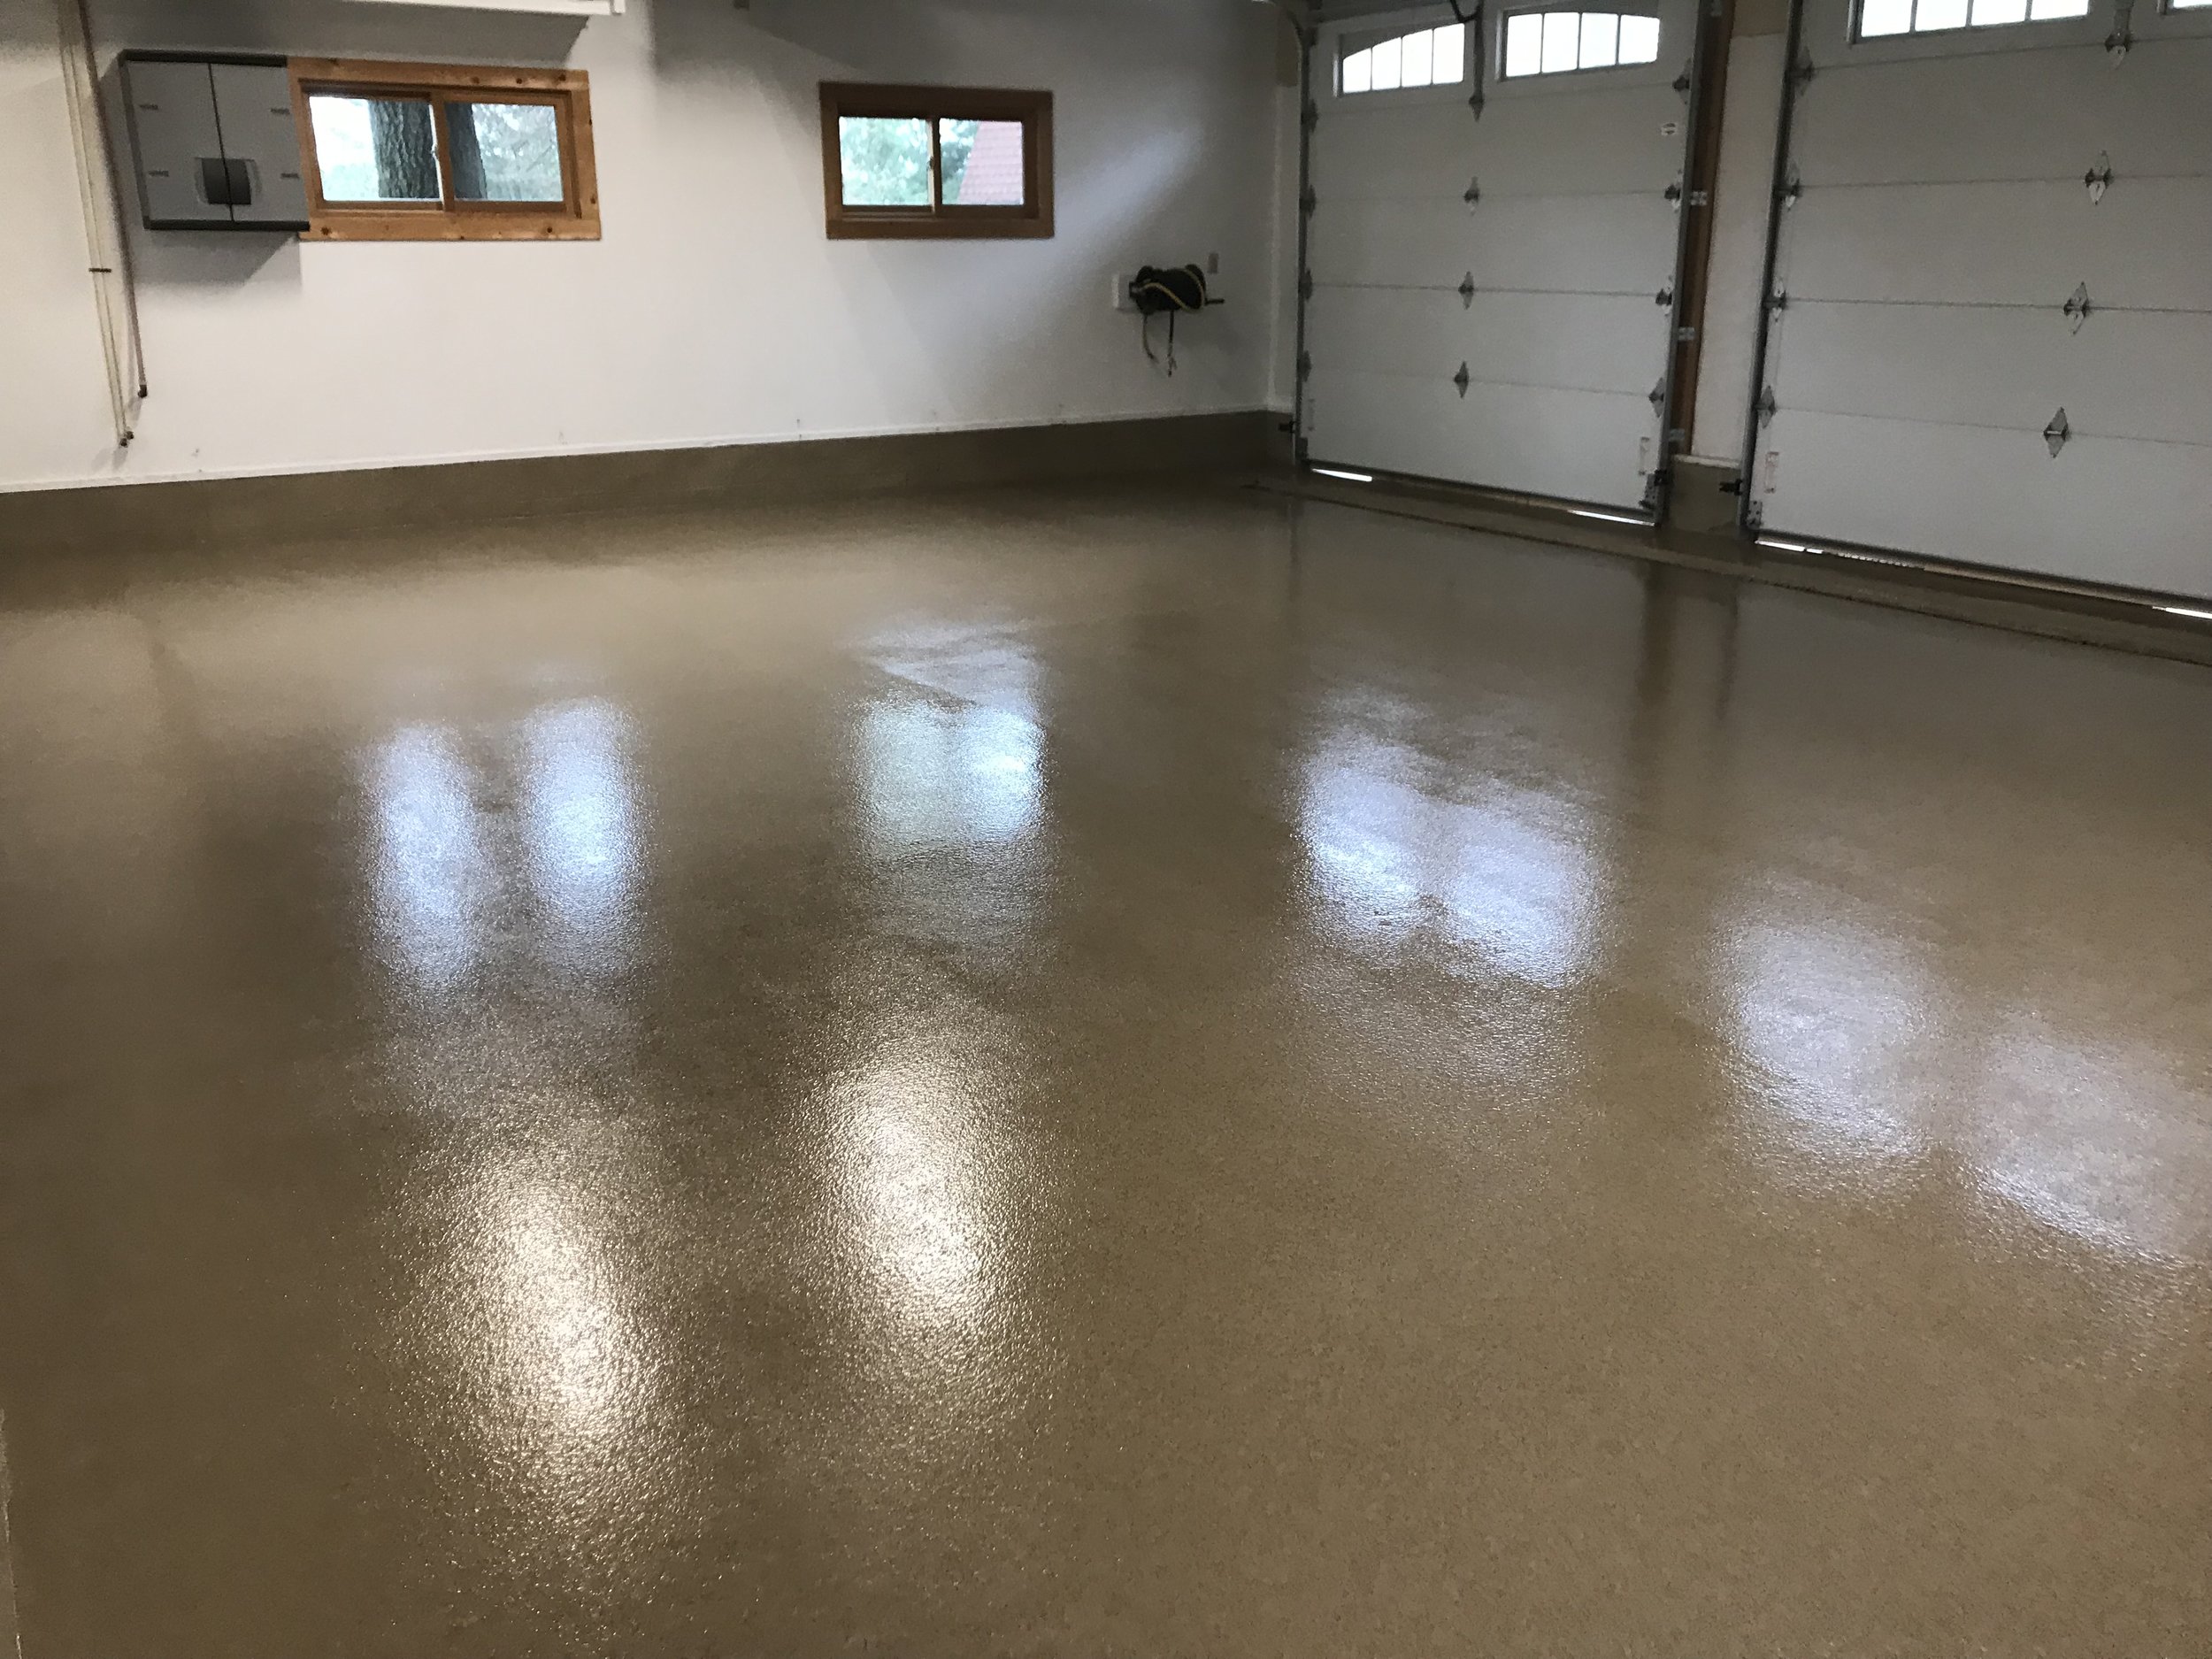
Why Coat Your Garage Floor? The Benefits of a Durable Finish
Coating your garage floor might not be the first home improvement project that comes to mind, but it can significantly enhance both the look and function of your garage. Whether you’re using your garage for parking, as a workshop, or as extra storage, a coated floor offers a range of benefits. Let’s explore why coating your garage floor is a worthwhile investment.
- Improved Durability: One of the main reasons to coat your garage floor is to increase its durability. Uncoated concrete floors can easily crack, chip, or stain over time, especially with the wear and tear of vehicles, tools, and heavy equipment. A quality floor coating, such as epoxy, creates a strong barrier that protects the concrete underneath from damage, extending the life of your floor.
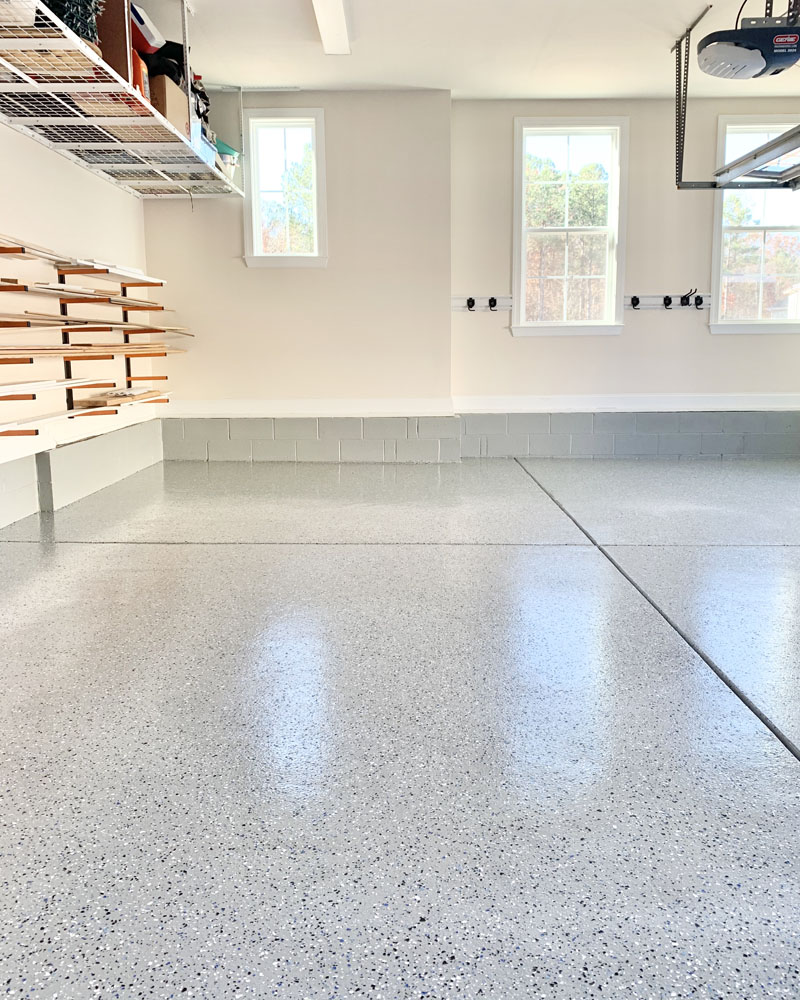
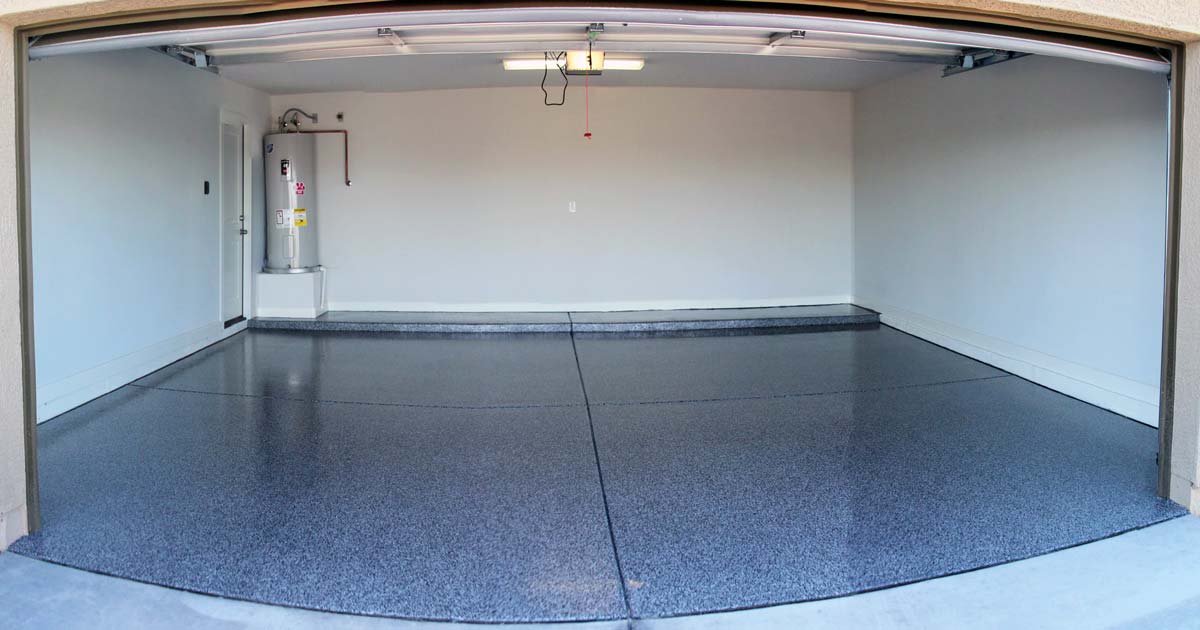
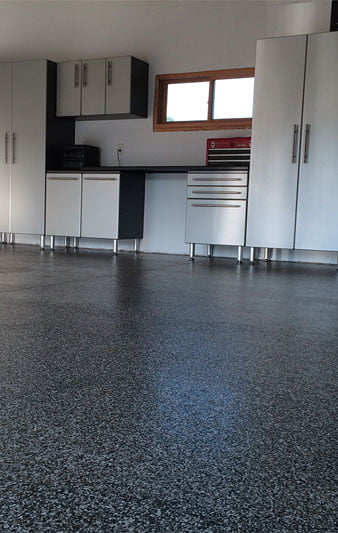
- Enhanced Appearance: A freshly coated garage floor can dramatically improve the aesthetics of your space. Coatings come in various colors and finishes, allowing you to customize the look of your garage to match your style or the overall design of your home. A clean, polished floor can transform a dull, utilitarian space into a vibrant, welcoming area.
- Resistance to Stains and Spills: Garage floors are often exposed to oil, grease, chemicals, and other substances that can leave permanent stains on uncoated concrete. Coating your garage floor provides a non-porous surface that resists stains and makes cleanup a breeze. Spills can be easily wiped away without leaving a mark, which is particularly useful in a workspace where messes are common.
- Increased Safety: Coating your garage floor can also improve safety. Many coatings are available with slip-resistant additives that provide extra grip, reducing the risk of slips and falls. This is especially important in a garage where water, oil, or other liquids can create slippery conditions. A slip-resistant coating adds peace of mind, particularly if you have children or elderly family members.
- Easy Maintenance: A coated garage floor is much easier to maintain than bare concrete. Because the coating creates a smooth, sealed surface, dirt and dust are less likely to accumulate, and cleaning is as simple as sweeping or mopping. This ease of maintenance means your garage will stay looking great with minimal effort, freeing up your time for other tasks.
- Added Home Value: Lastly, a well-coated garage floor can add value to your home. A clean, well-maintained garage can be a selling point for potential buyers, who will appreciate the added durability and aesthetic appeal of a coated floor. Whether you’re planning to sell soon or simply want to enjoy your space more, coating your garage floor is an investment that can pay off in the long run.
Choosing the Right Coating for Your Garage Floor
When it comes to coating your garage floor, there are several options to consider, each with its own set of advantages and disadvantages. Selecting the right coating depends on your specific needs, preferences, and budget. Let’s go over the most common types of garage floor coatings to help you make an informed decision.
Epoxy Coatings
Epoxy is one of the most popular choices for garage floor coatings, known for its durability and resistance to chemicals, stains, and impacts. Epoxy coatings provide a thick, hard finish that can handle heavy traffic and protect against spills and abrasions. They are available in a variety of colors and finishes, including metallic and textured options. However, epoxy coatings require careful preparation and proper application to ensure a lasting finish.
Polyurethane Coatings
Polyurethane coatings are another excellent option, offering superior resistance to UV rays, abrasion, and chemicals. They are more flexible than epoxy, which makes them less prone to cracking under pressure. Polyurethane coatings are ideal for garages that experience temperature fluctuations, as they can expand and contract without compromising the finish. However, they are generally more expensive than epoxy and require a primer for best results.
Acrylic Sealers
Acrylic sealers are a more budget-friendly option for those looking to protect their garage floor without a significant investment. These sealers provide a clear, protective layer that enhances the appearance of the concrete and guards against minor stains and damage. However, acrylic sealers are not as durable as epoxy or polyurethane and may require more frequent reapplication, especially in high-traffic areas.
Concrete Stains and Dyes
For those looking to add color and style to their garage floor without a thick coating, concrete stains and dyes are an option. These products penetrate the concrete to create a durable, long-lasting color that won’t peel or flake. Stains and dyes can enhance the natural look of the concrete and offer some resistance to stains and spills. However, they do not provide the same level of protection as a thicker coating like epoxy or polyurethane.
Polyaspartic Coatings
Polyaspartic coatings are a newer option that offers many of the benefits of epoxy and polyurethane but with a faster curing time. These coatings are highly resistant to chemicals, UV rays, and abrasions, and can be applied in a wide range of temperatures. The quick drying time makes polyaspartic coatings ideal for projects that need to be completed quickly, but they can be more expensive than other options.
Considerations for Choosing the Right Coating
When choosing the right coating for your garage floor, consider factors such as the level of traffic your garage receives, your budget, and the climate in your area. Also, think about the desired look and feel of your garage floor, as well as any specific needs, such as slip resistance or UV protection. By weighing these factors, you can select a coating that meets your needs and enhances the functionality and appearance of your garage.
Preparing Your Garage Floor for Coating: A Step-by-Step Guide
Preparation is key when it comes to applying a coating to your garage floor. A well-prepared surface ensures that the coating adheres properly and lasts for years to come. Here’s a step-by-step guide to help you get your garage floor ready for coating.
Clear and Clean the Garage
The first step in preparing your garage floor is to remove all items from the garage, including vehicles, tools, and storage items. This will give you a clear workspace and prevent any debris from interfering with the coating process. Once the garage is empty, sweep the floor thoroughly to remove loose dirt, dust, and debris.
Repair Cracks and Imperfections
Inspect your garage floor for any cracks, chips, or other imperfections that could affect the coating’s adherence. Use a concrete repair compound to fill in cracks and level uneven areas. Follow the manufacturer’s instructions for mixing and applying the repair compound, and allow it to cure fully before proceeding to the next step.
Degrease and Clean the Surface
After repairing any damage, it’s essential to remove any grease, oil, or stains from the floor. Use a degreaser specifically designed for concrete floors and scrub the surface with a stiff-bristle brush or a power washer. Rinse the floor thoroughly with water to remove all traces of the degreaser, and allow it to dry completely.
Etch the Concrete
Etching the concrete is an important step that creates a rough texture on the surface, allowing the coating to adhere better. Use a concrete etching solution, which is typically made of a mild acid, and apply it evenly across the floor with a broom or sprayer. Follow the manufacturer’s instructions for dilution and application, and wear appropriate protective gear, including gloves and goggles. Rinse the floor thoroughly after etching and allow it to dry completely.
Test for Moisture
Before applying any coating, it’s crucial to check for moisture in the concrete, as excess moisture can prevent the coating from adhering properly. To test for moisture, tape a small piece of plastic sheeting to the floor and leave it in place for 24 hours. If you see condensation on the underside of the plastic, your floor has too much moisture and may require additional drying or a moisture barrier.
Final Preparation Steps
Once the floor is dry and free of moisture, give it one final sweep to remove any dust or debris. Ensure that the garage is well-ventilated and that the temperature is within the recommended range for applying your chosen coating. Gather all necessary tools and materials, and you’re ready to start coating your garage floor!
Essential Tools and Materials Needed
Having the right tools and materials on hand is crucial for a successful garage floor coating project. To ensure a smooth and efficient process, here’s a list of the essential items you’ll need to get the job done right.
Concrete Cleaner and Degreaser
Before you can apply any coating, you’ll need to thoroughly clean your garage floor to remove any grease, oil, dirt, or stains. A concrete cleaner and degreaser will help break down and lift away contaminants, preparing the surface for the coating. Make sure to choose a product that is compatible with your chosen coating type.
Concrete Repair Compound
To achieve a smooth, even finish, it’s important to repair any cracks, chips, or imperfections in the concrete before applying the coating. A concrete repair compound is designed to fill in these areas and create a level surface. Look for a product that cures quickly and is easy to sand for the best results.
Concrete Etching Solution
Etching the concrete is a crucial step in preparing the surface for coating. A concrete etching solution, usually an acid-based product, helps create a rough texture on the surface, allowing the coating to adhere better. Be sure to follow all safety guidelines when handling and applying the etching solution.
Epoxy or Coating Kit
Depending on your chosen type of coating, you’ll need an epoxy or coating kit that includes the base material, hardener, and any color or decorative flakes. These kits often come with detailed instructions for mixing and applying the coating, making them a convenient choice for DIY projects. Make sure to choose a high-quality kit that meets your needs for durability and appearance.
Application Tools
Applying the coating requires specific tools to ensure an even and professional finish. You’ll need a paint roller with an extension handle for applying the coating, as well as a brush for cutting in around the edges and corners. A paint tray and liner are also helpful for holding the coating as you work. Consider using a spiked roller to remove air bubbles and ensure a smooth finish.
Safety Gear
Safety is paramount when working with chemicals and tools for coating your garage floor. Be sure to wear protective gear, including gloves, safety goggles, and a respirator mask, to protect yourself from fumes and splashes. Also, wear clothing that covers your skin and sturdy footwear to protect your feet from spills.
How to Apply Epoxy Coating to Your Garage Floor
Applying an epoxy coating to your garage floor can seem like a daunting task, but with the right preparation and technique, it’s a project you can handle yourself. Here’s a step-by-step guide to help you achieve a professional-looking finish.
Mix the Epoxy
The first step in applying an epoxy coating is to mix the epoxy resin and hardener according to the manufacturer’s instructions. This usually involves combining the two components in a bucket and stirring thoroughly for several minutes. It’s important to mix the epoxy thoroughly to ensure a uniform finish and to work quickly, as epoxy has a limited pot life once mixed.
Cut In the Edges
Before applying the epoxy to the main area of the floor, use a brush to cut in around the edges of the garage, including corners and around any fixtures. This step ensures that all areas of the floor are covered and helps prevent the roller from missing any spots. Be careful to apply the epoxy evenly to avoid drips or pooling.
Roll on the Epoxy
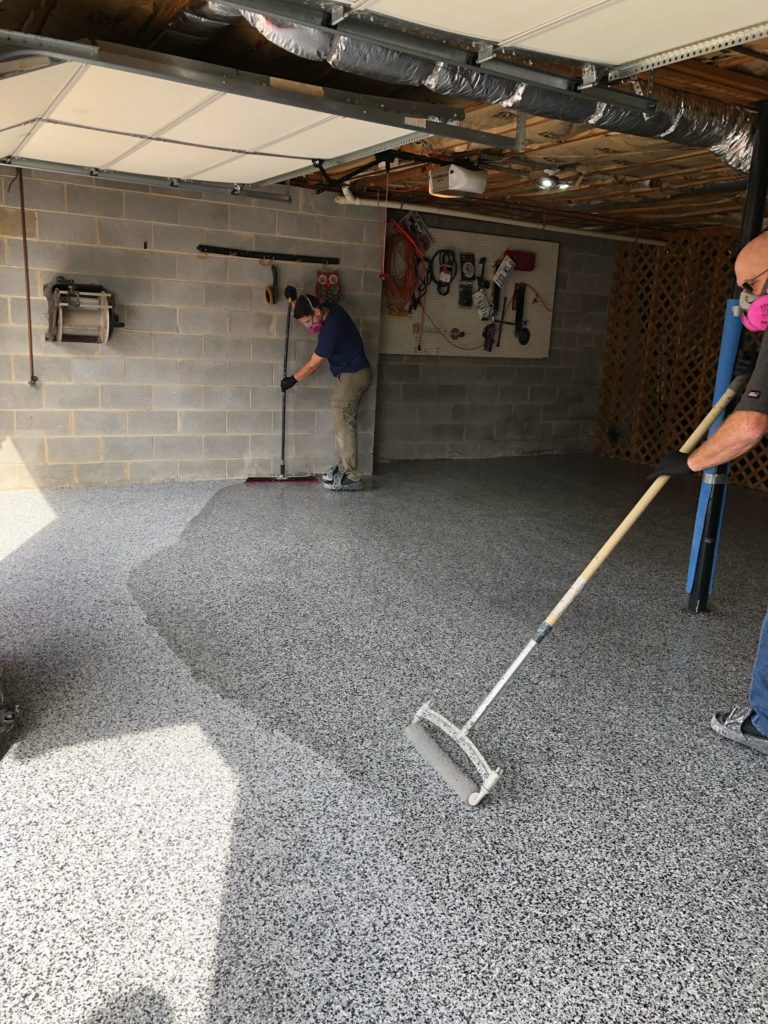
Once the edges are coated, use a paint roller with an extension handle to apply the epoxy to the rest of the floor. Start at the farthest corner of the garage and work your way toward the exit to avoid trapping yourself in a corner. Apply the epoxy in thin, even coats, working in small sections to maintain a wet edge and prevent lap marks.
Apply Decorative Flakes (Optional)
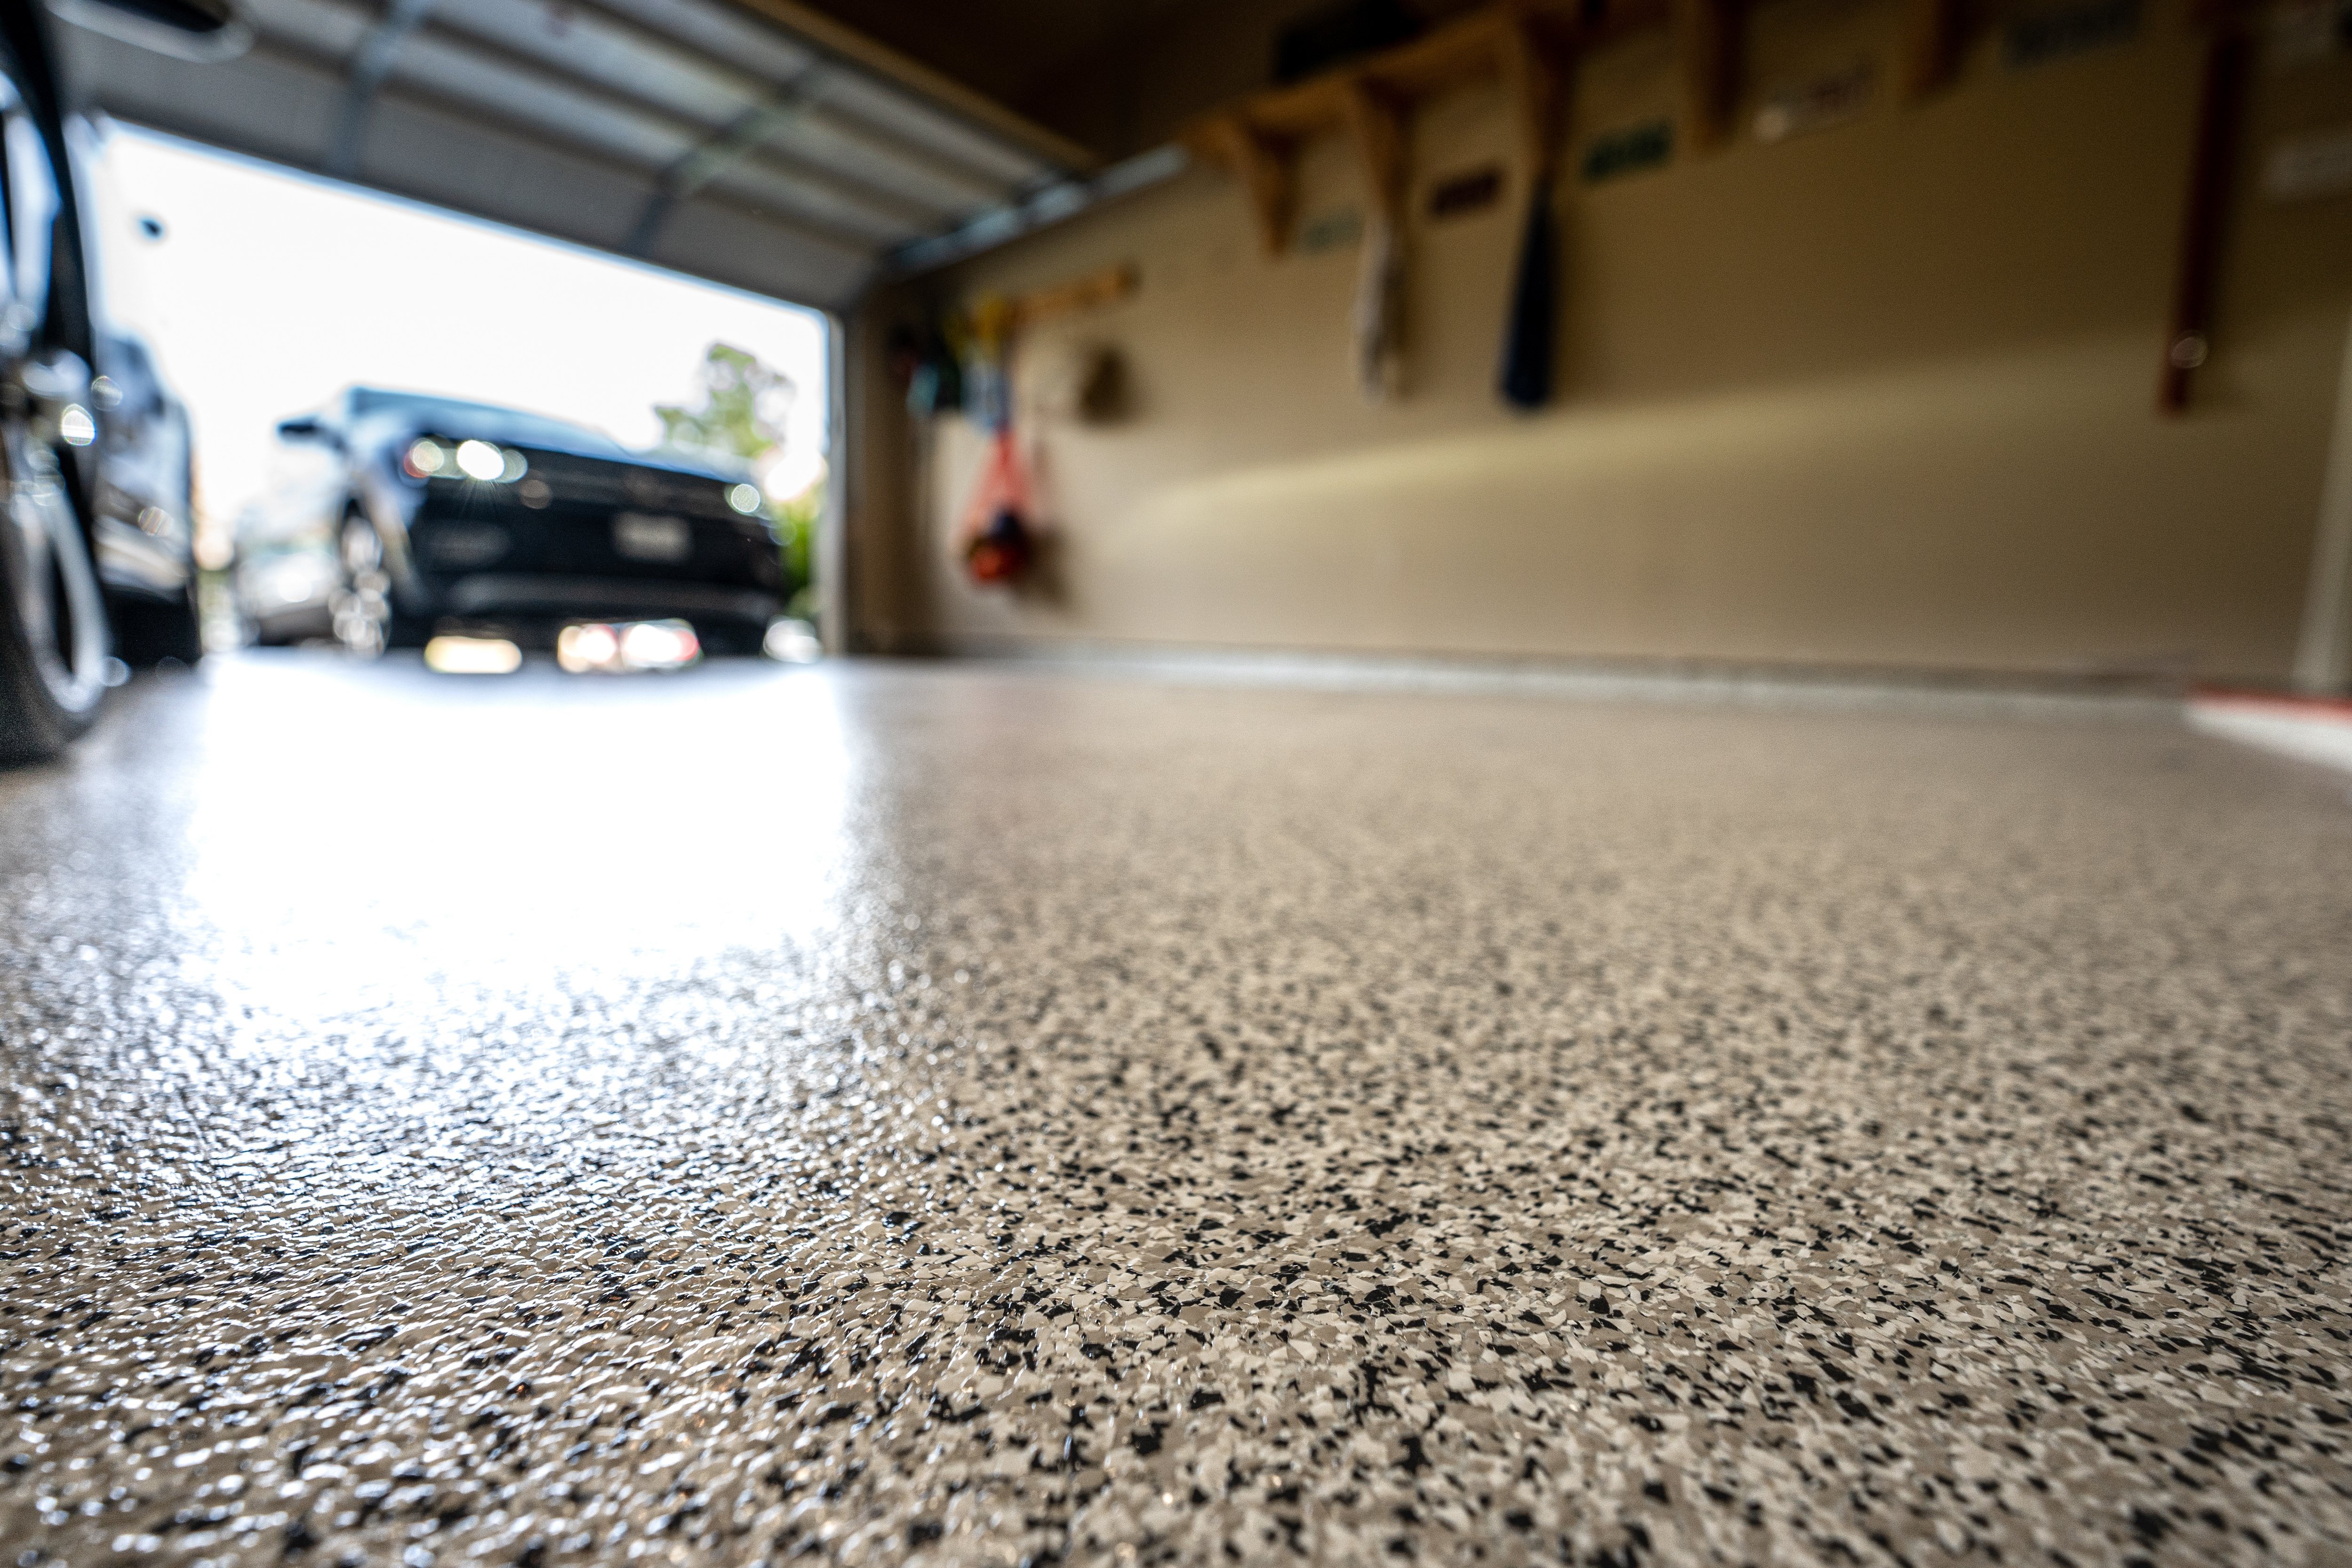
If you’re using decorative flakes to add texture and color to your epoxy coating, sprinkle them onto the wet epoxy immediately after application. Hold the flakes in your hand and gently toss them into the air, allowing them to fall evenly over the surface. Be sure to apply the flakes while the epoxy is still wet to ensure they adhere properly.
Allow the Epoxy to Cure
After applying the epoxy, allow it to cure according to the manufacturer’s instructions. This typically involves letting the epoxy sit undisturbed for at least 24 hours, although some products may require a longer curing time. Avoid walking on the floor or placing any objects on it during this time to prevent damage to the finish.
Apply a Second Coat (If Needed)
Depending on the type of epoxy and the desired finish, you may need to apply a second coat. If so, follow the same steps as before, ensuring that the first coat is fully cured and lightly sanded if necessary. A second coat can enhance the durability and appearance of your garage floor, providing a thicker, more resilient finish.
Curing and Sealing: Ensuring a Long-Lasting Garage Floor Coating
After applying an epoxy coating to your garage floor, proper curing and sealing are crucial to ensure the finish is long-lasting and durable. Here’s what you need to know about curing and sealing your garage floor coating.
Understanding the Curing Process
Curing is the process by which the epoxy hardens and reaches its maximum strength. During this time, the epoxy undergoes a chemical reaction that bonds it to the concrete surface. Proper curing is essential to achieve a durable, long-lasting finish, so it’s important to follow the manufacturer’s recommended curing time and conditions.
Optimal Curing Conditions
To ensure the best results, it’s important to maintain optimal curing conditions in your garage. This typically means keeping the temperature within a specific range, usually between 60 and 90 degrees Fahrenheit, and avoiding exposure to direct sunlight or moisture. Humidity levels can also affect the curing process, so aim to keep the garage well-ventilated and dry.
Sealing the Epoxy
After the epoxy has fully cured, consider applying a clear sealant to protect the finish and enhance its appearance. A sealant provides an additional layer of protection against scratches, stains, and UV damage, helping to keep your garage floor looking great for years to come. Choose a sealant that is compatible with your epoxy coating and apply it according to the manufacturer’s instructions.
Avoiding Premature Use
It’s important to avoid using your garage floor too soon after applying the epoxy and sealant. Even after the initial curing period, the epoxy can continue to harden and reach its full strength over several days. To prevent damage, avoid parking vehicles on the floor or placing heavy objects on it for at least a week after application.
Testing the Surface
Before resuming normal use of your garage, test the surface to ensure it’s fully cured and ready for use. This can be done by pressing a fingernail or a small object into the epoxy. If it leaves a mark or feels soft, the epoxy may need more time to cure. If the surface feels hard and resilient, it’s safe to use.
Long-Term Maintenance
Proper curing and sealing are just the first steps in maintaining your garage floor coating. Regular cleaning and maintenance are essential to keep the surface looking its best and to prevent damage. By following these steps, you can ensure that your garage floor coating remains durable and attractive for years to come.
Maintenance Tips for Keeping Your Coated Garage Floor in Top Condition
A coated garage floor is an investment in both aesthetics and durability, but like any investment, it requires some care to maintain its appearance and functionality. Here are some tips to help you keep your coated garage floor in top condition.
Regular Cleaning
Regular cleaning is key to maintaining your garage floor. Sweep or vacuum the floor regularly to remove dirt, dust, and debris that can scratch the surface. For deeper cleaning, use a damp mop with a mild detergent or a cleaner specifically designed for epoxy or sealed floors. Avoid using harsh chemicals or abrasive cleaning tools, as these can damage the coating.
Protecting Against Spills and Stains
While epoxy coatings are resistant to many chemicals and stains, it’s still a good idea to clean up spills promptly to prevent any potential damage. Use a soft cloth or paper towel to blot up spills, and avoid rubbing, which can spread the stain. For tougher stains, use a gentle cleaner and a soft brush, taking care not to damage the coating.
Preventing Scratches and Scuffs
To protect your garage floor from scratches and scuffs, consider using mats or rugs in high-traffic areas and under heavy equipment or vehicles. Felt pads under furniture legs can also help prevent scratches when moving items around the garage. Additionally, avoid dragging heavy objects across the floor, as this can cause significant damage to the coating.
Addressing Minor Damage Promptly
If you notice any minor damage to your garage floor coating, such as small chips or scratches, address it promptly to prevent it from worsening. Many epoxy and sealant manufacturers offer repair kits specifically designed for fixing minor damage. Following the manufacturer’s instructions, you can make quick repairs that will help extend the life of your floor coating.
Avoiding Harsh Chemicals
While epoxy coatings are durable, they can be damaged by harsh chemicals, such as bleach, ammonia, or strong solvents. If you need to use these substances in your garage, take care to avoid contact with the floor, and clean up any spills immediately. Choose cleaning products that are compatible with your specific floor coating to avoid damage.
Periodic Reapplication of Sealant
Over time, even the best garage floor coatings can begin to show signs of wear. To maintain the protective qualities of your floor coating, consider reapplying a sealant every few years, or as recommended by the manufacturer. A fresh coat of sealant can help restore the shine and provide additional protection against wear and tear, keeping your garage floor looking its best.
Related Posts:
