Allen and Roth laminate flooring is a popular choice for homeowners and businesses looking for a durable and affordable flooring option. Laminate flooring is made up of layers of synthetic materials that are fused together to create a wood-like appearance, and it can be an ideal choice for high-traffic areas such as kitchens, living rooms, and entryways. If you are considering installing Allen and Roth laminate flooring in your home or business, here are the installation instructions to follow.
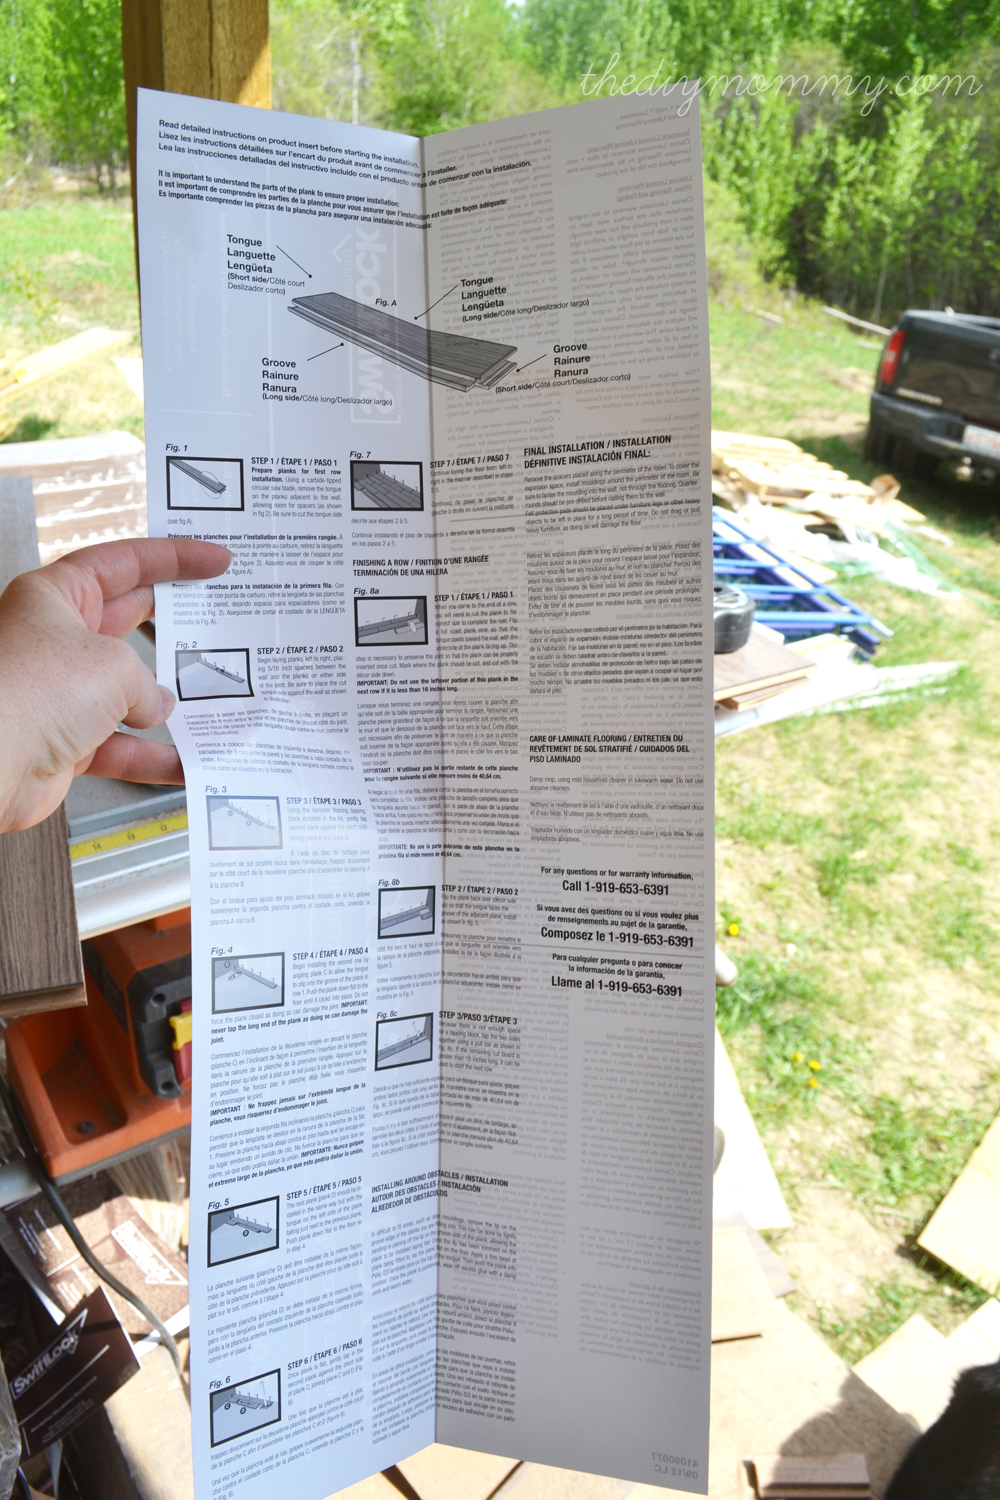
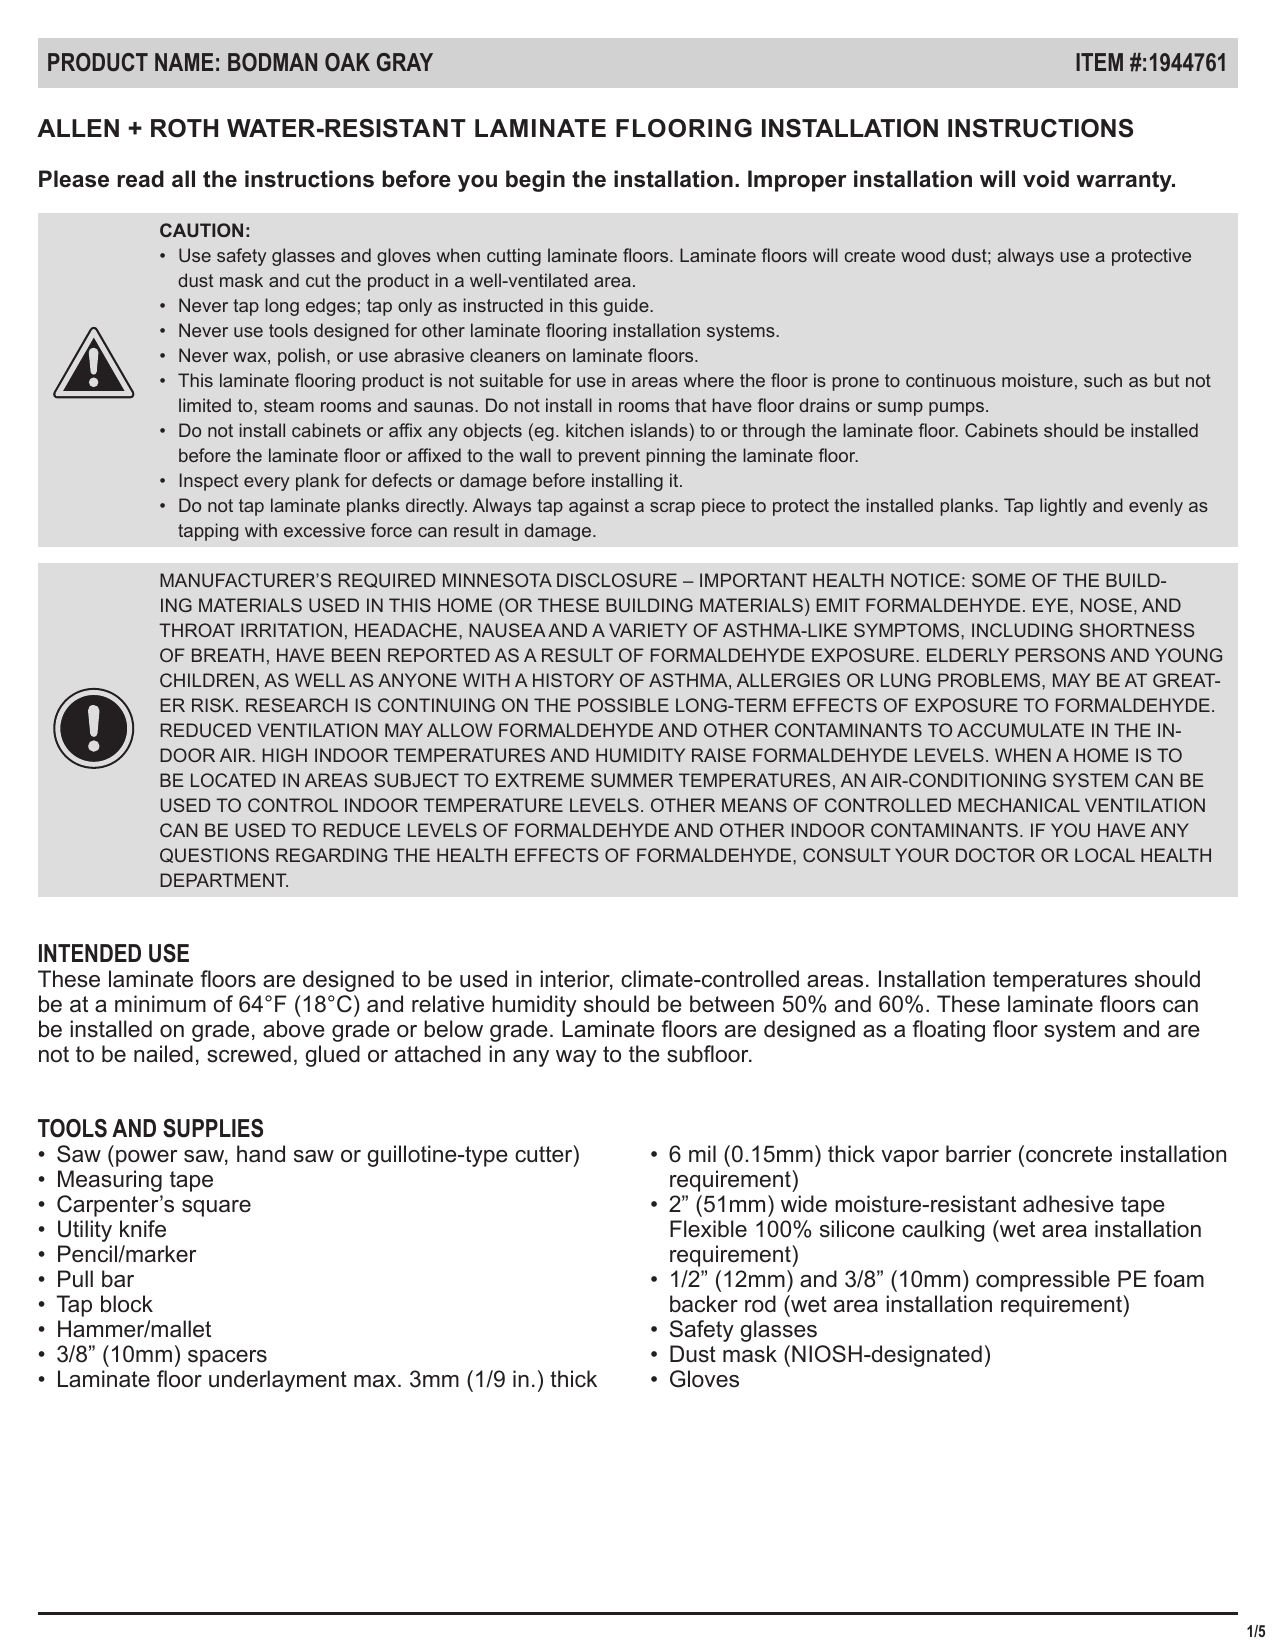
Before beginning the installation process, it is important to carefully read and follow the manufacturer’s instructions and warranty information provided with the laminate flooring. It is also important to measure and prepare the installation area, including removing any existing flooring or fixtures and ensuring that the subfloor is clean, dry, and level.
The first step in installing Allen and Roth laminate flooring is to lay down a moisture barrier. The moisture barrier is a layer of plastic or other waterproof material that is placed between the subfloor and the laminate flooring to protect against moisture and water damage. The moisture barrier should be cut to fit the installation area and secured in place with tape or staples.
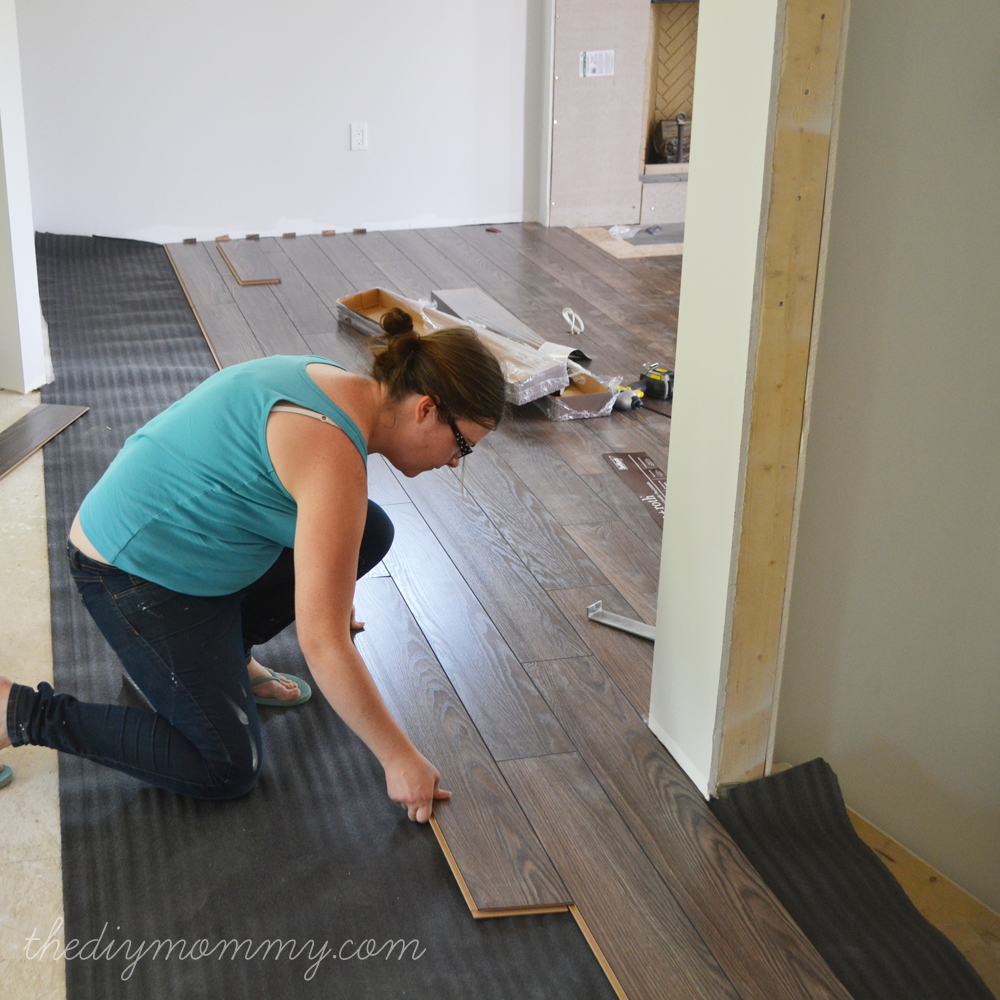
The next step in installing Allen and Roth laminate flooring is to lay the first row of planks. The first row of planks should be placed along a straight edge, such as a wall or doorway, and should be spaced according to the manufacturer’s instructions. The planks should be held in place with a small gap between them to allow for expansion and contraction.
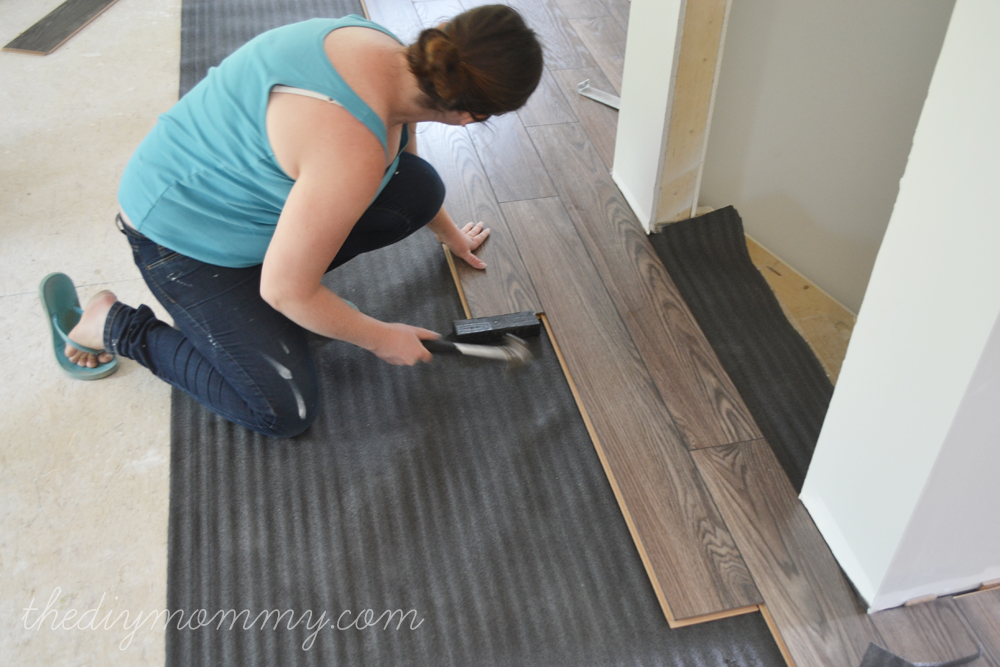
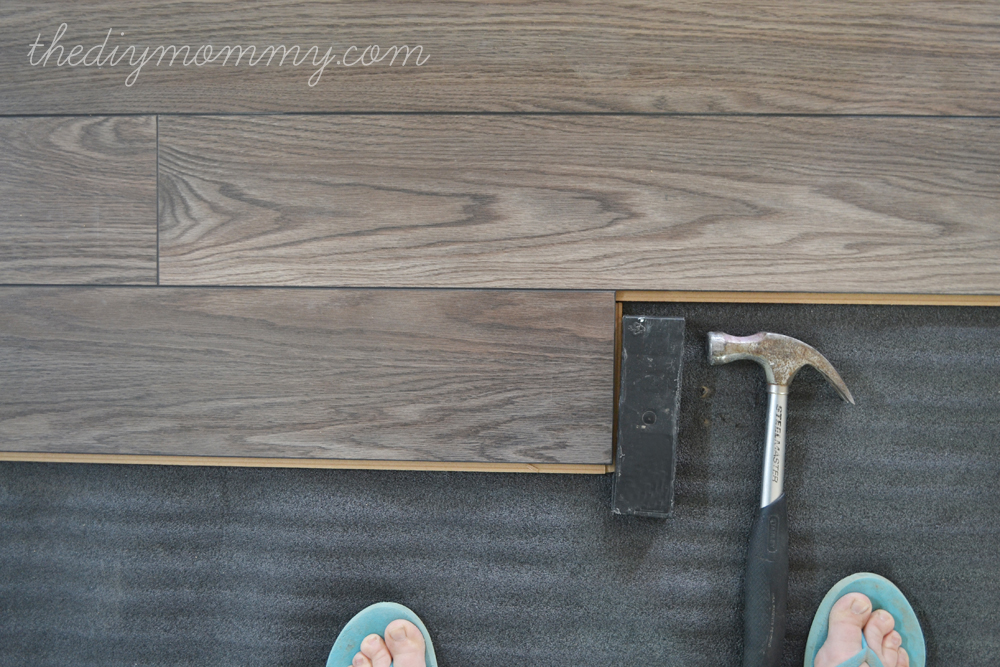
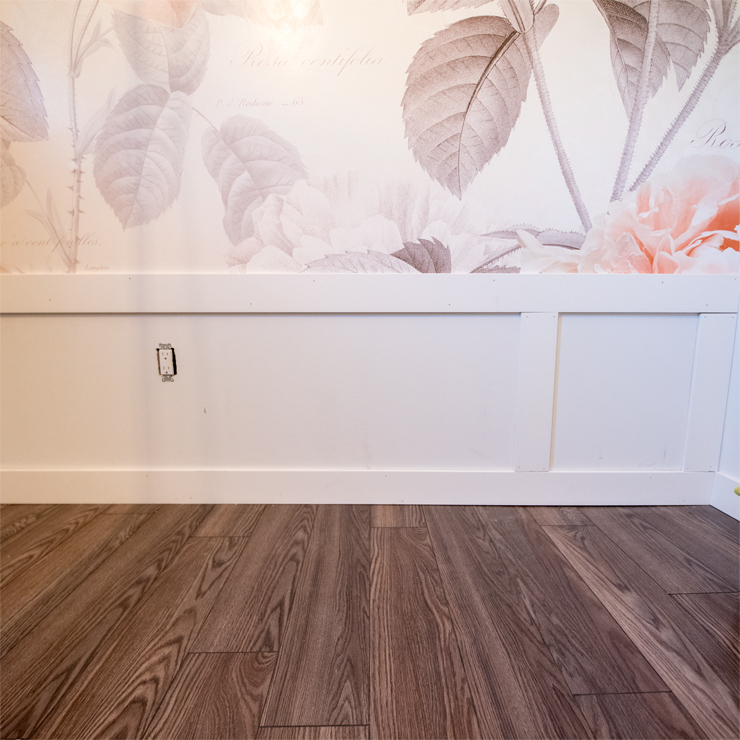
After the first row of planks has been installed, the next step is to install the remaining rows of planks. The planks should be clicked together using the manufacturer’s recommended installation tool and should be spaced according to the manufacturer’s instructions. It is important to ensure that the planks are level and straight as you work and to use a tapping block and mallet to ensure a tight fit.
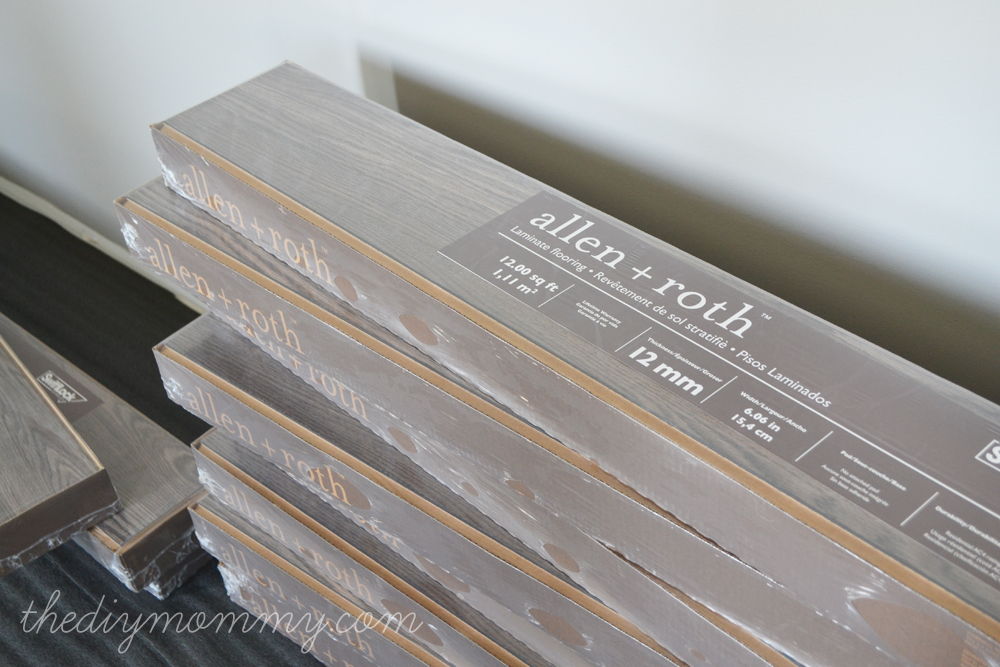
The last step in installing Allen and Roth laminate flooring is to install any trim or molding around the edges of the floor. Trim and molding can help to conceal the gap between the floor and the walls and can add a finished look to the installation. Trim and molding should be cut to fit and secured in place with nails or adhesive.
Allen And Roth Laminate Flooring Installation Instructions
Installing Our Laminate Flooring – Our DIY House The DIY Mommy
Installing Our Laminate Flooring – Our DIY House The DIY Mommy

Installing Our Laminate Flooring – Our DIY House The DIY Mommy
Installing Our Laminate Flooring – Our DIY House The DIY Mommy
Installing Our Laminate Flooring – Our DIY House The DIY Mommy

Installing Our Laminate Flooring – Our DIY House The DIY Mommy

allen + roth JJ-53336 Bodman Oak Gray 7.55-in W x 50.62-in L Water
Installing Our Laminate Flooring – Our DIY House The DIY Mommy

Installing Our Laminate Flooring – Our DIY House The DIY Mommy
Installing Our Laminate Flooring – Our DIY House The DIY Mommy
Installing Our Laminate Flooring – Our DIY House The DIY Mommy

How to Install a Laminate Floor
Style Selections Marvino Hickory 8-mm Thick Water Resistant Wood Plank 6.14-in W x 47.24-in L Laminate Flooring (24.18-sq ft)

Related Posts:
- 12mm White Oak Laminate Flooring
- Walnut Laminate Flooring
- Bamboo Laminate Flooring
- Laminate Flooring Trim
- High Gloss Laminate Flooring
- Dark Oak Laminate Flooring
- Dark Wood Laminate Flooring
- Laminate Flooring Color Ideas
- Victorian Laminate Flooring
- Wood Laminate Flooring Bathroom