The Importance of Basement Floor Resurfacing
A basement can serve as a valuable extension of your home, whether it’s used for storage, a living space, or a functional utility area. Over time, however, the basement floor can show signs of wear and damage. Cracks, uneven surfaces, and moisture issues can lead to a host of problems, making the space less functional and even hazardous. Basement floor resurfacing is an important home improvement project that can significantly enhance both the appearance and utility of the space.
- Preventing Structural Damage: One of the primary reasons to resurface your basement floor is to prevent long-term structural damage. Small cracks in the concrete may seem harmless at first, but they can grow over time, especially in areas where there’s frequent moisture or shifting of the foundation. By resurfacing, you address these issues before they worsen, maintaining the overall integrity of your home.
- Enhancing Basement Usability: A smooth, even basement floor can make the space much more usable. Whether you want to turn it into a home gym, a playroom for your kids, or a workshop, resurfacing the floor provides a safe and stable foundation. In turn, this increases the versatility of your basement, opening it up to more functional possibilities.
- Moisture Control: Basements are notorious for being damp, which can lead to mold, mildew, and water damage. Resurfacing often includes the use of moisture barriers or sealants, which can help mitigate these issues. Protecting your basement from water seepage is crucial, especially if you live in an area prone to heavy rains or flooding.
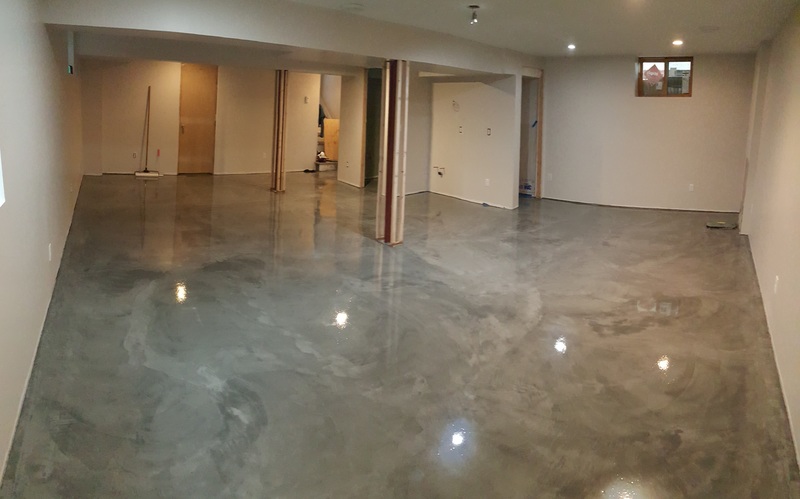
- Improving Aesthetics: If you want to transform your basement into a livable area, appearance matters. Cracked, stained, or uneven floors can detract from the overall aesthetic of the room. Resurfacing gives the basement a fresh, new look, providing a clean slate for further design choices, such as flooring installation, painting, or decor.
- Increasing Property Value: A well-maintained basement, complete with a resurfaced floor, adds value to your home. Potential buyers are more likely to see the space as an asset if the floors are in good condition. Whether you’re planning to sell in the near future or not, resurfacing your basement floor is a smart investment that enhances your home’s marketability.
- Improved Safety: An uneven or damaged basement floor is a safety hazard. Family members, especially children and older adults, can easily trip and fall on cracked or uneven surfaces. Resurfacing eliminates these risks, making the space safer for everyone who uses it.
Signs That Your Basement Floor Needs Resurfacing
Knowing when to resurface your basement floor is essential for preventing further damage and maintaining a functional space. There are several warning signs to look out for that can indicate it’s time for a resurfacing project. Addressing these issues early can save you money and headaches down the road.
Cracks in the Concrete: One of the most obvious signs that your basement floor needs resurfacing is the presence of cracks. While small hairline cracks are common and not immediately alarming, larger or spreading cracks can indicate shifting of the foundation or exposure to moisture. If left unchecked, these cracks can worsen, making repairs more difficult and costly.
Uneven or Sunken Areas: If certain areas of your basement floor feel uneven or sunken, this could be a sign that the concrete has settled improperly or that there’s been soil erosion underneath. Uneven floors can make it difficult to use the space effectively and may even pose a tripping hazard. Resurfacing helps to even out the surface and restore the floor to its original level.
Water Seepage or Dampness: If you notice water pooling on your basement floor or persistent dampness, this is a sign of moisture infiltration. Concrete is porous, and over time, water can seep through, causing damage to the floor and potentially leading to mold growth. Resurfacing with the proper moisture barriers can help protect against future water damage.
Discoloration or Stains: Stains on your basement floor, particularly those caused by moisture or chemical spills, can detract from the overall appearance and may indicate a deeper issue. Resurfacing can help cover up unsightly discoloration, making the floor look new again, while also addressing the underlying cause of the staining.
Chipping or Flaking: If the surface of your basement floor is starting to chip, flake, or spall, it’s a clear sign that the concrete is deteriorating. This can be caused by a variety of factors, including exposure to moisture, temperature fluctuations, or the use of harsh cleaning chemicals. Resurfacing can smooth out these rough areas and provide a more durable, long-lasting finish.
Efflorescence: Efflorescence occurs when water brings soluble salts to the surface of the concrete, leaving behind a white, powdery residue. While this is not necessarily harmful, it’s an indication that moisture is moving through the concrete. If efflorescence becomes a persistent issue, resurfacing the floor with a sealant can help block moisture and prevent future occurrences.
Different Types of Basement Flooring Materials
When resurfacing your basement floor, choosing the right material is crucial. The type of material you select can influence the appearance, functionality, and durability of the finished surface. Each type of flooring has its benefits and considerations, so it’s important to choose the one that fits your needs and lifestyle.
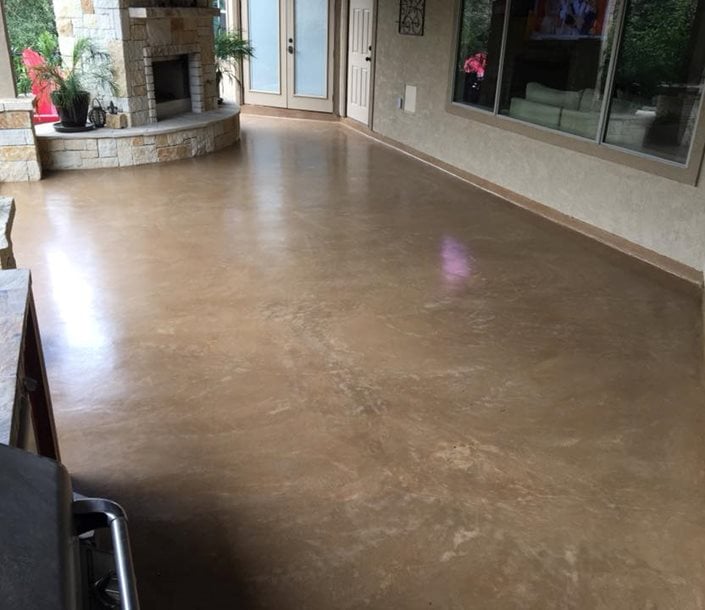
Concrete Resurfacing: One of the most popular choices for basement floor resurfacing is a concrete overlay. Concrete is a durable and versatile material that can be customized with various finishes, including stains, dyes, and textures. Concrete resurfacing is ideal if you want a cost-effective solution that can withstand heavy use and moisture.
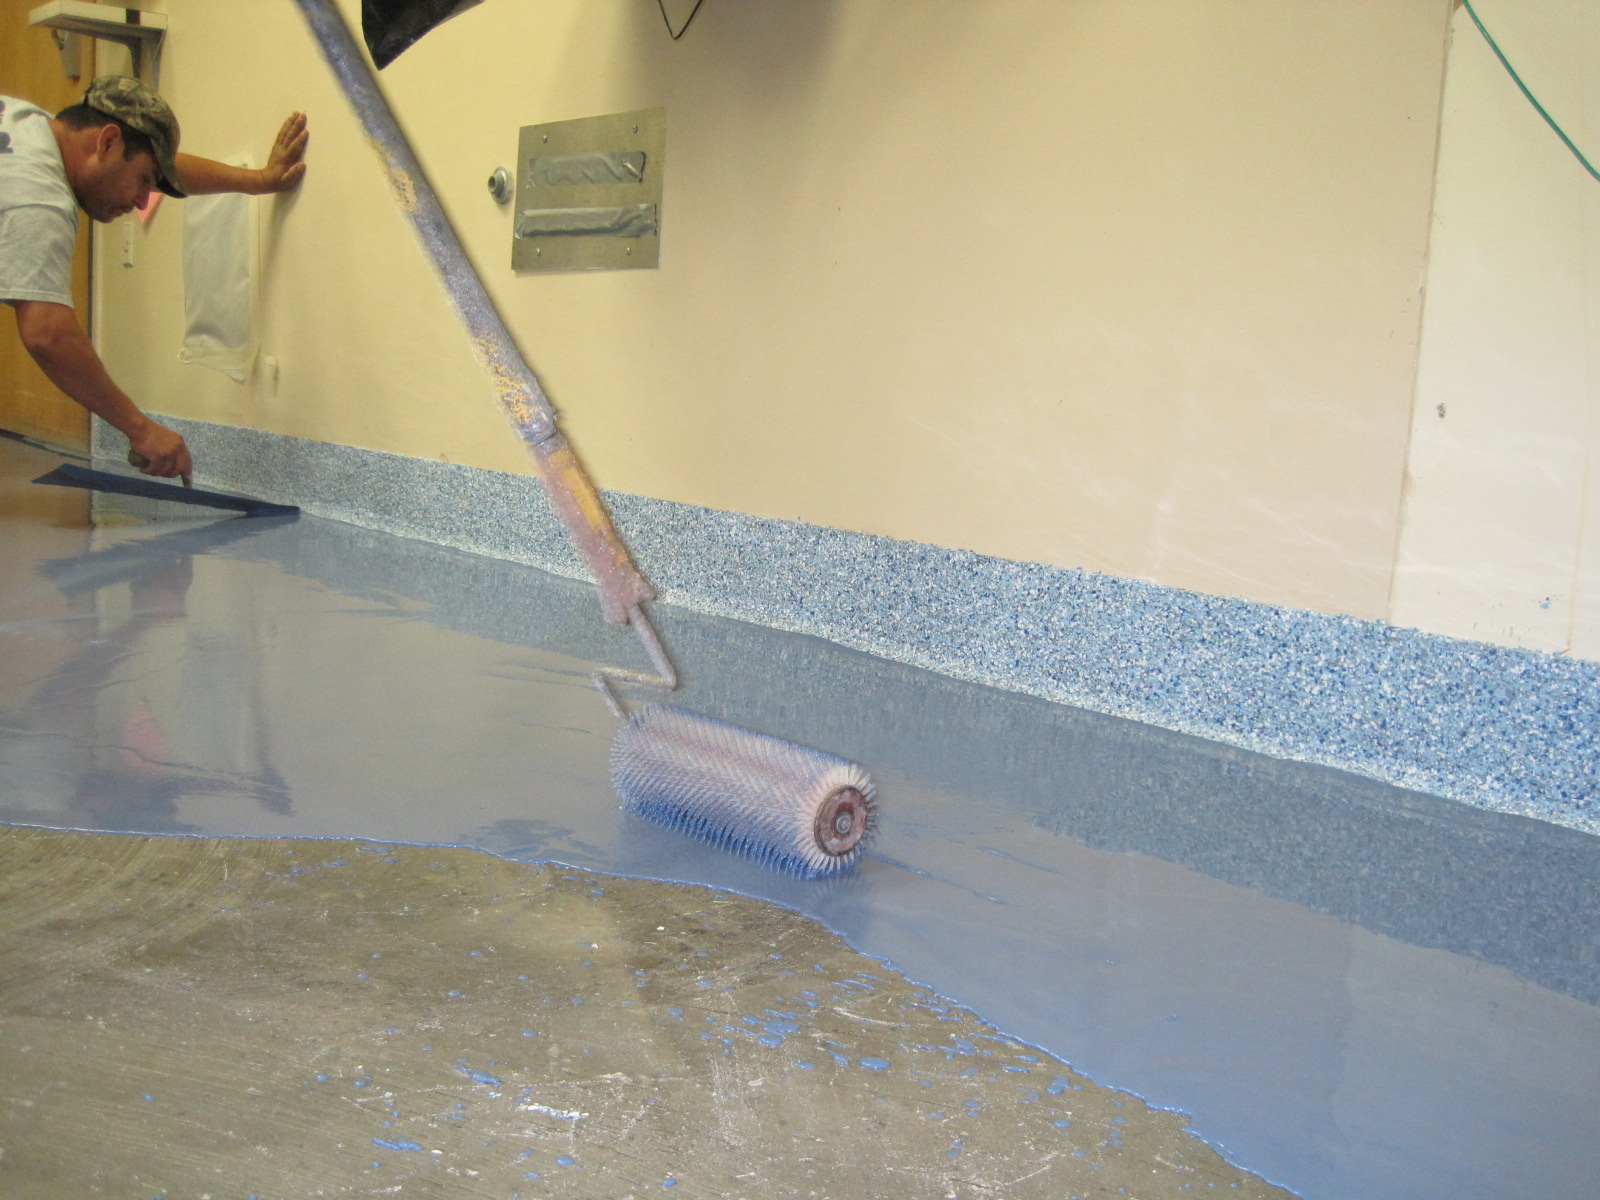
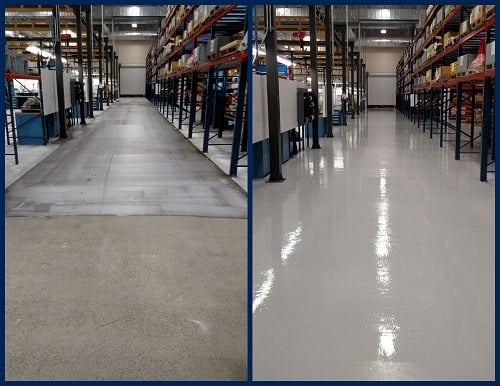
Epoxy Coating: Epoxy is a great option for those who want a seamless, high-gloss finish that’s easy to clean and maintain. Epoxy coatings are highly resistant to chemicals, water, and stains, making them ideal for basements that are used as workshops or garages. They also come in a wide range of colors, allowing for plenty of customization.
Vinyl Flooring: Vinyl flooring is another popular option for basements, especially for those looking for a comfortable and aesthetically pleasing solution. Vinyl is moisture-resistant and available in a variety of designs, including styles that mimic hardwood or stone. It’s also relatively affordable and easy to install, making it a good choice for DIYers.
Tile Flooring: Ceramic or porcelain tiles offer a durable and water-resistant option for basement floors. Tiles come in a wide array of colors, sizes, and patterns, allowing for endless design possibilities. However, they can be cold underfoot, so it’s worth considering adding radiant floor heating if you go this route.
Carpet Tiles: For those who want a warmer, softer surface in their basement, carpet tiles are an excellent choice. Carpet tiles are easy to install and replace, making them practical for basements. They also help insulate the space, which can be a benefit in colder climates. However, they are not ideal for areas prone to moisture.
Rubber Flooring: Rubber flooring is a great option for basements that serve as home gyms or playrooms. It’s slip-resistant, durable, and comfortable to stand on for long periods. Rubber floors are also easy to clean and maintain, though they may not be the most aesthetically pleasing option for all types of basement use.
Step-by-Step Guide to Resurfacing a Basement Floor
Resurfacing a basement floor might seem like a daunting task, but with the right guidance and tools, it’s a manageable project for many homeowners. Following a systematic approach ensures that you achieve a durable, attractive, and functional basement floor that will last for years.
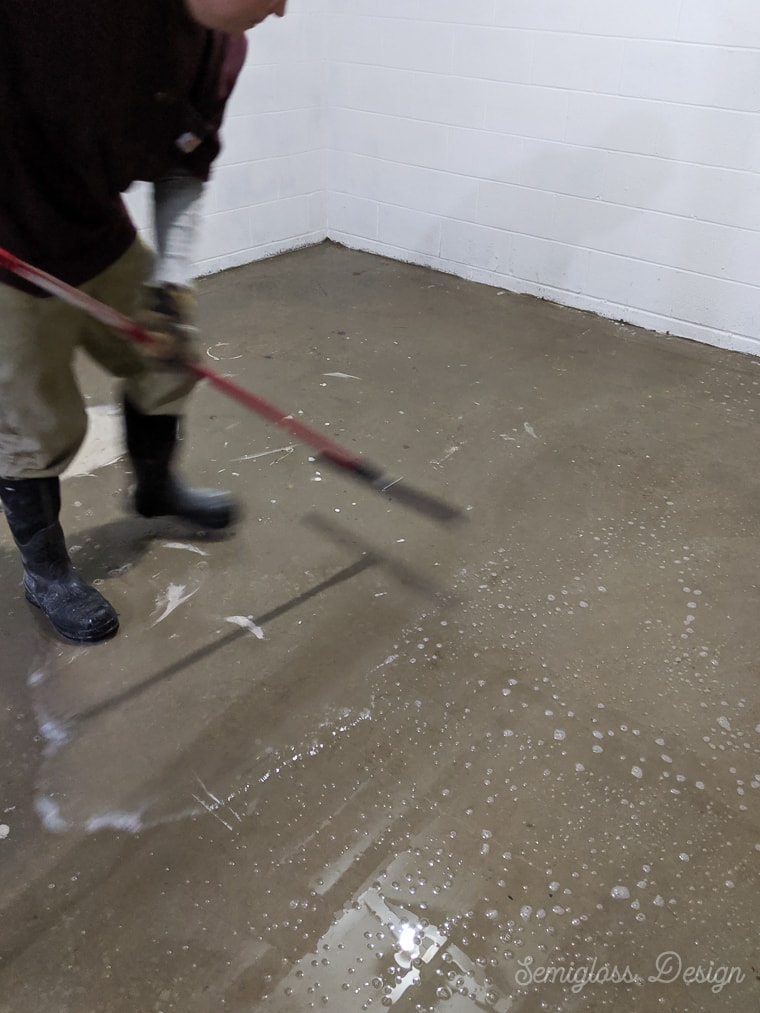
Prepare the Surface: The first and most important step in resurfacing a basement floor is to thoroughly clean and prepare the surface. Start by removing any existing flooring materials, debris, and loose concrete. Sweep and vacuum the floor to get rid of dust and dirt. Use a degreaser or a concrete cleaner to remove any stains or grease spots, which can interfere with the adhesion of the resurfacing material.
Repair Cracks and Holes: Before applying a resurfacing compound, it’s essential to address any cracks or holes in the concrete. Use a concrete patching compound to fill in any damaged areas, ensuring that the surface is as smooth and even as possible. Allow the repairs to fully cure according to the manufacturer’s instructions before moving on to the next step.
Mix the Resurfacing Material: Choose a high-quality concrete resurfacing mix, which is typically available at most home improvement stores. Follow the manufacturer’s instructions for mixing the compound. Be sure to mix only the amount of resurfacer you can apply within 30 minutes, as the material can start to set quickly.
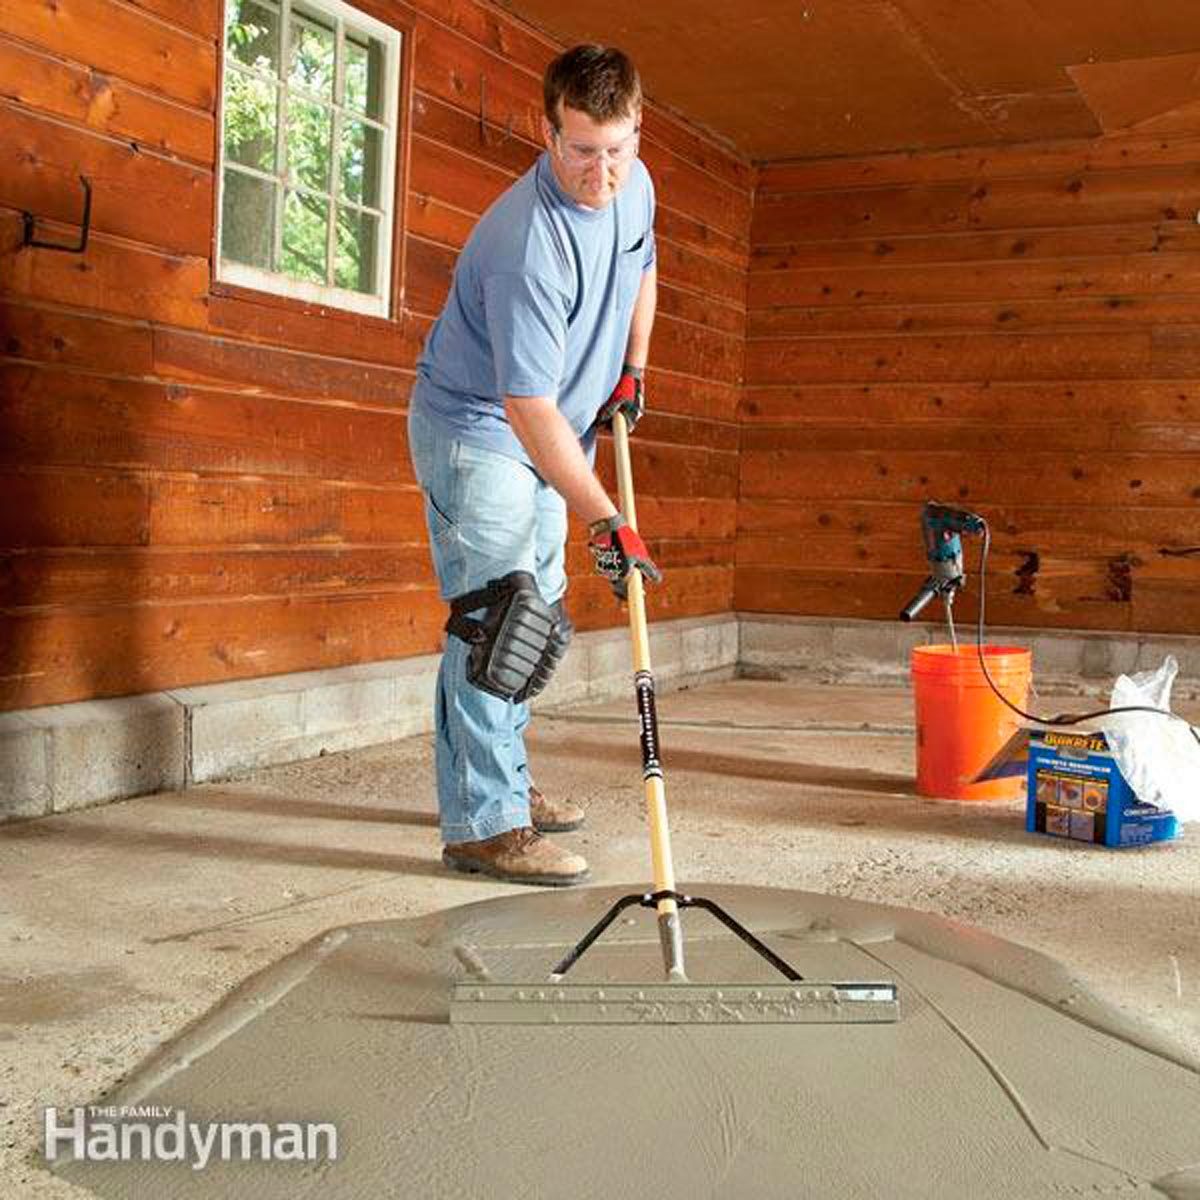
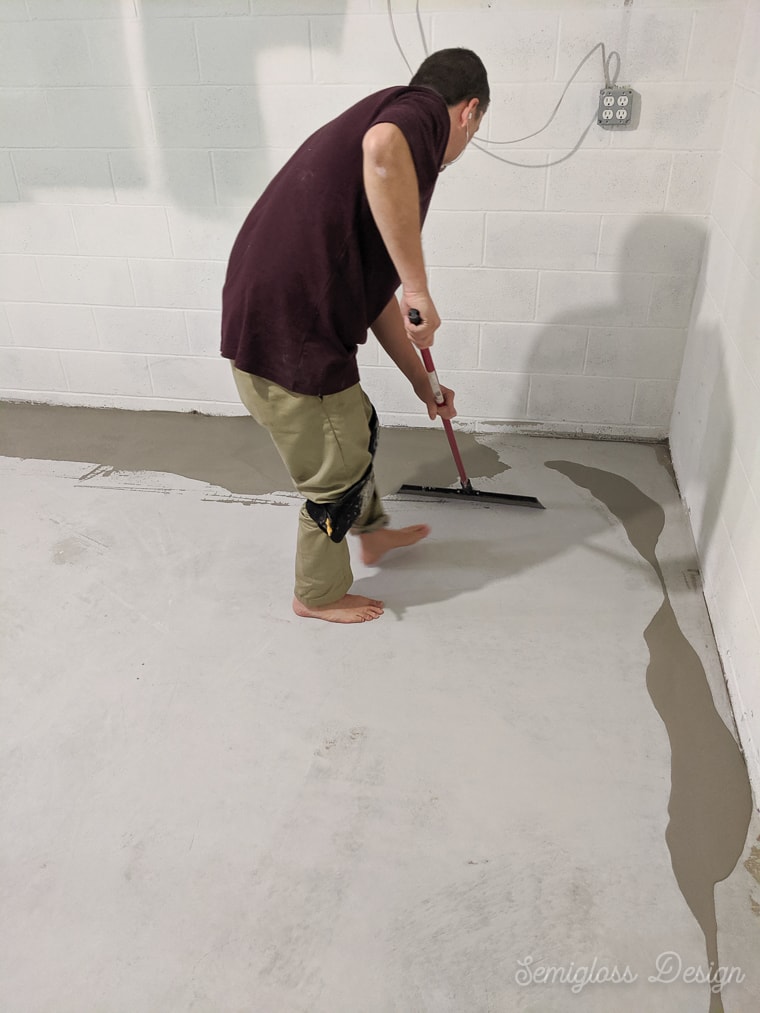
Apply the Resurfacing Compound: Begin by applying a thin layer of the resurfacing compound to the floor using a long-handled squeegee. Work in small sections, starting from the farthest corner and working your way toward the exit. Make sure to spread the compound evenly, filling in any low spots and smoothing out the surface. Use a trowel to level out areas that need more attention.
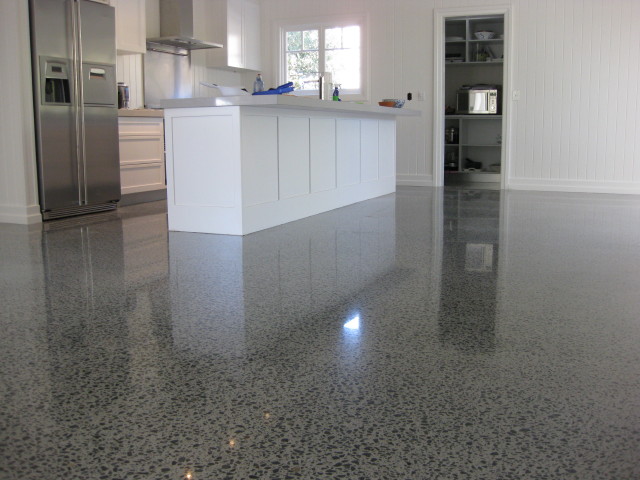
Smooth and Texture the Surface: Once the resurfacing compound is applied, you can use various tools to achieve the desired texture and finish. For a smooth, polished look, use a steel trowel to flatten and even out the surface. If you prefer a textured finish, you can use a broom or a specialty roller to create patterns in the wet resurfacing compound.
Allow the Floor to Cure: After the resurfacing compound is applied and textured, it’s important to let it cure for the recommended time, usually 24-48 hours. Avoid walking on the surface during this time to prevent any marks or damage. Once the floor is fully cured, you can apply a sealer for added protection against moisture and stains.
Tools and Materials You’ll Need for the Job
Resurfacing a basement floor requires a combination of specialized tools and materials. Having everything on hand before you start the project can save you time and frustration. Here’s a list of the essential items you’ll need to successfully resurface your basement floor.
Concrete Cleaner: The first step in any resurfacing project is to thoroughly clean the existing floor. A concrete cleaner or degreaser helps remove stubborn stains, dirt, and grease that can prevent the resurfacing compound from adhering properly.
Concrete Patch: If there are any cracks or holes in your basement floor, you’ll need a concrete patching compound to repair them before applying the resurfacing material. Patching helps ensure a smooth, even surface that will last longer.
Concrete Resurfacer: This is the primary material you’ll be applying to the basement floor. Choose a high-quality resurfacing compound that is designed for use on concrete surfaces. Some products also include additives that improve moisture resistance and durability.
Mixing Tools: A mixing drill and paddle are necessary to thoroughly mix the resurfacing compound. You’ll also need a bucket or large container to mix the material in. It’s important to follow the manufacturer’s mixing instructions carefully to achieve the right consistency.
Squeegee: A long-handled squeegee is one of the most important tools for applying the resurfacing compound. It allows you to spread the material evenly across the floor, filling in low spots and ensuring a smooth finish.
Trowels and Floats: Trowels and floats are used to smooth and level the resurfacing compound as you apply it. A steel trowel is ideal for achieving a polished finish, while a float can help create textured surfaces if that’s your preference.
Protective Gear: Safety is important when working with concrete and resurfacing materials. Be sure to wear protective gear, including gloves, safety goggles, and a dust mask. This will protect you from dust, chemicals, and potential skin irritation.
Moisture Barrier: Depending on your basement’s moisture levels, you may also need to install a moisture barrier before applying the resurfacer. This can help prevent water seepage from damaging the new floor surface.
Common Mistakes to Avoid When Resurfacing Your Basement Floor
While resurfacing a basement floor can be a straightforward process, it’s easy to make mistakes that can compromise the final result. Knowing the common pitfalls can help you avoid costly and time-consuming errors.
Skipping Surface Preparation: One of the biggest mistakes homeowners make is failing to properly prepare the surface before applying the resurfacing compound. Skipping the cleaning or repair process can lead to poor adhesion, causing the resurfacer to crack or peel over time.
Using the Wrong Materials: Not all resurfacing materials are created equal, and using the wrong product for your specific needs can result in a poor finish. Be sure to choose a resurfacer that is designed for basement floors and is compatible with any moisture barriers or sealants you plan to use.
Not Allowing Enough Curing Time: Rushing through the curing process is another common mistake. It’s important to allow the resurfacing compound to fully cure before walking on it or applying any additional treatments. Failure to do so can result in an uneven or weak surface.
Inconsistent Application: Applying too much or too little resurfacing compound can lead to an uneven finish. Be sure to follow the manufacturer’s recommendations for thickness and use a squeegee or trowel to spread the material evenly across the floor.
Ignoring Moisture Issues: If your basement has a moisture problem, it’s crucial to address it before resurfacing the floor. Ignoring moisture issues can lead to future problems such as mold growth, efflorescence, or even floor damage. Consider installing a moisture barrier or sealing the floor if water seepage is a concern.
Not Sealing the Floor: After resurfacing, many homeowners forget to apply a sealer to protect the new surface. A good-quality sealer helps protect against moisture, stains, and wear, extending the life of your new basement floor.
Maintaining Your Newly Resurfaced Basement Floor for Longevity
After investing time and money into resurfacing your basement floor, proper maintenance is key to ensuring its longevity. Taking care of your new floor will help it remain in excellent condition for years to come while preventing potential damage.
Regular Cleaning: Just like any other flooring surface, your newly resurfaced basement floor will benefit from regular cleaning. Sweep or vacuum the floor to remove dirt and debris that can scratch the surface over time. For spills or stains, clean them up promptly using a mild detergent and water.
Apply a Sealer Every Few Years: A good sealer can help protect your resurfaced floor from moisture, stains, and wear. Depending on the type of sealer you use, it may need to be reapplied every 2-3 years. Sealing the floor will help maintain its appearance and durability, especially in high-traffic areas.
Address Moisture Issues Promptly: If you notice any signs of moisture, such as damp spots or efflorescence, address them as soon as possible. Moisture can weaken the resurfacing compound and cause damage over time. Installing a dehumidifier in your basement can help reduce humidity levels and prevent moisture-related issues.
Use Rugs or Mats in High-Traffic Areas: In areas where there is a lot of foot traffic, consider placing rugs or mats to protect the floor from wear. This is particularly important near entrances, laundry areas, or where heavy furniture may be placed. Rugs can help prevent scratches and dents, keeping your floor in top condition.
Avoid Harsh Chemicals: When cleaning your resurfaced basement floor, avoid using harsh chemicals or abrasive cleaning products, as these can damage the surface. Stick to pH-neutral cleaners or products specifically designed for concrete surfaces to preserve the integrity of the floor.
Inspect for Damage Regularly: Periodically check your basement floor for any signs of damage, such as cracks, chips, or uneven spots. Catching these issues early allows you to make minor repairs before they worsen. Small cracks can be patched easily, preventing them from spreading and causing more extensive damage.
Refinishing Concrete Floors Life of an Architect
Garage Floor Resurfacing: Fix a Pitted Garage Floor (DIY) Family
Refinishing Options for Older Concrete Floors
Concrete & Epoxy Floor Resurfacing/Polishing Company VA
Related Posts:
