Why Choose Plywood for Your Bathroom Floor?
When I was redesigning my bathroom, I found myself weighing the pros and cons of different flooring materials. Plywood wasn’t initially on my radar, but as I dove deeper into the options, it quickly became clear that this material had a lot to offer. Let me walk you through why I ultimately chose plywood for my bathroom floor and why it might be a great choice for you too.
- Affordability Without Sacrificing Quality: One of the first things that caught my attention was the cost-effectiveness of plywood. Compared to other options like solid wood or tile, plywood is significantly more affordable. But don’t let the price tag fool you—plywood doesn’t compromise on quality. The strength and durability of high-grade plywood can stand up to everyday wear and tear, making it a smart choice for a bathroom floor.
- Easy to Work With: I’m a big fan of DIY projects, and one of the aspects of plywood that appealed to me was how easy it is to work with. Cutting, shaping, and installing plywood is relatively straightforward, even for someone who’s not a professional carpenter. This ease of use meant that I could take on the flooring project myself, saving on labor costs and getting the satisfaction of doing it with my own two hands.
- Versatile Design Options: What sealed the deal for me was the versatility of plywood in terms of design. Plywood can be finished in so many different ways—painted, stained, or even left natural, depending on the look you’re going for. In my bathroom, I decided to go with a light stain that brought out the natural wood grain, adding warmth and texture to the space.
- Strong and Stable: Plywood is known for its structural integrity. It’s made by gluing together multiple layers of wood veneer, with each layer’s grain running perpendicular to the previous one. This cross-grain construction gives plywood its strength and makes it less likely to warp or swell compared to other types of wood. For a bathroom, where moisture can be a concern, this stability is a huge plus.
- Eco-Friendly Choice: Another factor that influenced my decision was the environmental impact. Plywood is a more sustainable option compared to many other materials because it uses less wood and often incorporates wood from fast-growing trees. Plus, many plywood products are made using formaldehyde-free glues, which means they’re better for indoor air quality.
- The Satisfaction of a Job Well Done: After all the research and hard work, I couldn’t be happier with my choice of plywood for the bathroom floor. It not only looks great but also gives me peace of mind knowing that it’s a durable, eco-friendly, and cost-effective option. If you’re looking for a flooring material that ticks all these boxes, I highly recommend giving plywood a closer look.
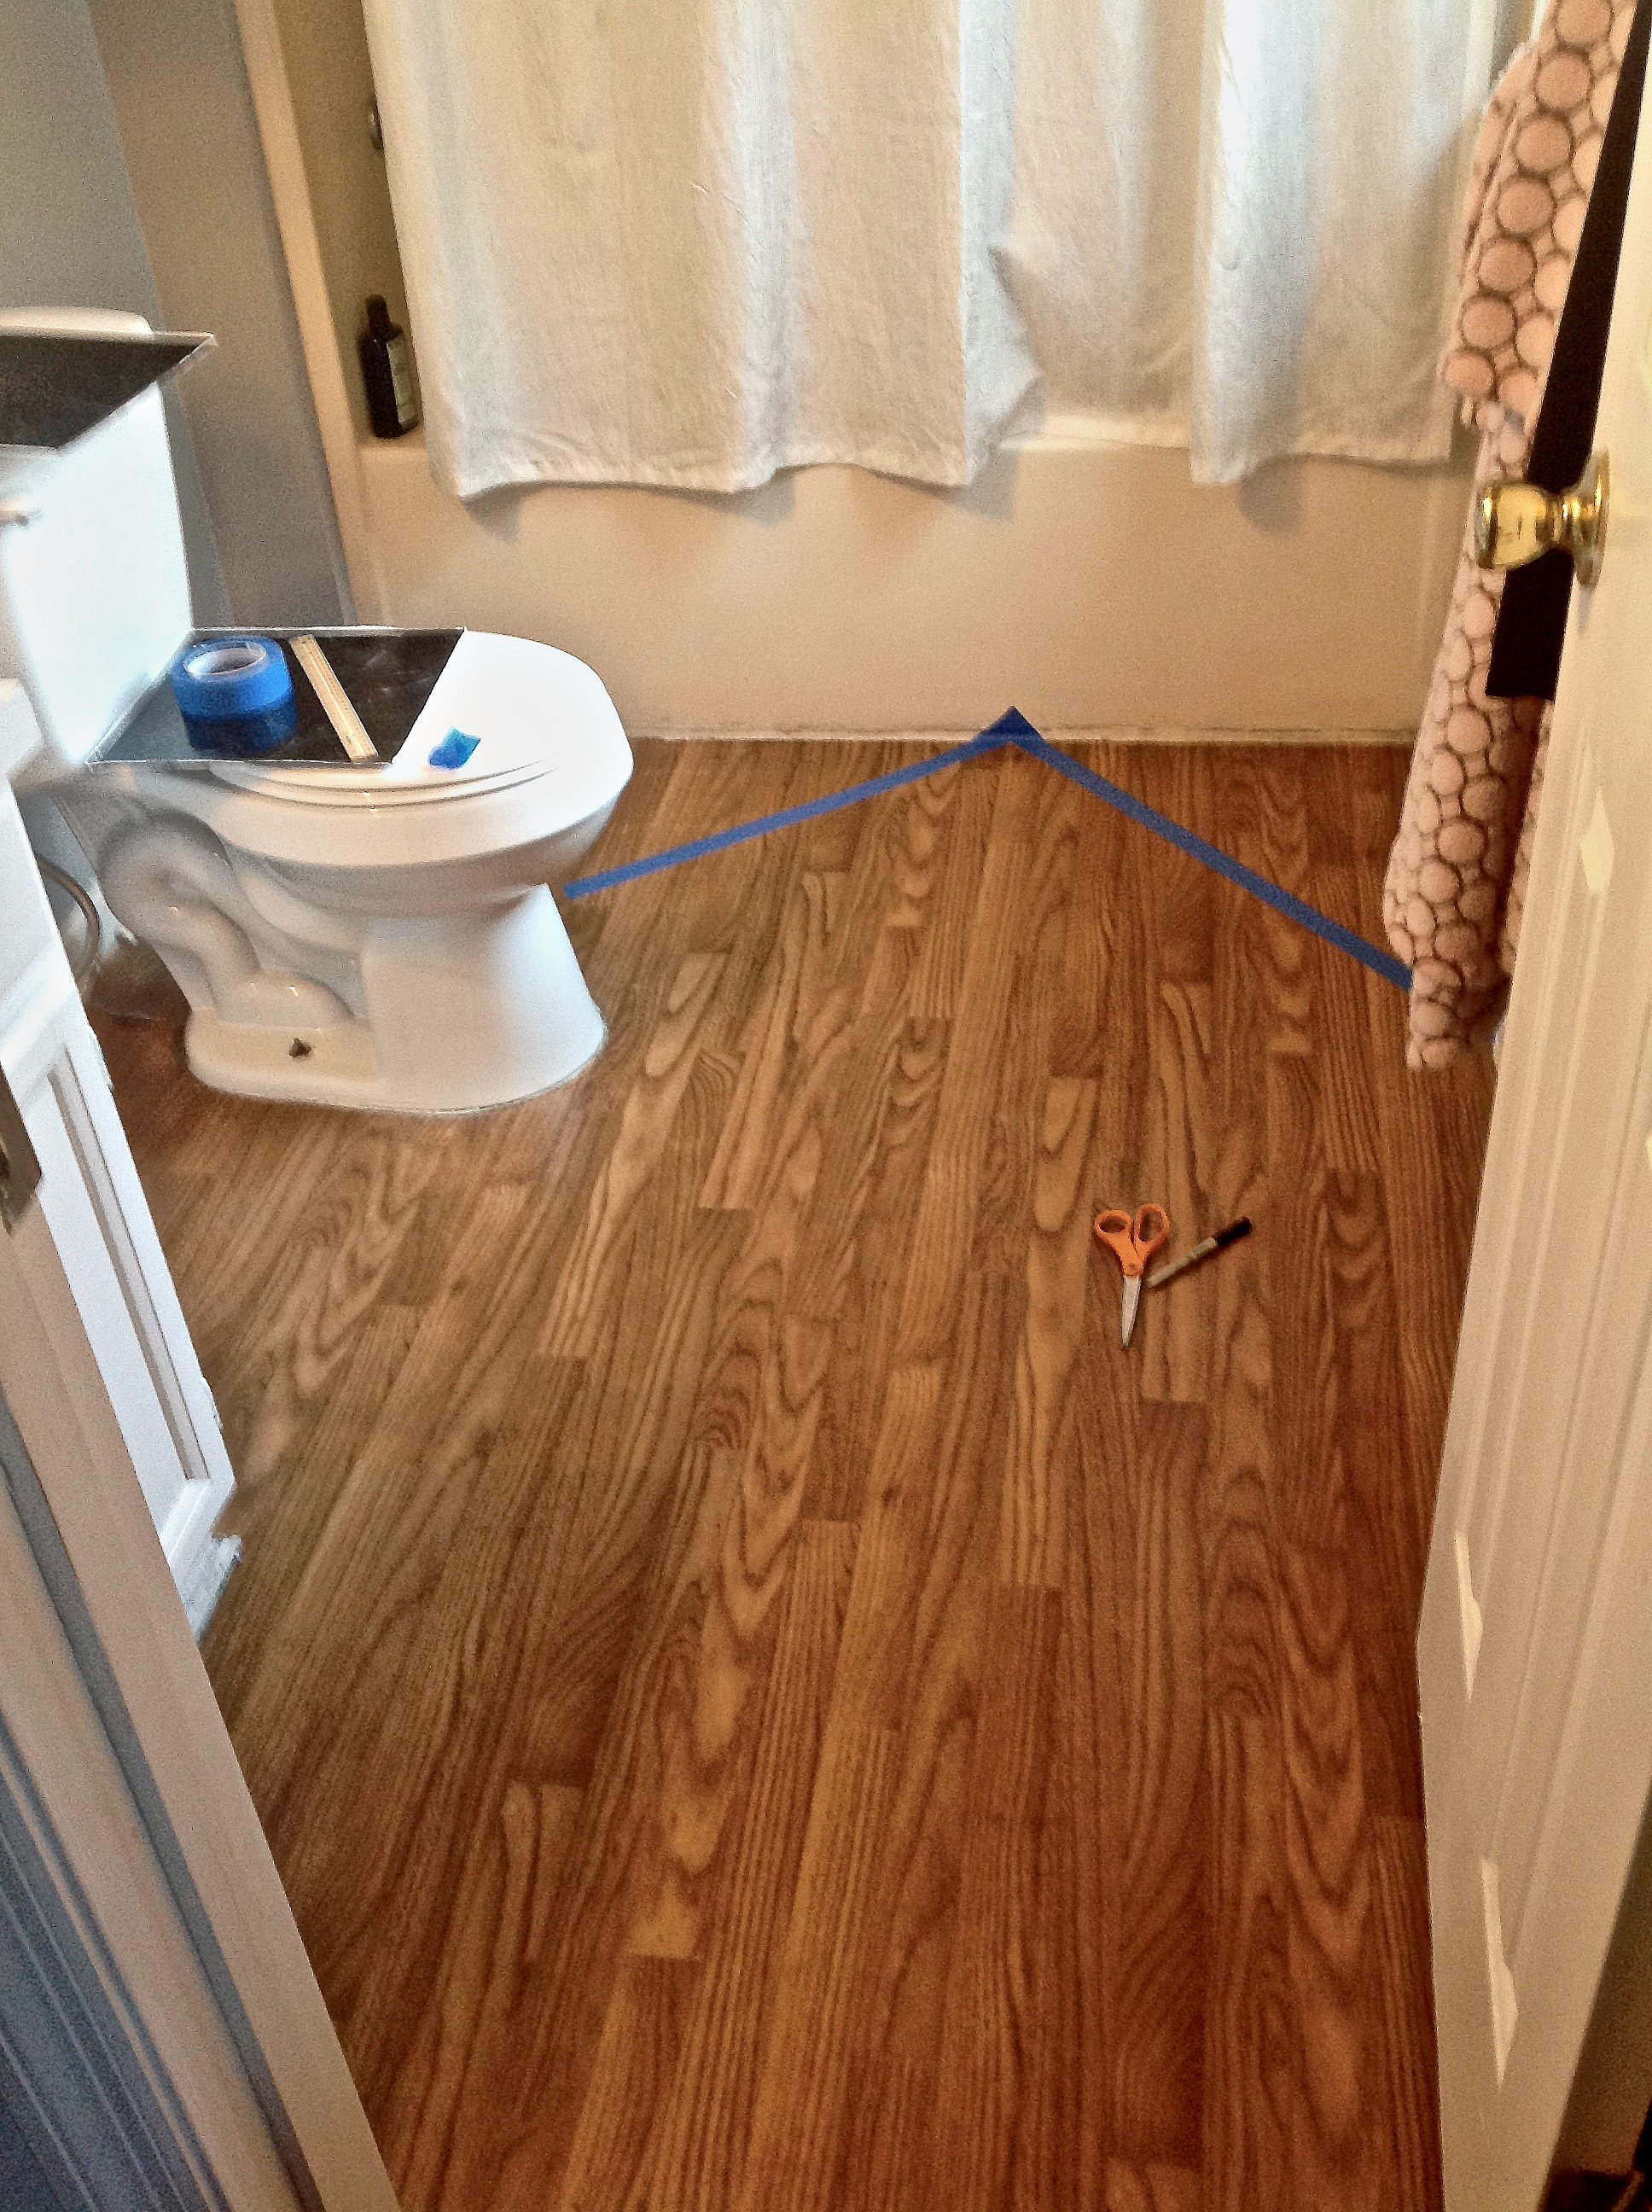
Types of Plywood Suitable for Bathroom Flooring
As I delved into the world of plywood, I quickly realized that not all plywood is created equal, especially when it comes to bathroom flooring. Choosing the right type of plywood is crucial to ensuring your bathroom floor can withstand the moisture and temperature fluctuations common in this space. Here’s what I discovered during my journey.
Understanding the Different Grades of Plywood
Plywood comes in various grades, which indicate the quality and finish of the material. The grades range from A to D, with A-grade plywood being the highest quality, featuring smooth surfaces and minimal defects. For bathroom flooring, I opted for A-grade plywood because it offers a smooth finish that can easily be sealed against moisture. It’s a bit more expensive, but the durability and aesthetic appeal make it worth the investment.
Marine Plywood: The Best Option for High Moisture Areas
During my research, marine plywood kept coming up as the top choice for moisture-prone areas like bathrooms. What makes marine plywood stand out is its construction—it’s made with waterproof glue and high-quality veneers that resist warping and rot. Although it’s on the pricier side, I decided to use marine plywood for my bathroom floor because of its superior water resistance. This choice has proven to be a smart investment, especially in a room where spills and splashes are inevitable.
Exterior-Grade Plywood: A Budget-Friendly Alternative
If marine plywood is out of your budget, exterior-grade plywood is a solid alternative. It’s designed to withstand outdoor conditions, which means it can handle the humidity and occasional water exposure found in bathrooms. The key difference is that exterior-grade plywood might not be as flawless in appearance as marine plywood, but it still offers good durability and moisture resistance. For those looking to balance cost and performance, this type of plywood is worth considering.
Choosing the Right Thickness
Another important consideration is the thickness of the plywood. For bathroom floors, I learned that a thicker plywood—at least 3/4 inch—is preferable. This thickness provides the necessary strength and stability, ensuring that the floor can handle the weight of bathroom fixtures and foot traffic without flexing or creaking. I opted for 3/4-inch marine plywood, and it has provided a sturdy base that feels solid underfoot.
Moisture-Resistant Plywood: A Middle Ground
If you’re looking for something that offers decent moisture resistance without the premium price tag of marine plywood, moisture-resistant plywood is a viable option. This type of plywood is treated with special chemicals that help it resist moisture better than standard plywood. While it may not perform as well as marine or exterior-grade plywood in a bathroom setting, it’s a reasonable compromise for those who want a balance between cost and functionality.
The Importance of Proper Sealing and Installation
Regardless of the type of plywood you choose, proper sealing and installation are crucial to its performance in a bathroom. I made sure to seal all the edges and joints with a waterproof sealant to prevent water from seeping into the plywood layers. This step is essential to ensure the longevity of your plywood bathroom floor, no matter which type you select.
Waterproofing and Sealing Plywood Bathroom Floors
One of the biggest challenges I faced when installing plywood in my bathroom was figuring out how to protect it from moisture. Bathrooms are naturally damp environments, and even the most durable plywood needs proper waterproofing and sealing to ensure it stands the test of time. Here’s how I approached the process.
The Importance of Waterproofing Plywood in Bathrooms
Before diving into the waterproofing process, I understood that protecting plywood from moisture is crucial to prevent warping, swelling, and rotting. Even though I chose marine plywood, which is naturally resistant to water, I knew that additional waterproofing measures were necessary to ensure long-term durability. Moisture can find its way into even the smallest cracks, so it’s essential to seal the plywood thoroughly.
Applying a Waterproof Membrane
The first step I took was applying a waterproof membrane over the entire plywood surface. This membrane acts as a barrier, preventing water from seeping into the wood. There are several types of waterproof membranes available, including liquid-applied membranes and sheet membranes. I opted for a liquid-applied membrane because it’s easy to apply with a roller and conforms well to the surface of the plywood. I made sure to apply it in multiple coats, allowing each coat to dry thoroughly before applying the next.
Sealing the Edges and Joints
Edges and joints are particularly vulnerable to water penetration, so I paid extra attention to these areas. I used a waterproof sealant to seal all the edges of the plywood, including the cut edges, which are more prone to absorbing moisture. Additionally, I sealed the joints between plywood sheets with a flexible, waterproof caulk. This step is crucial because water can easily seep through gaps and cause damage to the subfloor beneath the plywood.
Choosing the Right Finish
Once the waterproof membrane was applied and the edges were sealed, I turned my attention to the finish. I wanted a finish that would not only protect the plywood but also enhance its natural beauty. After some research, I chose a water-based polyurethane finish. Water-based finishes are more environmentally friendly and dry faster than oil-based finishes. I applied several coats, sanding lightly between each coat to achieve a smooth, durable surface. The result was a beautiful, glossy finish that repels water and adds a layer of protection to the plywood.
Testing for Water Resistance
Before moving forward with the rest of the bathroom renovation, I decided to test the water resistance of the plywood floor. I poured a small amount of water onto the floor and let it sit for a few hours to see if any moisture would penetrate the surface. I was pleased to find that the water beaded up and didn’t soak into the wood, confirming that the waterproofing process had been successful.
Ongoing Maintenance for Waterproofed Plywood Floors
Waterproofing isn’t a one-and-done task; it requires ongoing maintenance to keep the plywood in good condition. I make it a point to inspect the floor regularly for any signs of wear or damage to the finish. If I notice any areas where the finish has worn thin, I reapply a coat of polyurethane to maintain the waterproof barrier. This regular upkeep ensures that my plywood bathroom floor remains in top shape for years to come.
Installation Tips for Plywood Bathroom Flooring
Installing plywood in a bathroom is a project that requires careful planning and execution. When I decided to take on this task, I knew that getting the installation right was key to ensuring a long-lasting and attractive floor. Let me share with you the steps I took to make sure the installation went smoothly.
Preparing the Subfloor
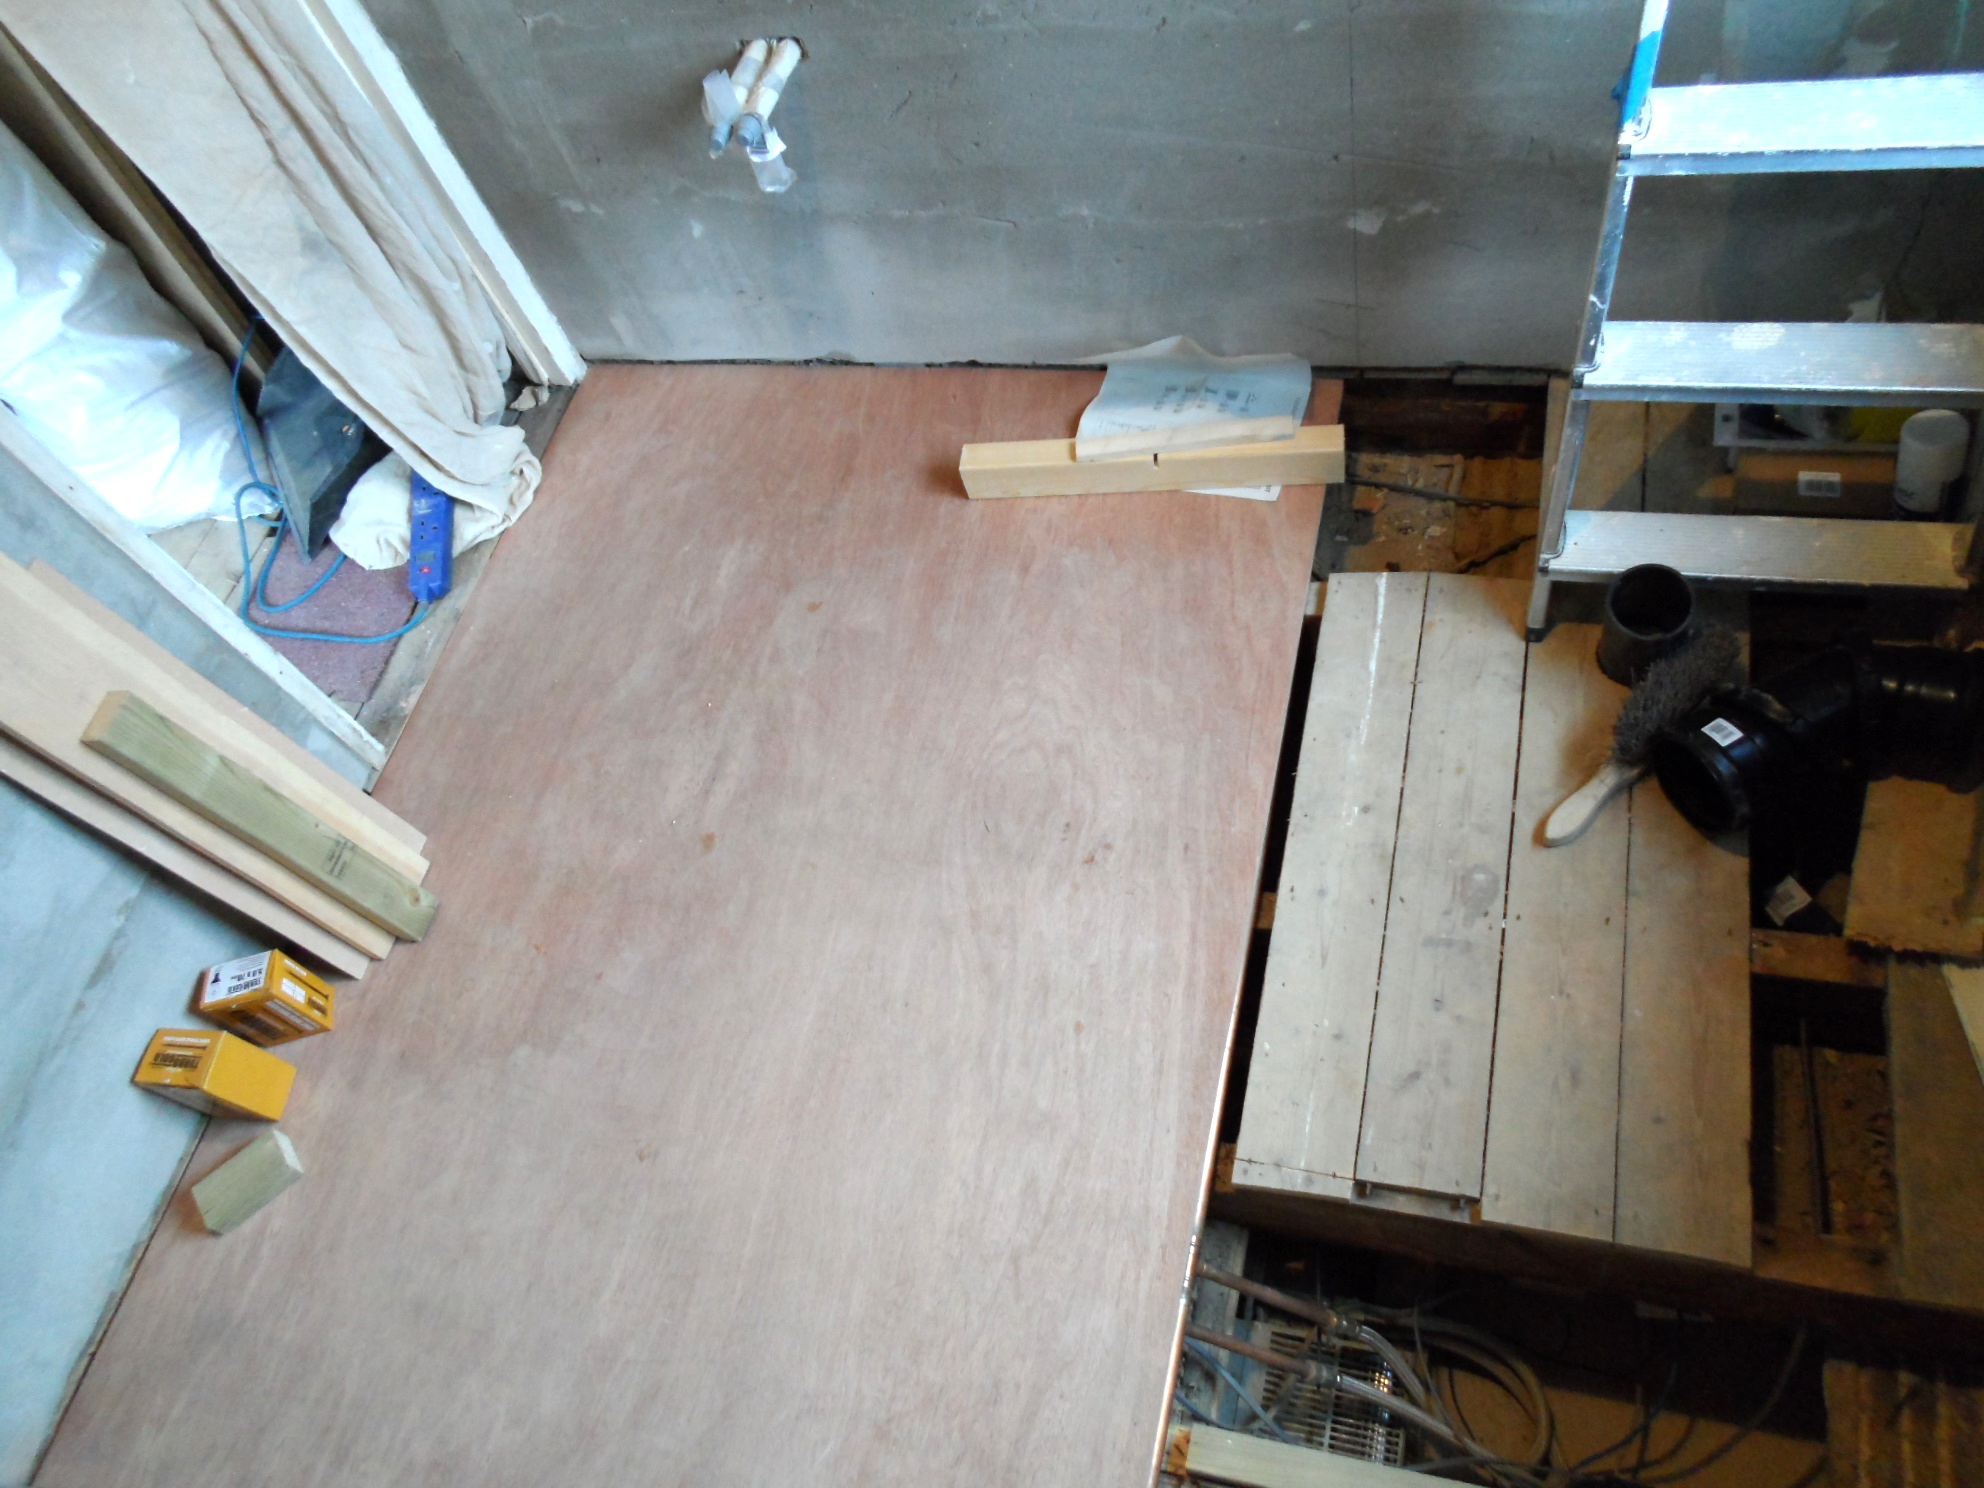
Before laying down the plywood, I had to make sure the subfloor was in good condition. The subfloor needs to be clean, dry, and level to provide a stable base for the plywood. I started by removing any old flooring materials and thoroughly cleaning the surface. I also checked for any signs of moisture or damage to the subfloor. Fortunately, my subfloor was in good shape, but if yours isn’t, you might need to repair or replace it before proceeding.
Acclimating the Plywood
One thing I learned early on is that plywood needs to acclimate to the environment where it will be installed. This step is crucial to prevent the wood from expanding or contracting after installation. I brought the plywood into the bathroom and let it sit for a few days to adjust to the temperature and humidity levels. This simple step can make a big difference in preventing future issues like warping or buckling.
Laying Out the Plywood Sheets
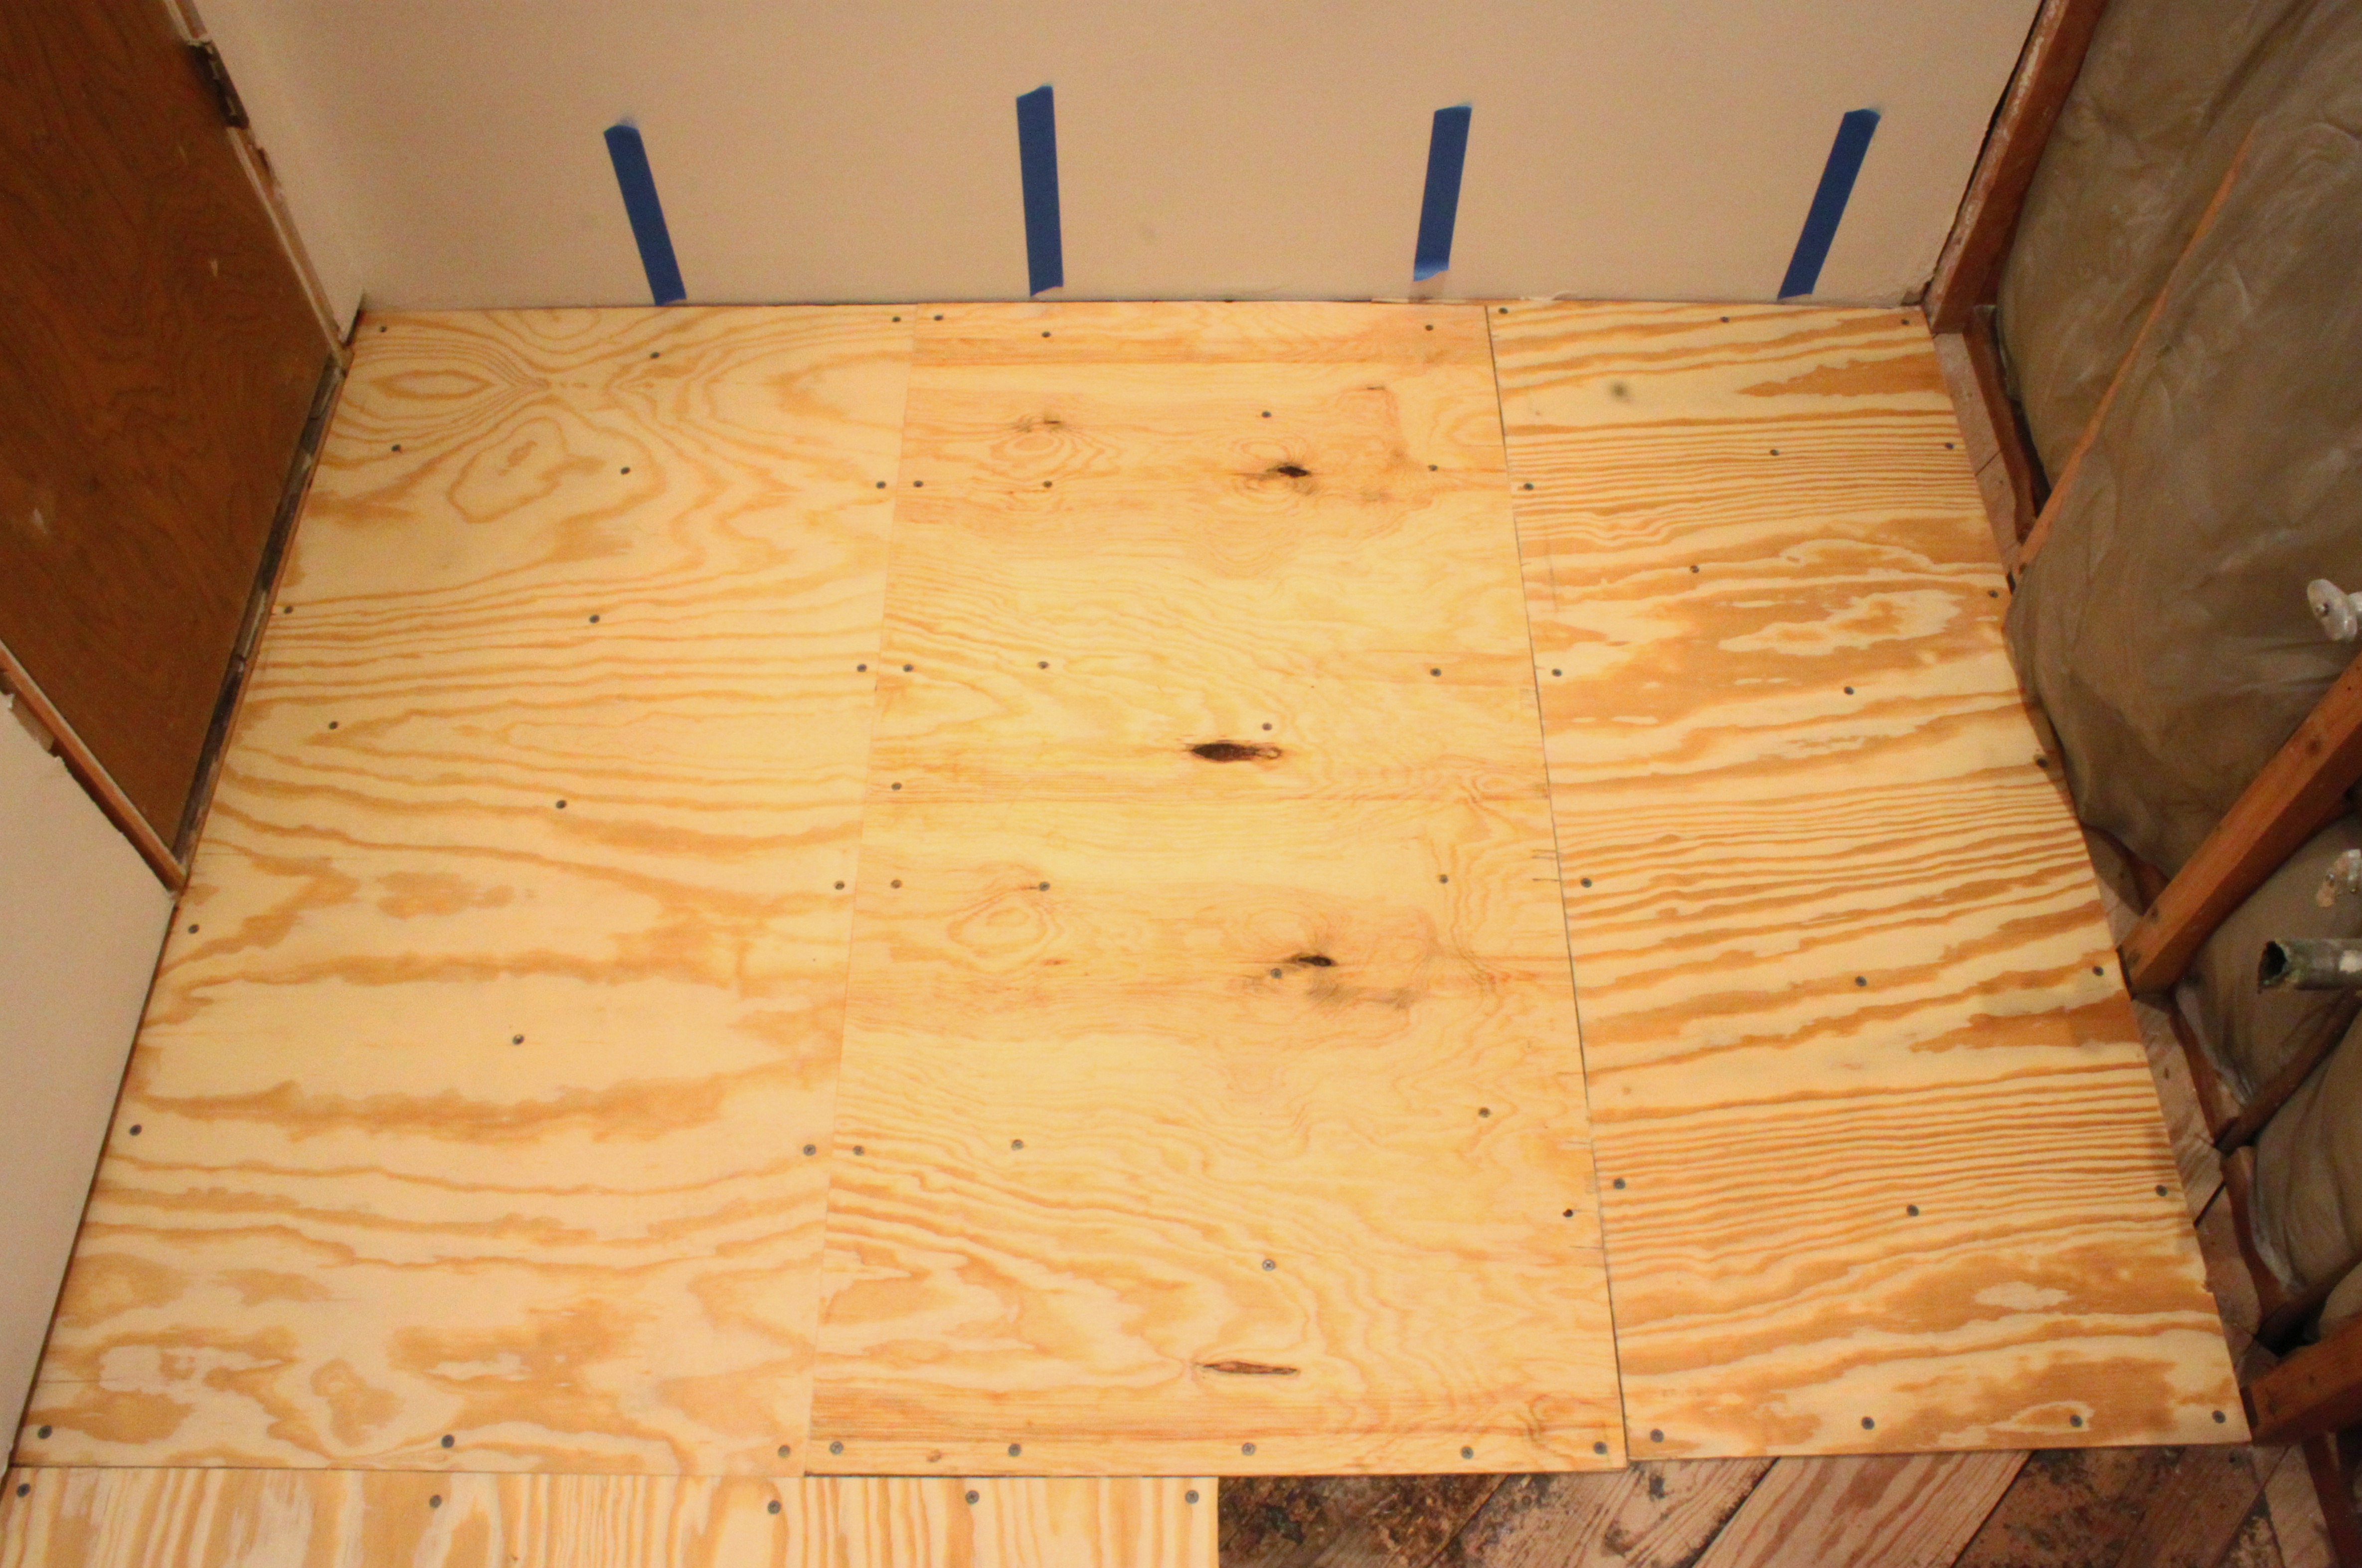
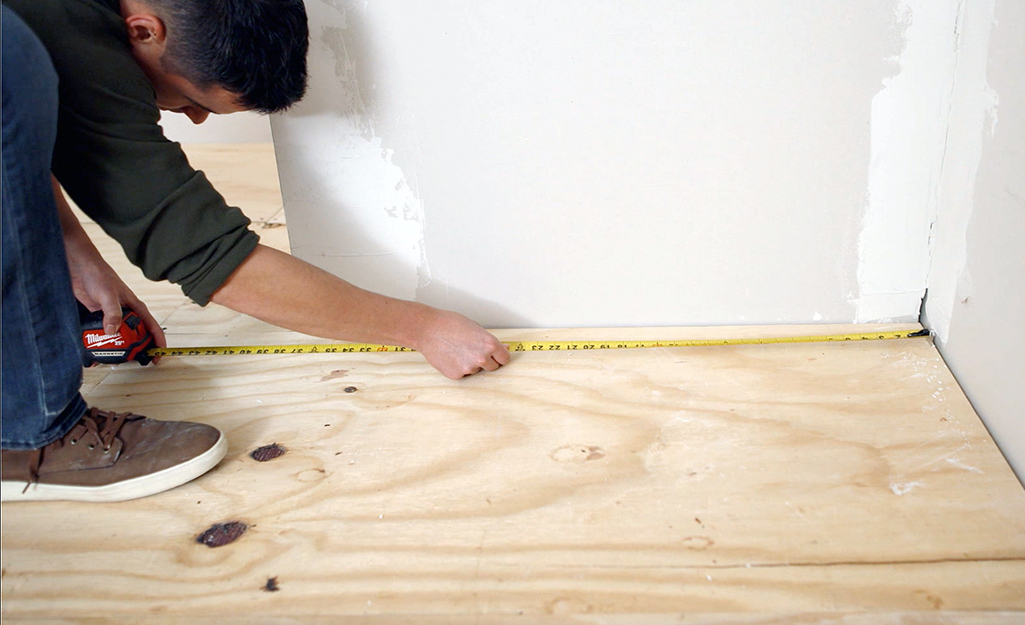
When it was time to lay out the plywood sheets, I made sure to stagger the seams to create a more stable and visually appealing floor. This involved cutting some of the sheets so that the seams didn’t align, which helps distribute the weight more evenly and reduces the risk of the floor flexing or creaking. I also made sure to leave a small gap—about 1/8 inch—between the sheets to allow for any expansion due to changes in temperature or humidity.
Securing the Plywood to the Subfloor
To secure the plywood to the subfloor, I used screws rather than nails. Screws provide a stronger hold and are less likely to work loose over time, which is important in a high-traffic area like a bathroom. I spaced the screws about 6 inches apart along the edges of the plywood and about 8 inches apart in the center. This tight fastening ensures that the plywood stays securely in place, even under the weight of bathroom fixtures.
Sealing the Plywood for Added Protection
After the plywood was securely fastened, I sealed all the edges and seams with a waterproof sealant. This step is critical in a bathroom setting, where moisture can easily seep into any unprotected gaps. I applied the sealant generously and made sure it fully covered all the joints and edges. Once the sealant dried, I applied a waterproof membrane over the entire surface to provide an extra layer of protection.
Final Touches and Finishing
With the plywood securely installed and sealed, the final step was to apply the finish. I chose a water-based polyurethane finish, which not only protects the plywood but also enhances its natural beauty. I applied multiple coats, sanding lightly between each one to achieve a smooth, even surface. The end result was a beautifully finished plywood floor that not only looks great but is also well-protected against the moisture and humidity of a bathroom environment.
Plywood Flooring Design Ideas for Bathrooms
When I first considered using plywood for my bathroom floor, I was pleasantly surprised by the range of design possibilities this material offers. Plywood isn’t just a practical choice—it can also be incredibly stylish, allowing you to create a unique look that reflects your taste. Here are some design ideas that inspired me during my renovation.
Natural Wood Finish for a Rustic Look
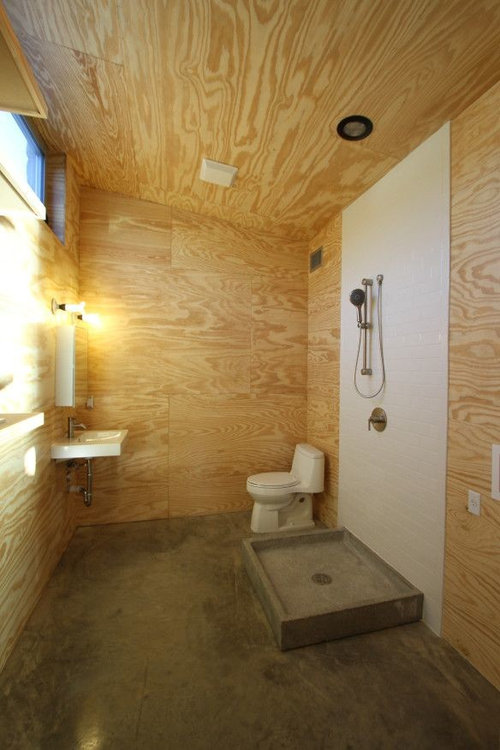
One of the simplest yet most effective design options is to embrace the natural beauty of plywood. By applying a clear stain or a light finish, you can highlight the wood’s grain and knots, giving your bathroom a warm, rustic feel. This approach worked perfectly for me, as I wanted to create a cozy, spa-like atmosphere. The natural wood tones add warmth and texture, making the bathroom feel inviting and serene.
Whitewashed Plywood for a Coastal Vibe
If you’re after a light, airy look, consider whitewashing the plywood. This technique involves applying a diluted white paint or stain to the wood, allowing the grain to show through while giving the floor a soft, weathered appearance. I love this look for a bathroom, as it evokes the relaxed, breezy feel of a coastal cottage. Paired with white fixtures and soft blue accents, a whitewashed plywood floor can transform your bathroom into a beach-inspired retreat.
Stained Plywood for a Rich, Elegant Finish
For those who prefer a more polished, sophisticated look, staining the plywood in a rich, dark color can create a stunning effect. Dark stains bring out the depth and character of the wood, adding a sense of luxury to the space. I’ve seen bathrooms with dark-stained plywood floors that look elegant, especially when paired with crisp white walls and chrome fixtures. This design choice can give your bathroom a high-end, custom feel without breaking the bank.
Painted Plywood for a Bold Statement
If you’re looking to make a bold statement, why not paint the plywood floor in a vibrant color? Plywood takes paint well, allowing you to experiment with different shades and patterns. I’ve seen some amazing designs where people have used stencils or painter’s tape to create geometric patterns or intricate designs on their plywood floors. This approach is perfect for those who want to infuse their bathroom with personality and creativity.
Faux Plank Effect for a Traditional Look
One of the design ideas that really intrigued me was creating a faux plank effect on the plywood floor. By cutting grooves into the plywood sheets and staining or painting them, you can mimic the look of traditional wood planks. This technique gives the floor a more traditional, hardwood appearance while still taking advantage of the affordability and versatility of plywood. I’ve seen this done beautifully in bathrooms that aim for a classic, timeless look.
Combining Plywood with Other Materials
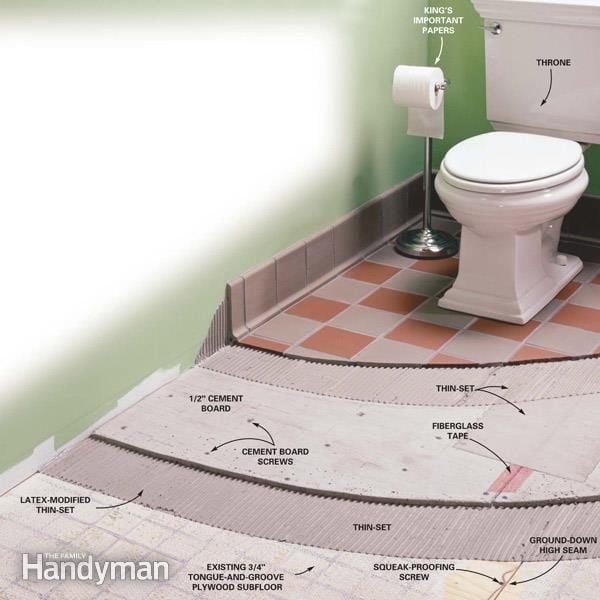
Another design idea that caught my eye was combining plywood with other materials, such as tile or stone. For example, you could use plywood in the main area of the bathroom and add a tile border or accent around the shower or vanity. This mix-and-match approach allows you to play with textures and create a more dynamic, visually interesting space. It’s also a great way to use plywood in a way that feels unique and custom-designed.
Maintaining and Cleaning Plywood Bathroom Floors
Once I had my plywood bathroom floor installed and looking beautiful, I knew that proper maintenance would be key to keeping it in top condition. Plywood, like any wood-based material, requires regular care to ensure it remains durable and attractive. Here’s how I keep my plywood bathroom floor looking its best.
Daily Cleaning Routine
To maintain the appearance of my plywood floor, I make it a habit to sweep or vacuum the floor daily. Bathrooms can accumulate dust, hair, and other debris quickly, and regular cleaning helps prevent these particles from scratching or dulling the finish. I use a soft-bristle broom or a vacuum with a hardwood floor attachment to gently remove dirt without damaging the wood.
Dealing with Spills and Moisture
One of the most important aspects of maintaining a plywood bathroom floor is managing moisture. Whenever I notice a spill or splash, I clean it up immediately to prevent water from seeping into the wood. I keep a few absorbent cloths or towels handy for this purpose. Additionally, I make sure to dry the floor thoroughly after every shower or bath, especially around the edges and joints where water might accumulate.
Using the Right Cleaning Products
When it comes to cleaning products, I’m careful to use those that are safe for wood floors. Harsh chemicals can strip the finish and damage the plywood, so I stick to gentle, pH-neutral cleaners. I usually mix a small amount of wood floor cleaner with water and use a damp (not wet) mop to clean the floor. I avoid soaking the floor with water, as excessive moisture can cause the plywood to swell or warp.
Preventing Scratches and Dents
To protect my plywood floor from scratches and dents, I’ve added felt pads to the bottom of all bathroom furniture and accessories. This simple step helps prevent damage from items like stools, hampers, or plant pots being dragged across the floor. I’m also mindful of wearing soft-soled shoes in the bathroom to minimize the risk of scuffing the wood.
Regular Inspections and Touch-Ups
Every few months, I take the time to inspect the floor for any signs of wear or damage. This includes checking for scratches, dull spots, or areas where the finish might be wearing thin. If I notice any issues, I address them right away. For minor scratches, I use a wood touch-up marker or a small amount of wood filler to conceal the damage. For larger areas of wear, I lightly sand the surface and reapply a coat of polyurethane to restore the protective finish.
Long-Term Maintenance Tips
Over time, even a well-maintained plywood floor will start to show signs of wear. To keep it looking fresh, I plan to refinish the floor every few years. This involves sanding down the existing finish and applying a new coat of polyurethane to restore its luster and protection. By staying on top of regular maintenance and occasional refinishing, I’m confident that my plywood bathroom floor will remain beautiful and functional for many years to come.
Pros and Cons of Plywood Bathroom Flooring
As someone who has gone through the process of installing plywood in my bathroom, I’ve had the chance to experience both the benefits and the drawbacks of this material. While I’m generally pleased with my choice, it’s important to consider both sides of the equation before making a decision. Here’s a breakdown of the pros and cons I’ve encountered.
Pro: Cost-Effective Flooring Option
One of the biggest advantages of plywood is its affordability. Plywood is much less expensive than many other flooring materials, such as solid hardwood or tile. This made it an attractive option for me, especially since I was working within a budget. The cost savings allowed me to allocate more funds to other aspects of the bathroom renovation, such as fixtures and finishes.
Con: Susceptibility to Moisture
The biggest downside of plywood in a bathroom setting is its vulnerability to moisture. Although I took extensive measures to waterproof and seal the floor, plywood is still more prone to water damage than materials like tile or vinyl. If not properly sealed and maintained, moisture can cause the plywood to warp, swell, or even rot over time. This is something to keep in mind if your bathroom sees a lot of water exposure.
Pro: Versatility in Design
Plywood’s versatility in design was a major plus for me. I was able to choose from a variety of finishes, stains, and even paint options to create the exact look I wanted. Plywood can be tailored to fit almost any design aesthetic, from rustic and natural to sleek and modern. This flexibility allowed me to create a custom look that suited my style and the overall design of my bathroom.
Con: Requires Regular Maintenance
Plywood floors do require more maintenance than some other materials. To keep the floor in good condition, I’ve had to be diligent about cleaning up spills, using the right cleaning products, and periodically resealing the surface. This ongoing maintenance is necessary to protect the wood from moisture and wear, which might be a drawback for those looking for a low-maintenance flooring option.
Pro: DIY-Friendly Installation
As a DIY enthusiast, I appreciated how easy plywood was to work with. Cutting, shaping, and installing the plywood was straightforward, and I was able to handle most of the work myself. This DIY-friendly nature not only saved me money on labor costs but also gave me the satisfaction of completing the project on my own. If you’re someone who enjoys tackling home improvement projects, plywood can be a rewarding choice.
Con: Not as Durable as Other Materials
While plywood is relatively durable, especially when properly sealed and maintained, it doesn’t match the long-term durability of materials like tile or stone. Over time, even with the best care, plywood may show signs of wear, such as scratches or dents. This means that while plywood can be a great option for the short to medium term, it may need to be replaced or refinished sooner than more durable materials.
Tiling on Wooden Floors
How to Prepare a Subfloor for Tile Installation
bathroom floor plywood
Painted subfloor in my friends bathroom
Broken Tile Bathroom Floor Hometalk
How to Install Cement Board on a Floor
Plywood Walls & Ceiling in Bathroom Advice.
Related Posts:
