Most vinyl flooring is made of 3 to four layers sandwiched together to build a material which is both beautiful and durable. The surface in which the vinyl will be installed must be smooth and clean to make a good and tight fit. Most people who do the own installations of theirs prefer to use vinyl tiles. Additionally they are available in a selection of geometrical and historical patterns as well as floral styles and diamond.
Images about Best Way To Install Vinyl Flooring
Best Way To Install Vinyl Flooring

Vinyl kitchen flooring is long-lasting, practical, economical, and gorgeous. Vinyl flooring can be purchased in 2 forms. Once your new floor is cut, inserted as well as fixed, keep in mind a few suggestions to ensure that it stays shipshape. Although you have a doormat to keep off the dirt that comes out of the outside, some dust can continue to are able to get inside and accumulate in your flooring.
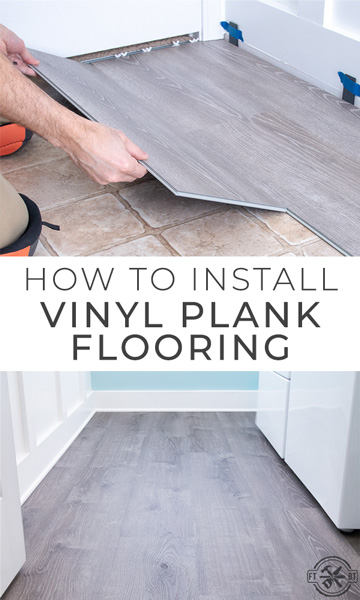
How to Install Vinyl Plank Flooring
:max_bytes(150000):strip_icc()/easy-install-plank-vinyl-flooring-1822808-06-3bb4422ca1bd49b080bfa73bce749acc.jpg)
Aside from being affordable, there are a variety of colors and designs for you to pick from, which could suit the theme that you want for the house of yours. A multitude of colors, patterns and textures make endless possibilities. Vinyl and/or resilient flooring, as it's likewise known as, is available in many patterns, textures and styles. It looks great – you can let them are like warm natural wood floor or perhaps rich stone floor.
How to Install Vinyl Plank Flooring
/easy-install-plank-vinyl-flooring-1822808-10-6cfb7acfac434155a53e0ef80bfbc825.jpg)
Installing Vinyl Plank Flooring – How To FixThisBuildThat
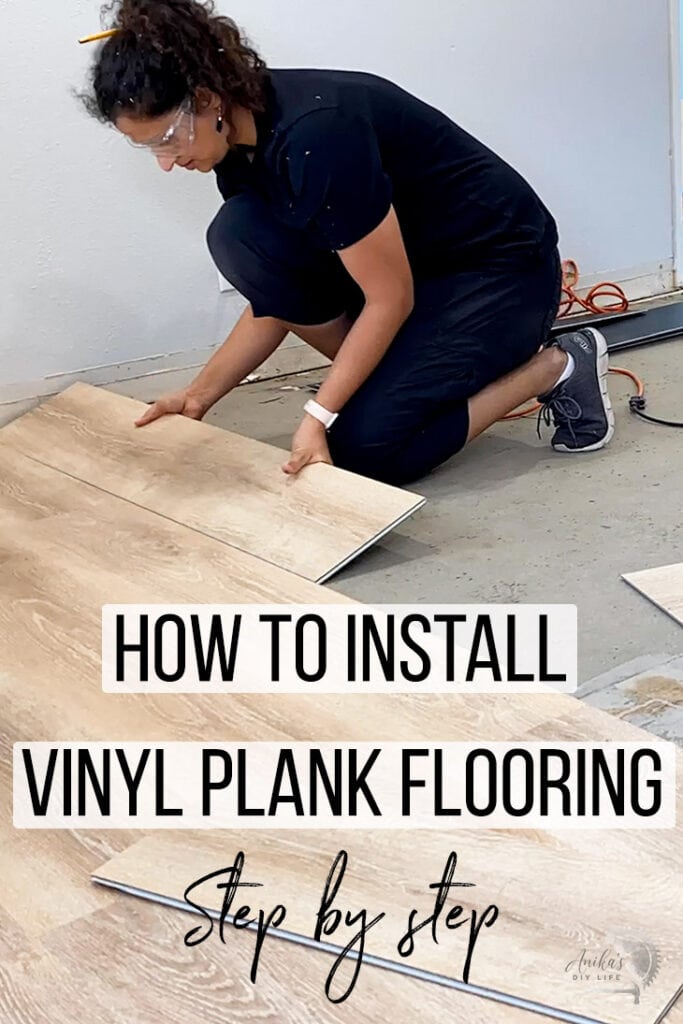
Installing Vinyl Plank Flooring For Beginners – Anikau0027s DIY Life
How to Install Vinyl Plank Flooring
/easy-install-plank-vinyl-flooring-1822808-hero-cefa2d84f781434b9e1e73a0c44e3a5c.jpg)
How to Install Vinyl Plank Flooring
How to Install Vinyl Plank Flooring
How to Install Vinyl Plank Flooring
/easy-install-plank-vinyl-flooring-1822808-05-91e4c44966a145a39ad38430e4f7cc45.jpg)
How To Install Luxury Vinyl Plank Flooring – Bower Power
How to Install Vinyl Plank Flooring Loweu0027s
How to Install Vinyl Plank Flooring in a BATHROOM 🚽

How to Install Luxury Vinyl Plank Flooring Luxury vinyl plank

Installing Vinyl Floors – A Do It Yourself Guide – The Honeycomb Home
Related Posts:
- How To Repair Vinyl Flooring Scratches
- Copper Vinyl Flooring
- Vinyl Flooring In Bathroom
- Commercial Vinyl Flooring
- Luxury Vinyl Flooring Bedroom
- Herringbone Vinyl Floor Tiles
- Vinyl Flooring That Looks Like Wood
- Vinyl Flooring For Basement
- Toilet Vinyl Flooring
- Rustic Vinyl Flooring
Best Way To Install Vinyl Flooring
Installing vinyl flooring can be a daunting task for some, but with the right tips, tricks and techniques, you can have a beautiful new floor in no time at all. Vinyl flooring is an incredibly popular choice for many homeowners due to its durability, affordability and ease of installation. Whether you’re looking to install in a kitchen, bathroom, laundry room or even a bedroom, this type of flooring is great for any room in your home. We’ve put together the ultimate guide to installing vinyl flooring so you can create your dream space without all the hassle.
Preparing the Subfloor
Before you start installing your vinyl flooring, it’s important to make sure that the subfloor is properly prepped and ready to go. The first step is to remove any existing flooring and check for any loose nails and screws that need to be removed or replaced. You should also check for any dips and humps in the subfloor as these can cause problems when laying down the vinyl. Once you’ve taken care of any issues with the subfloor, you’ll want to make sure that it’s clean and free from any dirt, dust or debris.
Installing Underlayment
The next step in installing vinyl flooring is to install underlayment. Underlayment is a thin layer of material that provides cushioning between your subfloor and your vinyl flooring. This helps to reduce noise when walking on the floor as well as providing insulation against heat loss and cold drafts. When choosing an underlayment, make sure to select one that is specifically designed for use with vinyl floors as some types may not be suitable.
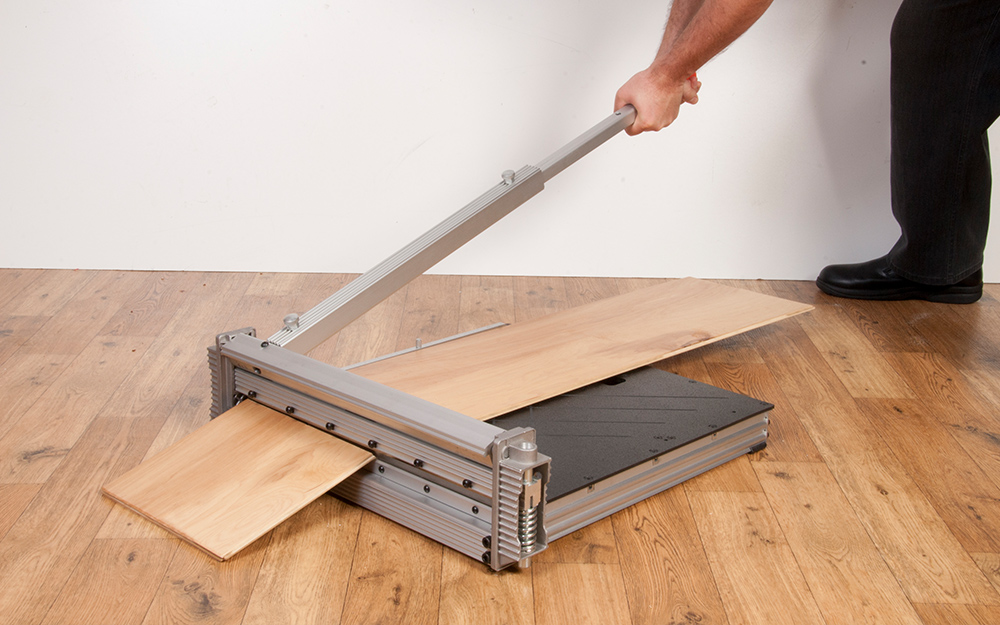
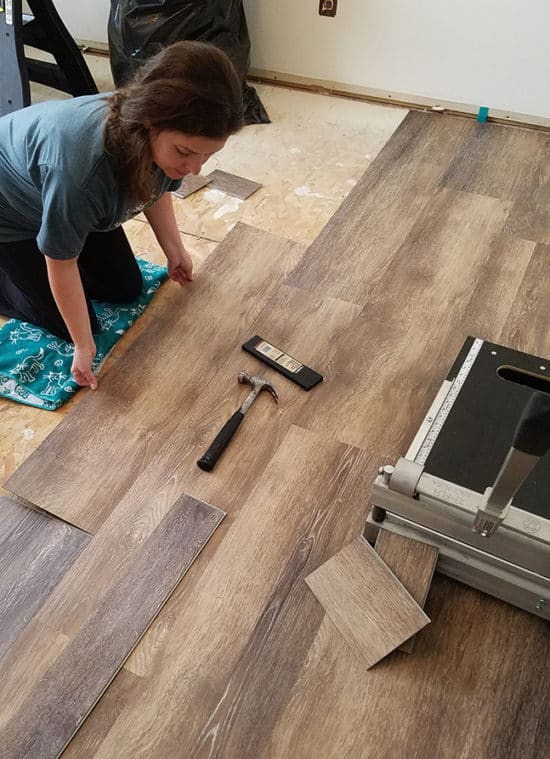
Measuring and Cutting
Once you’ve got your underlayment installed, it’s time to start measuring and cutting the vinyl planks or tiles that will make up your new floor. To get an accurate measurement of how much vinyl you will need, measure the length and width of the room and then add about 10 percent more for waste. When cutting the planks or tiles, make sure to use a sharp utility knife as this will ensure that you get a clean cut every time.
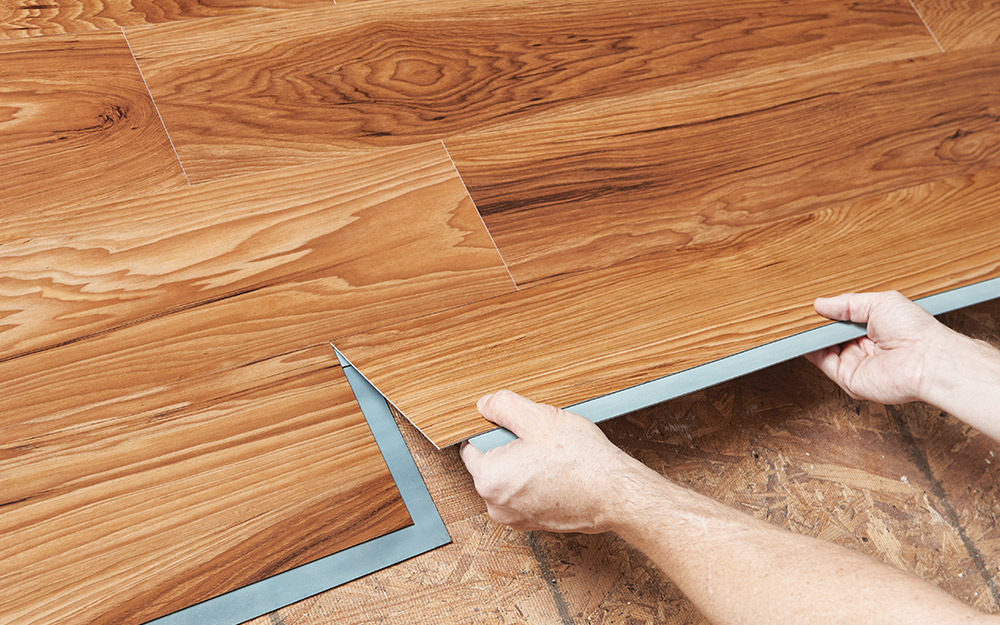
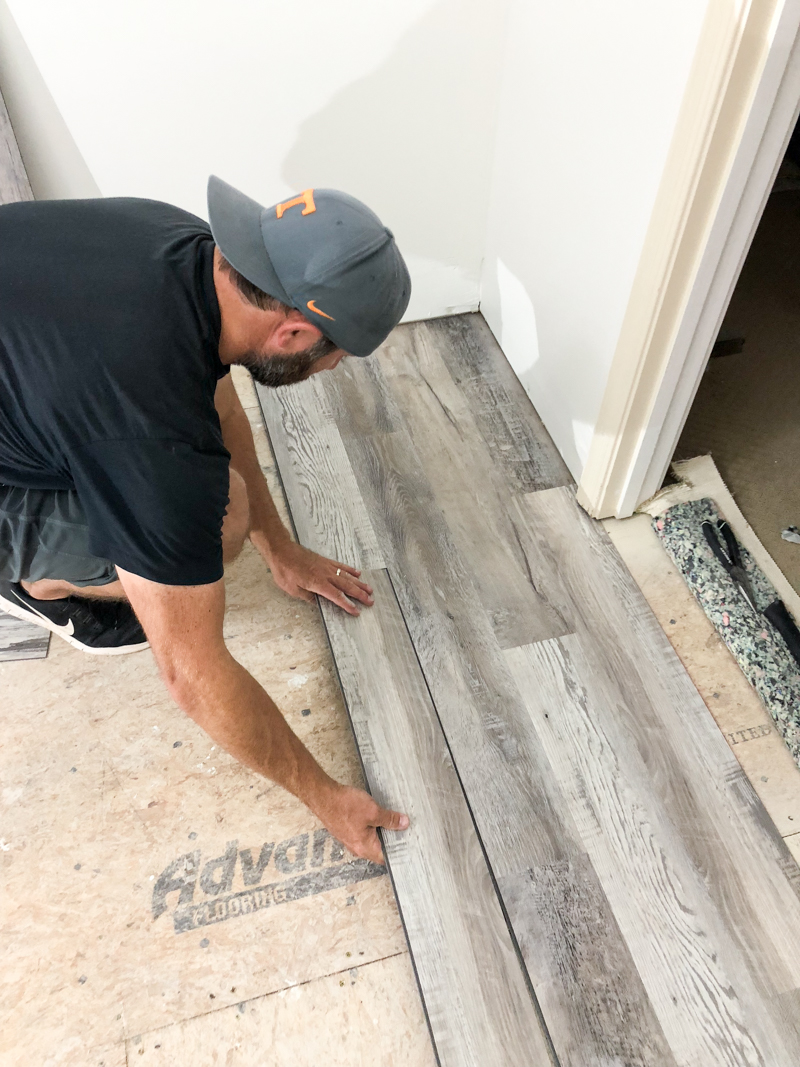
Laying Down the Vinyl
Now it’s time to start laying down the vinyl planks or tiles! If you are using planks, start in one corner of the room and work your way outwards in rows. Make sure to leave enough space between each piece so that they fit together snuggly without overlapping. For tile installation, begin in one corner of the room and work outward in straight lines making sure that each piece fits tightly together without overlapping or leaving gaps. Once all pieces are laid down, use a rolling pin to press them firmly into place.
Finishing Touches
Once all of the pieces are laid down, it’s time for some finishing touches! Start by trimming off any excess vinyl around door frames and other areas where it might be sticking out too far. Next, use a sealant along all seams and edges to help prevent water damage and ensure a tight seal between pieces. Finally, use a damp mop to clean up any dirt or dust that may have been left behind during installation.
FAQs
Q: What type of underlayment should I use for my vinyl floor?
A: When choosing an underlayment for your vinyl flooring, make sure to select one that is specifically designed for use with this type of flooring as some types may not be suitable.
Q: How do I measure for my vinyl floor?
A: To get an accurate measurement of how much vinyl you will need, measure the length and width of the room and then add about 10 percent more for waste.
Q: How should I cut my vinyl planks or tiles?
A: When cutting your planks or tiles, make sure to use a sharp utility knife as this will ensure that you get a clean cut every time.
Q: How do I seal my seams?
A