The Pros and Cons of Tiling over Vinyl Flooring
When it comes to renovating your home, one popular option is tiling over vinyl flooring. This method can save you time and money, but it’s important to consider the pros and cons before making a decision. Let’s explore the advantages and disadvantages of tiling over vinyl flooring, helping you make an informed choice for your home improvement project.
Advantages of Tiling over Vinyl Flooring:
- Easy installation: Tiling over vinyl flooring is relatively simple and can be done by homeowners with basic DIY skills. It eliminates the need for removing the existing vinyl, saving time and effort.
- Cost-effective: Tiling over vinyl can be a cost-effective option compared to tearing out the old flooring and installing new tiles from scratch. It helps reduce labor costs and disposal fees.
- Durability: Vinyl flooring provides a stable and smooth base for tiles, ensuring better durability and longevity. It can withstand heavy foot traffic and resist scratches and stains.
- Moisture resistance: Vinyl flooring is known for its moisture resistance, making it an ideal substrate for areas prone to spills or high humidity, such as bathrooms and kitchens.
- Versatility: Tiling over vinyl allows you to choose from a wide variety of tile options, including ceramic, porcelain, or natural stone, giving you the freedom to achieve the desired aesthetic for your space.
Disadvantages of Tiling over Vinyl Flooring:
- Height increase: One drawback of tiling over vinyl is that it can increase the overall height of the floor. This may cause issues with transitions to other rooms or door clearances.
- Subfloor condition: Tiling over vinyl requires a stable and level subfloor. If the vinyl is old, damaged, or uneven, it may affect the tile installation and lead to future problems.
- Lack of adhesion: Vinyl flooring is not an ideal bonding surface for tiles. Without proper preparation and the use of appropriate adhesives, the tiles may not adhere properly, leading to potential issues with cracking or loosening over time.
- Limited insulation: Tiling over vinyl does not provide additional insulation, unlike removing the vinyl and installing new underlayment. This may result in less energy efficiency and increased sound transmission.

Preparing Your Vinyl Flooring for Tile Installation
Before tiling over vinyl flooring, proper preparation is essential to ensure a successful and long-lasting tile installation. We will guide you through the necessary steps to prepare your vinyl flooring for tile installation, ensuring a smooth and stable surface for your new tiles.
- Clear the Area: Start by removing any furniture, rugs, or other items from the room to create a clear and open space. This will allow you to work efficiently without any obstructions.
- Inspect the Vinyl Flooring: Thoroughly inspect the vinyl flooring for any signs of damage, such as cracks, tears, or loose edges. It’s important to address these issues before proceeding with the tile installation. If the vinyl is severely damaged or uneven, it may be necessary to remove it completely.
- Clean the Vinyl Flooring: Before tiling over vinyl, it’s crucial to clean the surface thoroughly. Use a mild detergent or vinyl floor cleaner and a soft mop or cloth to remove any dirt, grime, or residue. Ensure the floor is completely dry before moving on to the next step.
- Repair and Level the Surface: If there are any cracks or depressions in the vinyl flooring, it’s essential to repair and level them. Fill in any cracks or gaps with a suitable vinyl patching compound and smooth it out using a putty knife. For uneven areas, consider using a self-leveling compound to create a flat and stable surface.
- Sand the Vinyl Flooring: To promote better adhesion, lightly sand the entire surface of the vinyl flooring using fine-grit sandpaper. This will help remove any gloss or shine and create a rougher texture for the tile adhesive to bond with.
- Prime the Vinyl Flooring: Applying a primer to the vinyl flooring is optional but recommended. A primer will help enhance the bond between the vinyl and the tile adhesive, ensuring a more secure and durable installation. Follow the manufacturer’s instructions for the specific primer product you choose.
Choosing the Right Tile for Overlaying Vinyl Floors
Selecting the right type of tile is crucial when overlaying vinyl floors. The choice of tile can significantly impact the overall aesthetic and performance of your space. Let’s discuss important factors to consider when choosing tiles for overlaying vinyl floors and explore various tile options to help you make an informed decision.
Consider the Style and Design: When choosing tiles, consider the style and design that best suits your space. Whether you prefer a modern, traditional, or eclectic look, there are numerous tile options available. Ceramic, porcelain, natural stone, and even luxury vinyl tiles (LVT) are popular choices. Consider factors like color, pattern, and texture to find a tile that complements your existing decor and desired aesthetic.
Durability and Moisture Resistance: Vinyl flooring provides a moisture-resistant base, but it’s still important to select tiles that can withstand the demands of the space. In areas with high moisture, such as bathrooms or kitchens, choose tiles that are specifically designed for wet environments. Porcelain tiles are an excellent choice due to their low water absorption and high durability. Natural stone tiles, such as slate or granite, are also durable options but may require additional sealing to prevent water damage.
Size and Format: Tile size and format play a significant role in the overall look and feel of your space. Larger tiles can create a sense of spaciousness, while smaller tiles can add visual interest and texture. Consider the size of your room and the effect you want to achieve. Additionally, the format of the tile, such as square, rectangular, or mosaic, can also contribute to the overall design.
Slip Resistance: Slip resistance is a crucial factor to consider, especially in areas prone to wetness. Look for tiles with a higher slip resistance rating, such as those with textured surfaces or matte finishes. These tiles provide better traction and reduce the risk of accidents, making them suitable for bathrooms, kitchens, or any area where water or spills are common.
Budget and Maintenance: Set a budget for your tile project and consider the long-term maintenance requirements. While natural stone tiles can add a luxurious touch, they often require more maintenance and sealing compared to ceramic or porcelain tiles. Luxury vinyl tiles (LVT) offer a cost-effective and low-maintenance alternative that closely resembles the look of natural materials.
Step-by-Step Guide to Installing Tile Over Vinyl Flooring
Installing tile over vinyl flooring can be a relatively straightforward process with the right tools and techniques. Follow this step-by-step guide that will walk you through the process of installing tile over vinyl flooring, ensuring a successful and professional-looking result.
Gather the Necessary Tools and Materials: Before you begin, gather all the tools and materials you will need for the installation. This may include tiles, tile adhesive, trowel, tile spacers, grout, grout float, sponge, level, measuring tape, and a tile cutter or wet saw.
Prepare the Vinyl Flooring: Thoroughly clean the vinyl flooring, ensuring it is free of any dirt, debris, or wax. If the vinyl has a glossy surface, lightly sand it to create a rougher texture for better tile adhesion. Remove any damaged or loose sections of the vinyl.
Apply Tile Adhesive: Using a notched trowel, apply a layer of tile adhesive to a small section of the vinyl flooring. Spread the adhesive evenly, ensuring full coverage. Work in small sections to prevent the adhesive from drying out before placing the tiles.
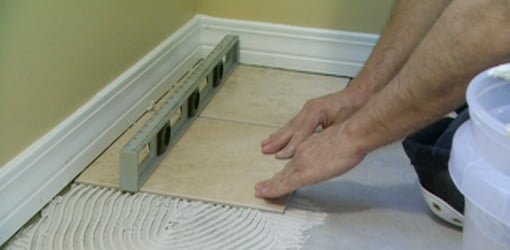
Lay the Tiles: Carefully place the tiles onto the adhesive, pressing them firmly into place. Use tile spacers to maintain consistent spacing between the tiles. Check the level periodically to ensure the tiles are even and aligned.
Cut Tiles to Fit: If necessary, use a tile cutter or wet saw to cut tiles to fit around edges, corners, or obstacles. Measure and mark the tiles before cutting, ensuring accurate and precise cuts.
Allow the Adhesive to Dry: Once all the tiles are in place, allow the adhesive to dry according to the manufacturer’s instructions. Avoid walking on the tiles or applying any pressure until the adhesive has fully cured.
Grout the Tiles: After the adhesive has dried, remove the tile spacers and prepare the grout according to the manufacturer’s instructions. Use a grout float to spread the grout over the tiles, ensuring all the gaps are filled. Wipe off any excess grout with a sponge, working diagonally to avoid removing grout from the gaps.
Clean and Seal the Grout: Once the grout has cured for the specified time, clean the tiles and grout lines with a damp sponge. This will remove any grout haze or residue. After the grout has fully dried, consider applying a grout sealer to protect it from stains and moisture.
Maintenance Tips for Tiled Floors on Vinyl Substrates
Maintaining tiled floors on vinyl substrates is essential to ensure their longevity and aesthetic appeal. Below we provide some helpful maintenance tips to keep your tiled floors looking their best and to prevent any damage or deterioration.
Regular Cleaning: Regular cleaning is crucial to maintain the appearance and cleanliness of your tile floors. Sweep or vacuum the floor regularly to remove loose dirt and debris. Use a damp mop or a mild tile cleaner to clean the tiles, making sure to follow the manufacturer’s instructions. Avoid using harsh or abrasive cleaners, as they may damage the tiles or the vinyl substrate.
Grout Cleaning and Sealing: The grout lines between the tiles can accumulate dirt and stains over time. Regularly clean the grout using a grout cleaner or a mixture of baking soda and water. Scrub the grout gently with a soft brush and rinse thoroughly. Consider applying a grout sealer every few years to protect the grout from stains and moisture.
Preventing Scratches and Damage: To prevent scratches on your tiled floors, place protective pads or felt under furniture legs. Avoid dragging heavy objects or furniture across the tiles, as this can cause scratches or damage. Use rugs or mats in high-traffic areas or entryways to trap dirt and prevent it from scratching the tiles.
Addressing Stains and Spills: Promptly clean up any spills or stains on the tiles to prevent them from becoming permanent. Use a mild cleaner or a mixture of water and vinegar for most stains. For stubborn stains, consult the manufacturer’s guidelines or a professional cleaner for specific recommendations.
Avoid Excessive Moisture: While vinyl flooring is moisture-resistant, excessive moisture can still cause damage to the tiles and the vinyl substrate. Wipe up any standing water or spills immediately to prevent water from seeping into the tiles or the substrate. Use mats or rugs in areas prone to moisture, such as bathrooms or kitchens, to absorb excess water.
Regular Inspections: Regularly inspect your tiled floors for any signs of damage or deterioration. Look for loose or cracked tiles, grout gaps, or any other issues that may require attention. Addressing these issues promptly can prevent further damage and ensure the longevity of your tiled floors.
Installing Luxury Vinyl over existing tiles. – Choices Flooring
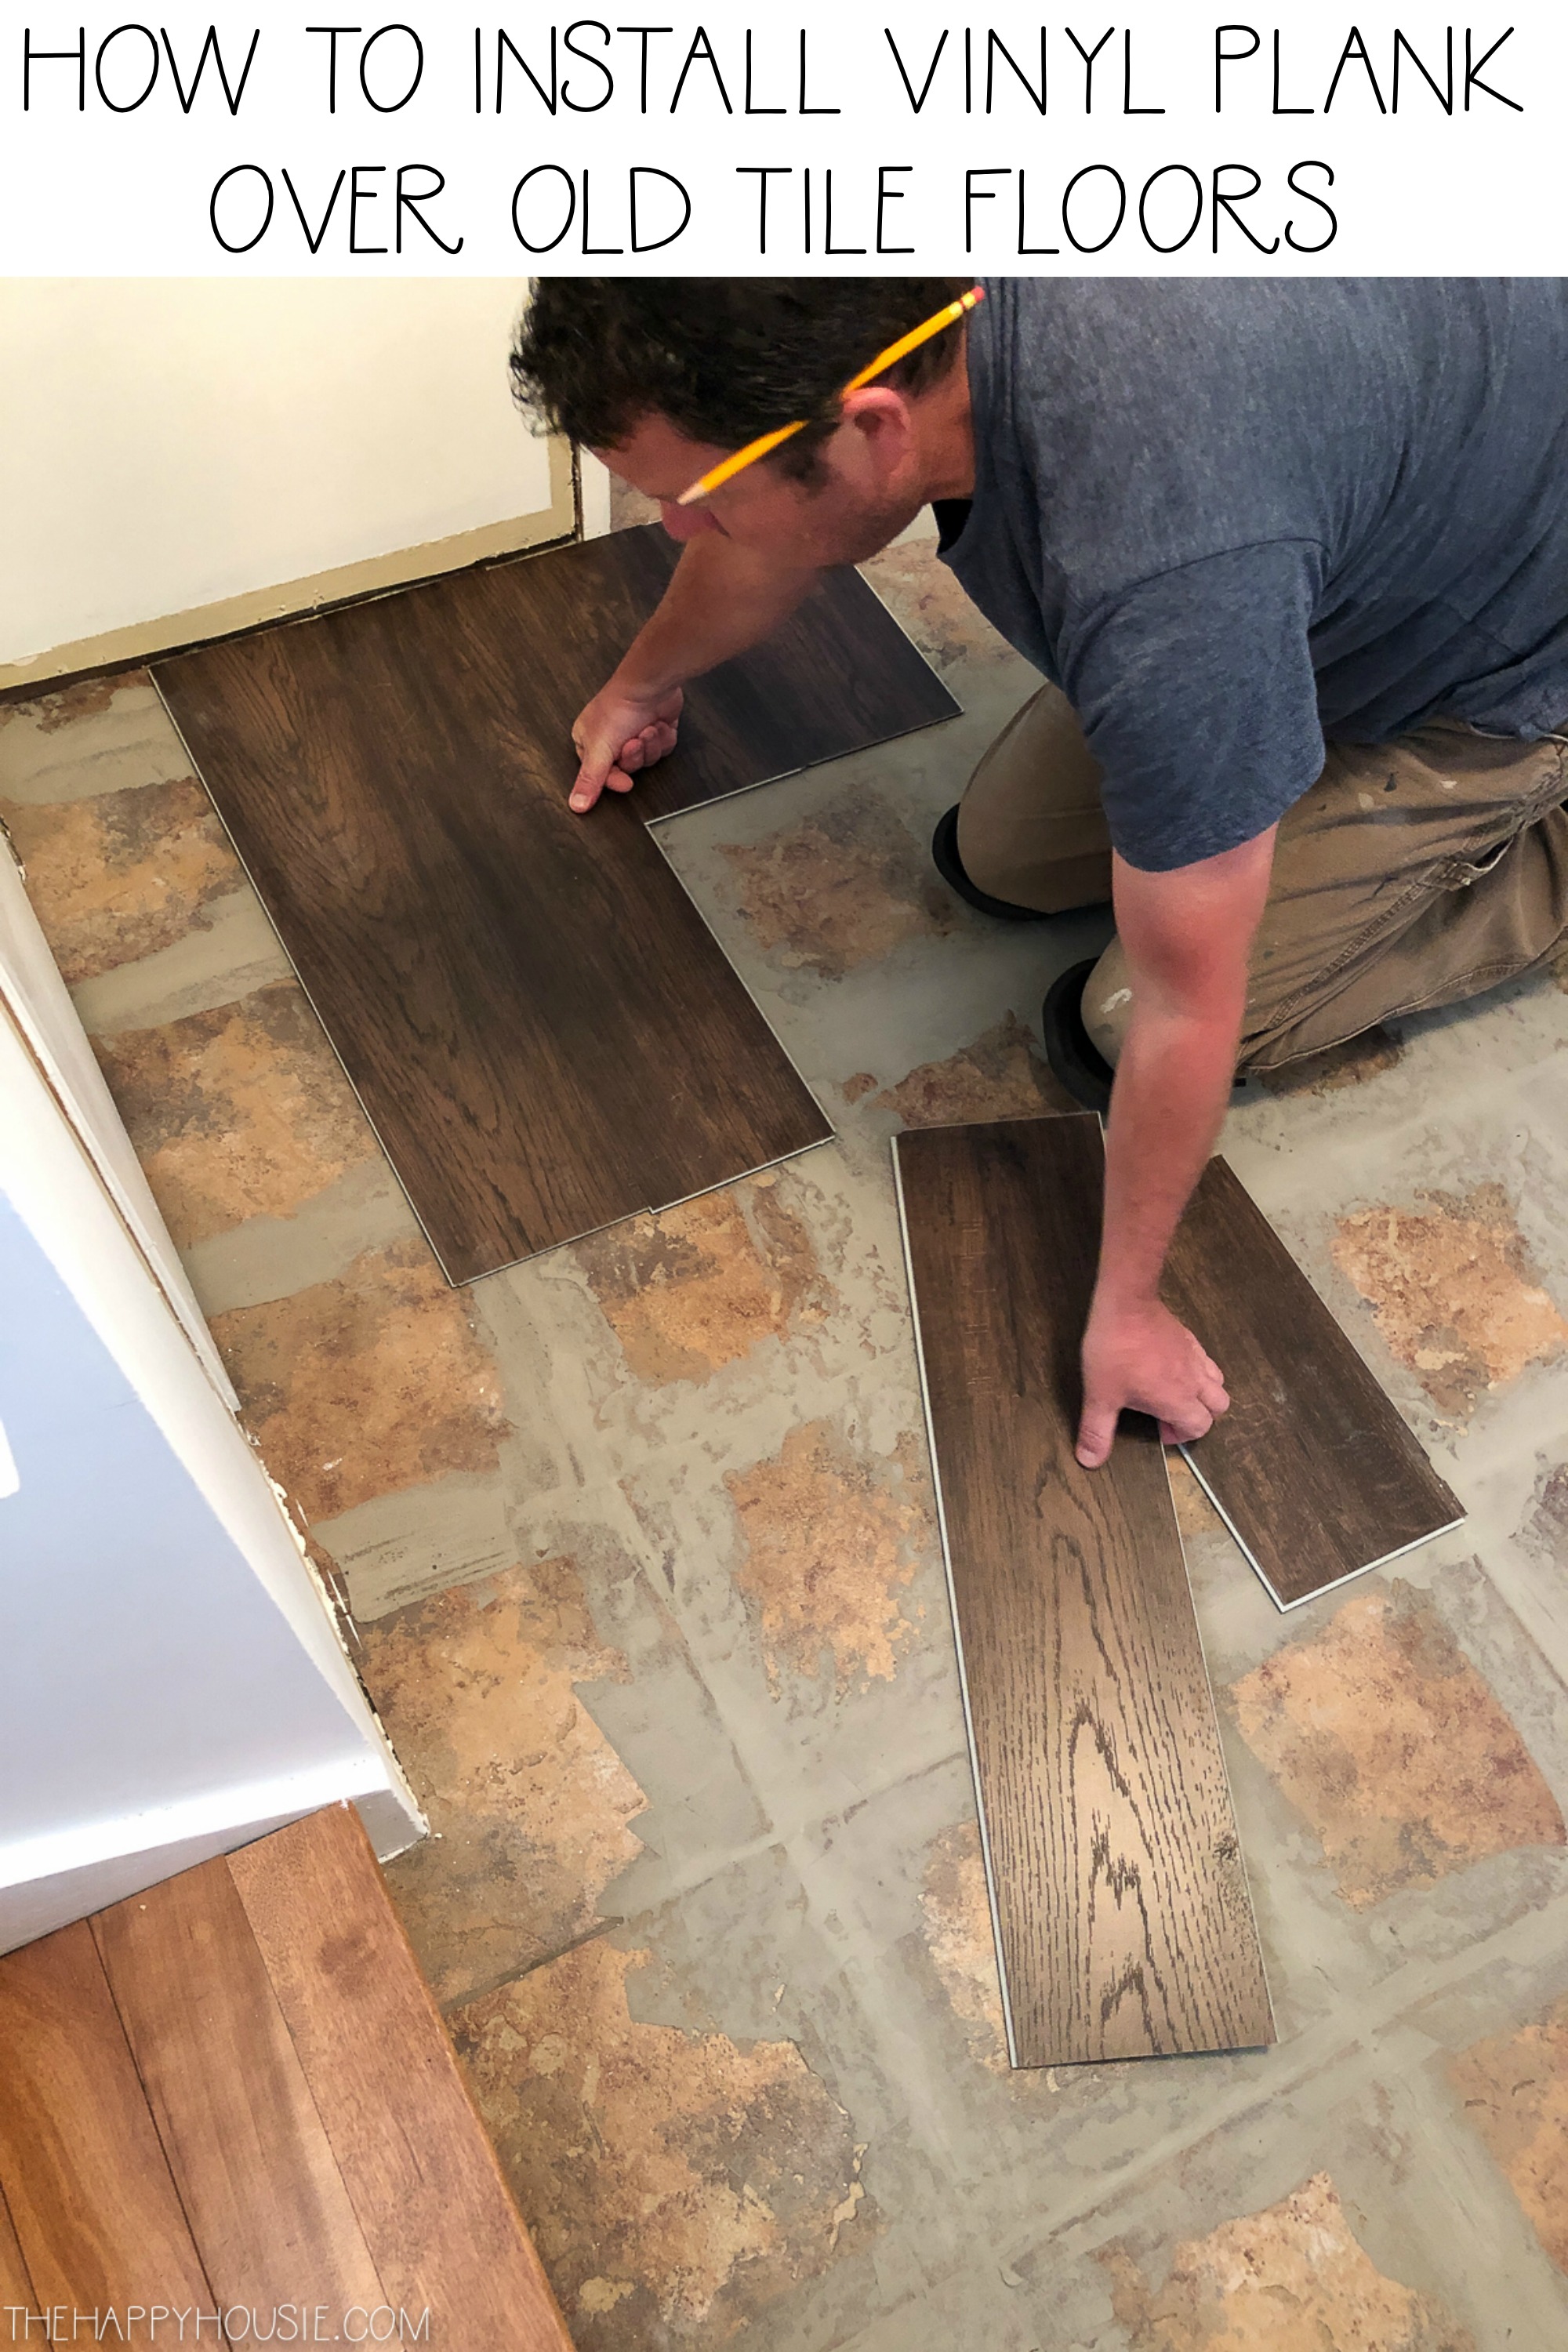
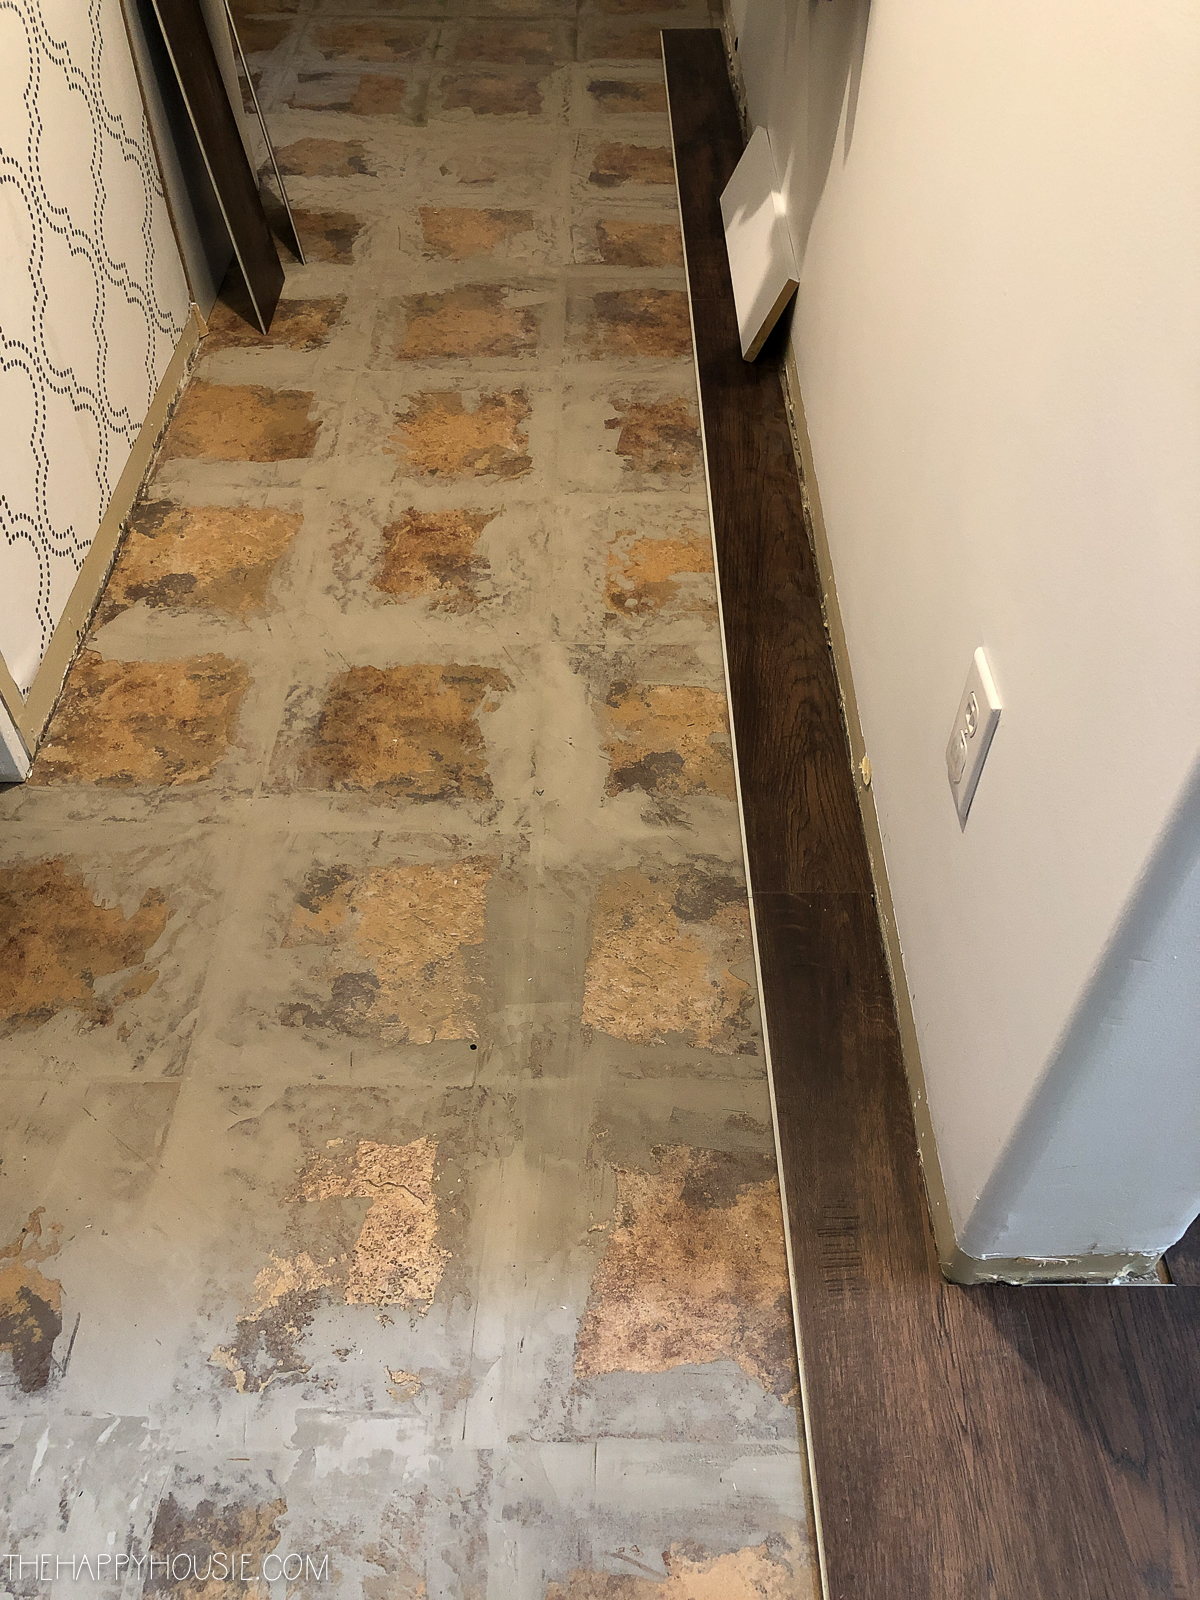
How to Install Vinyl Plank Over Tile Floors The Happy Housie
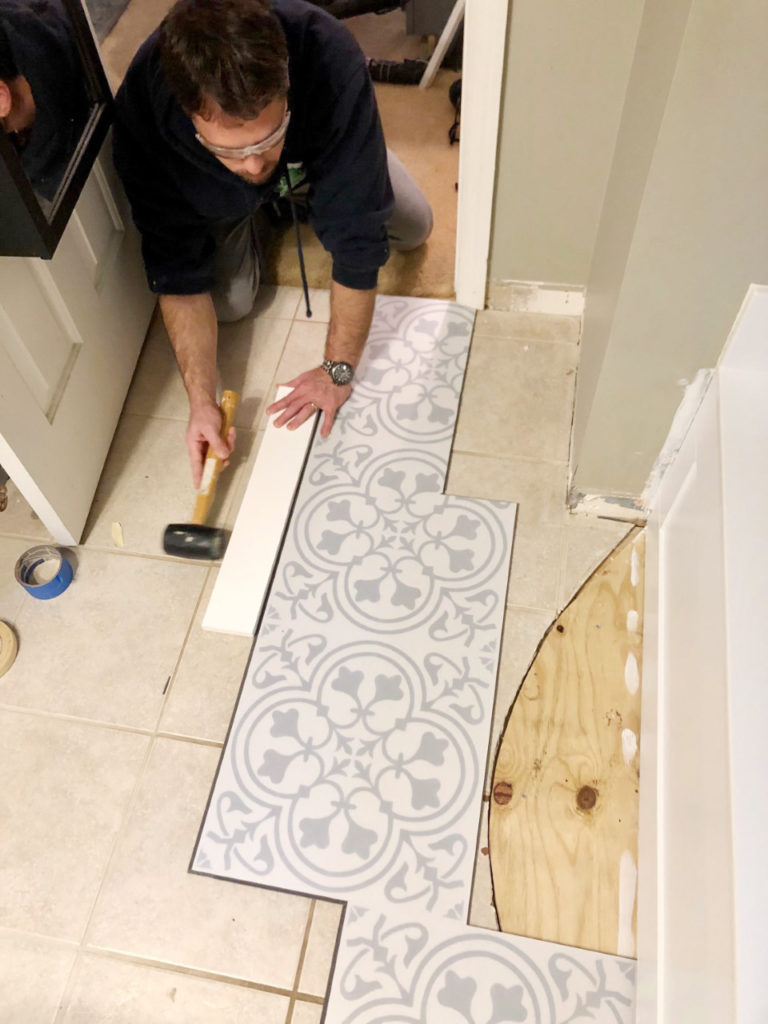
vinyl plank flooring over tile / should I do this?
How to Install Floating Vinyl Flooring Over Old Floors u2013 Simply2moms
Pin on For the Home
Do You Need to Remove Linoleum Before Laying Tile?
Related Posts:


