What is Ceramic Tile Floor Trim?
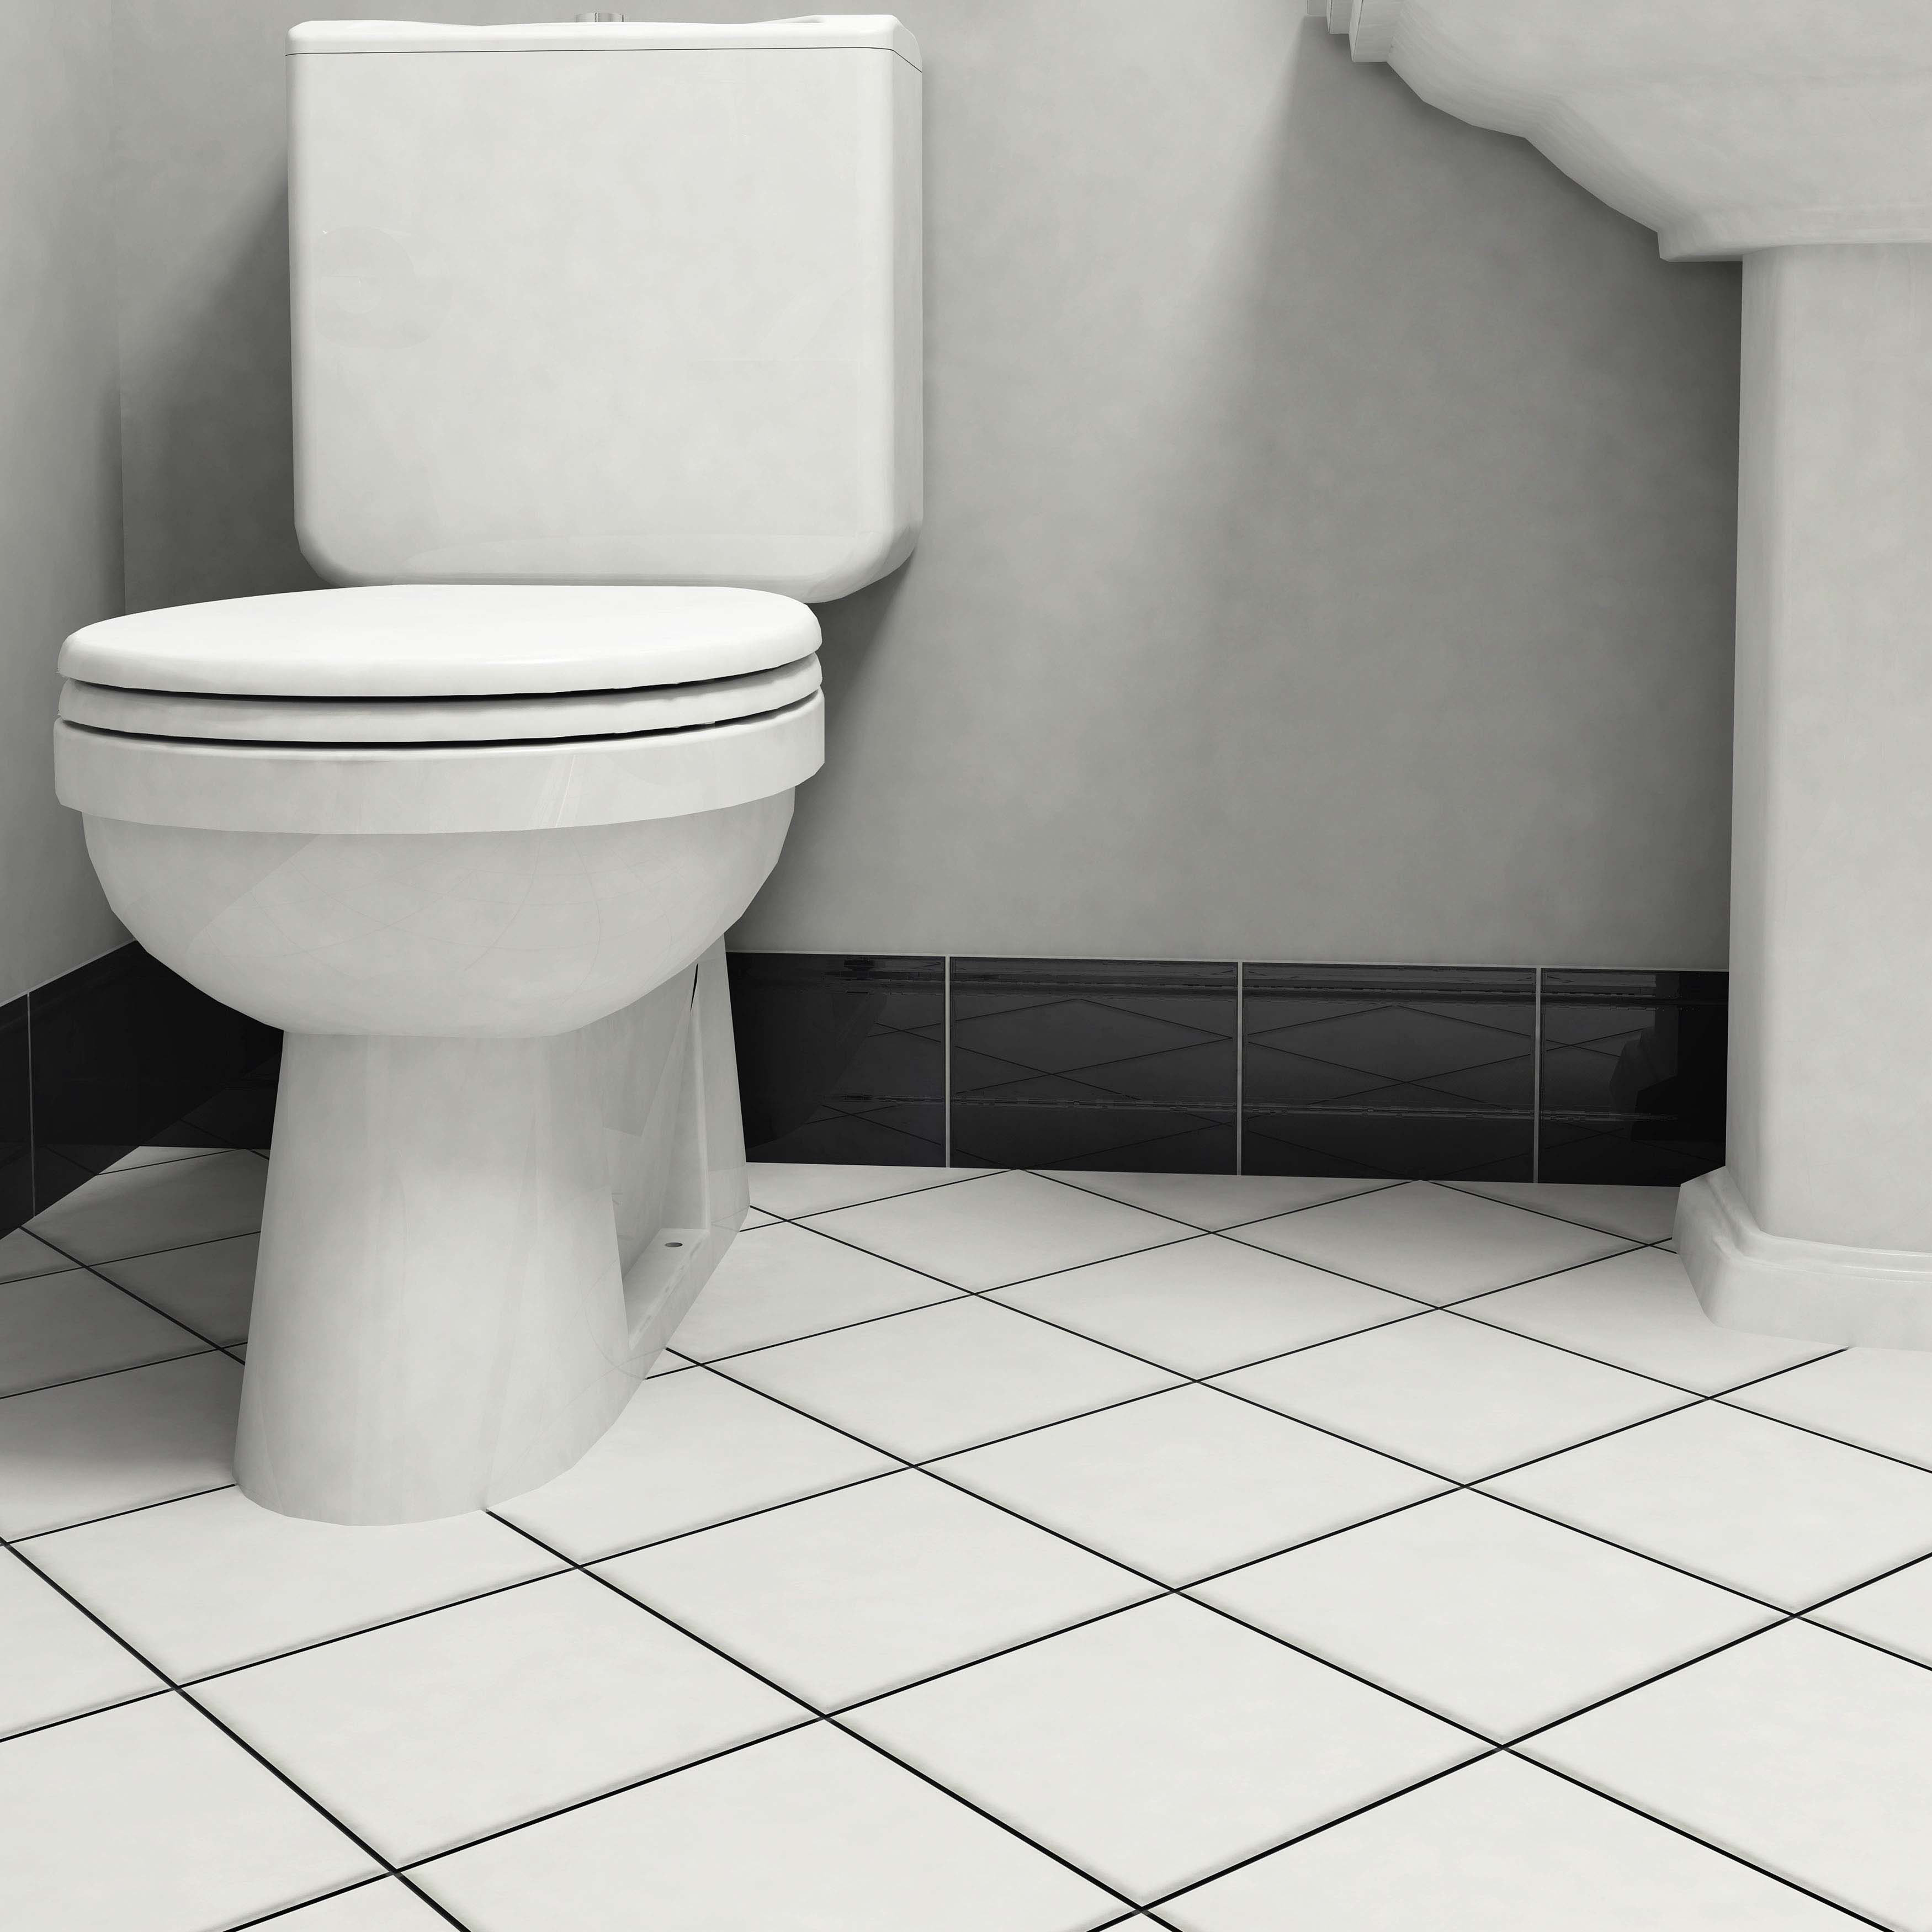
Ceramic tile floor trim, in a nutshell, is the unsung hero of flooring installations. These unassuming pieces serve both a functional and aesthetic purpose by providing a smooth and protective finish for the edges of ceramic tile floors. Picture it as the frame of a beautiful painting – it not only enhances the artwork but also guards it against potential damage.
- Protecting Your Investment: One of the primary functions of ceramic tile floor trim is to act as a shield for your flooring. Without trim, the edges of your ceramic tiles could be vulnerable to chipping, cracking, or general wear and tear. Over time, this could lead to an unsightly and uneven floor. The trim pieces are there to prevent this and ensure your flooring maintains its integrity and appearance.
- Aesthetic Appeal: Beyond protection, these trim pieces are style enhancers. They play a crucial role in creating a seamless and polished transition between your tile floor and its surroundings, whether that’s walls, countertops, or adjacent flooring materials. So, not only do they guard your tiles, but they also up the visual appeal of your space.
Benefits of Using Ceramic Tile Floor Trim
Now let’s discuss various benefits of using ceramic tile floor trim.
- Enhanced Appearance: Ceramic tile floor trim can greatly enhance the overall appearance of any space. With its sleek and polished finish, it adds a touch of elegance and sophistication to the room. The trim acts as a finishing touch, providing a clean and seamless transition between the tile floor and the walls or other surfaces. Its aesthetic appeal can instantly elevate the visual appeal of any room.
- Protection against Wear and Tear: Ceramic tile floor trim serves as a protective barrier, preventing the edges of the tiles from chipping or cracking. It acts as a buffer, absorbing any impact or pressure that may occur during daily activities. This protection helps to prolong the lifespan of the tiles, ensuring their durability and integrity over time. By preventing damage, the trim reduces the need for costly repairs or replacements.
- Easy Maintenance: Ceramic tile floor trim is incredibly easy to clean and maintain. Its smooth surface allows for effortless wiping or mopping, ensuring that dirt, dust, and spills are easily removed. Unlike other materials, such as wood or carpet, ceramic tile trim does not absorb stains or odors, making it a hygienic and low-maintenance option. Regular cleaning and maintenance can keep the trim looking brand new for years to come.
- Versatility in Design: Ceramic tile floor trim comes in a wide range of colors, patterns, and sizes, allowing for endless design possibilities. Whether you prefer a subtle and seamless look or a bold and contrasting design, there is a trim option to suit your style and preferences. This versatility allows you to create a cohesive and visually appealing space that reflects your personal taste.
- Increased Safety: Ceramic tile floor trim can contribute to a safer environment, especially in areas prone to moisture or slippery surfaces. The trim provides a smooth and non-slip transition, reducing the risk of accidents or falls. Additionally, some trim options come with a textured or raised surface, further enhancing grip and stability. This added safety feature is particularly beneficial in bathrooms, kitchens, or any area where water or spills are common.
- Cost-Effective: Ceramic tile floor trim offers excellent value for money. Not only is it relatively affordable compared to other flooring options, but it also provides long-term cost savings. Its durability and resistance to wear and tear minimize the need for frequent repairs or replacements. Furthermore, its easy maintenance requirements save both time and money on cleaning products and professional services.

Different Types of Ceramic Tile Floor Trim
Quarter Round Trim:
Quarter-round trim is a popular choice for ceramic tile floors as it provides a smooth and finished look to the edges of the flooring. This type of trim is a small, rounded molding that is commonly used to cover the seam between the floor and the baseboard. It helps to protect the edges of the tiles from chips and cracks, while also adding a decorative touch to the overall appearance of the floor.
Bullnose Trim:
Bullnose trim is another common type of ceramic tile floor trim that is widely used in various applications. It is characterized by its rounded edge, which creates a smooth and polished transition between the tile surface and the adjacent flooring or wall. Bullnose trim is particularly popular for finishing the edges of stairs, countertops, and shower walls. It not only adds a finished look to the tile installation but also helps to prevent any sharp edges that could cause injury.
Schluter Trim:
Schluter trim is a brand of metal edge trim that is specifically designed for ceramic tile floors. This type of trim provides a durable and attractive finish to the edges of the tile, while also serving as a protective barrier against impact and moisture. Schluter trim is available in a variety of shapes and finishes, including straight profiles, corner pieces, and transition trims. It is commonly used in high-traffic areas such as commercial buildings and residential kitchens and bathrooms.
Pencil Trim:
Pencil trim is a narrow and elongated type of ceramic tile floor trim that is often used to create a decorative border or accent within the tiled area. It is typically installed horizontally or vertically along the edges of the tiles, creating a sleek and contemporary look. Pencil trim can be made from various materials, including ceramic, porcelain, and natural stone, allowing for a wide range of design options. It is commonly used to add interest and visual appeal to backsplashes, shower niches, and other focal points in a room.
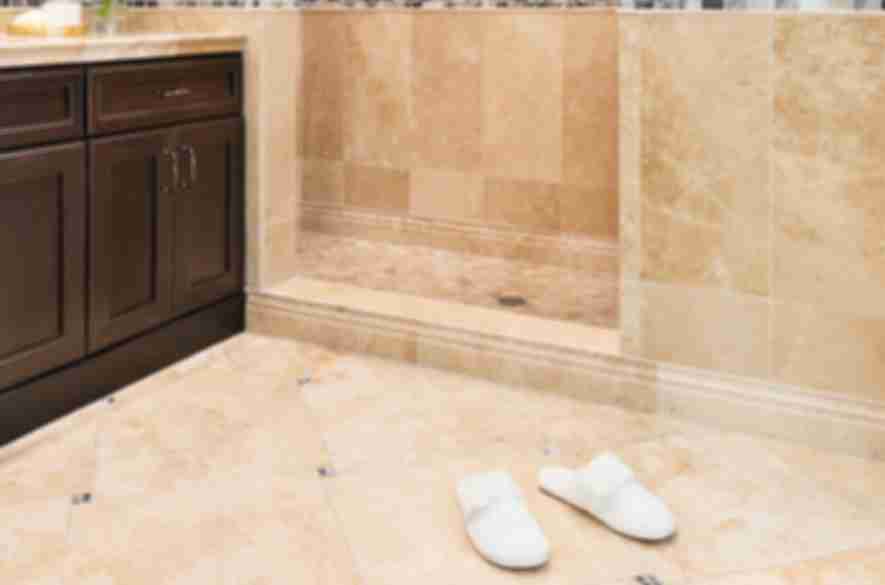
Cove Trim:
Cove trim is a unique type of ceramic tile floor trim that is designed to create a smooth transition between the tile floor and the wall. It features a concave shape, which allows it to curve inward and form a seamless connection between the two surfaces. Cove trim is commonly used in areas where hygiene and cleanliness are essential, such as commercial kitchens and healthcare facilities.

How to Install Ceramic Tile Floor Trim
Installing ceramic tile floor trim is a straightforward process that can add a polished finishing touch to your tile installation. Follow these steps to ensure a successful installation:
1. Gather the necessary materials: Before starting the installation, gather all the materials you will need. This includes the ceramic tile floor trim pieces, a measuring tape, a pencil, a tile cutter or saw, tile adhesive, a notched trowel, a rubber mallet, tile spacers, a level, and grout.
2. Measure and mark: Begin by measuring the length of the area where you will be installing the ceramic tile floor trim. Use a pencil to mark the trim pieces accordingly, ensuring they fit perfectly in the designated space.
3. Cut the trim pieces: Once you have marked the trim pieces, use a tile cutter or saw to cut them to the appropriate length. Make sure to wear safety goggles and follow the manufacturer’s instructions for using the cutting tool.
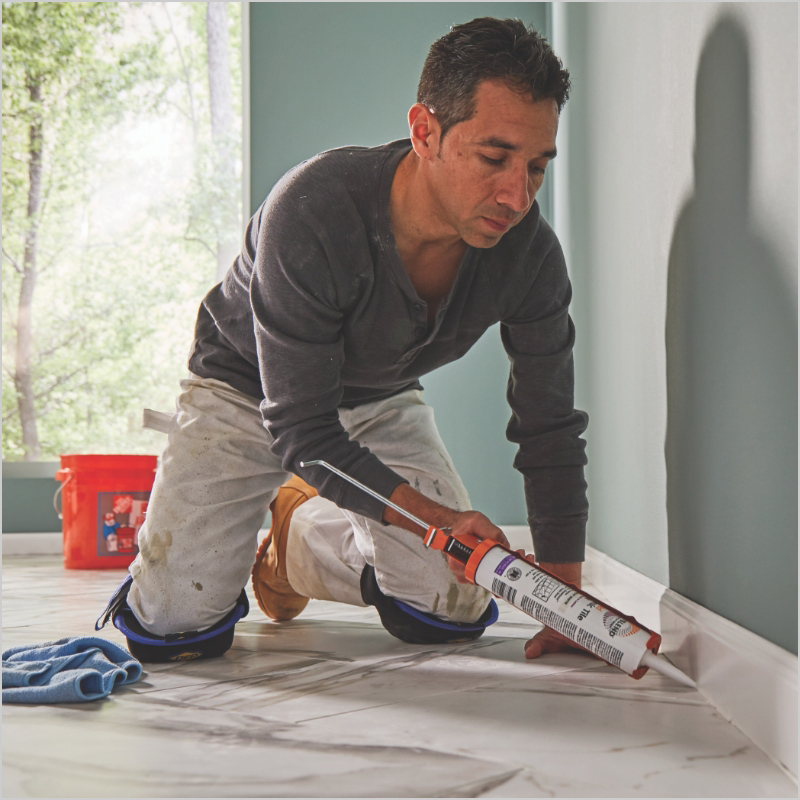
4. Apply adhesive: Apply a layer of tile adhesive to the back of the first trim piece using a notched trowel. Make sure to spread the adhesive evenly, covering the entire back surface.
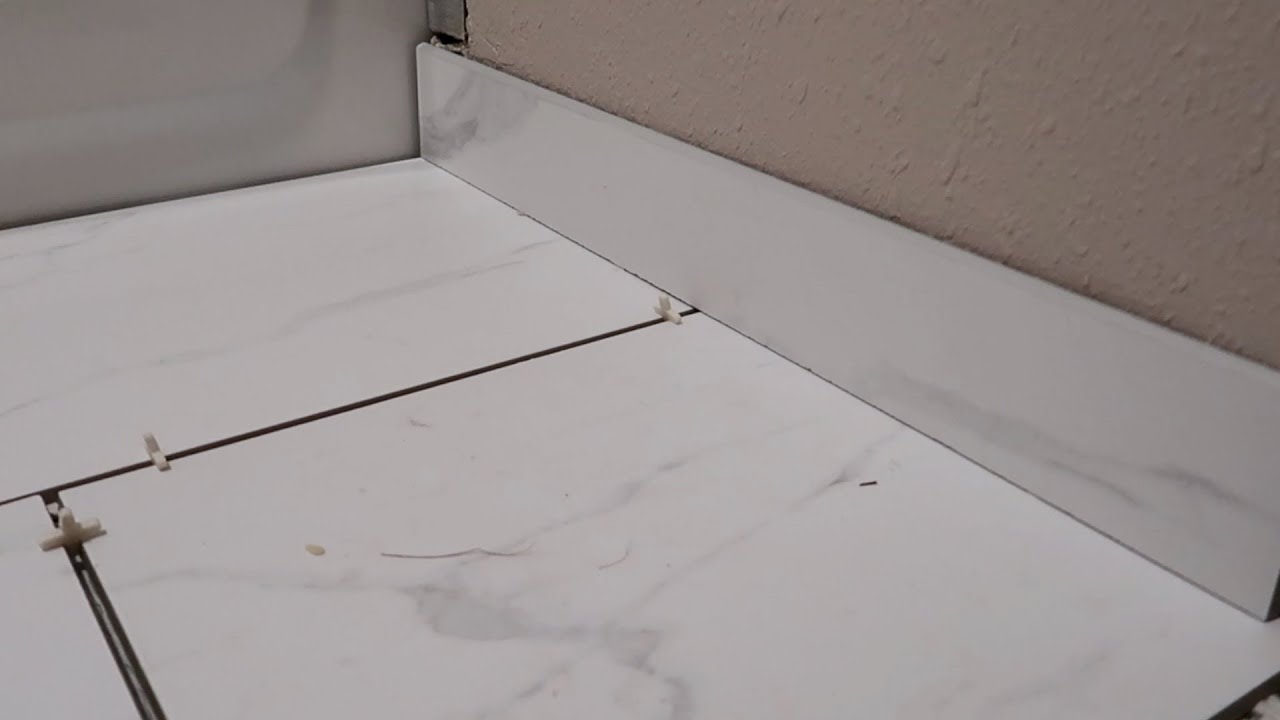
5. Position and secure the trim: Carefully position the first trim piece in its designated spot, aligning it with the marked measurements. Use a rubber mallet to gently tap the trim into place, ensuring it adheres firmly to the floor. Insert tile spacers along the length of the trim to maintain a consistent gap between the trim and the adjacent tiles.
6. Repeat the process: Continue applying adhesive, positioning the trim pieces, and securing them with the rubber mallet. Make sure to use tile spacers to maintain consistent spacing between the trim pieces and the adjacent tiles.
7. Check for levelness: As you install each trim piece, use a level to ensure it is straight and level with the surrounding tiles. Adjust the positioning as necessary before the adhesive dries.
8. Allow adhesive to dry: Once all the trim pieces are installed, allow the adhesive to dry completely according to the manufacturer’s instructions. This typically takes 24-48 hours.
9. Apply grout: After the adhesive has dried, remove the tile spacers and use a grout float to apply grout to the gaps between the trim pieces and the adjacent tiles. Wipe away any excess grout with a damp sponge, being careful not to disturb the freshly applied grout.
Tile Edge Trim Ideas – Sebring Design Build

Pin on Appartement Decorating

thicker House flooring, White baseboards, Baseboards

For Floors Profiles

Tile Trim – Edging Designs, Trends & Ideas for 2024
Easy Tile Edging Options Clients Love
Related Posts: