Affordable Flooring Options for a Fresh Kitchen Look
I know that one of the fastest ways to refresh a kitchen is by updating the floor. But with so many pricey flooring options out there, it can be hard to find affordable alternatives that still look great. Over the years, I’ve explored some cost-effective flooring ideas, and here are my top picks for making your kitchen look amazing without breaking the bank.
- Peel-and-Stick Vinyl Tiles
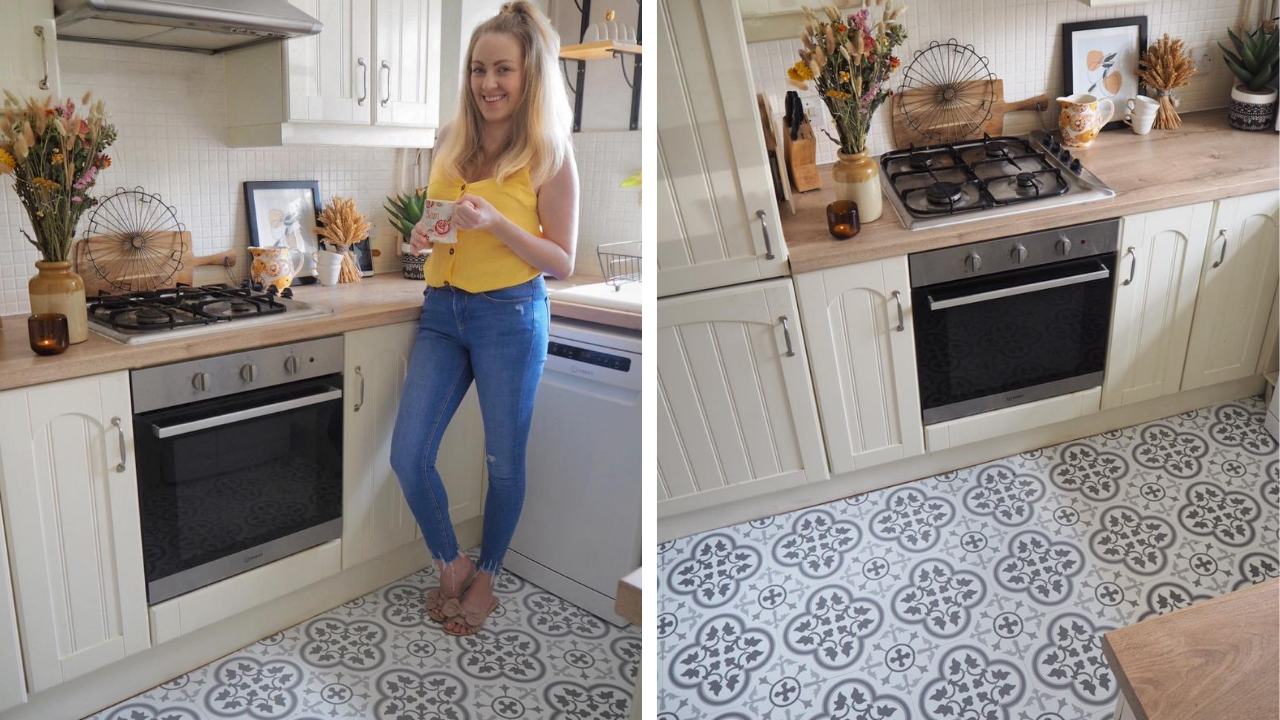
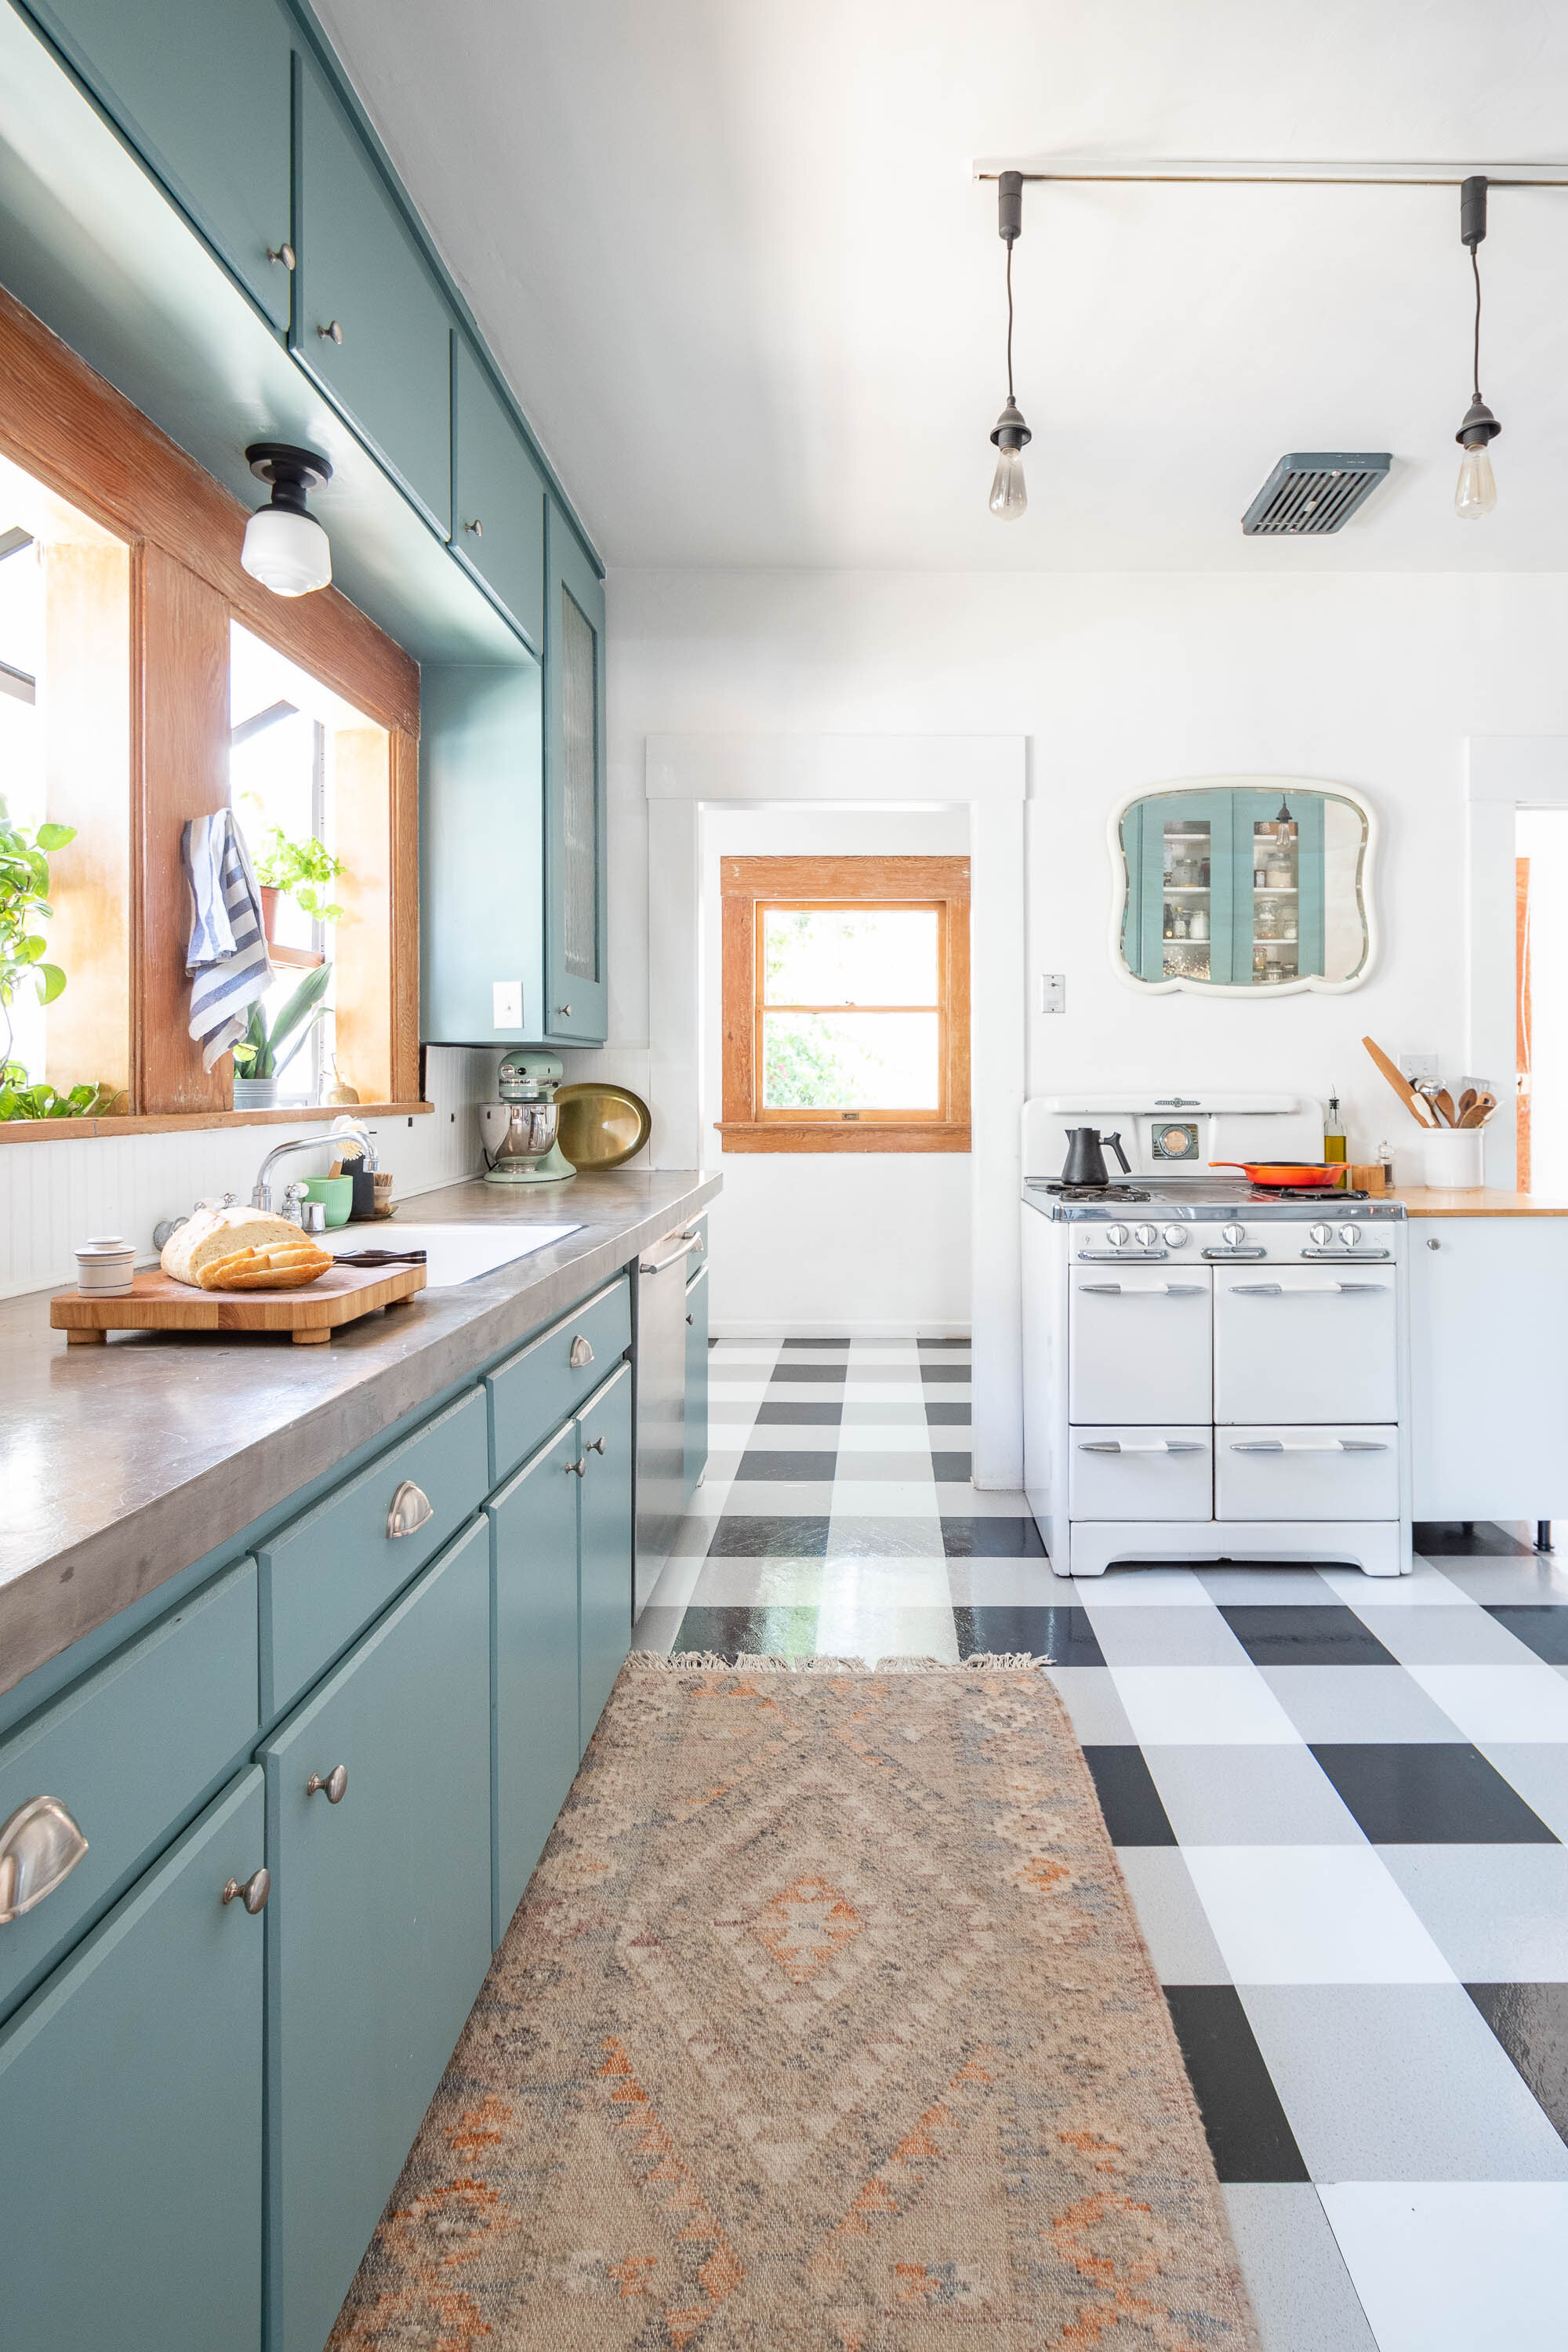
I love peel-and-stick tiles for their simplicity. They’re affordable, easy to install, and come in a variety of colors and patterns. They’re a fantastic choice if you’re looking for something you can do yourself in a day. Plus, they’re water-resistant and low-maintenance, making them perfect for the kitchen. - Laminate Flooring
Laminate flooring is another budget-friendly option I’ve enjoyed using in my kitchen makeovers. It mimics the look of hardwood or stone but comes at a fraction of the price. Laminate is durable, scratch-resistant, and has a protective layer that makes it easy to clean. - Painted Plywood
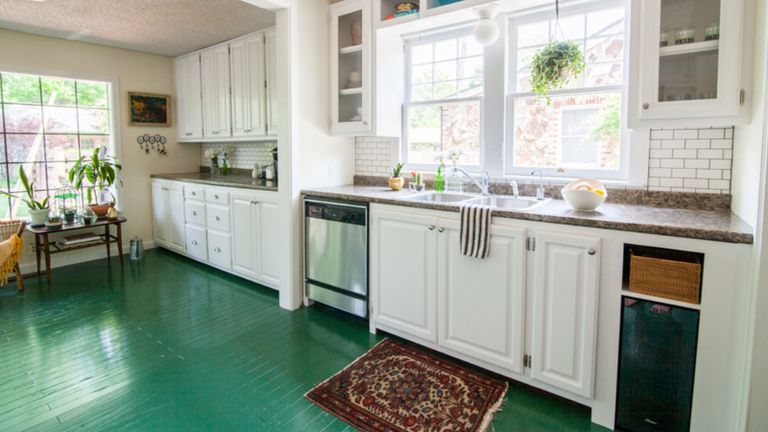
If you’re willing to put in a bit more elbow grease, painting plywood floors can be a creative and cheap solution. I’ve seen some gorgeous kitchens with painted plywood floors, and the best part is that you can get as creative as you want with stencils or patterns. - Sheet Vinyl
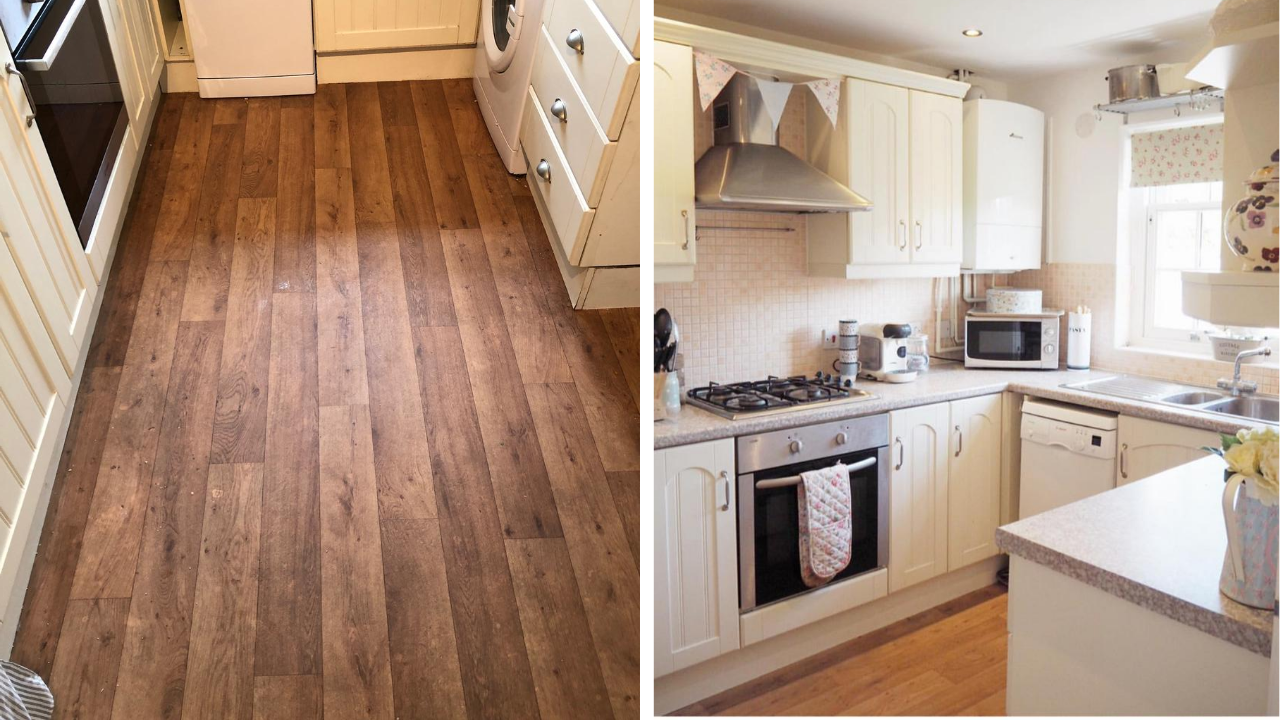
For those who prefer seamless floors, sheet vinyl is a great option. It’s generally inexpensive and very durable, with modern options that replicate wood or tile convincingly. A single roll can cover most kitchens, and it’s easy to install and maintain. - Cork Flooring
Cork flooring is not only budget-friendly but also eco-friendly. It’s naturally cushioned, which makes standing in the kitchen for long periods more comfortable. I find cork adds warmth and softness, and it’s a great choice if you want something sustainable. - Concrete Staining or Polishing
Concrete floors might seem industrial, but with the right stain or polish, they can look quite elegant. If your kitchen has a concrete subfloor, a stain or polish can transform it without much cost. It’s durable, unique, and surprisingly versatile in style.
By exploring these affordable options, I’ve found that refreshing a kitchen floor doesn’t have to cost a fortune. These solutions have saved me money and added a personal touch to my kitchen without compromising on style or durability.

DIY Flooring Ideas to Transform Your Kitchen on a Budget
Updating a kitchen floor doesn’t have to mean hiring a contractor or spending thousands of dollars. I’ve had success with several DIY-friendly flooring ideas that require minimal skills and tools. With these options, I was able to transform my kitchen without breaking the bank. Here are some of my favorite DIY-friendly options for a budget-friendly kitchen makeover.
Painted Tile or Linoleum Floors
A coat of paint can do wonders on old tile or linoleum. I recommend using floor paint that’s durable and designed for high-traffic areas. To add a unique look, consider using stencils for a patterned design. It’s a low-cost way to add a high-end look.
Stenciling Over Existing Tile
If you’re happy with the tile but want to give it a fresh look, stenciling can be a game-changer. I’ve used stencils to add a custom design to my tile, and the results are fantastic. It requires a steady hand and patience, but the impact is worth the effort.
DIY Plywood Plank Flooring
Another budget-friendly and rustic option is plywood plank flooring. I cut plywood sheets into planks, sanded them, and stained them for a warm, natural look. Installing them was relatively easy with some adhesive and a nail gun. The outcome was a cozy, wooden look without the high price of hardwood.
Peel-and-Stick Vinyl Planks
When I wanted a wood-look floor but didn’t want to install real wood or laminate, peel-and-stick vinyl planks were a great solution. They’re easy to cut and lay down, and they come in a variety of colors. Plus, the installation is simple enough for anyone to handle.
Painted Concrete Floor
If you have a concrete subfloor, painting it can be an affordable way to update the look. I used a concrete stain for a more natural look, but you can also use floor paint for a pop of color. Seal it with a topcoat to make it last longer.
Removable Carpet Tiles
If you’re renting or just want a temporary change, removable carpet tiles are an excellent choice. They come in a variety of colors and patterns, and you can mix and match them to create a unique look. I love that they’re easy to install, and you can replace individual tiles if they get damaged.
These DIY-friendly ideas allowed me to give my kitchen a completely new look without hiring a professional. With a bit of creativity and patience, anyone can transform their kitchen floor on a budget.
Top Materials for a Budget Kitchen Floor Makeover
Choosing the right material is key when it comes to updating a kitchen floor on a budget. I’ve experimented with various flooring materials over the years, and some options stand out for their affordability and style. Here are my favorite materials that give a great look without costing a fortune.
Vinyl Planks
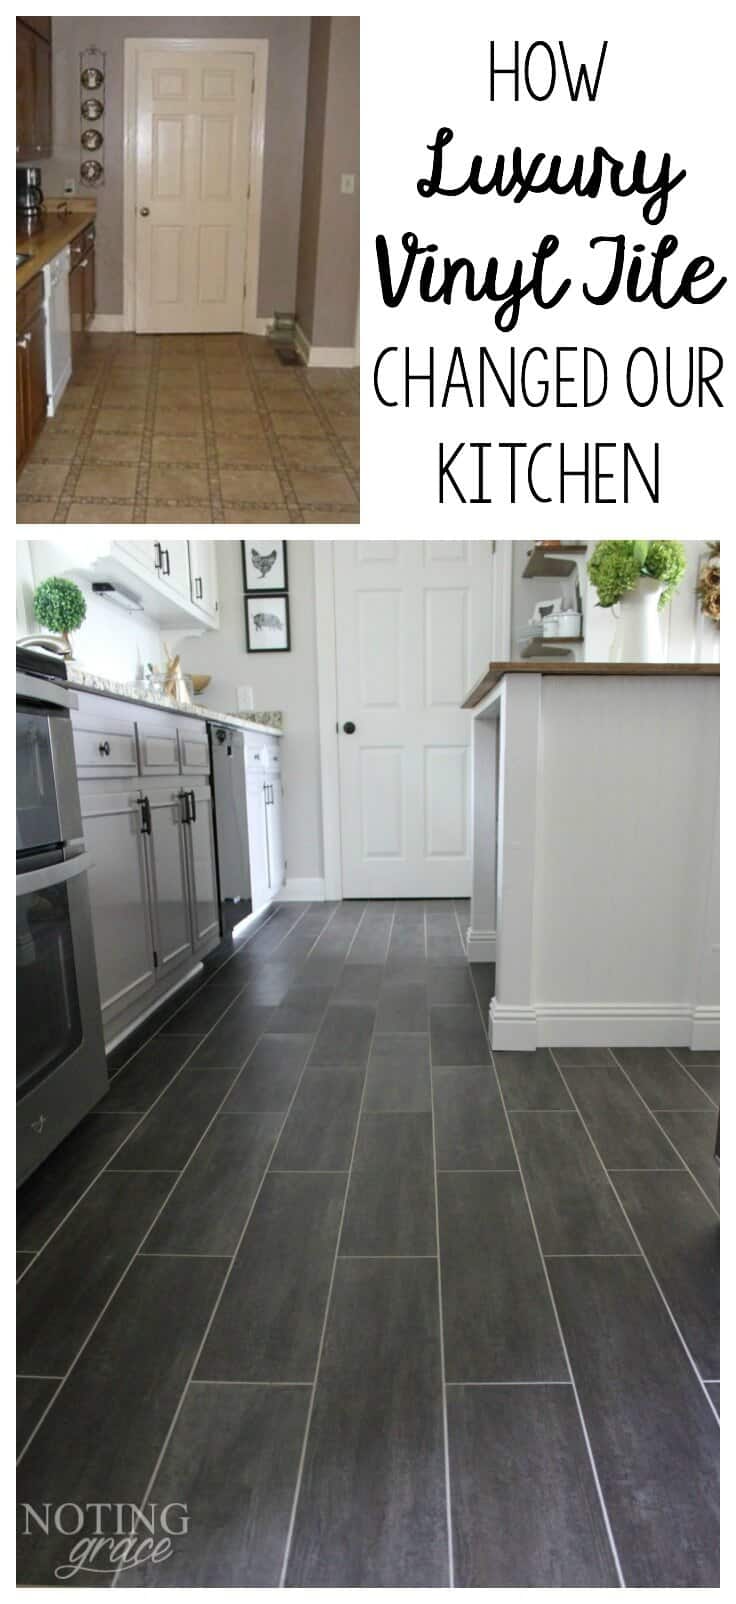
Vinyl planks are a staple for budget kitchen floors because they look great and are easy to install. They come in various designs, from wood to stone patterns, and they’re water-resistant—perfect for kitchen spills.
Ceramic Tile
Ceramic tile is durable and relatively affordable, especially if you’re only covering a small kitchen area. I’ve used ceramic tiles in kitchens for their durability, and the variety of patterns allows me to match almost any style.
Engineered Wood
Engineered wood is a budget-friendly alternative to solid hardwood. It provides the look of real wood but at a lower price point. I love how it brings warmth and character to the kitchen while being easier to maintain.
Peel-and-Stick Vinyl Tiles
For quick installations, peel-and-stick tiles have always been a go-to. They’re incredibly versatile, inexpensive, and come in numerous colors and patterns. Plus, they’re easy to replace if any tiles get damaged over time.
Linoleum
Linoleum is durable, easy to clean, and surprisingly stylish these days. It’s also eco-friendly since it’s made from natural materials. I like how it adds a retro vibe to the kitchen, and it’s incredibly budget-friendly.
Cork
Cork is soft, durable, and adds warmth to a kitchen. It’s a bit different from traditional flooring options, but it’s eco-friendly and fairly affordable. It’s a comfortable choice for anyone who spends a lot of time cooking.
When it comes to kitchen flooring on a budget, choosing the right material can make a world of difference. Each of these options offers a mix of affordability and style, making it easier to achieve a beautiful kitchen makeover without overspending.
How to Choose the Right Floor Style for Your Kitchen
Selecting the right floor style for my kitchen was a bit overwhelming at first, given the many options available. I quickly realized that finding a floor style that matches both the look and function of my kitchen was essential. Here’s how I went about narrowing down my options to make the best choice.
Consider Your Kitchen’s Overall Style
First, I took a close look at the style of my kitchen. Since my kitchen has a modern, minimalist feel, I knew that sleek flooring, like polished concrete or subtle wood planks, would be a good fit. If you have a farmhouse or rustic style, wood or wood-look vinyl might be the way to go.
Think About Durability and Maintenance
The kitchen is a high-traffic area, so durability was key for me. I thought about materials that could handle spills, heat, and general wear and tear. Tiles and vinyl are particularly durable and easy to maintain, which makes them great options for busy households.
Consider Color and Light Reflection
I quickly learned that color impacts the room’s brightness and feel. Light-colored floors tend to make a small kitchen look bigger, while darker floors add warmth and contrast. Since my kitchen doesn’t get much natural light, I opted for lighter flooring to brighten things up.
Budget Constraints
Staying within budget was critical for me, so I considered flooring materials that are budget-friendly but still offer style. I found that vinyl planks and laminate offer the best balance between cost and appearance, giving me a great look without the high price.
Choose Comfort Level
Since I spend a lot of time in the kitchen, comfort mattered. Standing on hard tile or concrete can be tough on the feet and back, so I considered options like cork, which has a natural cushion. If comfort is a priority, look for materials with some give.
Factor in Installation Needs
DIY installation was important to me, so I chose materials that I could easily install myself, like peel-and-stick vinyl or floating laminate. For those who want something more professional-looking, tile or engineered wood might be better but usually requires professional installation.
Choosing the right floor style made a huge difference in my kitchen. With these considerations, I was able to find the perfect fit, blending style, durability, and comfort while keeping everything within budget.
Step-by-Step Guide to Installing Budget-Friendly Flooring
Installing a new kitchen floor on a budget doesn’t have to be complicated. I decided to tackle it myself with a few tools and a little planning. Here’s my step-by-step guide that made it easy to get a professional-looking floor without hiring anyone.
Measure and Plan the Layout
The first step I took was measuring the kitchen and planning my layout. I calculated the square footage to determine how much material I’d need and mapped out the direction I wanted the planks or tiles to go. This planning saved me time and materials.
Prepare the Subfloor
Preparing the subfloor is crucial for a smooth installation. I cleaned it thoroughly, removed any old flooring remnants, and filled any holes or cracks with floor patches. A level and clean surface ensures that the new flooring will adhere properly and stay in place.
Acclimate the Flooring Material
I left the flooring material in the kitchen for about 24–48 hours to acclimate. This prevents warping or expanding once installed. Skipping this step can lead to gaps or buckling later on, especially with vinyl or laminate.
Lay Out a Test Row
Before committing to installation, I laid out a test row to make sure the pieces fit well and looked right in the space. This allowed me to make adjustments to the layout and pattern and gave me a good idea of how the final product would look.
Install the Flooring
For peel-and-stick vinyl, I simply removed the backing and pressed each piece firmly onto the subfloor, starting from one side and working my way across. With laminate, I used a tapping block and mallet to lock the planks into place. Taking my time ensured a seamless finish.
Finish the Edges and Add Trim
Finally, I added edge trim and baseboards to give the floor a polished look. Using a caulk gun, I sealed any gaps near walls or cabinets to keep water out. This step made the floor look professionally installed and prevented any future water damage.
Installing my floor was a rewarding project that saved me money and gave me a sense of accomplishment. Following these steps can help anyone create a beautiful kitchen floor with confidence.
Tips to Make Your Kitchen Floor Look Expensive on a Budget
One of the things I love most about budget makeovers is finding ways to make affordable materials look high-end. With a few clever tricks, I made my kitchen floor look far more luxurious than it was. Here are my favorite tips for achieving a sophisticated look without the hefty price tag.
Choose High-Quality, Affordable Materials
I found that certain affordable materials, like vinyl planks and laminate, can look surprisingly high-end. Look for materials with a realistic texture or grain. I opted for vinyl with a wood grain finish that mimics real hardwood at a fraction of the cost.
Go for Neutral or Classic Colors
Neutral colors like gray, beige, and brown tend to look more elegant and timeless. I chose a warm gray color for my floor, which added a sense of calm and sophistication. Avoid overly trendy colors if you’re aiming for a luxurious, long-lasting look.
Add a Pattern or Layout Twist
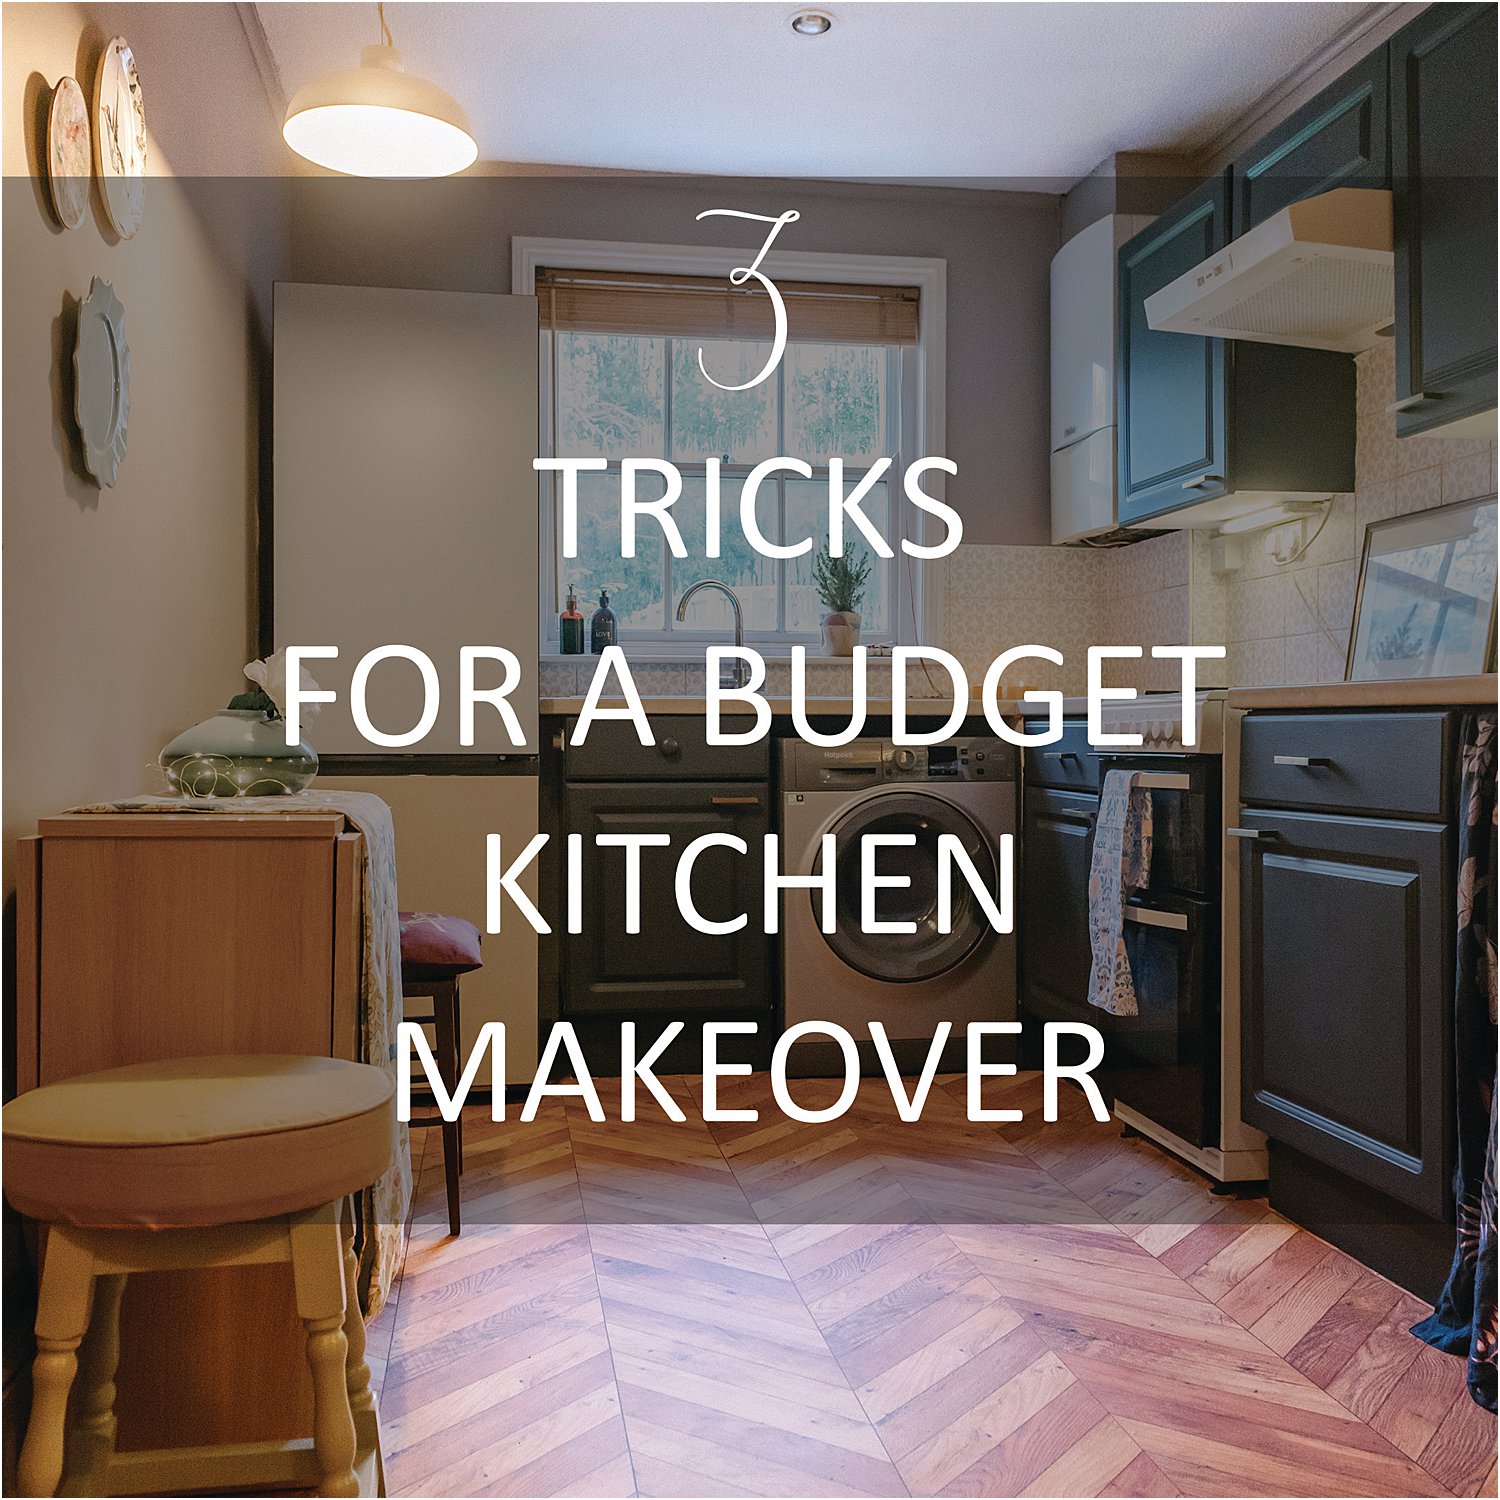
Simply changing the layout can make a budget floor look more upscale. I laid my vinyl planks in a herringbone pattern, which immediately gave it a designer touch. Even basic materials look elevated with a thoughtful layout, like diagonal or chevron patterns.
Use Larger Tiles or Planks
Large-format tiles or planks have a more modern, expansive feel that makes the space look bigger and more luxurious. I used wide vinyl planks for a more continuous, upscale look that created a sleek, seamless effect across the room.
Add Rugs or Mats
Adding a well-chosen rug or mat can elevate the look of the kitchen floor. I placed a patterned runner near the sink area, which not only added warmth but also drew attention to the floor. A rug can also help protect high-traffic areas.
Finish with a High-Gloss or Matte Sealant
I used a topcoat or sealant to enhance the finish and protect my floor. For a modern look, a matte finish is sleek and elegant, while a high-gloss finish adds a more polished, luxurious effect. The right sealant can make any budget material look richer and more refined.
With these simple tricks, I turned a budget floor into a feature that looked anything but cheap. Even on a tight budget, a little creativity and planning can make a big difference in achieving a high-end kitchen look.
DIY Budget Kitchen Makeovers – One Project at a Time
Inexpensive kitchen flooring options you can DIY Real Homes
The Reveal of My $600 Kitchen Makeover
Tricks for a Budget Kitchen Makeover
Budget Friendly Kitchen Makeover Ideas
Awesome DIY Kitchen Makeover Ideas – For Creative Juice
Related Posts:
