The Basics of Concrete Floor Refinishing
Concrete floors are known for their durability, but over time, they can start to show signs of wear and tear. Refinishing is a practical solution to revitalize a concrete surface without replacing it entirely. Not only can refinishing improve the floor’s appearance, but it can also enhance its functionality and lifespan. Let’s look at the basics of concrete floor refinishing and what you need to know before you get started.
- Why Refinish Your Concrete Floor?
Concrete floors undergo a lot of daily wear, from foot traffic to furniture movement. Over time, these factors can cause chipping, discoloration, and surface damage. Refinishing gives you the chance to repair and protect your concrete, making it look brand new again. Additionally, refinishing adds a protective layer, which helps prevent future damage and simplifies cleaning. - Different Types of Concrete Refinishing
When refinishing a concrete floor, there are several options available. Some homeowners prefer to apply a simple sealant to enhance durability, while others choose a decorative stain or paint to add personality. Epoxy coatings are another popular choice, offering both aesthetic appeal and a highly durable finish. Understanding the different types helps you choose the one that fits your specific needs. - Evaluating the Condition of Your Floor
Before deciding on a refinishing method, it’s crucial to assess the condition of your floor. Small cracks or chips may be easy to repair, while larger areas of damage could require professional help. Make note of any stains, scratches, or uneven surfaces, as these will influence the refinishing techniques and products you choose. - Choosing Between DIY and Professional Refinishing
While refinishing a concrete floor can be a DIY-friendly project, larger floors or those with severe damage might be better suited for professionals. DIY refinishing can save you money and give you full control over the finished product, but it requires time, patience, and the right tools. Weigh the pros and cons of doing it yourself versus hiring a contractor to make the best choice. - Planning Your Refinishing Project
Refinishing a concrete floor isn’t a quick project. Between surface preparation, drying times, and application of multiple layers, you’ll need to set aside ample time to complete each step thoroughly. Creating a timeline and gathering all necessary materials in advance will help ensure a smooth and successful refinishing project. - Understanding Long-Term Maintenance
Once your floor is refinished, maintaining it properly can extend the life of the finish. Regular cleaning and applying a protective sealer every few years will keep your floor looking fresh. Maintenance can also prevent premature wear, ensuring your refinished floor lasts as long as possible.

Preparing Your Concrete Floor for Refinishing: Essential Steps
Preparation is key to a successful concrete floor refinishing project. Without the right prep work, even the best refinishing products won’t adhere well, leading to peeling, cracking, or an uneven finish. Here’s a detailed guide on how to get your concrete floor ready for a flawless refinish.
Clear and Clean the Area Thoroughly
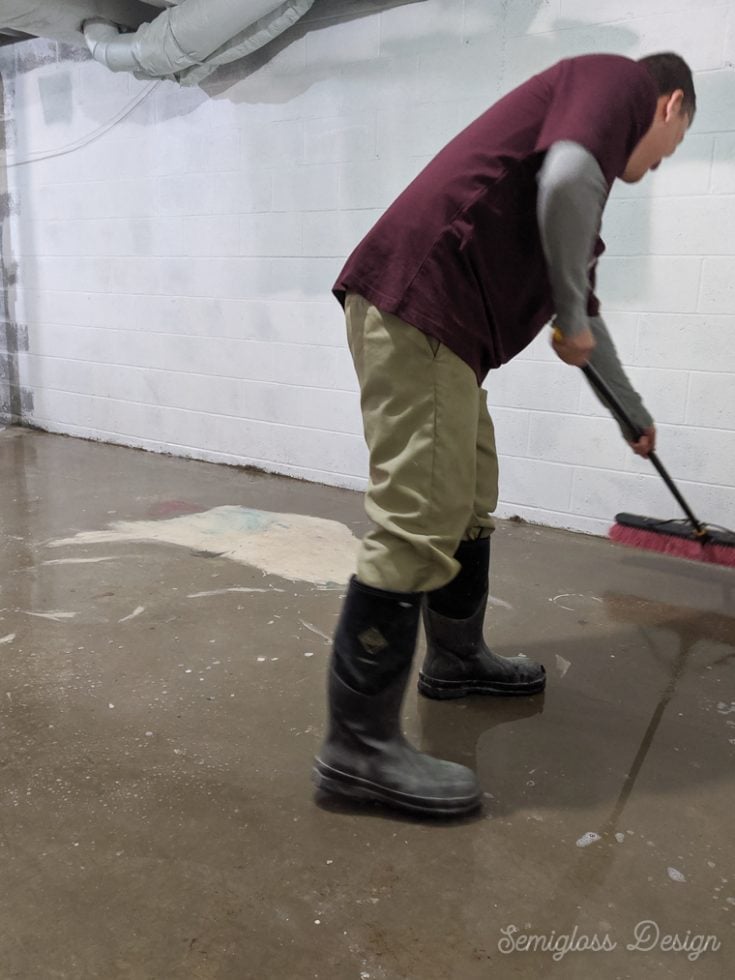
Start by clearing the entire area. Remove any furniture, rugs, or objects on the floor, and give the floor a thorough sweep. Use a vacuum to remove any hidden dirt or debris. Cleaning is essential, as dirt and dust can interfere with the refinishing products, causing them to adhere unevenly.
Degrease and Remove Stains
Concrete floors, especially in garages, are prone to oil and grease stains. Use a concrete degreaser or a mixture of water and detergent to scrub these areas thoroughly. For tougher stains, a specialized concrete cleaner might be necessary. Removing these stains ensures that the refinishing materials bond properly to the concrete surface.
Repair Cracks and Holes
Inspect the floor for cracks, holes, or imperfections. Use a concrete patching compound to fill any cracks or holes and let it dry completely. This step is crucial for creating a smooth, even surface. Sand down any repaired areas to level them with the rest of the floor, which will help achieve a seamless finish.
Etch the Surface for Better Adhesion
Etching creates a slightly rough texture that helps the refinishing products bond better to the concrete. You can use a chemical etcher or an acid-based solution, following the manufacturer’s instructions carefully. Rinse the floor thoroughly after etching to remove any residue, and allow it to dry completely.
Dry the Concrete Floor Completely
Concrete holds moisture, so it’s essential to allow the floor to dry entirely before starting the refinishing process. Use fans to speed up the drying time if needed, but be sure to wait at least 24 hours after cleaning or etching. Applying products to a damp floor can lead to bubbling, peeling, or other adhesion issues.
Mask Off Surrounding Areas
Finally, protect any adjacent walls, furniture, or fixtures by masking them with painter’s tape and plastic sheeting. This step prevents accidental spills or splatters on surfaces you don’t want to refinish. Proper masking will make cleanup easier and keep the finish looking neat and professional.
Choosing the Right Refinishing Products for Your Concrete Floor
Selecting the right products is essential for achieving a long-lasting, beautiful finish. The products you choose will determine the durability, appearance, and maintenance requirements of your refinished floor. Here’s a guide to picking the best options for your project.
Understanding Different Types of Concrete Sealers
Concrete sealers come in various types, such as acrylic, epoxy, and polyurethane. Each type has its own advantages. Acrylic sealers are easy to apply and provide moderate protection, while epoxy and polyurethane offer stronger, more durable finishes ideal for high-traffic areas.
Choosing Between Stains and Dyes
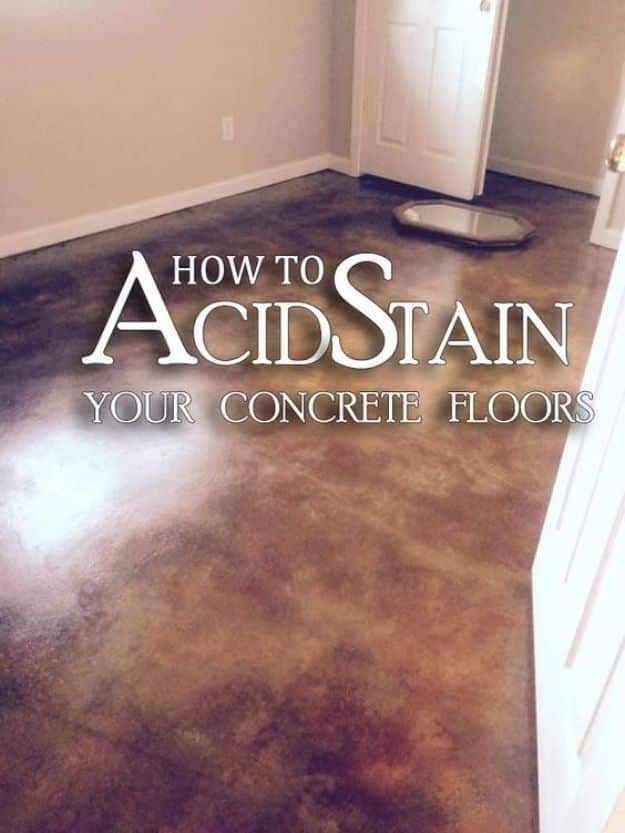
Stains and dyes are popular for adding color to concrete floors. Acid stains create a natural, variegated look, while water-based stains offer more color options and uniformity. Dyes are another option, providing vibrant colors but usually requiring a topcoat to protect the finish from fading.
Considering Epoxy Coatings for Heavy-Duty Protection
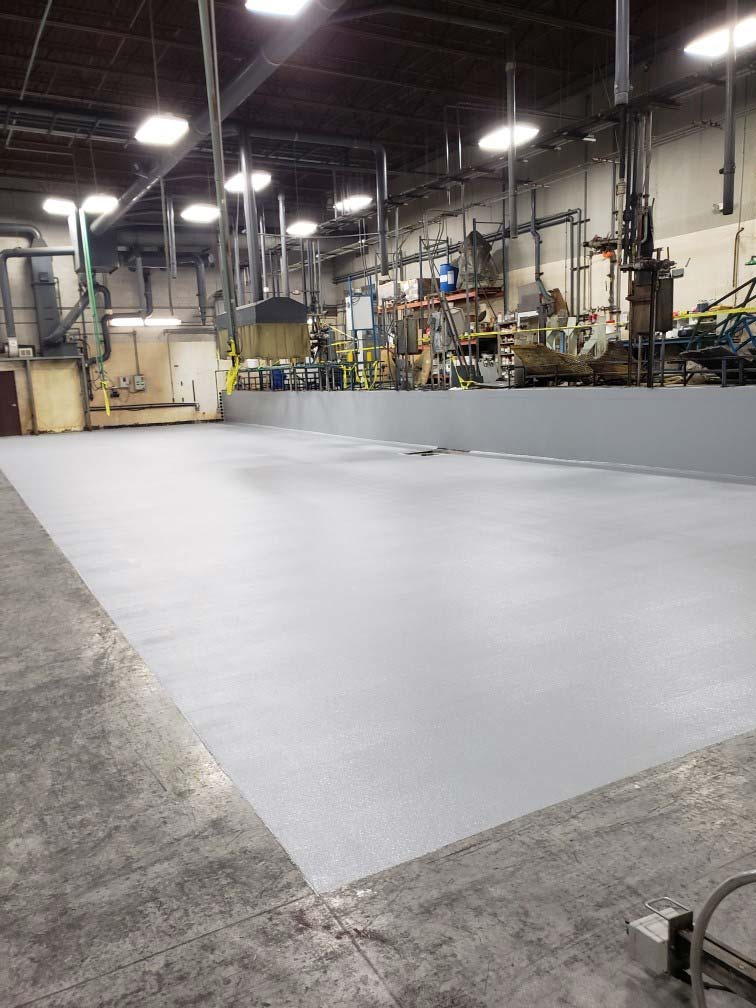
Epoxy coatings are highly durable and resistant to chemicals, making them perfect for garages, workshops, or areas with heavy foot traffic. Epoxy finishes provide a glossy look and come in a variety of colors, giving a modern feel to concrete floors. Keep in mind that epoxy can be challenging to apply, so follow instructions carefully.
Evaluating Eco-Friendly and Low-VOC Options
For those concerned with air quality and environmental impact, consider low-VOC or eco-friendly products. Many brands offer low-VOC sealers, stains, and coatings that produce fewer fumes and reduce harmful emissions, making them a safer choice for indoor applications.
Considering Slip Resistance for Safety
If the refinished floor is in a high-traffic or wet area, choose a product that offers slip resistance. Many concrete coatings come with built-in anti-slip features, or you can add a slip-resistant additive to the topcoat. This ensures the floor remains safe and practical for everyday use.
Reading Product Reviews and Recommendations
Before purchasing, read product reviews to learn from others’ experiences. Manufacturer recommendations and user feedback provide insights into product longevity, ease of application, and overall quality. Investing in well-reviewed products will help you achieve the best results possible.
Step-by-Step Guide to Sanding and Smoothing Concrete Floors
Sanding and smoothing are essential steps in preparing your concrete floor for a flawless refinish. These processes remove imperfections and create a polished surface that enhances the overall finish. Here’s how to do it effectively.
Choosing the Right Equipment for the Job
For small spaces, handheld sanders can be effective, but for larger floors, renting a floor grinder is recommended. These machines make it easier to sand and smooth concrete quickly. Use a diamond-grit sandpaper or abrasive disc, which is durable enough for concrete.
Starting with Coarse Grit for Effective Removal
Begin with a coarse-grit sandpaper (around 40-60 grit) to remove rough spots, stains, and surface imperfections. This first pass removes layers of old paint, dirt, or sealant, creating a smooth, clean surface for the next steps.
Progressing to Finer Grit for a Smooth Finish
Once the floor is initially smoothed, switch to medium (80-100 grit) and then fine (120-150 grit) sandpaper. This gradual progression helps achieve a finer finish, removing any minor scratches from the coarse grit sanding and giving the floor a polished look.
Maintaining Consistent Pressure and Movement
To avoid creating uneven areas, apply consistent pressure and keep the sander moving at an even pace. Lingering in one spot can create gouges or uneven areas that are difficult to correct later. If you’re using a floor grinder, follow the manufacturer’s instructions carefully.
Cleaning Between Sanding Steps
After each sanding pass, thoroughly clean the floor to remove dust and debris. Dust can interfere with the finer sanding steps and leave particles embedded in the finish. A shop vacuum works well for this purpose, followed by a damp mop to collect any remaining particles.
Inspecting the Floor for Remaining Imperfections
After completing all sanding stages, inspect the floor to ensure it’s smooth and free of noticeable flaws. Address any remaining scratches or pits with a final touch-up sanding. The smoother the surface, the better the final finish will adhere and look.
Applying Concrete Stains and Sealers for a Durable Finish
Adding color and protection to your concrete floor is the final and perhaps most rewarding step in the refinishing process. A stain or sealer enhances the aesthetic appeal and safeguards your floor from future wear and tear. Here’s a step-by-step guide to applying these finishes effectively.
Choosing the Right Type of Stain or Sealer
Different stains and sealers offer various finishes and levels of durability. Acid-based stains create a natural, earthy tone, while water-based stains offer vibrant colors. For protection, choose a sealer that matches your desired finish, whether it’s matte, semi-gloss, or glossy.
Applying the Stain for a Decorative Look
When applying stain, use a pump sprayer or roller for an even coat. Work in small sections, blending the stain as you go to avoid streaks. Some stains may require multiple coats for a richer color, so follow the product’s instructions carefully.
Allowing Proper Drying Time
After staining, let the floor dry completely. Drying times vary depending on the product and weather conditions, so ensure the floor is dry to the touch before moving on to sealing. Rushing this step can lead to an uneven or blotchy finish.
Applying a Sealer for Lasting Protection
A quality sealer protects the floor from moisture, stains, and daily wear. Use a roller to apply an even coat, making sure not to leave any puddles. Apply additional coats if desired, allowing each layer to dry thoroughly for maximum durability.
Adding a Non-Slip Additive (Optional)
For safety, consider adding a non-slip additive to the topcoat. This is especially useful for floors in wet or high-traffic areas, adding texture to the finish that prevents slips. Non-slip additives are available in various textures and are easy to mix into most sealers.
Polishing for a Glossy, Professional Finish
If you’re looking for a high-gloss finish, you may want to polish the sealed floor. Polishing gives the floor a professional-grade shine and enhances the depth of color. Use a floor buffer with a polishing pad, and follow up with a final coat of sealer for maximum protection.
Common Mistakes to Avoid
Avoiding mistakes during a DIY concrete floor refinishing project can save time, money, and effort. Here’s a list of common errors and tips on how to prevent them for a successful refinishing outcome.
Skipping Surface Preparation
Neglecting proper prep work is one of the biggest mistakes. Skipping cleaning, degreasing, or etching can prevent products from bonding to the surface, leading to peeling and bubbling. Taking time to prepare the floor thoroughly is key to a long-lasting finish.
Using the Wrong Refinishing Products
Choosing the wrong type of sealer or stain for your specific needs can affect durability and appearance. Research each product carefully and select those designed for concrete refinishing. Using incompatible products may result in a finish that doesn’t hold up over time.
Not Allowing Proper Drying Times
Rushing through drying times can lead to smudges, uneven finishes, and other issues. Each layer, from stain to sealer, requires adequate drying to ensure a smooth, even result. Follow the manufacturer’s recommended drying times for the best outcome.
Applying Too Much or Too Little Product
Applying too thick a layer of stain or sealer can lead to peeling, while too thin a layer won’t provide adequate protection. Follow the product’s instructions on coverage amounts, and use even strokes to ensure a consistent finish.
Ignoring Safety Precautions
Concrete refinishing products often contain chemicals that can be harmful if inhaled or exposed to the skin. Always work in a well-ventilated area, wear protective gear like gloves and goggles, and avoid open flames around flammable products.
Neglecting Ongoing Maintenance
Once refinished, your concrete floor will require regular maintenance to stay looking its best. Failing to reapply a protective sealer every few years can result in premature wear. Clean spills promptly and avoid using harsh chemicals that can degrade the finish.
Related Posts:


