Benefits of Epoxy Garage Flooring
When I first considered upgrading my garage floor, epoxy flooring immediately caught my eye. Its sleek, polished finish and practical benefits seemed too good to pass up. After diving deep into research and finally deciding to make the switch, I discovered just how many advantages epoxy flooring can offer. Here are some key benefits I experienced with my epoxy garage floor:
- Durability and Longevity: Epoxy flooring is incredibly durable. Unlike traditional concrete floors, which can crack and wear down over time, epoxy provides a strong, resilient surface that can withstand heavy use. My epoxy floor holds up exceptionally well against the weight of vehicles, heavy tools, and other equipment. The longevity of epoxy floors means you won’t need to worry about frequent repairs or replacements, which can save you money in the long run.
- Resistance to Chemicals and Stains: One of the most significant benefits of epoxy flooring is its resistance to chemicals and stains. Whether it’s oil spills from my car or harsh cleaning products, the epoxy surface resists staining and damage. This feature is handy in a garage setting, where spills and leaks are common. It makes cleaning up messes quick and easy, helping maintain a pristine look.
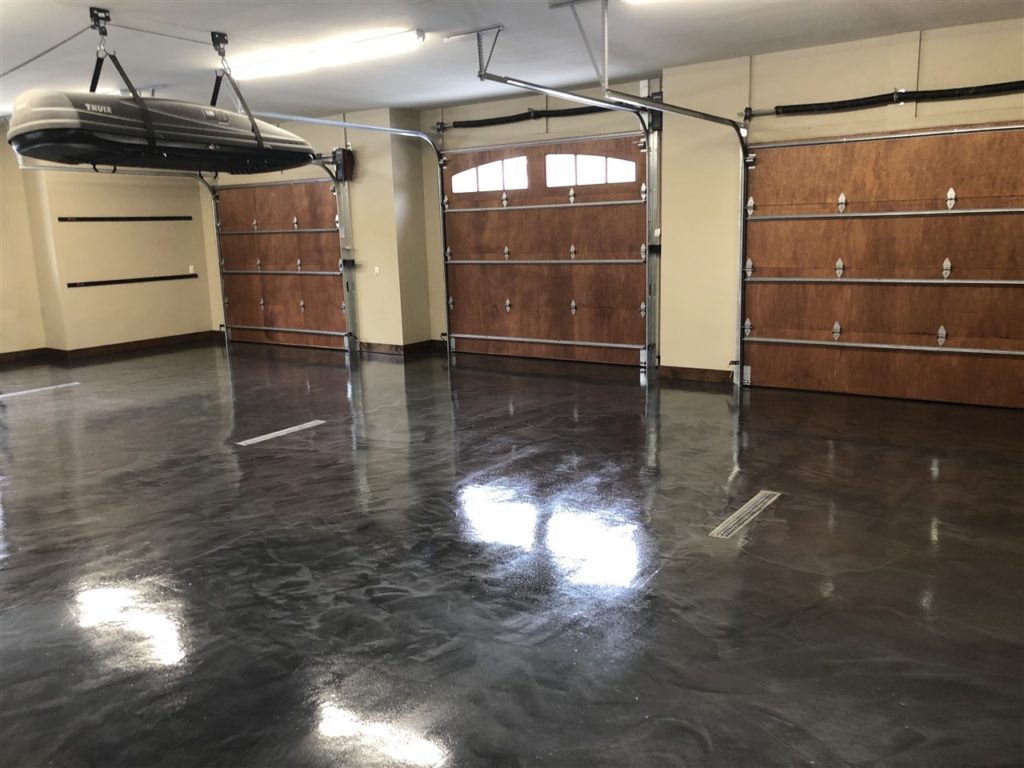
- Enhanced Appearance: Aesthetically, epoxy floors are a game-changer. The glossy finish not only looks professional but also brightens up the space by reflecting light. This can make your garage look bigger and more inviting. There are various colors and finishes to choose from, allowing you to customize the appearance to suit your style. I opted for a metallic finish, which gives my garage a sleek, modern look.
- Improved Safety: Safety was another factor that influenced my decision. Epoxy floors can be made slip-resistant by adding certain textures or materials to the finish. This is especially important in a garage, where spills and wet conditions can make the floor slippery. With a slip-resistant epoxy floor, I feel more secure moving around the garage, even when it’s wet.
- Ease of Maintenance: Maintenance is a breeze with epoxy flooring. The smooth surface makes it easy to sweep and mop, ensuring that dirt and debris don’t get trapped. Since epoxy is resistant to dust and debris, it helps keep the air in your garage cleaner. Regular maintenance involves simple cleaning routines, which means you spend less time worrying about upkeep and more time enjoying your space.
- Cost-Effective: Initially, I was concerned about the cost of installing an epoxy floor, but I quickly realized it’s a cost-effective option in the long run. The durability and low maintenance needs mean fewer expenses over time. Plus, the added value to your home can be significant if you ever decide to sell. The investment in an epoxy garage floor pays off in both immediate benefits and long-term savings.
Design Options for Custom Epoxy Garage Floors
Exploring design options for custom epoxy garage floors was one of the most exciting parts of my renovation journey. The variety of choices available allows for a personalized touch that can truly transform a garage space. Here are some of the design options I found most appealing and how they can enhance the look and functionality of your garage:
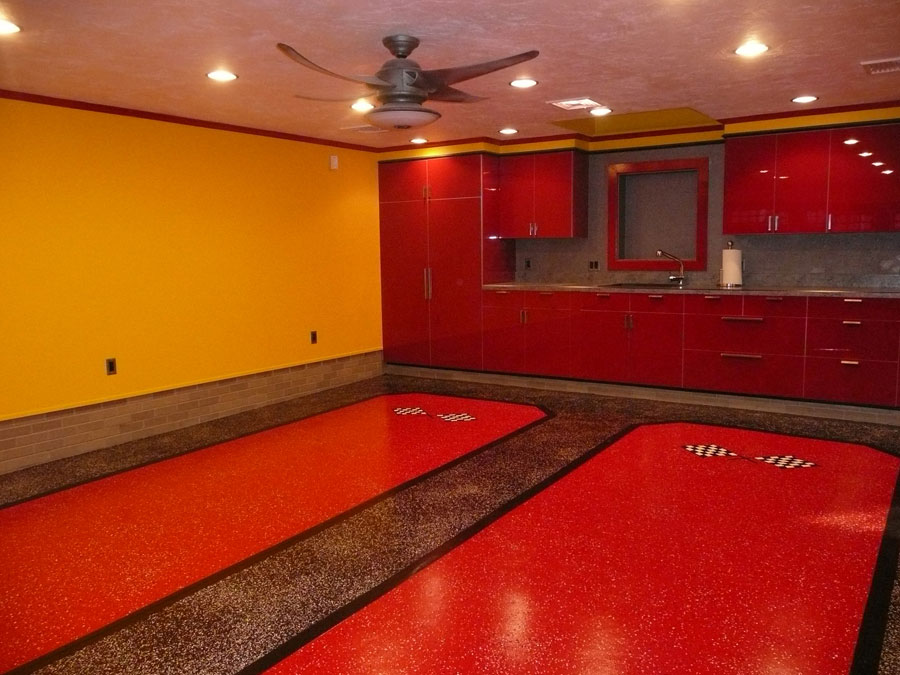
Solid Color Epoxy Floors If you’re looking for a clean and straightforward design, solid-color epoxy floors are a fantastic option. These floors come in a range of colors, allowing you to choose a shade that complements your home’s aesthetic. I chose a deep gray color, which gives my garage a sleek, modern appearance. Solid color floors provide a uniform look and can help hide imperfections in the underlying concrete.
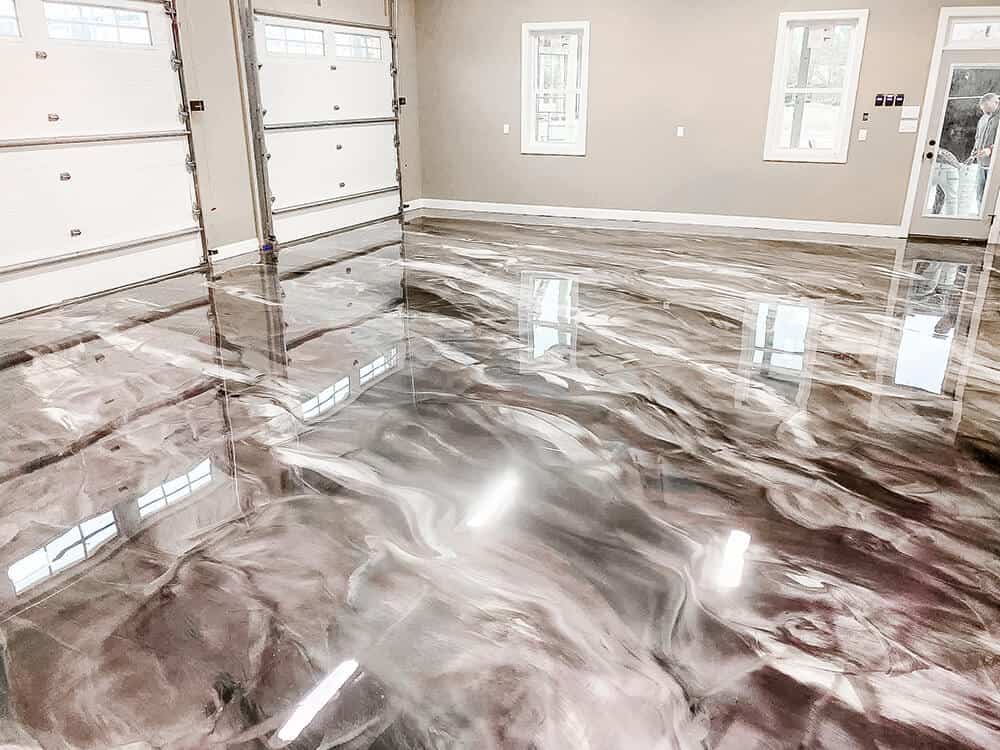
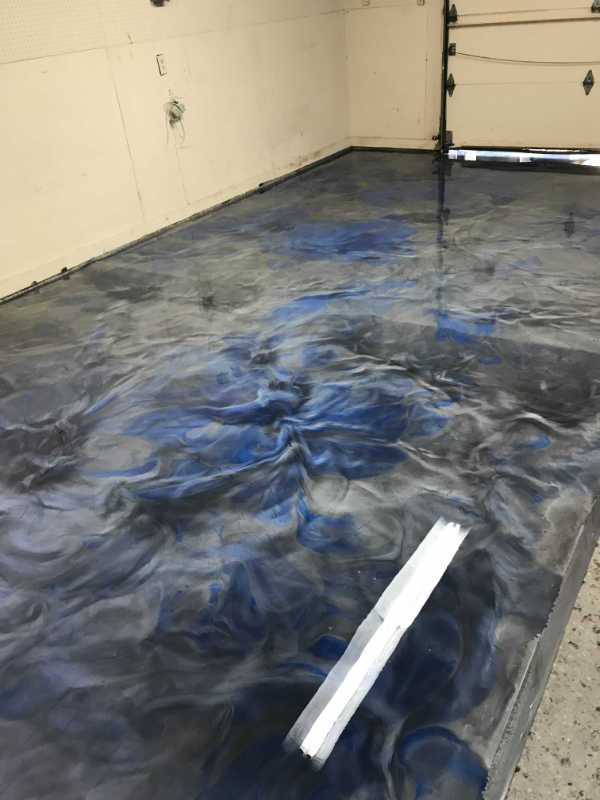
Metallic Epoxy Floors For a more dramatic effect, metallic epoxy floors are stunning. These floors incorporate metallic pigments that create a shimmering, three-dimensional effect. When I first saw a metallic epoxy floor, I was blown away by its depth and visual interest. The finish can mimic the look of marble or other high-end materials, making it a great choice if you want a luxurious feel.
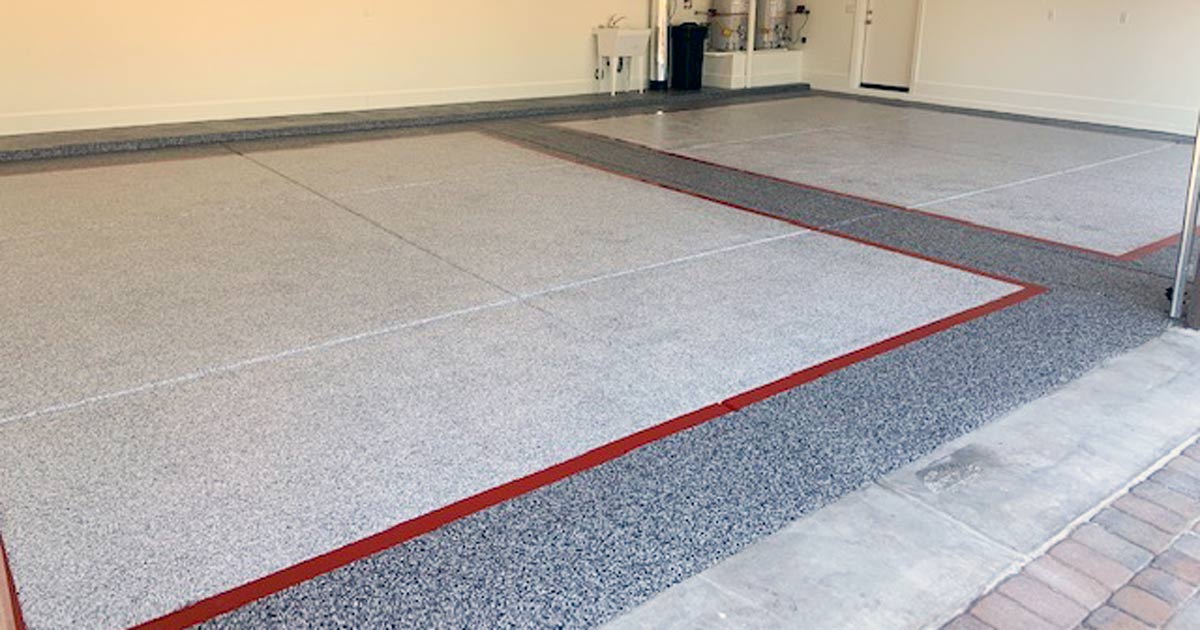
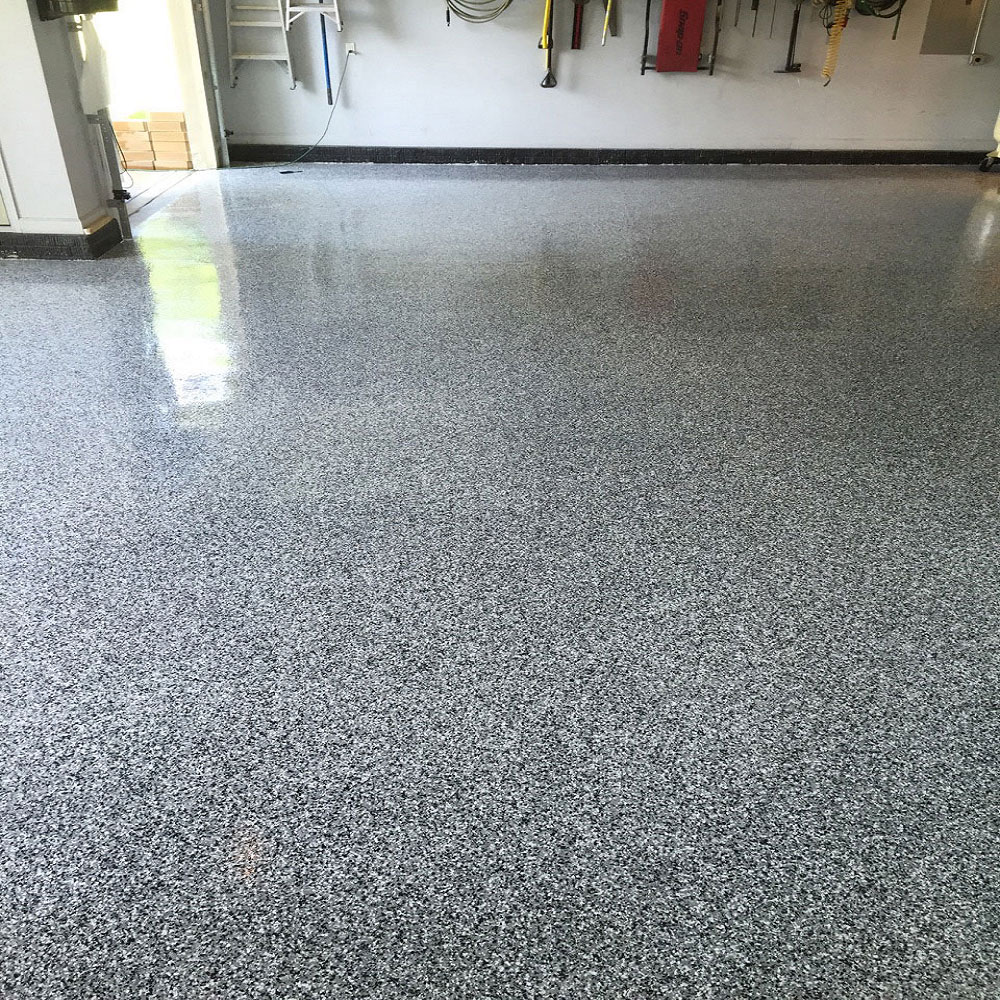
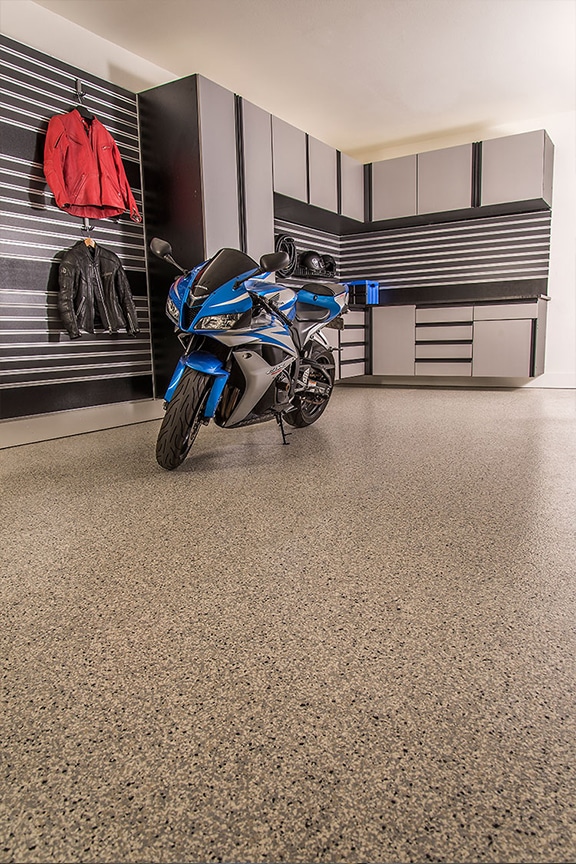
Flake Epoxy Floors Flake epoxy floors are another popular option, combining durability with an attractive finish. These floors involve broadcasting flakes or chips into the epoxy, which creates a textured, speckled look. The flakes come in various colors, sizes, and combinations, allowing for endless customization. I opted for a mix of black, white, and gray flakes, which adds a stylish yet practical element to my garage floor.
Quartz Epoxy Floors If you need extra durability and slip resistance, quartz epoxy floors are an excellent choice. These floors incorporate quartz granules, which provide a textured surface that enhances grip. This option is ideal for garages where safety is a priority. The quartz granules can also add a pop of color and interest to the floor. I found this type of flooring particularly useful for areas of the garage that see a lot of foot traffic.
3D Epoxy Floors For those looking to make a bold statement, 3D epoxy floors are a unique and eye-catching option. These floors involve creating a three-dimensional image within the epoxy, resulting in a floor that appears to have depth and dimension. Popular designs include underwater scenes, landscapes, or abstract patterns. While I didn’t choose this option for my garage, I’ve seen incredible examples that completely transform the space.
Custom Logos and Designs One of the coolest features of custom epoxy floors is the ability to incorporate logos or specific designs. Whether you want to display your favorite sports team’s logo or create a personalized design, epoxy flooring can accommodate it. This customization adds a personal touch and makes your garage truly unique. I’ve seen garages with car logos, company logos, and even family crests embedded in the floor.
Preparation and Installation Process
When I decided to install an epoxy floor in my garage, I quickly learned that preparation and installation are critical to achieving a durable and attractive finish. The process involves several steps that ensure the epoxy adheres properly and lasts for years. Here’s a detailed look at the preparation and installation process based on my experience:
Cleaning and Repairing the Concrete Surface The first step in the process is thoroughly cleaning the concrete surface. Any dirt, oil stains, or debris must be removed to ensure proper adhesion. I used a heavy-duty degreaser and a pressure washer to clean my garage floor. Once the surface was clean, I inspected it for cracks or damage. Any cracks were filled with a suitable concrete filler and allowed to cure completely before moving on to the next step.
Etching the Concrete Etching the concrete is a crucial step that helps the epoxy bond with the surface. This involves applying an acid-based solution to the floor, which opens up the pores of the concrete. I wore protective gear and used a brush to spread the etching solution evenly across the floor. After allowing it to sit for the recommended time, I rinsed the floor thoroughly and let it dry completely. This step ensures that the epoxy adheres properly and doesn’t peel over time.
Applying the Primer Once the floor is dry and etched, the next step is applying a primer. The primer acts as a base coat that helps the epoxy adhere better and provides a smooth surface for the topcoat. I used a roller to apply the primer evenly, ensuring that it covered the entire floor. It’s essential to follow the manufacturer’s instructions regarding drying times and application methods. I found that a good primer is crucial for achieving a flawless finish.
Mixing and Applying the Epoxy Mixing the epoxy is a precise process that requires careful attention to detail. The epoxy comes in two parts – the resin and the hardener – which must be mixed in the correct ratio. I used a drill with a mixing attachment to ensure a thorough mix. Once mixed, the epoxy has a limited working time, so it’s important to work efficiently. I poured the epoxy onto the floor in sections and used a roller to spread it evenly. For larger areas, having a helper can make the process smoother.
Adding Design Elements If you’re adding design elements like flakes or metallic pigments, this step comes after the initial epoxy layer is applied. I chose to add flakes to my floor for a textured, decorative finish. I broadcast the flakes evenly across the wet epoxy, ensuring good coverage. This step can be a bit messy, but it adds a lot of visual interest to the floor. After applying the flakes, I allowed the epoxy to cure for the recommended time before moving on to the final step.
Applying the Topcoat The final step in the process is applying a topcoat. The topcoat adds a layer of protection and gives the floor its glossy finish. I used a clear topcoat to enhance the durability and appearance of my floor. Applying the topcoat is similar to the initial epoxy application – I used a roller to spread it evenly across the floor. It’s important to let the topcoat cure completely before using the garage. Depending on the product, this can take several days.
Maintenance Tips for Longevity
After investing time and effort into installing my custom epoxy garage floor, I wanted to ensure it stayed in top condition for as long as possible. Proper maintenance is key to preserving the look and durability of epoxy flooring. Here are some tips and tricks I’ve found helpful in maintaining my epoxy garage floor:
Regular Cleaning Keeping your epoxy floor clean is essential for maintaining its appearance and longevity. I make it a habit to sweep the floor regularly to remove dirt, dust, and debris. Using a soft-bristle broom helps prevent scratching the surface. For deeper cleaning, I use a mop with a mild detergent solution. Avoid using harsh chemicals, as they can damage the epoxy finish. Regular cleaning helps keep the floor looking fresh and prevents buildup that could cause damage over time.
Promptly Address Spills One of the benefits of epoxy flooring is its resistance to stains, but it’s still important to clean up spills promptly. Whether it’s oil, paint, or any other liquid, addressing spills quickly prevents them from potentially staining the surface. I keep a supply of absorbent materials like rags or paper towels handy for quick cleanups. For tougher spills, a gentle scrub with a soft brush and a mild cleaner usually does the trick.
Protecting the Surface While epoxy floors are durable, taking extra precautions can help extend their life. I use mats or rugs in high-traffic areas to reduce wear and tear. For areas where I park my car, I placed a protective mat to catch any oil drips or tire marks. Additionally, using pads under heavy equipment or furniture can prevent scratches and dents. These small steps can go a long way in preserving the floor’s pristine condition.
Regular Inspection and Maintenance Periodically inspecting your epoxy floor for any signs of damage or wear is crucial. I make it a point to check for any cracks, chips, or areas where the epoxy might be peeling. Catching these issues early allows for timely repairs, preventing further damage. For minor repairs, epoxy patch kits are available and can be used to fill in small cracks or chips. Keeping up with regular maintenance helps ensure the floor remains in good condition.
Reapplying the Topcoat Over time, the topcoat on your epoxy floor may wear down, especially in high-traffic areas. Reapplying the topcoat can restore the floor’s shine and add a new layer of protection. Depending on the level of use, this may be necessary every few years. I found that reapplying the topcoat was a relatively simple process that significantly refreshed the appearance of my floor. Following the manufacturer’s recommendations for reapplication can help maintain the floor’s durability and look.
Preventing Damage from Chemicals While epoxy floors are resistant to many chemicals, some substances can still cause damage if not handled properly. I store any potentially harmful chemicals in sealed containers and ensure they are not in direct contact with the floor. In case of accidental spills of harsh chemicals, I clean them up immediately and thoroughly to prevent any long-term damage. Taking these precautions helps preserve the integrity of the epoxy surface.
Cost Considerations and Budgeting
Deciding to install a custom epoxy garage floor involved careful budgeting and cost considerations. Understanding the financial aspects can help you plan and make informed decisions about your flooring project. Here’s a breakdown of the costs and budgeting tips based on my experience:
Initial Cost Estimation The first step in budgeting for an epoxy garage floor is estimating the initial costs. These include materials, labor (if you’re hiring professionals), and any additional design elements you choose. For my project, I researched various suppliers and contractors to get a range of quotes. It’s important to consider the size of your garage and the type of epoxy flooring you want. High-end finishes or custom designs will naturally cost more than standard options.
DIY vs. Professional Installation One major cost consideration is whether to go the DIY route or hire professionals. Installing epoxy flooring yourself can save money on labor, but it requires time, effort, and some level of expertise. I chose to do it myself and saved on labor costs, but I had to invest in the necessary tools and materials. On the other hand, hiring professionals ensures a flawless finish and can save you time and potential headaches. Weighing the pros and cons of each option is crucial for your budget.
Material Costs The cost of materials varies based on the type and quality of epoxy you choose. Basic epoxy kits are more affordable, while high-performance or decorative options like metallic or flake epoxy are more expensive. For my floor, I opted for a mid-range epoxy with decorative flakes, which balanced cost and appearance. Additionally, don’t forget to factor in the cost of primers, topcoats, and any other necessary supplies.
Additional Expenses Beyond the basic materials and labor, there are additional expenses to consider. These can include tools and equipment if you’re doing the installation yourself, such as rollers, brushes, mixing tools, and protective gear. I also factored in the cost of cleaning and preparation materials like degreasers and etching solutions. These additional costs can add up, so it’s important to include them in your budget.
Long-Term Value While the upfront costs of installing an epoxy floor can be significant, it’s important to consider the long-term value. Epoxy floors are durable and require minimal maintenance, which can save you money on repairs and replacements over time. Additionally, a well-maintained epoxy floor can increase the resale value of your home. For me, the long-term benefits outweighed the initial investment, making it a cost-effective choice.
Budgeting Tips To manage the costs effectively, I found it helpful to create a detailed budget and stick to it. Here are some tips that worked for me:
-
- Research and Compare: Get multiple quotes from suppliers and contractors to find the best deals.
- Plan for Contingencies: Set aside a portion of your budget for unexpected expenses or additional materials.
- Prioritize Needs vs. Wants: Focus on essential items first and consider optional upgrades if your budget allows.
- Look for Discounts: Check for sales, discounts, or bulk purchase deals on materials.
- Track Expenses: Keep track of all expenses to ensure you stay within your budget.
Common Mistakes to Avoid
When I installed my epoxy garage floor, I learned that avoiding common mistakes is crucial for achieving a flawless and long-lasting finish. Here are some of the pitfalls I encountered and tips to help you avoid them:
Inadequate Surface Preparation One of the most common mistakes is not properly preparing the concrete surface before applying the epoxy. Skipping steps like cleaning, repairing cracks, and etching can lead to poor adhesion and peeling. I made sure to thoroughly clean my floor and fill any cracks, followed by etching to ensure the epoxy bonded well. Taking the time to prep the surface correctly is essential for a successful installation.
Ignoring Moisture Issues Moisture is a significant factor that can affect the outcome of your epoxy floor. Concrete floors can absorb moisture, leading to issues like bubbling or lifting of the epoxy. Before starting, I conducted a moisture test to ensure my garage floor was dry enough for epoxy application. Using a moisture meter or conducting a simple plastic sheet test can help identify any moisture problems. Addressing these issues beforehand prevents future headaches.
Incorrect Mixing Ratios Mixing the epoxy components in the correct ratio is crucial for the product to cure properly. I learned that even slight deviations can lead to problems like incomplete curing or weak spots. Carefully following the manufacturer’s instructions for mixing the resin and hardener ensures the epoxy sets correctly. Using a drill with a mixing attachment helps achieve a thorough and consistent mix.
Working in Inappropriate Conditions Temperature and humidity play a significant role in the epoxy application process. Working in conditions that are too hot, cold, or humid can affect the curing process and final finish. I made sure to check the weather forecast and choose a day with optimal conditions for my installation. Following the manufacturer’s guidelines for temperature and humidity levels helps achieve the best results.
Rushing the Application Applying epoxy requires patience and precision. Rushing the process can lead to uneven coverage, bubbles, and other imperfections. I found it helpful to divide the floor into sections and work methodically, ensuring each area was properly covered before moving on. Taking your time and using the right tools, like high-quality rollers and brushes, can make a significant difference in the final outcome.
Skipping the Topcoat Some people might skip the topcoat, thinking it’s an unnecessary extra step. However, the topcoat adds a layer of protection and enhances the durability of the epoxy floor. I applied a clear topcoat to my floor, which not only made it more resistant to wear and tear but also gave it a beautiful glossy finish. Investing in a good topcoat helps extend the life of your epoxy floor and keeps it looking great.
Designer Metallic Epoxy Floor Installation
Project of the Month – MillzHouse
Epoxy Flooring in White Lake, West Bloomfield, Clarkston, and More!
Pin on Epoxy Flooring Ideas
Garage Floor Epoxy Kit For 1-3 Car Garage Original Color Chips
Related Posts:
