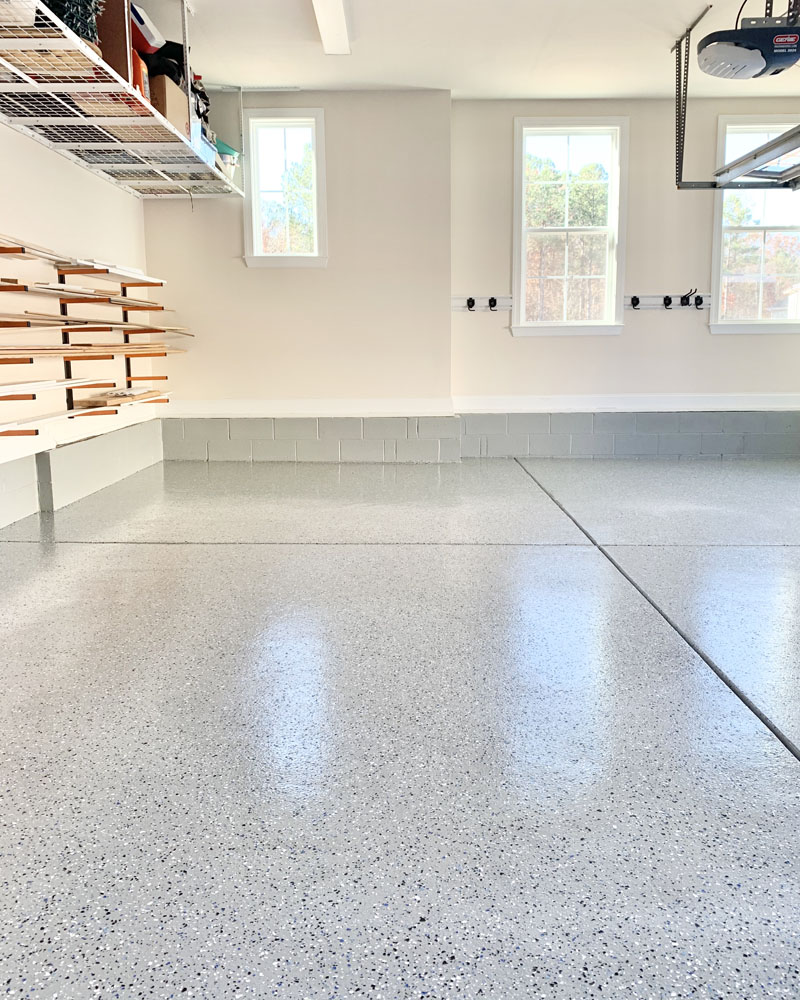
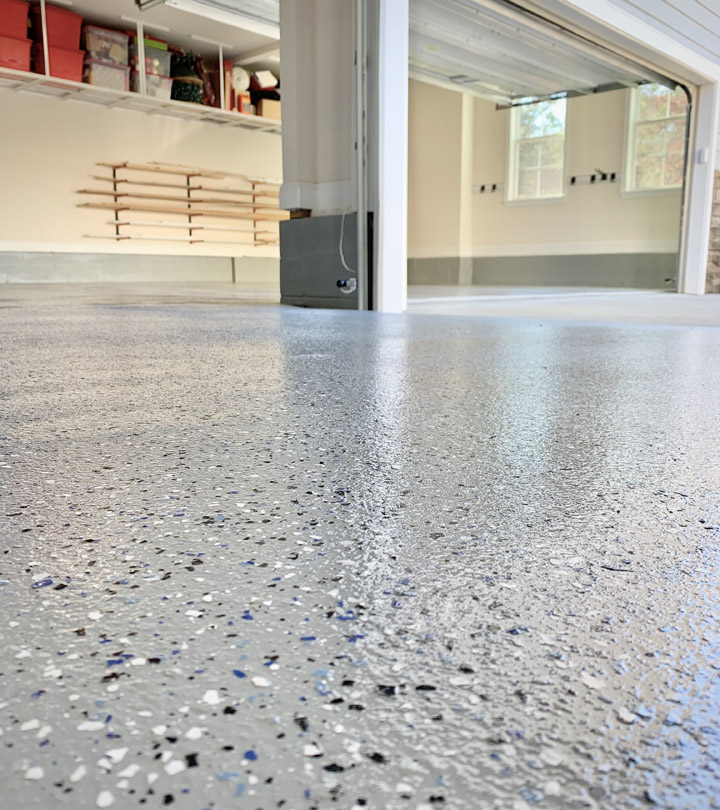
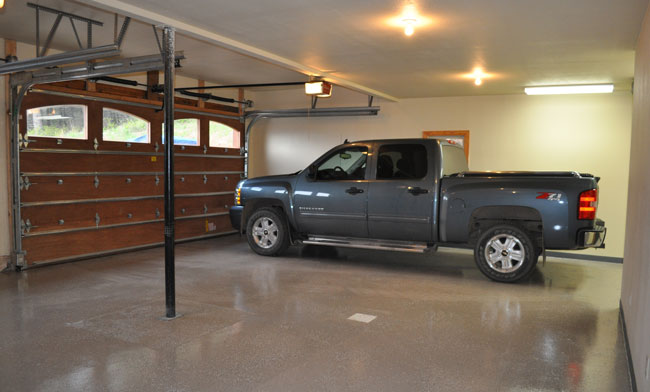
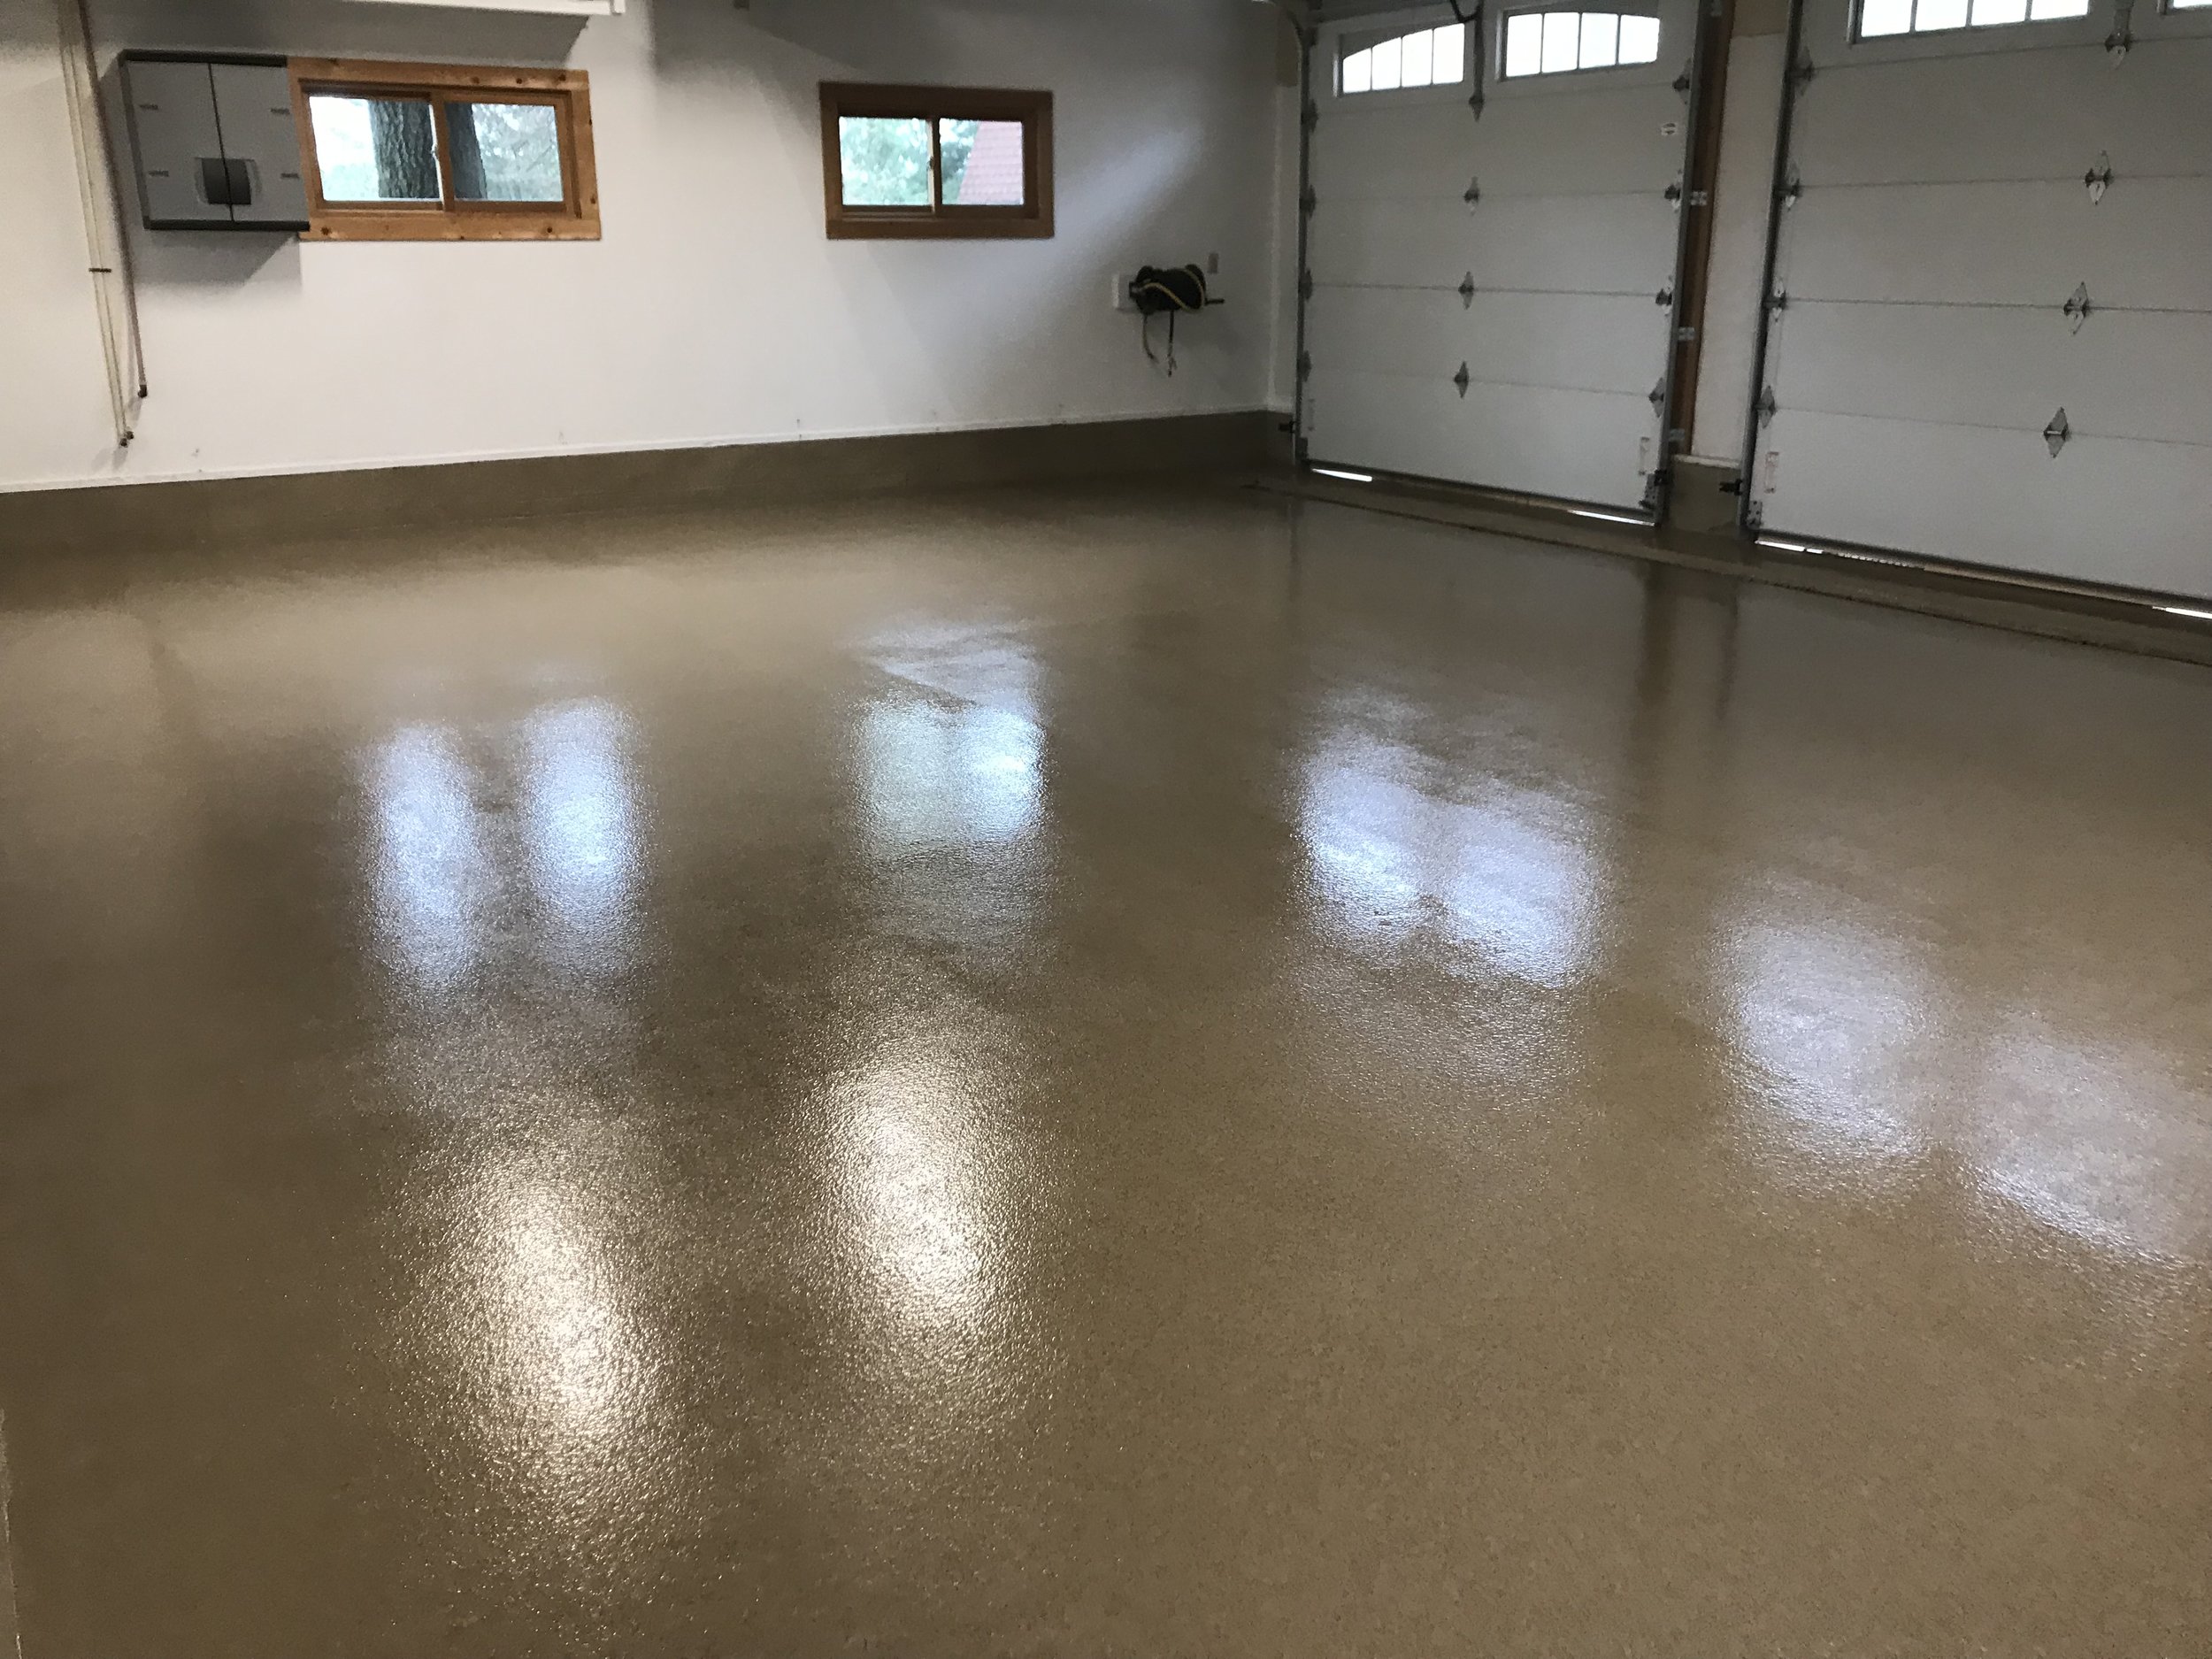
Epoxy Flooring: What It Is and Why It’s Ideal for Garages
When it comes to garage flooring, one of the most popular options today is epoxy coating. It’s a material that not only adds visual appeal but also provides a durable and long-lasting surface for a space that typically takes a lot of wear and tear. But what exactly is epoxy flooring, and why is it such a popular choice for garages? Today I will take you through the basics of epoxy flooring, its benefits, and why I believe it’s one of the best investments you can make for your garage.
- What is Epoxy Flooring?
Epoxy is a type of resin made by combining two main components—epoxy resin and hardening agents. When these two parts are mixed, a chemical reaction occurs, resulting in a hard, plastic-like material that adheres to the concrete surface. The result is a glossy, highly durable, and resistant layer that can stand up to chemicals, spills, and heavy loads. Epoxy coatings can come in different finishes and colors, making it a versatile choice for homeowners looking to upgrade their garage floors. - Unmatched Durability and Strength
One of the standout features of epoxy flooring is its exceptional strength. Unlike standard concrete or even painted garage floors, epoxy is built to withstand significant wear and tear. Whether you’re driving in heavy vehicles, working on mechanical projects, or storing equipment, an epoxy floor can handle it all. It resists chips, cracks, and other damage that concrete would typically show over time. This durability is the primary reason epoxy is favored for high-traffic areas like garages. - Chemical and Stain Resistance
Garages are notorious for spills, whether it’s oil, coolant, or other chemicals. With an epoxy floor, you won’t have to worry about permanent stains or damage. The material is inherently resistant to a wide range of chemicals, making it perfect for an environment where accidents happen. Unlike bare concrete, which absorbs liquids and is prone to staining, epoxy creates a non-porous layer that prevents seepage and makes cleaning a breeze. - Improved Aesthetic Appeal
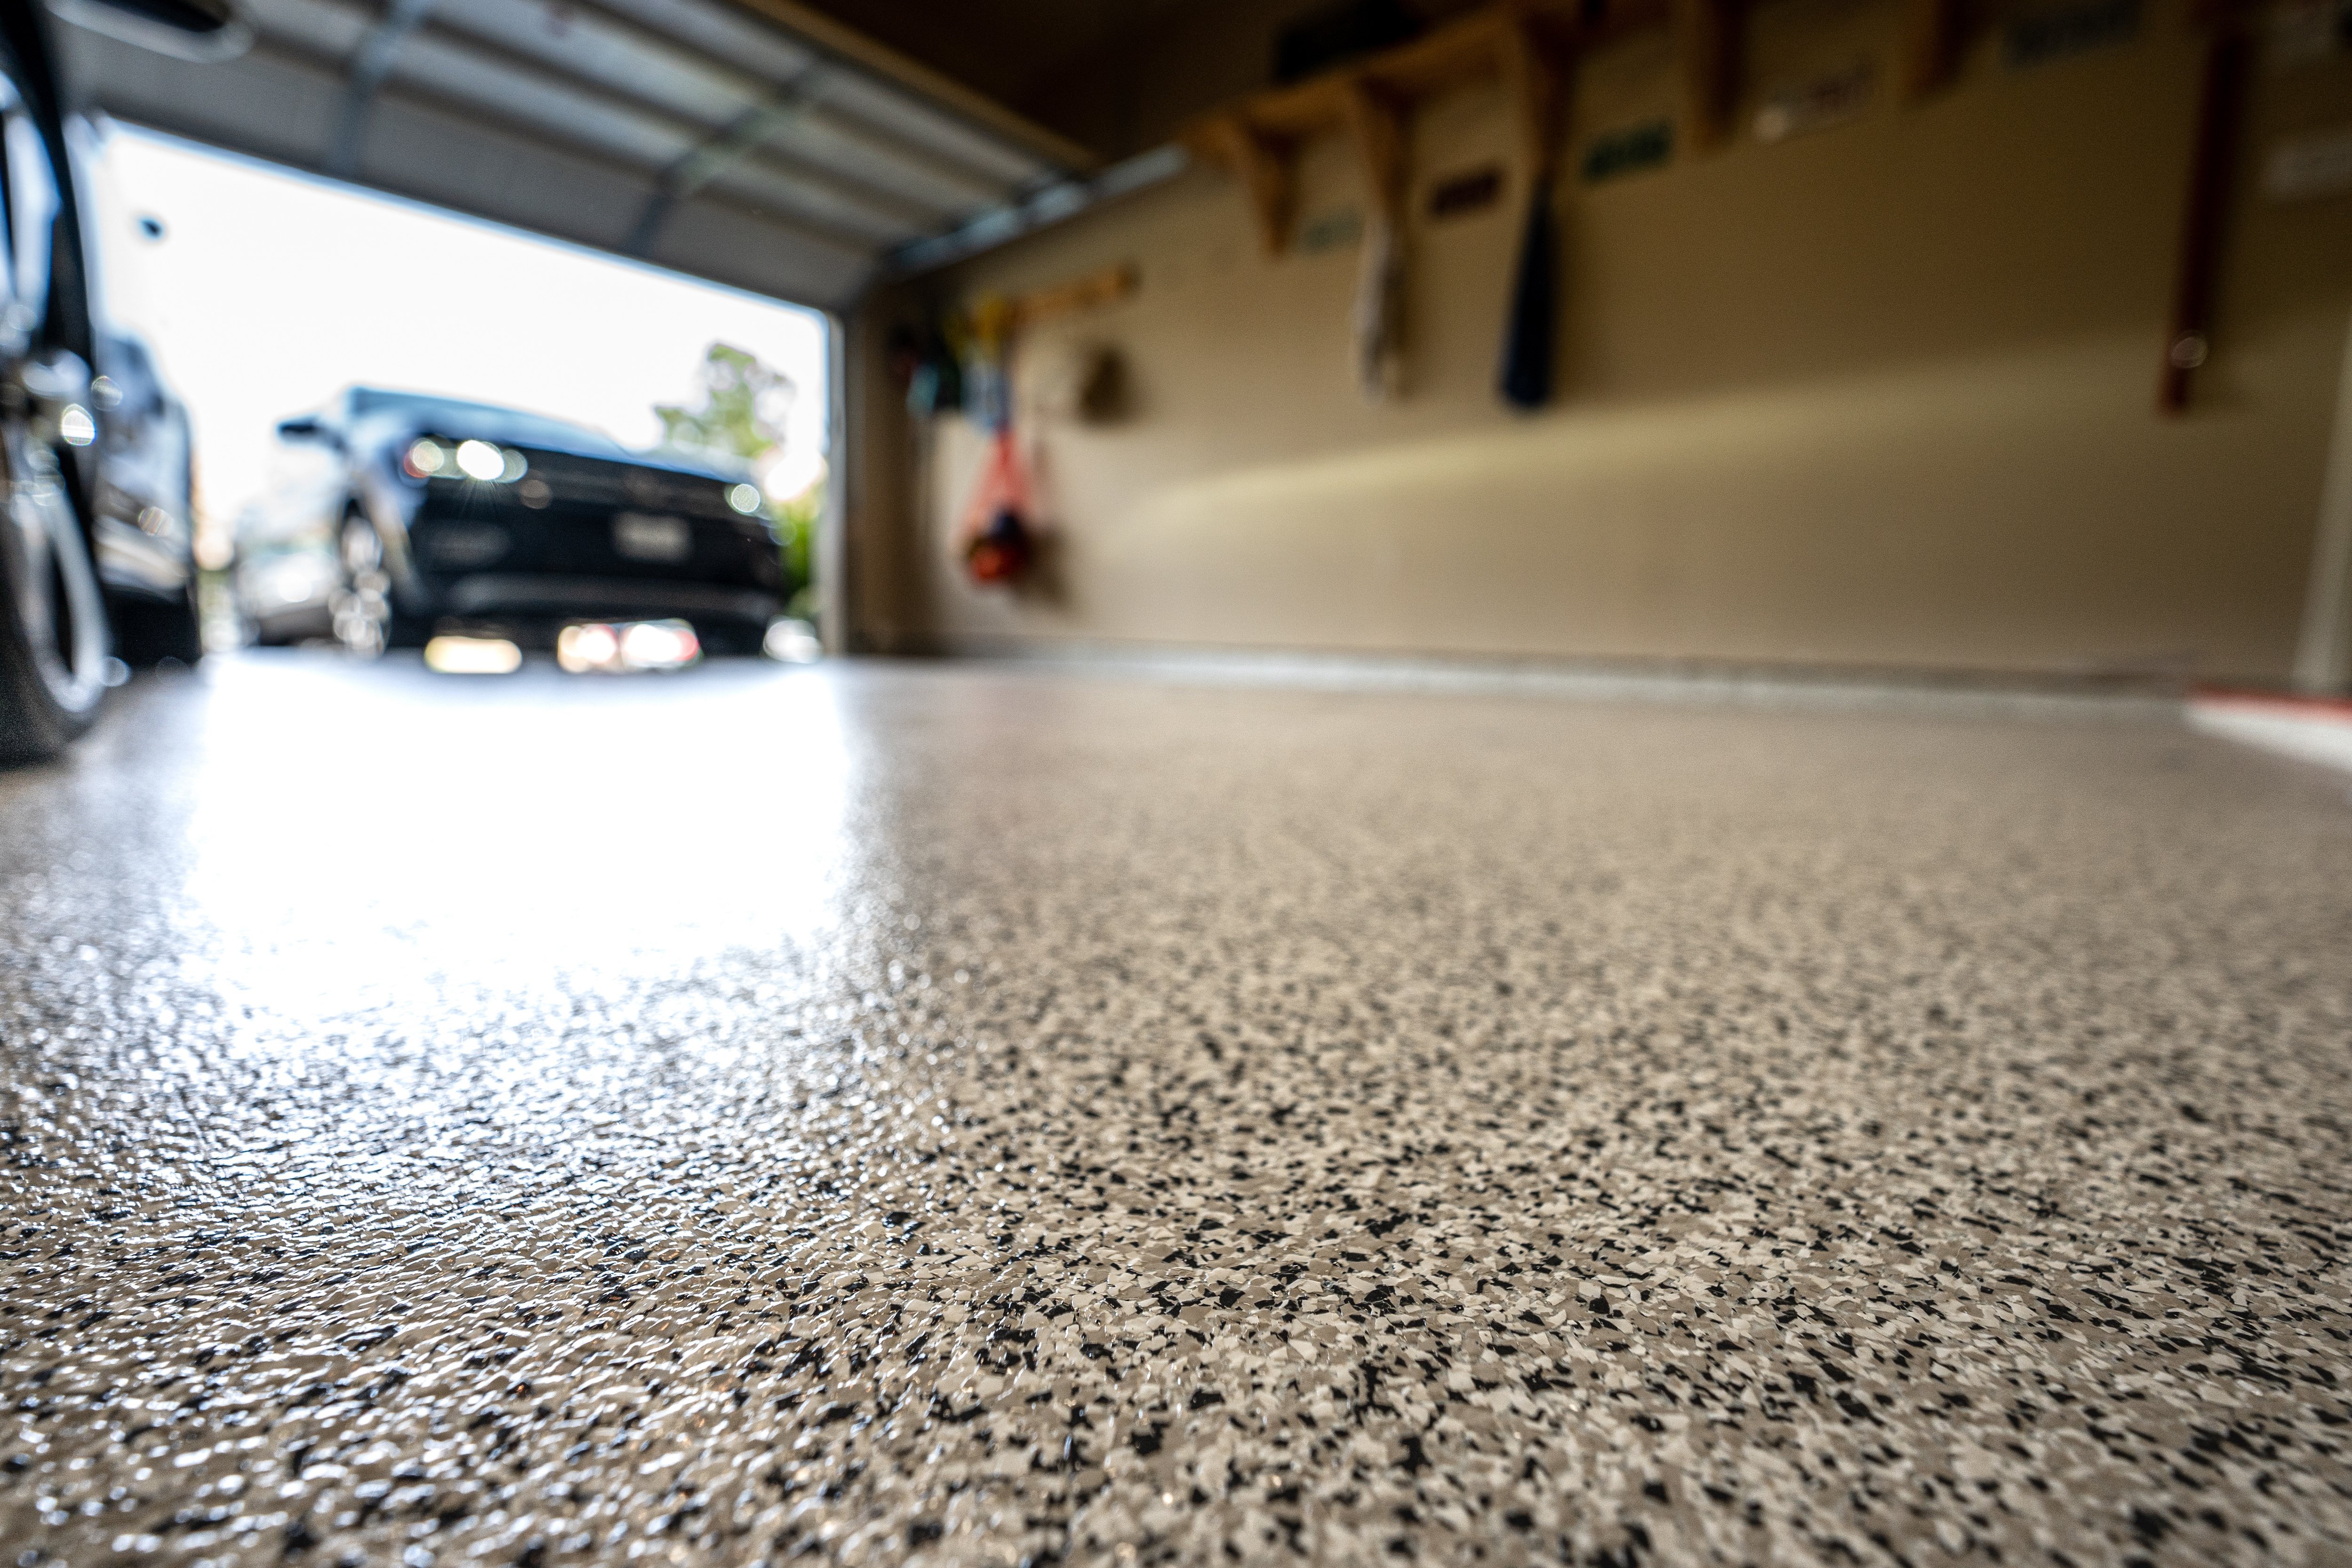
Who says a garage floor can’t be beautiful? Epoxy floors come in a variety of colors and finishes, from sleek metallics to solid colors or even decorative flakes that add a textured look. With so many options available, you can customize your garage to fit your style or match the look of the rest of your home. Beyond just aesthetics, the high-gloss finish reflects light, making your garage brighter and more welcoming. - Enhanced Safety Features
Safety should never be overlooked in a garage, and epoxy flooring contributes significantly to a safer environment. The glossy surface isn’t just about looks—it can also be slip-resistant if you opt for an epoxy mix with anti-slip additives. Additionally, its reflective properties improve visibility, reducing the risk of accidents when working on your car or navigating the space at night. - Cost-Effectiveness and Low Maintenance
Finally, epoxy is a cost-effective option when considering its long lifespan. Although it might have a higher upfront cost than painting or sealing, the reduced maintenance costs and longevity make it a worthwhile investment. Once installed, maintaining an epoxy floor is straightforward—regular sweeping and occasional mopping is all it takes to keep it looking new for years to come.

Essential Tools and Materials You’ll Need for the Job
Deciding to take on a DIY epoxy garage floor project can be exciting, but it’s crucial to have the right tools and materials on hand. A proper setup ensures the job goes smoothly and the results meet your expectations. I will walk you through the essential items you’ll need before starting. Gathering these materials in advance can save you multiple trips to the hardware store and help you complete the project in less time.
Epoxy Kit and Hardener
The first thing on your list should be a high-quality epoxy kit. These typically include both the resin and the hardener. Make sure to buy enough to cover the entire surface area of your garage. It’s also a good idea to read the product specifications to ensure it’s suitable for garage use and resistant to chemicals. Depending on your preference, you may want to choose a color or a kit that includes decorative flakes.
Concrete Cleaner and Degreaser
Preparing the surface is key to a successful epoxy application, so you’ll need a heavy-duty concrete cleaner and degreaser. This will help eliminate any oil stains, dirt, or chemical residues that could prevent the epoxy from bonding properly. A clean, porous surface is crucial to ensuring the epoxy adheres and cures correctly.
Etching Solution or Muriatic Acid
In addition to cleaning, etching the concrete is necessary to create a rougher surface for better adhesion. Many epoxy kits come with an etching solution, but if not, muriatic acid is a common choice. This step opens up the pores in the concrete, allowing the epoxy to penetrate and bond securely. Be sure to follow safety instructions and wear protective gear when handling these chemicals.
Rollers, Brushes, and Mixing Tools
To apply the epoxy, you’ll need a set of paint rollers and brushes. Look for rollers with a 3/8-inch nap, as these work well with epoxy. For tight corners or edges, smaller brushes will be necessary. Additionally, a sturdy mixing paddle attached to a drill will help ensure the resin and hardener are thoroughly combined, which is crucial for proper curing.
Protective Gear: Gloves, Safety Glasses, and Respirator Mask
Safety should always come first. When working with epoxy and its associated chemicals, make sure to wear nitrile gloves, safety glasses, and a respirator mask. The fumes from epoxy can be strong, and the chemicals used for cleaning and etching can be harsh on your skin and eyes. Protective gear ensures you stay safe throughout the project.
Optional: Decorative Flakes and Anti-Slip Additives
If you want to add a bit of flair or improve traction, consider buying decorative flakes or anti-slip additives. Decorative flakes can create a unique speckled appearance, while anti-slip additives can be mixed into the epoxy to create a safer surface, especially if your garage floor might get wet.
Preparing the Garage Floor: Cleaning, Patching, and Priming
Preparation is the most critical step in achieving a professional-quality epoxy garage floor. Skipping or rushing through this part can lead to poor adhesion, bubbling, or even peeling over time. Taking the time to prepare your garage floor correctly will not only help the epoxy bond but also ensure a smooth, long-lasting finish. Below are the key steps involved in cleaning, patching, and priming your garage floor before applying the epoxy coating.
Start with a Thorough Cleaning
Before anything else, you need to give your garage floor a deep cleaning. Remove all the items from the space and sweep away dust and loose debris. Next, use a heavy-duty degreaser to eliminate oil stains and other contaminants. If your garage floor has any chemical spills, rust stains, or other blemishes, now is the time to tackle them. Using a stiff-bristle brush and a concrete cleaner, scrub these areas thoroughly to lift any residues that could interfere with the epoxy’s adhesion. Once you’ve cleaned the surface, rinse it with water and allow it to dry completely.
Check for Moisture Issues
Moisture is the enemy of epoxy coatings. If your garage floor has a moisture problem, the epoxy may not cure properly, leading to peeling and bubbling. To test for moisture, tape a piece of clear plastic to the floor and leave it for 24 hours. If you notice condensation under the plastic, your garage floor may not be suitable for epoxy unless you address the moisture issue first. Solutions could include sealing the floor or installing a vapor barrier.
Patch and Repair Cracks or Holes
Next, inspect your garage floor for cracks, holes, or other damage. Epoxy won’t cover these imperfections, and they can ruin the final look of your floor. Use a concrete patching compound to fill in any cracks or holes, following the manufacturer’s instructions. If the damage is extensive, you may need to consider using a self-leveling cement product to create an even surface. Allow all repairs to cure completely before moving on to the next step. This step might seem tedious, but it’s essential for a smooth, professional finish.
Etch the Concrete Surface
To ensure the epoxy adheres properly, you’ll need to etch the concrete. This process roughens the surface, making it easier for the epoxy to bond. Most epoxy kits come with an etching solution, but if not, muriatic acid can be used. Mix the acid with water according to the instructions, and then apply it evenly across the garage floor. You should see a light fizzing reaction as the acid etches the surface. Rinse the floor thoroughly with water and use a wet vacuum to remove any remaining solution. Allow the floor to dry completely before proceeding.
Apply a Concrete Primer
While not always necessary, applying a concrete primer can significantly improve the adhesion and durability of your epoxy coating. Primers fill in tiny pores and provide a better bonding surface for the epoxy, reducing the chances of peeling. Use a roller to apply an even coat of primer to the entire floor. Be sure to let the primer cure according to the manufacturer’s instructions—usually, this means waiting 24 hours before applying the epoxy.
Final Inspection and Surface Testing
Before you start applying the epoxy, do a final inspection. Walk around the garage and check for any remaining stains, moisture, or damage. The surface should be completely smooth and dry. If you notice any spots that need touch-ups, address them now. Once you’re satisfied that your floor is perfectly prepped, you’re ready to move on to applying the epoxy coating. Taking the time to thoroughly prepare your garage floor will set you up for a successful DIY project.
Choosing the Right Epoxy Type and Color for Your Garage
Picking the right type and color of epoxy can be more challenging than it seems. With so many options available, it’s easy to feel overwhelmed. But don’t worry—I’m here to guide you through the different types of epoxy coatings, their features, and which color might best suit your space. Choosing the right epoxy is not just about aesthetics; it’s also about durability and functionality, depending on your garage’s use.
Understanding Different Types of Epoxy
The first thing to consider is the type of epoxy you want to use. There are three main types: water-based, solvent-based, and 100% solids. Water-based epoxy is the most user-friendly option, as it’s easier to apply and has a lower odor. However, it’s not as durable as solvent-based or 100% solids. Solvent-based epoxies offer better durability but come with stronger fumes and a longer curing time. The most durable option is 100% solids epoxy, which provides a thick, resilient coating but can be more challenging to work with for DIYers. I recommend starting with a water-based epoxy if it’s your first time unless you’re confident in your skills and willing to handle the more advanced options.
Considering Color and Finish Options
When it comes to choosing the right color, think about how your garage functions and what you want to achieve. Light colors like beige or gray can brighten up a dark garage, making the space feel larger and cleaner. Darker colors, like black or deep blue, create a sleek, modern look but can show dust and dirt more easily. You can also opt for decorative flakes in various colors to add texture and hide minor imperfections. For a unique, high-end look, metallic epoxy can create a marbled or shimmering effect.
Reflective and High-Gloss Finishes
A high-gloss finish is one of the standout features of epoxy flooring, making it a popular choice for garage owners. This finish not only enhances the color but also reflects light, brightening up the entire space. However, keep in mind that high-gloss finishes can be slippery, especially if the floor gets wet. If safety is a concern, you may want to consider a satin or matte finish or add anti-slip additives to your high-gloss coating.
Choosing Between Single-Coat and Multi-Coat Systems
Epoxy coatings come in single-coat or multi-coat systems. Single-coat systems are quicker and easier to apply but don’t offer the same level of protection or depth as multi-coat systems. If your garage sees heavy use, such as frequent vehicle traffic or mechanical work, a multi-coat system with a base coat, color coat, and topcoat will provide superior durability and longevity.
Customizing with Decorative Elements
Don’t be afraid to get creative with your epoxy floor. Many DIYers add decorative elements such as color flakes, metallic pigments, or even stencils to create custom designs. Decorative flakes can help conceal minor surface flaws and add a textured, anti-slip finish. Metallic pigments, on the other hand, can give your floor a stunning 3D appearance. Consider your garage’s function and how often you’ll need to clean it when choosing these extras.
Budget and Quality Considerations
Finally, consider your budget. Higher-quality epoxies will have a higher upfront cost but will save you money in the long run due to their durability and ease of maintenance. If you’re on a tighter budget, you may want to start with a simple water-based epoxy. However, if you’re looking for a long-term investment, spending a bit more on a high-quality, multi-coat system is worth it.
Step-by-Step Guide to Applying Epoxy Coating Like a Pro
Applying epoxy to your garage floor is a multi-step process that requires attention to detail and patience, but with the right guidance, you can achieve a professional finish even as a DIYer. Let me walk you through the step-by-step procedure to ensure you get a flawless result. Make sure to read through all the steps before starting, so you’re fully prepared for each phase of the project. Let’s dive in!
Step 1: Gather All Your Tools and Materials
Before you start, make sure you have everything you need on hand. This includes your epoxy kit, mixing paddle, paint rollers, brushes, safety gear, and any optional additives like decorative flakes or anti-slip materials. Having all your tools within reach will streamline the process, especially since timing is crucial during epoxy application. Remember, once you mix the resin and hardener, you have a limited working time before it begins to set.
Step 2: Mix the Epoxy Thoroughly
The first actual step in applying epoxy is mixing the resin and hardener. Follow the manufacturer’s instructions carefully to get the correct ratio. Use a mixing paddle attached to a drill for at least 3 to 5 minutes, ensuring the components blend evenly. Inadequate mixing can result in an uneven finish or patches that don’t cure properly. If you’re adding color tints or decorative flakes, mix them in now. Work quickly but carefully, as the epoxy will start to harden after a certain period.
Step 3: Cut-In Around the Edges
Before applying the epoxy to the entire floor, start by “cutting in” around the edges. Use a small paintbrush to carefully coat the perimeter of the garage and any tight spots that a roller can’t reach. This step ensures a neat finish and prevents you from accidentally painting over walls or baseboards. Cutting in also helps create a clear boundary, making it easier to roll out the main coat evenly.
Step 4: Roll Out the Epoxy in Sections
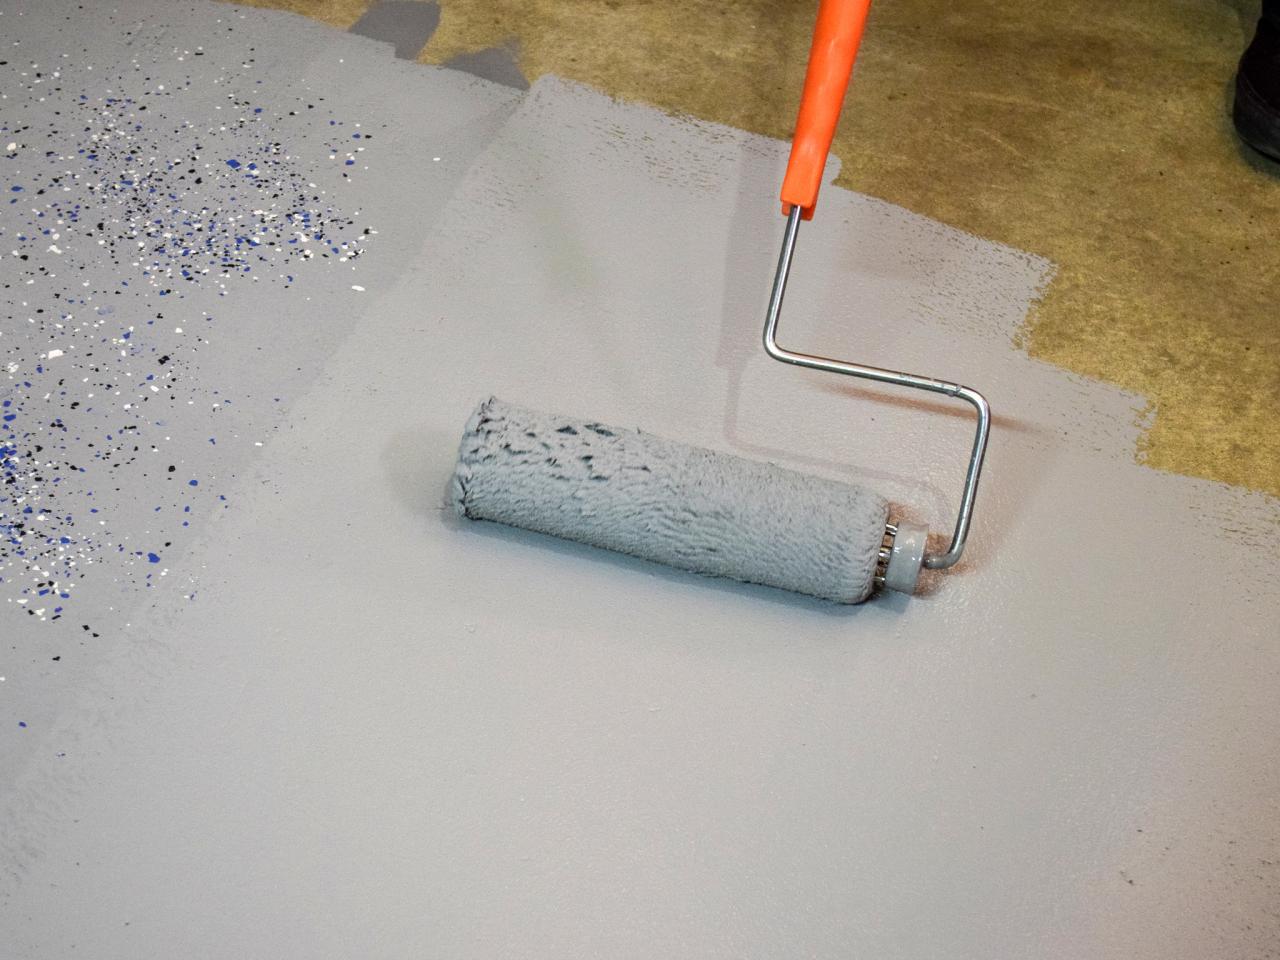
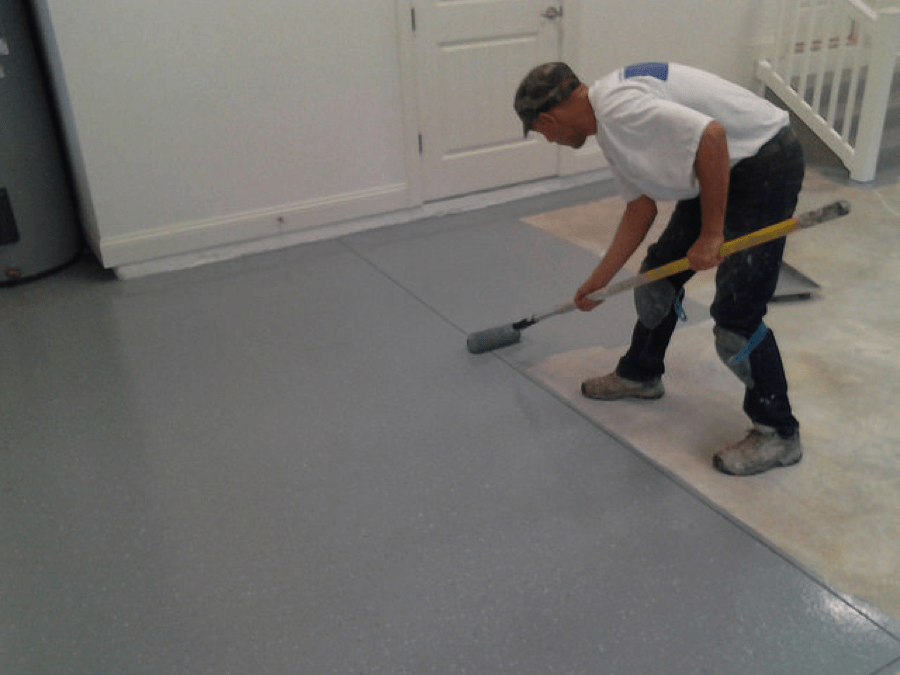
Once you’ve cut in the edges, it’s time to start rolling out the epoxy. Use a roller with a 3/8-inch nap and work in small sections, no larger than 4 feet by 4 feet at a time. Apply the epoxy in a thin, even layer, using a “W” pattern to ensure complete coverage. Avoid over-rolling, as this can introduce bubbles into the surface. If you’re adding decorative flakes, sprinkle them evenly over the wet epoxy as you go. Continue working in sections until the entire floor is coated.
Step 5: Apply a Second Coat for Durability
After the first coat has dried (usually 12-24 hours, depending on the product), assess the surface. If you notice any thin areas or patches, apply a second coat. The second coat not only covers imperfections but also provides additional durability and depth to the finish. Repeat the same rolling technique as before, ensuring you overlap your strokes slightly to avoid visible seams.
Step 6: Allow Ample Time for Curing
Curing time is essential for a successful epoxy application. Most epoxy coatings require at least 24-48 hours for light foot traffic and up to 7 days for heavy traffic or vehicle use. Avoid walking on the floor too soon, as this can cause smudging or uneven curing. Be patient and allow the epoxy to fully harden and bond with the concrete. After curing, your garage floor will be ready for years of use, showcasing a professional, showroom-quality finish.
Troubleshooting Common Issues During and After Application
Even with meticulous preparation and application, issues can sometimes arise when working with epoxy coatings. Knowing how to identify and fix these problems early can save you a lot of frustration. Below are some of the most common issues DIYers face during and after applying an epoxy floor, along with practical solutions to get your project back on track.
Bubbling or Blistering in the Epoxy
One of the most common problems is bubbling or blistering, which usually occurs if the garage floor isn’t adequately prepared. Moisture trapped in the concrete or improper mixing can cause these bubbles to form. If you notice bubbling, the first thing to do is pop any visible bubbles with a needle while the epoxy is still wet. For more severe blistering, you may need to sand down the affected area and reapply a new coat. To prevent this in the future, ensure your concrete is fully dry and mix the epoxy thoroughly.
Peeling or Lifting of the Epoxy Layer
Peeling often happens when the epoxy doesn’t adhere properly to the concrete. This can result from inadequate cleaning, not etching the surface, or applying the epoxy over a contaminated area. To fix peeling spots, sand down the loose sections, re-clean the area, and reapply the epoxy. Always make sure the surface is free of dust, oil, and moisture before starting your application to avoid peeling.
Fish Eyes or Craters in the Surface
Fish eyes are small, crater-like holes that can form in the epoxy surface. They’re typically caused by contaminants like oil, silicone, or dirt that repel the epoxy. If you encounter fish eyes, lightly sand the area and clean it with a degreaser before applying a second coat. To avoid this issue, ensure your tools are clean and avoid touching the floor with bare hands, as skin oils can also create these imperfections.
Uneven Color or Streaks
Uneven color can occur if the epoxy is not mixed properly or if it’s applied too thinly in some areas. To fix this, you’ll need to sand down the uneven spots and reapply a thin, even coat. Using a consistent mixing technique and maintaining an even rolling pattern will help you avoid streaks. Always mix the epoxy components for the recommended time to ensure a uniform color.
Cloudiness or Milky Finish
If your epoxy floor has a cloudy or milky appearance, it’s usually due to moisture. This can happen if the concrete wasn’t fully dry before application or if the epoxy was applied in a humid environment. Unfortunately, a cloudy finish is difficult to repair without removing the affected area. To prevent this, ensure your garage floor is dry, use a dehumidifier if necessary, and apply the epoxy when humidity levels are low.
Rough or Grainy Surface Texture
A rough texture often results from dust settling on the wet epoxy or from improper sanding. If you notice a grainy finish, sand down the rough spots with fine-grit sandpaper, clean the area thoroughly, and reapply a topcoat. Using a primer can help minimize this issue by sealing the surface and reducing dust contamination.
Maintenance Tips to Keep Your Epoxy Garage Floor Looking New
After putting in all the effort to install a beautiful epoxy floor, you’ll want to keep it looking new for as long as possible. While epoxy is a low-maintenance option, proper care can significantly extend its lifespan and preserve its glossy finish. Here are some practical maintenance tips to keep your epoxy garage floor in top shape.
Regular Sweeping and Dust Control
One of the simplest ways to maintain your epoxy floor is regular sweeping. Use a soft-bristle broom or a dust mop to remove dirt and debris. Dust and grit can cause tiny scratches that dull the shiny surface over time. If your garage is a high-traffic area, sweeping a few times a week will help keep the surface smooth and free of damaging particles.
Promptly Clean Up Spills
Although epoxy is highly resistant to chemicals and stains, it’s still a good idea to clean up spills as soon as they happen. Oil, gasoline, and other automotive fluids can leave a residue that dulls the finish if left for too long. Use a mild detergent and water to wipe up spills, and avoid harsh chemicals that could damage the epoxy.
Avoid Dragging Heavy Items Across the Floor
Heavy tools or equipment can cause scratches if dragged across the floor. To prevent this, use mats or plywood sheets when moving heavy items. Also, consider using rubber mats in areas where you frequently work or park your vehicle to protect the surface from tire marks and dents.
Reapply a Topcoat for Extra Protection
Over time, your epoxy floor might lose its shine due to foot traffic and general use. To restore its appearance, consider applying a new topcoat every few years. A fresh topcoat will bring back the gloss and provide an additional layer of protection. Just make sure to clean and lightly sand the floor before applying the new coat.
Use Gentle Cleaning Solutions
For regular cleaning, stick to mild, non-abrasive cleaners. Avoid using acidic or ammonia-based products, as they can degrade the epoxy finish over time. A solution of dish soap and warm water is usually sufficient for most messes. For tougher stains, a gentle scrub with a non-abrasive pad should do the trick.
Inspect the Floor Regularly for Wear and Tear
Finally, inspect your floor regularly for signs of wear, especially in high-traffic areas. If you notice any chips, scratches, or areas where the epoxy is starting to dull, address them promptly. Small touch-ups can prevent more extensive damage and keep your floor looking its best.
How to Resurface a Garage Floor
The Problem with DIY Garage Floor Kits Garage Floor Coating
Coatings Pro v. DIY Epoxy Garage Floor Kits CoatingsPro Magazine
DIY Epoxy Garage Floor Coating Repair
How to Epoxy Your Garage Floor
Related Posts:

