Installing cork flooring in the kitchen is a practical and eco-friendly choice that offers numerous benefits. Cork is a renewable and sustainable material harvested from the bark of cork oak trees, making it an environmentally friendly option for homeowners concerned about reducing their carbon footprint. Additionally, cork is naturally resistant to mold, mildew, and pests, making it an excellent choice for areas with high moisture levels such as kitchens. Its natural resilience also provides cushioning underfoot, making it comfortable to stand on for extended periods while cooking or cleaning. Cork flooring is available in a variety of styles, colors, and patterns, allowing homeowners to achieve their desired look for their kitchen while enjoying the many benefits that cork has to offer.
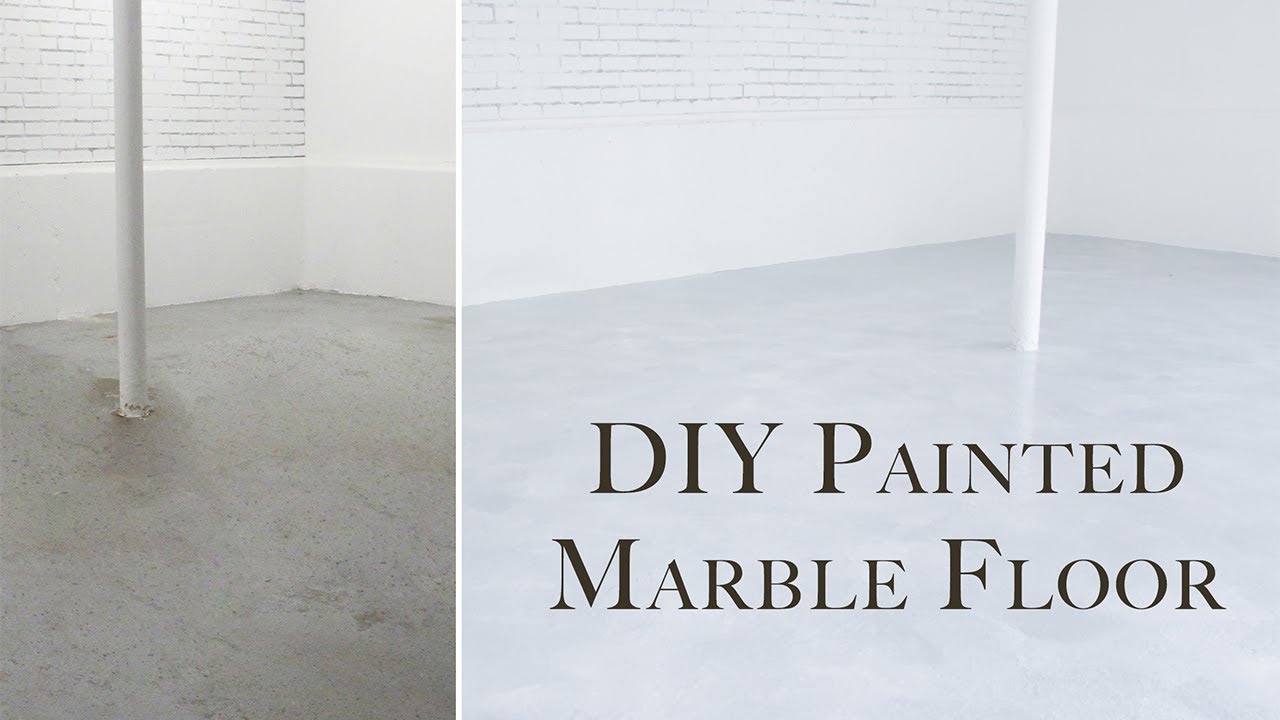
Images about DIY Marble Floor
DIY Marble Floor
One of the key advantages of cork flooring is its durability and longevity. When properly maintained, cork flooring can last for decades, making it a worthwhile investment for homeowners looking for a long-term flooring solution. Additionally, cork flooring is relatively easy to install, making it a popular choice for DIY enthusiasts. Cork tiles or planks can be installed using a simple floating floor method, where the pieces are clicked or glued together without the need for nails or adhesives. This makes cork flooring a practical option for homeowners looking to save money on installation costs and tackle home improvement projects themselves.
Another benefit of cork flooring in the kitchen is its thermal and acoustic insulation properties. Cork is a natural insulator, helping to retain heat in the winter and keep the kitchen cool in the summer. This can lead to energy savings by reducing heating and cooling costs throughout the year. Additionally, cork flooring absorbs sound, reducing noise levels in the kitchen and creating a quieter and more comfortable environment for cooking and entertaining. These insulation properties make cork flooring a popular choice for homeowners looking to improve the energy efficiency and comfort of their kitchens.
In terms of maintenance, cork flooring is relatively easy to care for. Regular sweeping or vacuuming is all that is needed to keep the floor clean from dust and debris. Additionally, cork flooring can be sealed with a polyurethane finish to provide added protection against moisture and stains. This sealant should be reapplied every few years to maintain the integrity of the cork and prolong its lifespan. Overall, installing cork flooring in the kitchen offers homeowners a durable, eco-friendly, and low-maintenance flooring option that provides both practical and aesthetic benefits for years to come.
Best DIY faux marble floor ideas

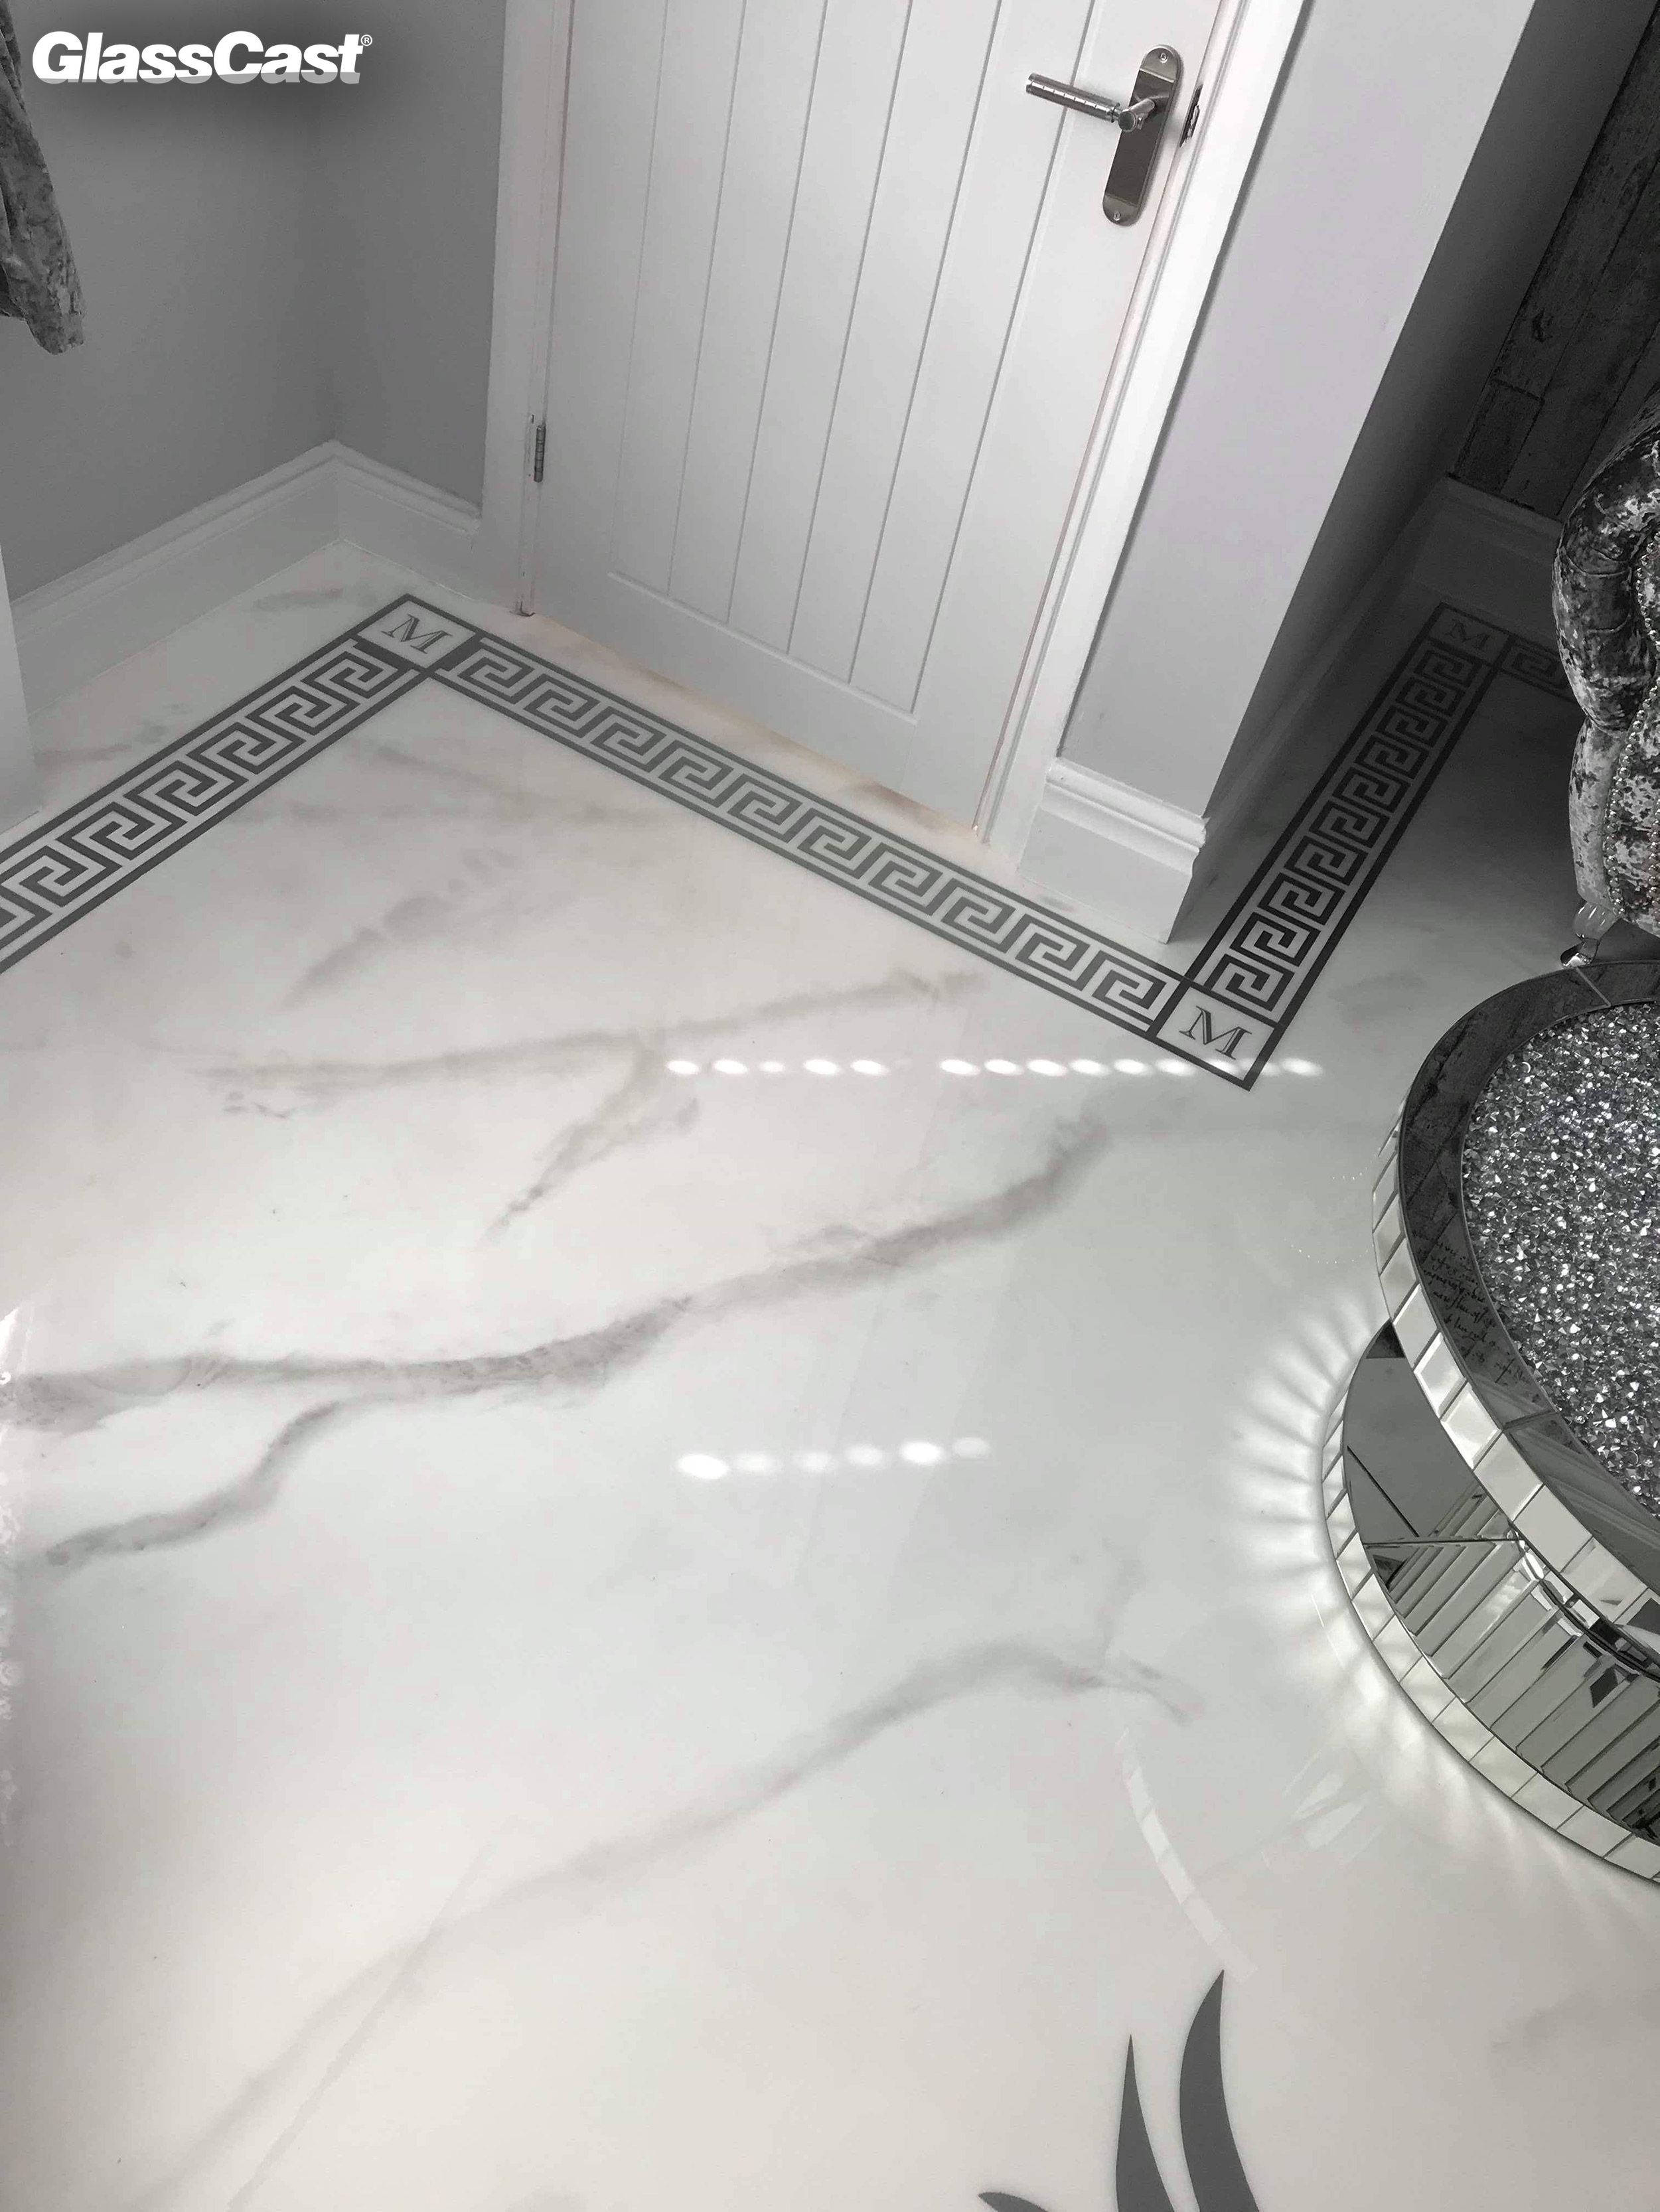
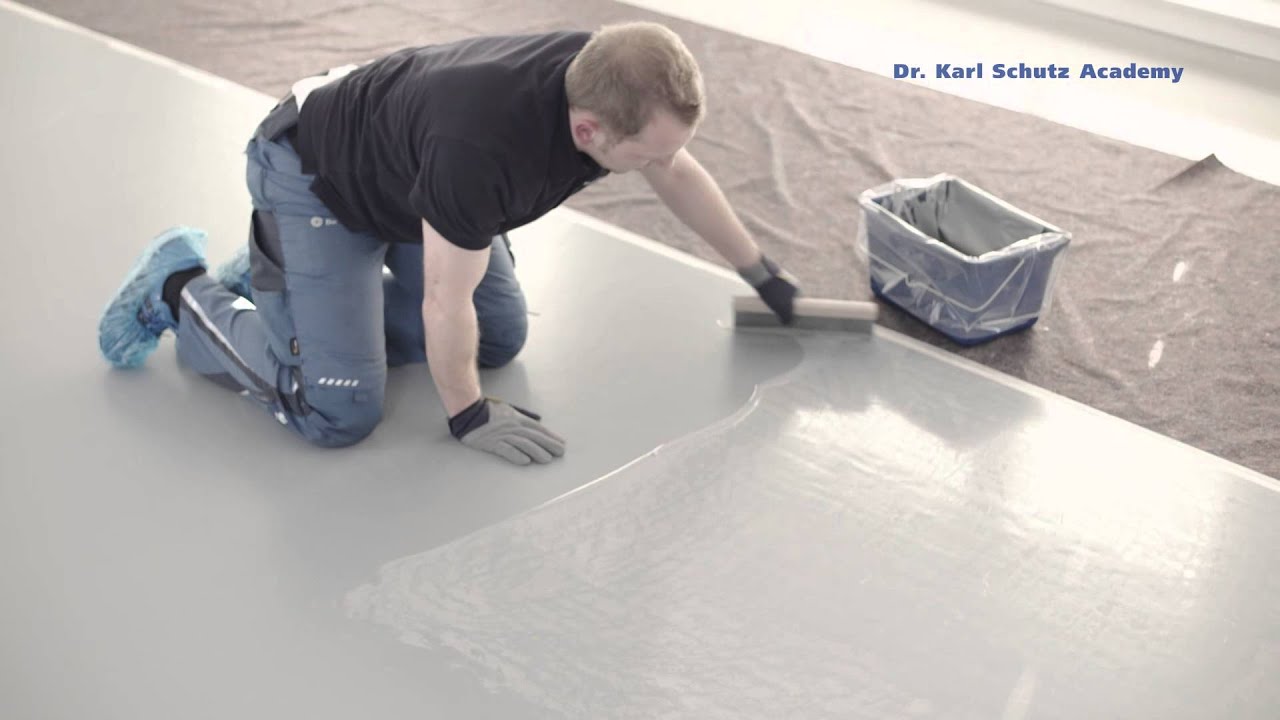
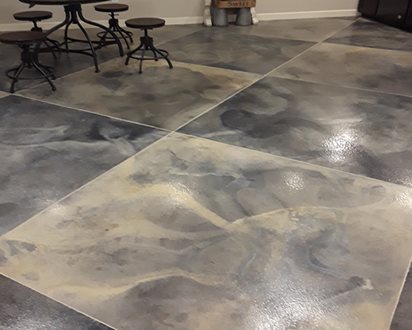
Creative marble-effect floor design with the spatula technique
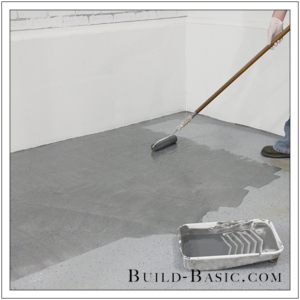
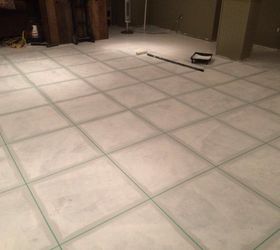
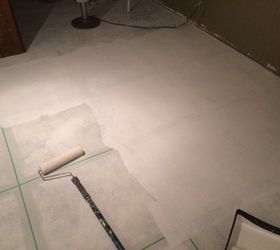
DIY Marble Flooring Tips
Powder Room Makeover: Faux Marble Tile Floor – Blessu0027er House

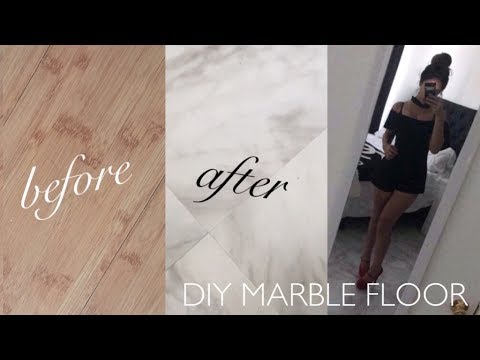
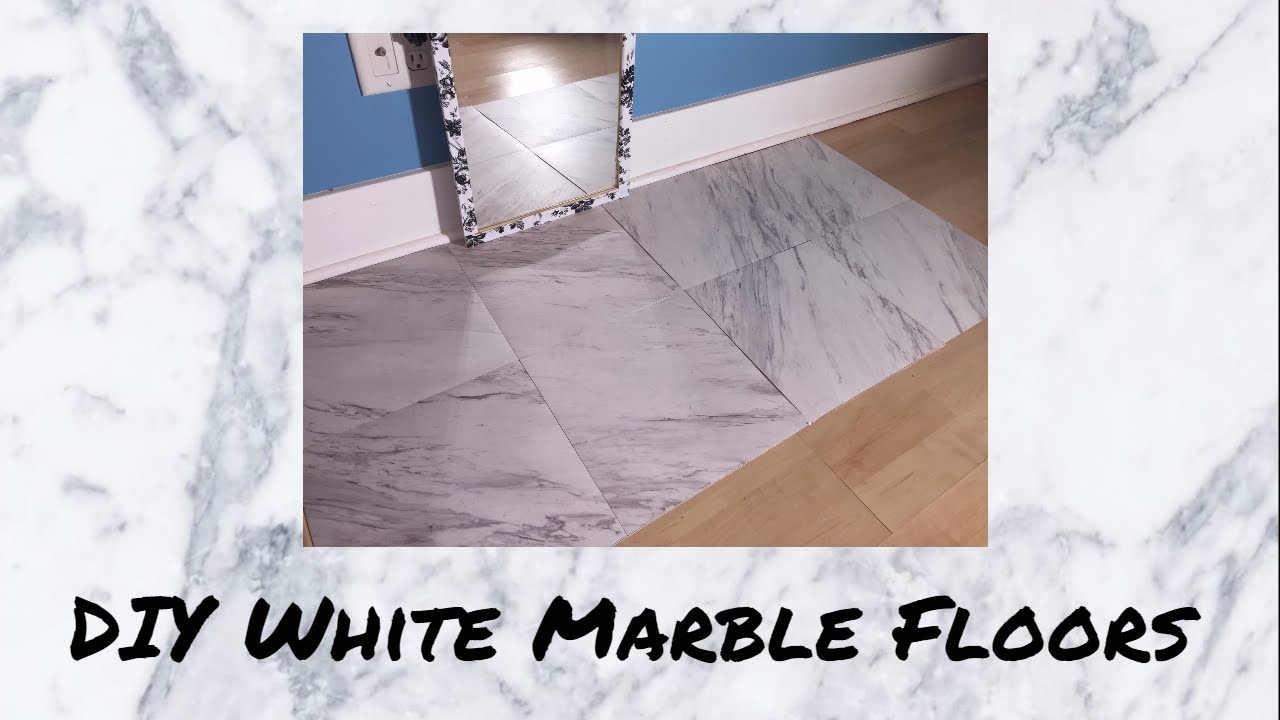
♡ DIY MARBLE FLOORING ♡

Faux Marble Flooring Hometalk
Faux Marble Flooring Hometalk
Faux Marble Floor 12 – Living Letter Home

How to Make Concrete Look Like Marble Floors – Concrete Network
Related Posts:
- Marble Flooring Border
- Home Marble Floor Design
- Beige Marble Flooring
- Black White Marble Floor
- White Carrara Marble Floor
- Marble Floor Design Ideas
- How To Clean White Marble Floors
- Marble Floor Entrance
- Yellow Marble Floor Tiles
- Luxury Marble Flooring Design
DIY Marble Flooring: A Comprehensive Guide
Marble flooring is a timeless and elegant addition to any home. It can be used in any room from entryways to bathrooms and can offer an elegant, luxurious look to your space. While installing marble flooring can be costly and time-consuming, it’s also a DIY project that you may be able to take on yourself. This guide will cover all the steps of installing marble flooring in your home, from choosing the right marble to preparing the subfloor and laying the tiles.
Choosing the Right Marble
When it comes to choosing your marble, there are several factors to consider, including cost, durability, and maintenance requirements. Marble is available in a wide range of colors and styles, so it’s important to select the one that best fits your style and budget. You should also determine whether you want a polished or honed finish. Polished marble has a glossy finish that will reflect light, while honed marble has a more matte finish that can be easier to clean over time.
Preparing the Subfloor
Before you begin installing your marble floor, you need to prepare the subfloor. This includes checking for any structural issues such as cracks or unevenness in the subfloor that could affect the installation, as well as cleaning and drying the area thoroughly. You should also ensure that your subfloor is level before beginning installation.
Laying the Tiles
Once your subfloor is prepped and ready to go, it’s time to lay the tiles. Begin by marking out where each tile will go using chalk lines or a laser level. You should also make sure to leave a 1/4-inch expansion gap between each tile. This allows for any expansion or contraction due to changes in temperature and humidity.
Next, you’ll need to mix up a mortar or thinset according to the manufacturer’s instructions. Then spread it over an area slightly larger than one tile using a notched trowel. Place the tile onto the mortar, press down firmly, and then use a rubber mallet or your hands to make sure it’s properly adhered to the subfloor. Repeat this process for all of your tiles until they are all in place.
Caring for Your Marble Floor
Once your marble floor is installed, it’s important to take care of it properly to keep it looking beautiful for years to come. Regular cleaning with a mild detergent and warm water should be enough for most spills and messes. For tougher stains, you’ll want to use a more specialized cleaner specifically designed for marble floors. Additionally, you should avoid using abrasive cleaning products or scrub brushes on your marble floors as these can damage them over time.
What tools do I need for installing marble flooring?
The tools you need for installing marble flooring depend on the type of installation you choose (tile vs sheet), but some common tools include chalk lines, laser level, notched trowel, rubber mallet, mortar/thinset, grout float, sponges, and sealant.
How much does it cost to install marble flooring?
The cost of installing marble flooring depends on factors such as the size of the area being covered, the type of tile chosen, and labor costs. Generally speaking, however, you can expect it to cost anywhere from $2-$10 per square foot depending on these factors.
How long does it take to install marble flooring?
The time required for installing marble flooring depends on the size of the area being covered and the complexity of the project. Generally speaking though, it typically takes 2-5 days depending on these factors.