You also need to ensure that you clean your sub-floor completely to remove any dirt as well as tiny particles which may cause problem if you come to lay the wood flooring. Many people don’t know that wood flooring has some unique characteristics which make it not the perfect choice for everyone. They are also eco-friendly, inexpensive and the best part is, there’s a lot of variety available.
Images about DIY Wood Floor Scratch Repair
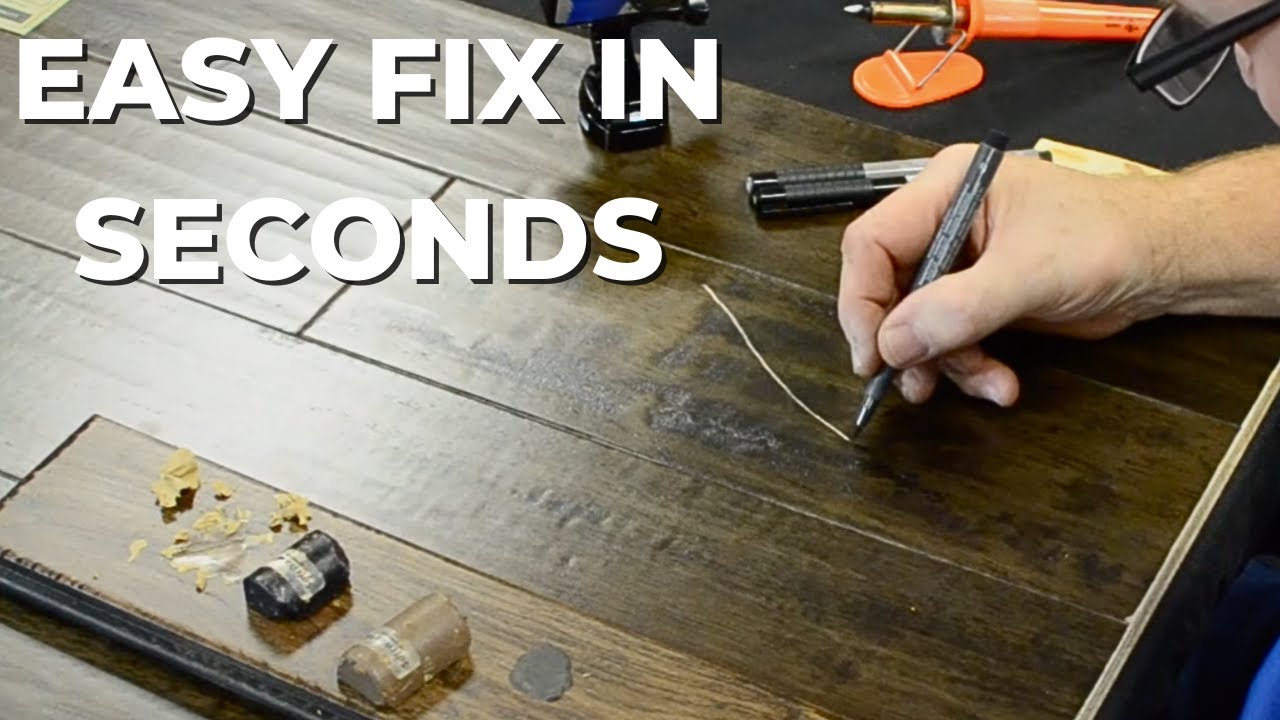
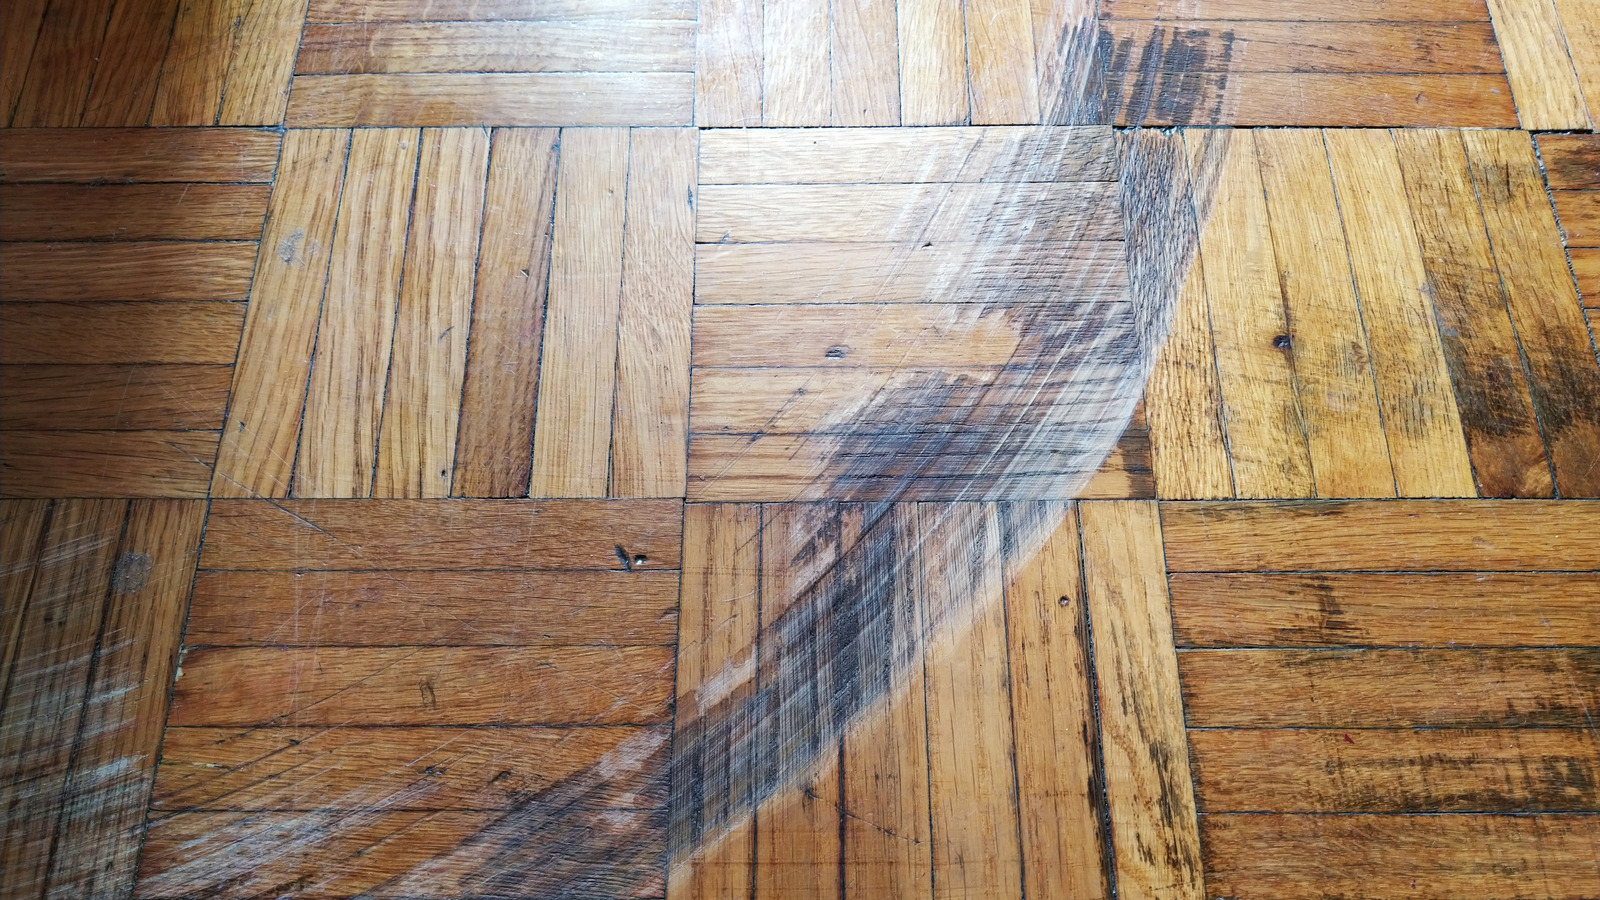
DIY Wood Floor Scratch Repair
If you’re taking into consideration the assembly of the floor by a specialist service or person you are going to need to complete some research. There is virtually a limitless level of hardwood flooring selections available to consumers from un-finished to engineered and pre-finished laminate flooring each developed with features which increase the entire durability and styling of a selected style and color.
4 Ways to Fix Scratches on Hardwood Floors – wikiHow

So hopefully this will help you determine if the floor of yours is sanded and refurbished or even if it’s time to change it. If you discover huge animals or kids in the house, you will want to think about checking out a laminate floor, which is much more reluctant to scratches. This’s made from high density fibre, hardened plastics or mdf underlayering, is a very popular flooring choice.
Floor Scratch Repair DIY Tips u0026 Tricks Tiles Plus More

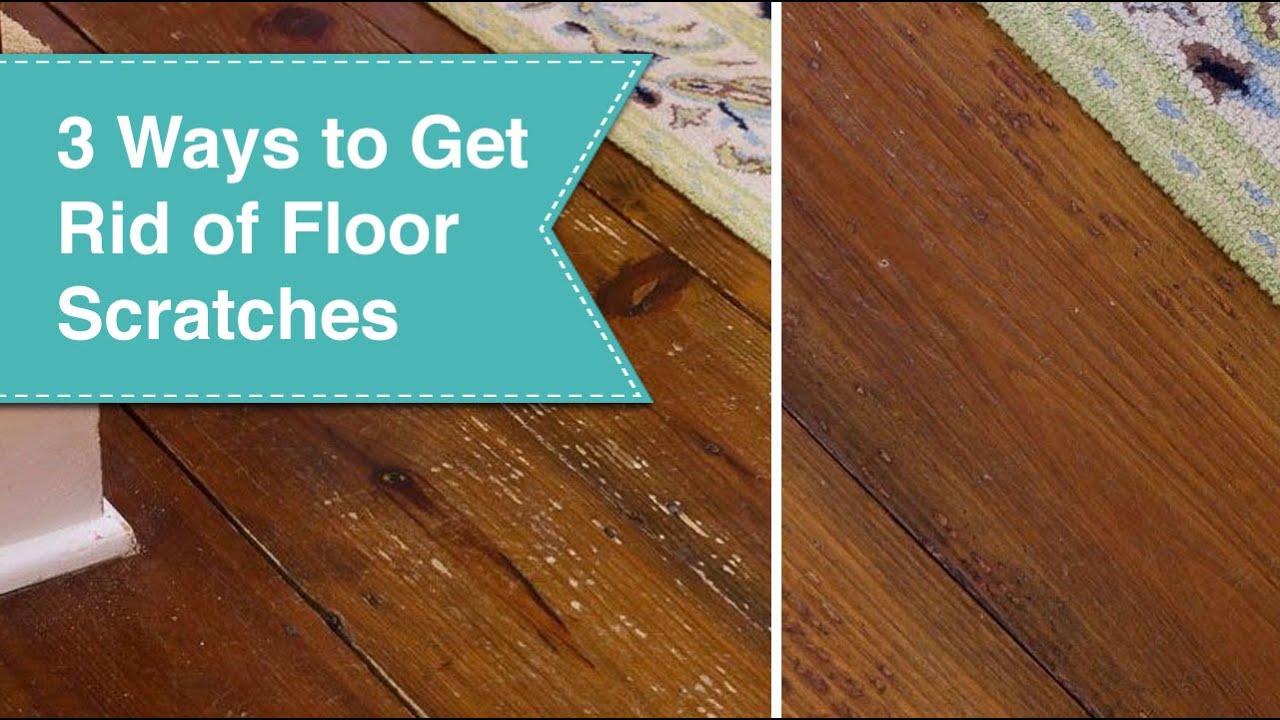
3 Ways to Eliminate Scratches on Wood Floors
Wood Flooring Scratch Repair Wood Floor Blemish Erase
How to Fix Scratches In Hardwood Floors – dummies
Inexpensive Ways To Fix The Huge Scratch In Your Wood Floor
How can I fix these scratches on wood flooring? : r/howto

How To Fix Hardwood Floor Scratches-Full Tutorial

Fix Scratched Hardwood Floors in About Five MInutes – The
Pin on For the Home

Hardwood Floor Scratch Repair: Keep Your Floor Looking New
DIY First Aid for Damaged Hardwood Floors Networx

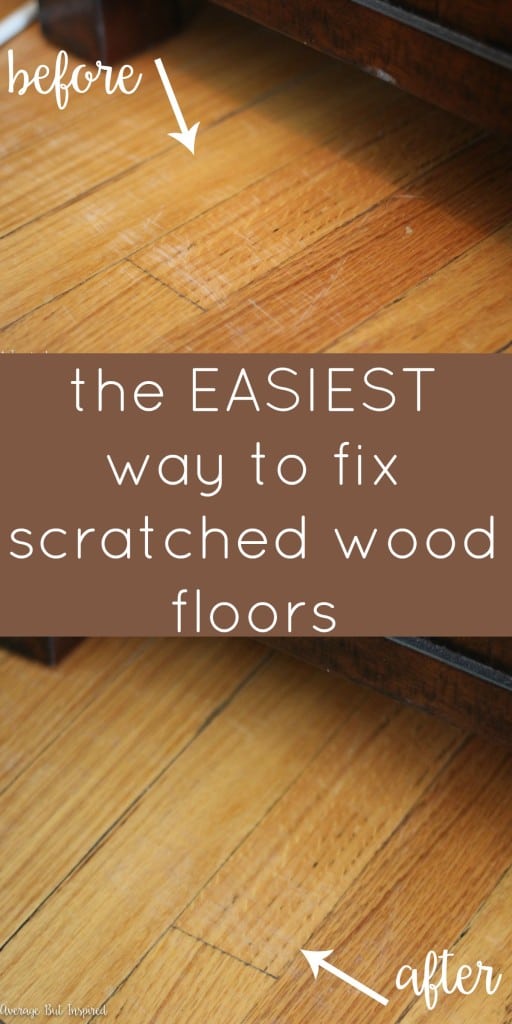
The Easiest Hardwood Floor Scratch Repair – Average But Inspired
Related Posts:
- Dark Wood Floor Pattern
- Wood Floor White Stain
- Dark Wood Floors Master Bedroom
- Grey Faux Wood Flooring
- Walnut Solid Wood Flooring
- Extra Wide Wood Flooring
- Cherry Wood Floor Bedroom
- White Oak Wood Tile Flooring
- Oak Solid Wood Flooring
- Dark Wood Floor Dining Room
DIY Wood Floor Scratch Repair: A Comprehensive Guide
Scratches in wood floors are inevitable, but that doesn’t mean you can’t repair them yourself. DIY wood floor scratch repair is a straightforward process that can be completed in a few simple steps. With the right tools and materials, you can make your wood floors look as good as new. In this article, we’ll go over the basics of DIY wood floor scratch repair, from choosing the right tools to completing the job successfully.
What You’ll Need for DIY Wood Floor Scratch Repair
Before you start any DIY project, it’s important to have the right tools and materials on hand. When it comes to DIY wood floor scratch repair, you’ll need a few basic items. These include:
– Sandpaper: This is used to sand down the scratched area, removing any rough edges or splinters.
– Putty knife: A putty knife is used to apply the repair putty and smooth out the surface.
– Repair putty: This is an epoxy-based material that is used to fill in scratches and fill gaps between boards.
– Stains and sealers: These are used to match the color of the repaired area with the rest of the floor.
– Rag and tack cloths: These are used to clean up dust and debris during the repair process.
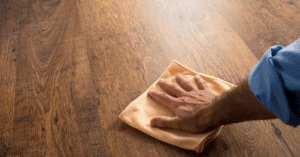
Preparing for DIY Wood Floor Scratch Repair
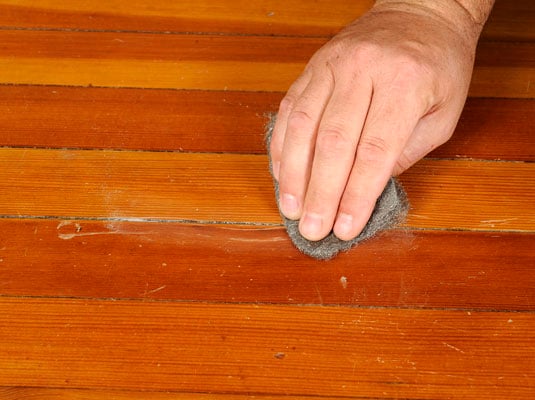
Once you’ve gathered all the necessary tools and materials for DIY wood floor scratch repair, it’s time to prepare for the job. Start by thoroughly cleaning the scratched area with a rag and tack cloths, removing any dirt or debris that may impede your progress. Then, using sandpaper, sand down the scratched area until it is level with the rest of the floor. Once the area has been sanded, use a putty knife to apply repair putty into any gaps or cracks in the floor.
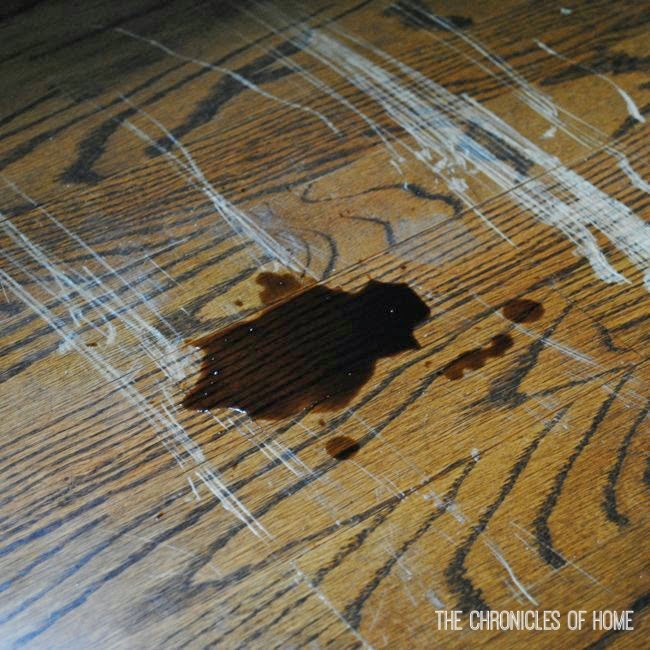
Applying Stains and Sealers
Once you’ve filled in any gaps or cracks with repair putty, it’s time to apply stains and sealers to match the color of the repaired area with the rest of the floor. There are several different types of stains and sealers available, so you should make sure to choose one that best matches your existing floor color. Once you’ve selected a stain or sealer, apply it evenly across the repaired area using a paintbrush or roller. Allow the stain or sealer to dry completely before proceeding.
Finishing Up
Finally, once your DIY wood floor scratch repair is complete, it’s time to finish up. Start by sweeping away any dust or debris from the area with a broom or vacuum cleaner. Then, apply a coat of wax or polyurethane sealer to protect your newly-repaired floors from further damage. Allow your floors to dry completely before walking on them again.
FAQs About DIY Wood Floor Scratch Repair
Q: What type of sandpaper should I use for DIY wood floor scratch repair?
A: The type of sandpaper you’ll need will depend on how deep the scratches are. For shallow scratches, you can use 120-grit sandpaper; for deeper scratches, use 80-grit sandpaper instead.
Q: How long should I allow my repaired floors to dry before walking on them again?
A: It’s best to allow your floors at least 24 hours to dry completely before walking on them again. This will ensure that your floors have adequate time to cure properly before being exposed to foot traffic again.
Q: Can I use polyurethane sealer instead of wax?
A: Yes, both wax and polyurethane sealer can be used for DIY wood floor scratch repair; however, polyurethane sealer tends to be more durable and longer lasting than wax sealer.