Why DIY Wood Flooring is an Affordable Option for Homeowners
When it comes to home improvement projects, flooring can be one of the most significant expenses. However, if you’re willing to get your hands dirty, DIY wood flooring is an affordable way to transform your home without blowing your budget. Doing the work yourself eliminates labor costs, and there are plenty of cost-effective wood flooring options available. Let’s find out why DIY wood flooring is such a budget-friendly option for homeowners like us.
- Eliminating Professional Labor Costs
One of the main reasons DIY wood flooring is so affordable is that it cuts out labor costs. Professional installation can be expensive, sometimes costing more than the materials themselves. By learning how to install the flooring on your own, you can save hundreds, if not thousands, of dollars. - Wide Range of Affordable Wood Flooring Options
There are plenty of wood flooring materials available that won’t break the bank. From engineered wood to plywood, you can find budget-friendly options that still look great. These alternatives often mimic the look of solid hardwood, giving you a similar aesthetic for a fraction of the price. - No High-End Tools Required
You don’t need to own a full set of expensive tools to install wood flooring. Many tools can be rented or borrowed, and the basics like a saw, measuring tape, and hammer are usually sufficient. This further cuts down the overall cost of the project. - Control Over Material Purchases
When you do a project yourself, you have complete control over where and how you source materials. This means you can take the time to shop around for sales, discounts, or even reclaimed wood, helping you save even more money. - DIY Gives You Flexibility in Timeline
Hiring professionals means working on their schedule, which often means paying for quick timelines. When you tackle the project yourself, you can work at your own pace, spreading the cost out over a longer period, making the project more manageable financially. - Personal Satisfaction and Skill Building
Beyond the financial savings, there’s a lot of personal satisfaction that comes from completing a DIY project. You’ll also develop new skills, which can be reused in future home improvements, further saving you money down the road.

Types of Budget-Friendly Wood Flooring
If you’re looking for an affordable way to upgrade your floors, it’s essential to know the different types of budget-friendly wood flooring. Not all wood flooring is created equal, and certain types offer more value for money, durability, or ease of installation. Let’s explore some popular and cost-effective options that could be perfect for your space.
Engineered Wood Flooring
Engineered wood is a top choice for budget-conscious homeowners. Made with a thin veneer of real wood on top and a plywood or fiberboard base, engineered wood is less expensive than solid hardwood. It still offers the beauty of real wood but at a lower cost and with better moisture resistance.
Laminate Wood Flooring
Laminate wood flooring is another affordable option, made from a fiberboard core with a photographic layer that mimics the look of real wood. It’s durable, easy to install, and often cheaper than both solid hardwood and engineered wood. Plus, it comes in a wide variety of wood-look designs, so you can find one that fits your aesthetic.
Plywood Flooring
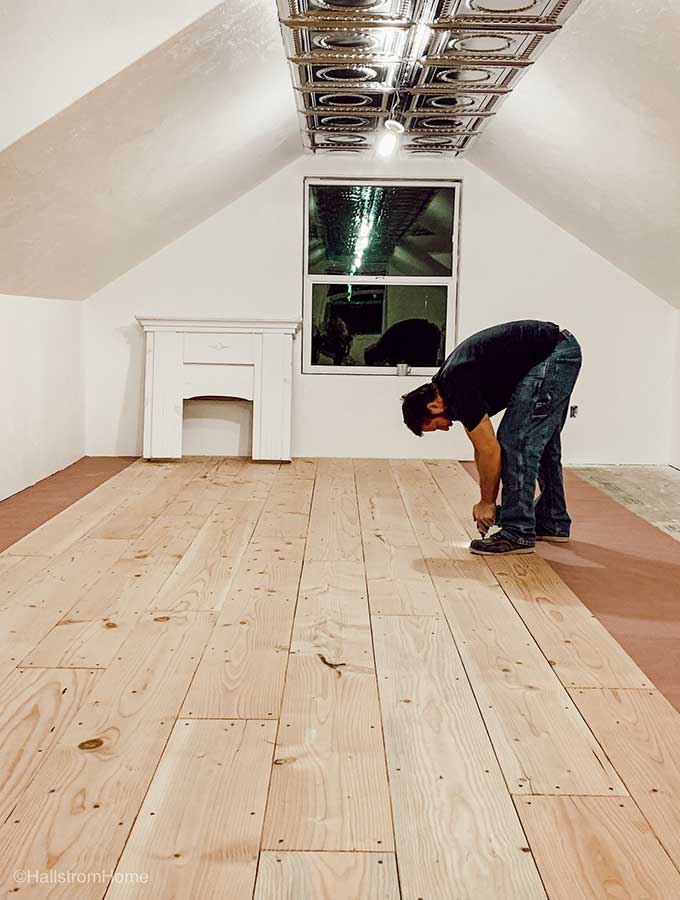
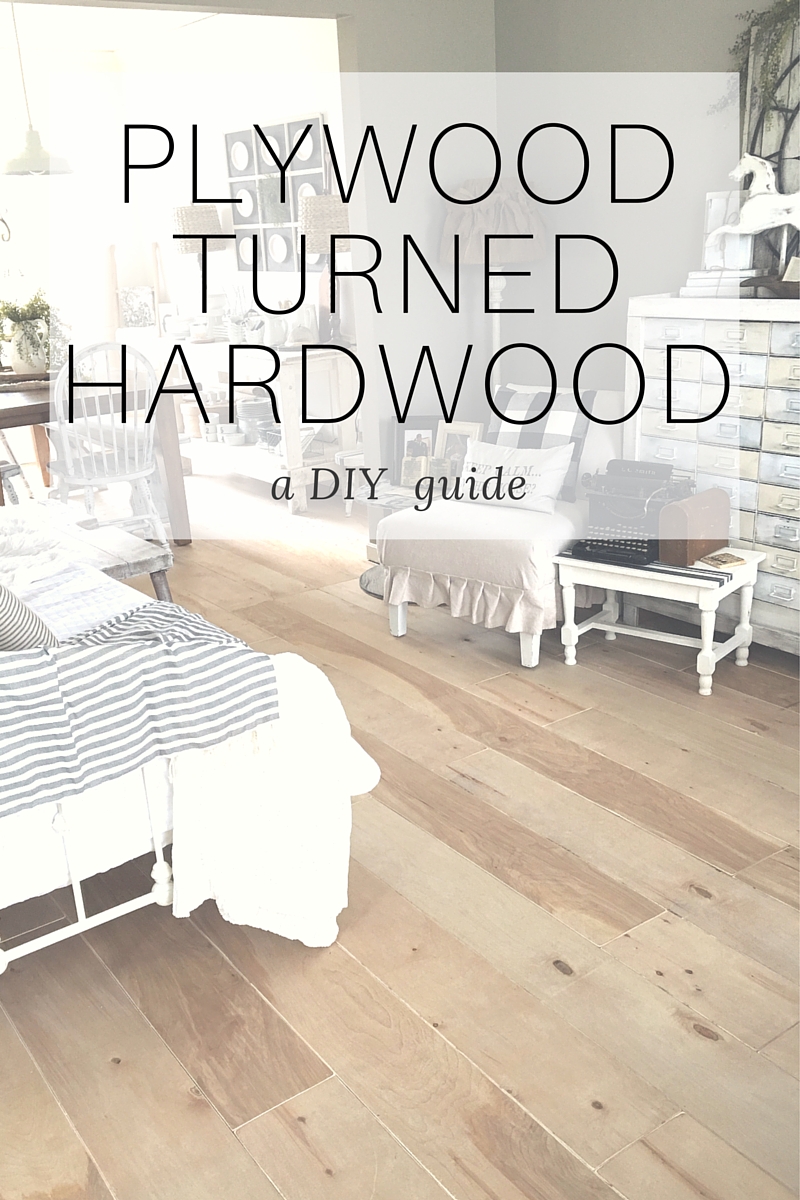
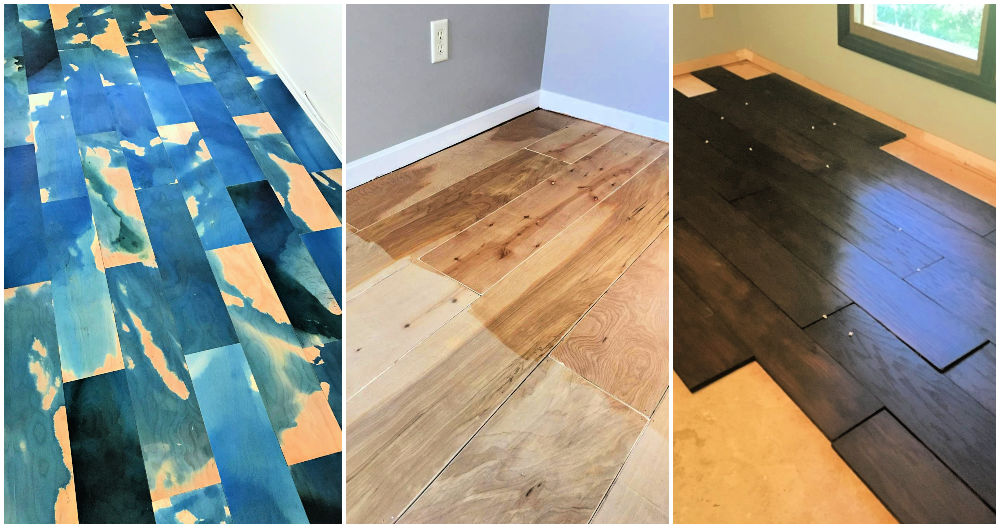
While plywood might not sound glamorous, it’s a great option for DIYers on a tight budget. Plywood can be stained or painted to look like more expensive wood flooring, and it’s incredibly cost-effective. It’s also easy to install, making it ideal for a quick, affordable floor upgrade.
Reclaimed or Salvaged Wood
For those who love a rustic or vintage look, reclaimed or salvaged wood can be both affordable and eco-friendly. Many companies or even demolition sites offer old wood at a fraction of the price of new materials. The added bonus? Every plank has its own character and history.
Bamboo Flooring
Bamboo is technically a grass, but it’s a popular wood alternative for those on a budget. Bamboo flooring is generally cheaper than hardwood, and it’s also sustainable, making it an environmentally friendly choice. Bamboo can be installed just like traditional wood flooring and offers a similar look.
Peel-and-Stick Wood Planks
For the ultimate in DIY ease, peel-and-stick wood planks are a game-changer. These adhesive-backed planks are easy to install, affordable, and perfect for renters or those looking for a temporary solution. While they may not have the longevity of traditional wood flooring, they’re a quick and budget-friendly way to update a room.
Essential Tools and Materials for DIY Wood Flooring on a Budget
Before diving into your DIY wood flooring project, it’s crucial to have the right tools and materials. Fortunately, you don’t need an entire workshop of expensive equipment to get the job done. Let’s take a look at the essential tools and materials you’ll need to install budget-friendly wood flooring.
Measuring Tape and Chalk Line
Precision is key when laying wood flooring, so having a reliable measuring tape and a chalk line is a must. These tools will help you ensure each plank is installed straight and even, avoiding costly mistakes that could ruin the look of your floor.
Circular Saw or Jigsaw
You’ll need a saw to cut your wood planks to size. A circular saw or jigsaw works great for most DIY flooring projects, and they’re relatively inexpensive to purchase or rent. Be sure to use the right blade for cutting wood to get clean, straight cuts.
Hammer and Nail Set
If you’re installing wood flooring that requires nails, a hammer and nail set are essential. These tools will help you secure the planks into place without damaging the wood. For those using a floating floor system, you may only need a hammer to tap the planks into position.
Flooring Adhesive or Nails
Depending on the type of wood flooring you choose, you’ll need either flooring adhesive or nails to secure the planks. Be sure to use a high-quality adhesive designed for wood floors to ensure a strong bond. For nail-down floors, proper flooring nails or staples are required.
Underlayment
An underlayment is necessary for many wood flooring installations, especially for floating floors. It helps cushion the flooring, reduces noise, and provides a moisture barrier. Roll out the underlayment before laying your wood planks to ensure a smooth, long-lasting installation.
Tapping Block and Pull Bar
These tools are essential for ensuring your wood planks fit snugly together. A tapping block helps you gently tap the planks into place without damaging the edges, while a pull bar helps pull the last row of planks tight against the wall.
Step-by-Step Guide to Installing Cheap DIY Wood Flooring
Installing wood flooring yourself might seem like a daunting task, but with the right approach, it can be both rewarding and budget-friendly. I’ll walk you through a step-by-step process to install cheap DIY wood flooring and transform your space without hiring a pro.
Prepare the Subfloor
Before you start laying any wood flooring, it’s crucial to prepare the subfloor. Make sure the subfloor is clean, level, and dry. Any debris or uneven areas can cause the planks to shift or squeak. If the subfloor is not level, you may need to sand it down or use a self-leveling compound.
Lay the Underlayment
If you’re using a floating floor system, underlayment is a must. Roll out the underlayment across the entire room, making sure to overlap the seams by a few inches. Trim the edges with a utility knife and secure it in place with tape.
Measure and Plan the Layout
Measure the room carefully and plan your layout. Start by determining the direction you want the planks to run—usually parallel to the longest wall. Use a chalk line to mark your starting point and dry-lay a few rows of planks to see how they’ll fit.
Cut the First Row of Planks
Once you’ve planned the layout, cut the first row of planks to fit along the wall, leaving a small expansion gap (typically ¼ inch) between the planks and the wall. This gap allows the wood to expand and contract with temperature and humidity changes.
Install the Planks
Begin installing the planks by clicking or nailing them into place, depending on the system you’re using. Use a tapping block to ensure the planks fit snugly together. Work your way across the room, cutting planks as needed to fit around doorways and corners.
Finish the Edges and Install Trim
Once the floor is installed, finish by trimming the last row of planks to fit along the opposite wall, leaving an expansion gap. After all the planks are installed, install baseboards or quarter-round trim to cover the gaps and give your floor a polished look.
Tips for Refinishing and Repurposing Old Wood for a Low-Cost Floor
One of the most creative ways to save money on wood flooring is by refinishing or repurposing old wood. Whether you’re reusing old planks or refinishing wood from another part of your home, this approach can give you a unique, budget-friendly floor. Let me share some tips to help you get started.
Source Salvaged Wood from Local Sellers
One of the best ways to find affordable wood is by sourcing it from salvage yards, old barns, or even demolition sites. Many sellers offer reclaimed wood at a fraction of the cost of new materials, and you’ll often get wood with more character and history.
Prep the Wood for Refinishing
If you’re using old wood, it will likely need some prep work before installation. Sanding the surface to remove old paint, stain, or varnish is essential. Once sanded, the wood will be smooth and ready to receive a new finish that matches your design vision.
Stain or Paint to Match Your Style
After sanding, you can stain or paint the wood to suit your home’s aesthetic. Stain enhances the natural grain of the wood, while paint can completely transform the look. This step allows you to personalize the flooring and match it with the rest of your decor.
Seal the Wood for Durability
Once stained or painted, sealing the wood is crucial to ensure durability. A clear polyurethane finish is often used to protect the wood from wear and tear, making it last longer. Be sure to apply multiple coats, allowing each to dry fully before walking on the floor.
Repurpose Old Planks for New Spaces
Repurposing wood from other parts of your home can be a great way to cut costs. For instance, wood from an old deck or barn door can be refinished and used as flooring in your living room or bedroom. It’s an eco-friendly and budget-conscious choice.
Consider a Patchwork Design
If you’re short on wood or want a more eclectic look, consider creating a patchwork design with different types of wood. Mixing and matching planks of various sizes, colors, and textures can create a one-of-a-kind floor that adds character to your home.
How to Maintain and Protect Your DIY Wood Flooring Investment
After investing your time and effort into installing a beautiful DIY wood floor, it’s important to maintain it properly to ensure it lasts for years to come. Wood floors can be sensitive to wear, moisture, and scratches, but with the right care, you can protect your investment. Let’s go over some essential tips for maintaining and protecting your DIY wood flooring.
Regular Sweeping and Dusting
One of the simplest ways to keep your wood floor looking its best is by regularly sweeping or dusting it. Dirt and debris can scratch the surface over time, dulling the finish. Use a soft broom or a microfiber mop to remove dust and prevent scratches.
Use a Damp Mop for Deeper Cleaning
While sweeping will take care of most dirt, a deeper clean is sometimes necessary. Use a damp (not wet) mop with a wood-safe cleaner to remove stains or grime. Avoid soaking the floor, as excessive moisture can damage the wood over time.
Place Rugs and Mats in High-Traffic Areas
High-traffic areas like hallways, entryways, and kitchens can wear down wood floors faster. To protect these areas, place rugs or mats to reduce foot traffic directly on the wood. Be sure to choose rugs with a non-slip backing to prevent scratches.
Install Furniture Pads
Furniture can easily scratch or dent your wood floors, especially when it’s moved around. Installing felt furniture pads under the legs of chairs, tables, and sofas can help prevent damage. It’s an easy and inexpensive way to protect your floor.
Control Humidity Levels
Wood floors are sensitive to changes in humidity, which can cause them to expand or contract. To prevent warping or gaps, try to maintain a consistent humidity level in your home. Using a dehumidifier or humidifier can help regulate the environment.
Refinish the Floor When Necessary
Over time, your wood floor may start to show signs of wear, such as scratches, dullness, or discoloration. Refinishing the floor every few years can restore its original beauty. Sanding the surface and applying a new coat of finish will make the floor look like new again.
Common Mistakes to Avoid
Installing wood flooring on a budget can be a rewarding project, but it’s easy to make mistakes that could cost you more in the long run. Avoiding these common pitfalls will help you stay within your budget while ensuring a professional-looking finish.
Not Preparing the Subfloor Properly
One of the biggest mistakes DIYers make is skipping proper subfloor preparation. An uneven or dirty subfloor can cause your wood planks to shift, squeak, or wear unevenly. Take the time to clean, level, and smooth the subfloor before starting the installation.
Skipping Acclimation Time
Wood flooring needs time to acclimate to the environment in your home before installation. Failing to let the wood adjust can lead to gaps, warping, or buckling once it’s installed. Be sure to let the wood sit in the room for at least 48 hours to adjust to the temperature and humidity.
Incorrect Measuring and Cutting
Accurate measurements are critical when installing wood flooring. Miscalculating the size of your planks or cutting incorrectly can waste materials and add to your costs. Always measure twice and cut once to avoid costly mistakes.
Not Using Spacers for Expansion Gaps
Wood floors need room to expand and contract with changes in temperature and humidity. Forgetting to leave an expansion gap around the edges of the room can cause the wood to buckle or warp. Use spacers to ensure you leave the correct gap, usually about ¼ inch.
Rushing the Installation
While it can be tempting to rush through the installation, taking your time will ensure a better result. Carefully aligning each plank, using the correct tools, and double-checking your work will help avoid mistakes that could lead to gaps or uneven surfaces.
Neglecting the Final Finish
Some wood flooring materials require a final finish or sealant to protect them from wear and tear. Skipping this step can leave your floor vulnerable to damage from spills, scratches, and foot traffic. Always follow the manufacturer’s recommendations for sealing and finishing the floor.
DIY Rustic Farmhouse Wood Flooring
Inexpensive wood floor that looks like a million dollars! Do it
Cheap DIY Plywood Flooring Ideas To Save Your Money
Cheap Real Wood Floors
DIY Wood Floors
Related Posts:


