These things are around the external surfaces of your home and should not be a high-priced fix. Leave it for one day or even two and then check to determine if there is some condensate on the under side of the plastic, if not, you are set. Whether it's a laundry area, a gym, an entertainment region, and on occasion even an underground bedroom will call for different floor features.
hint: – Make the writing better, more engaging, active tense, better adjectives, show don’t tell, and more compelling language. – Use sub-headings whenever possible. Include several common questions and answers related to the topic provided. Write a complete and detailed article following the hints above about this topic: “Do It Yourself Epoxy Basement Floor”, but numbers in brackets are protected words, keep them unchanged. Images about Do It Yourself Epoxy Basement Floor
Do It Yourself Epoxy Basement Floor
Also when it's wet, your polyurea garage or maybe basement floor will not be slick, none will moisture sink directly into the flooring. Carpeting the basement is often a wrong choice as the risk of water damage can harm the carpet in a single leak. A few and minor points that you will overlook may switch up to be the biggest blunder of your life to haunt you permanently.
Do-It-Yourself Epoxy Floor Coating
If basement flooring isn't completed right, you're simply gon na waste effort as well as cash for attempting to make your entire basement look great. Lastly, and maybe most notably, a key factor in a polyurea floor covering is safety. With time, this weakens the house foundation applying it under the risk of collapsing.
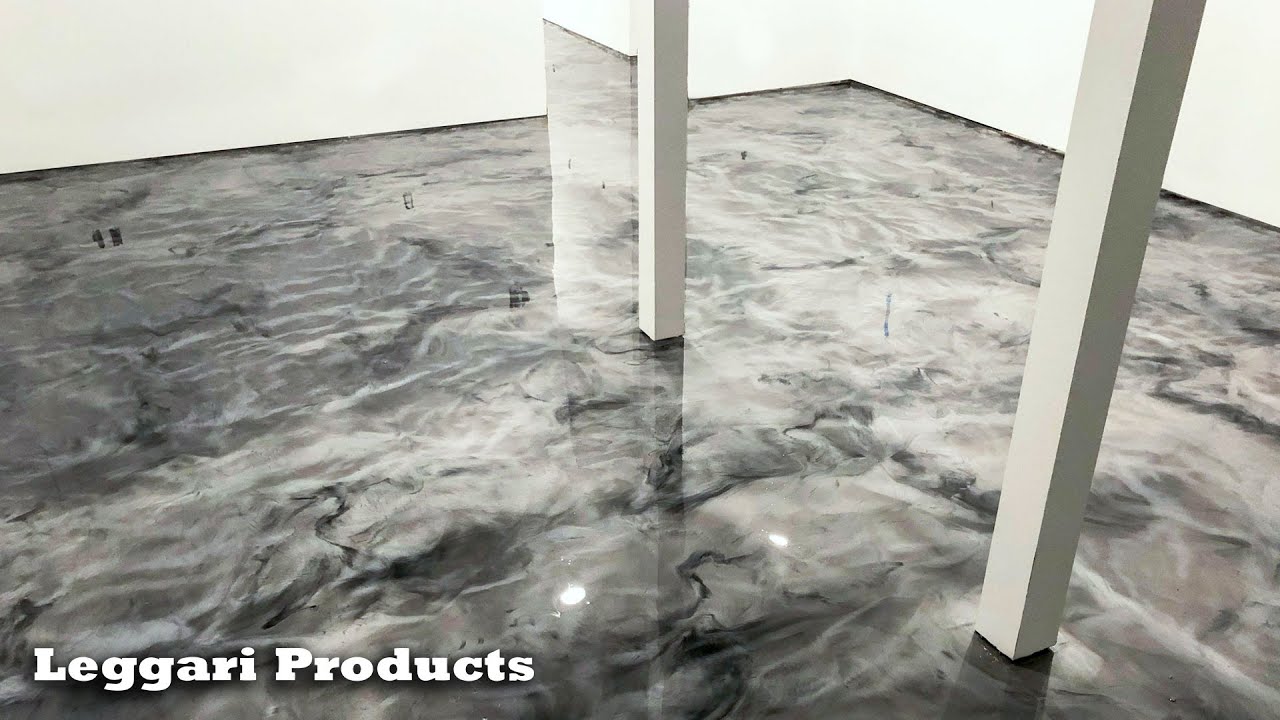
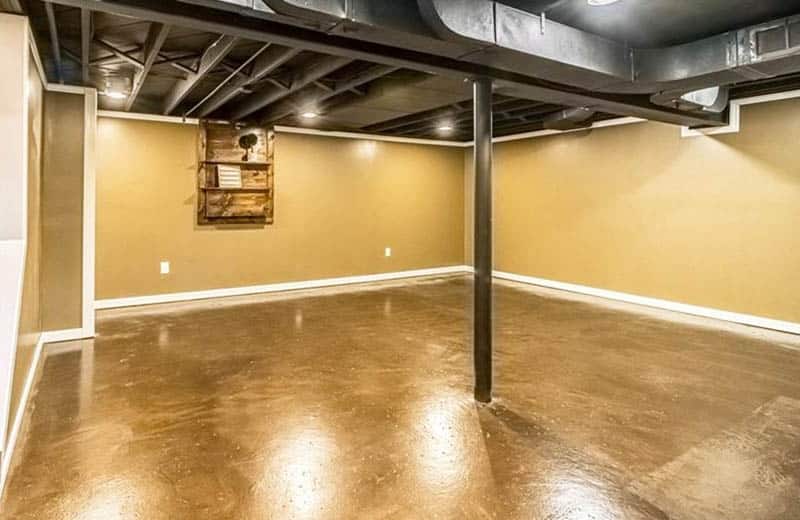
Basement Floor Epoxy Coating Ana White
Basement Floor Epoxy Coating Ana White
Easy Do-It-Yourself Epoxy Flooring Installation Guide We Are Extreme
Solid White Epoxy Basement DIY
Epoxy Floor Installation Over Old Concrete
Epoxy basement floor: Buy, Best, Paint, Coating, 2020 – Epoxy Pro

Is an Epoxy Basement Floor Good for the Home?

Basement Floor Epoxy Coating Kits ArmorGarage
Epoxy Floor (Ultimate Design Guide) – Designing Idea
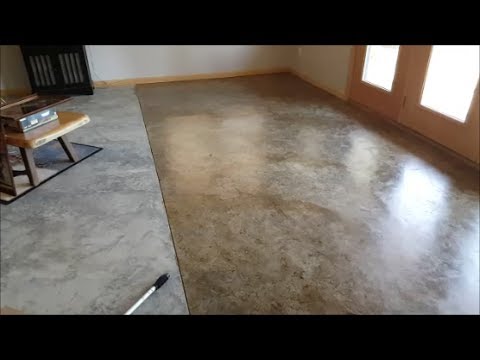
DIY Basement Floor Stain and finish, 2 colors, Without Etching!
DIY Epoxy Stone Flooring » Everlast® Editorial

Epoxy Flooring Blog DIY VS Professional Epoxy Flooring

Related Posts:
- Vinyl Plank Flooring Basement Installation
- Basement Floor Insulation
- Tile Basement Flooring
- Concrete Basement Floor
- Cleaning Concrete Basement Floor
- Wood Basement Floor
- Basement Laminate Flooring Ideas
- Basement Floor Coating
- Luxury Basement Floor
- Epoxy Paint Basement Floor
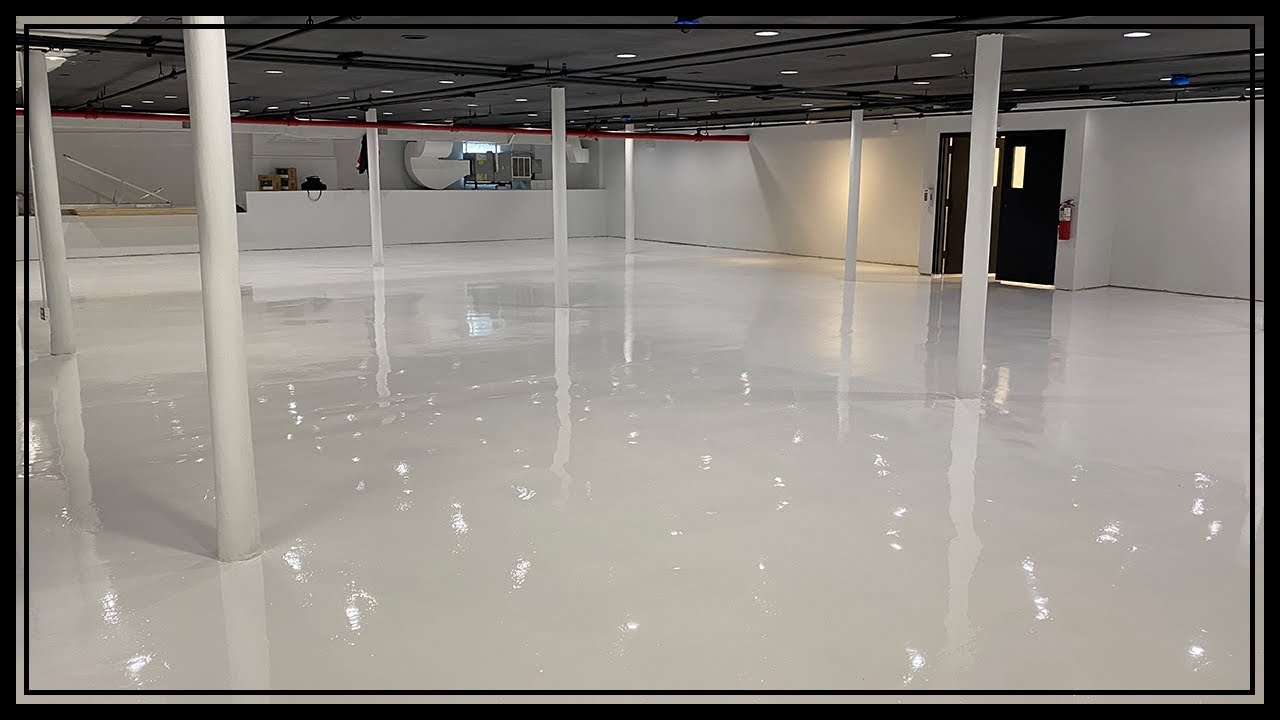
Do It Yourself Epoxy Basement Floor: A Guide to Installing a Durable, Low-Maintenance Flooring Solution
Are you looking for a durable and low-maintenance flooring solution for your basement? Installing an epoxy basement floor may be the answer you’ve been searching for! Epoxy flooring is a great choice for homeowners who want a long-lasting and attractive floor in their basement. Read on to learn the basics of DIY epoxy basement floor installation.
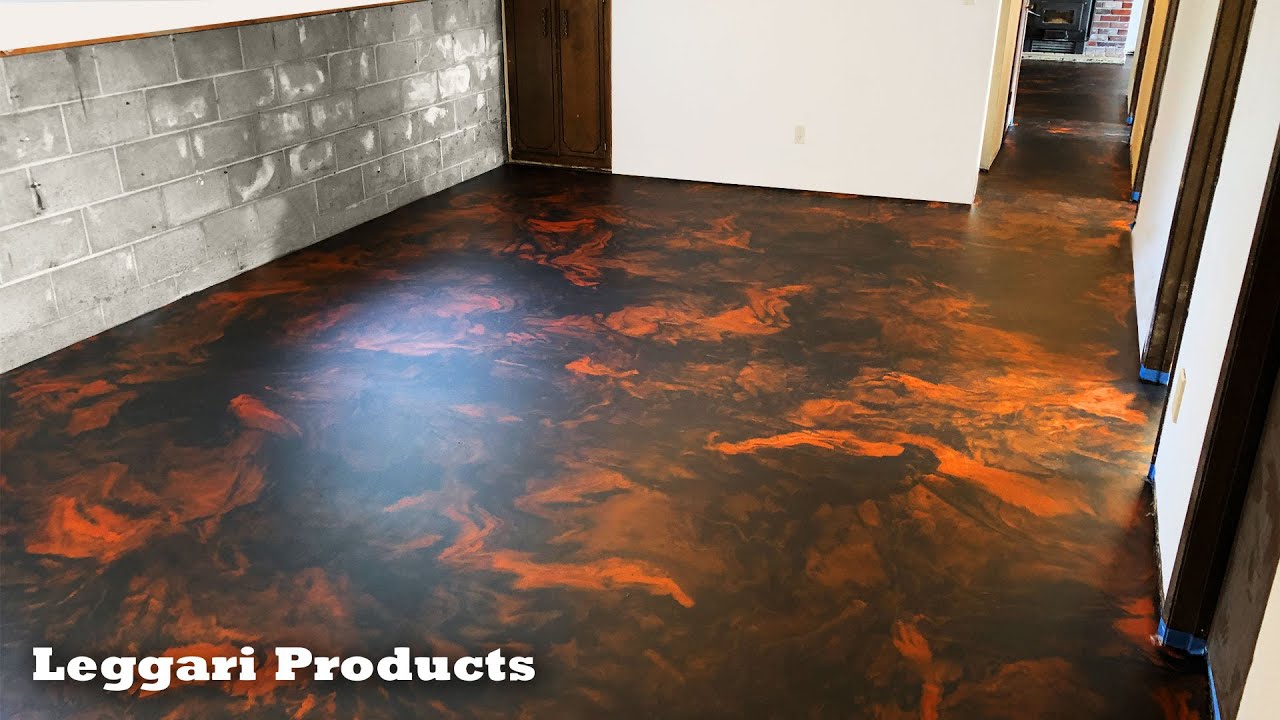
What is Epoxy Flooring?
Epoxy is a liquid plastic that can be used to coat floors and create a durable, waterproof surface. It’s often used in industrial settings, but it can also be used to create a stylish and low-maintenance floor in your home. Epoxy is available in a variety of colors and finishes, making it easy to customize the look to fit your space.
Benefits of Installing Epoxy Flooring in Your Basement
Installing epoxy in your basement has many benefits, including:
– Durability: Epoxy is incredibly durable, so you won’t have to worry about wear and tear over time.
– Waterproof: Epoxy creates a waterproof barrier that won’t be affected by moisture or water damage.
– Low Maintenance: You won’t have to worry about frequent maintenance with an epoxy floor. Regular sweeping and mopping is all that’s needed to keep it looking its best.
– Cost Effective: Installing epoxy flooring is an affordable option, especially when compared to other types of flooring materials.
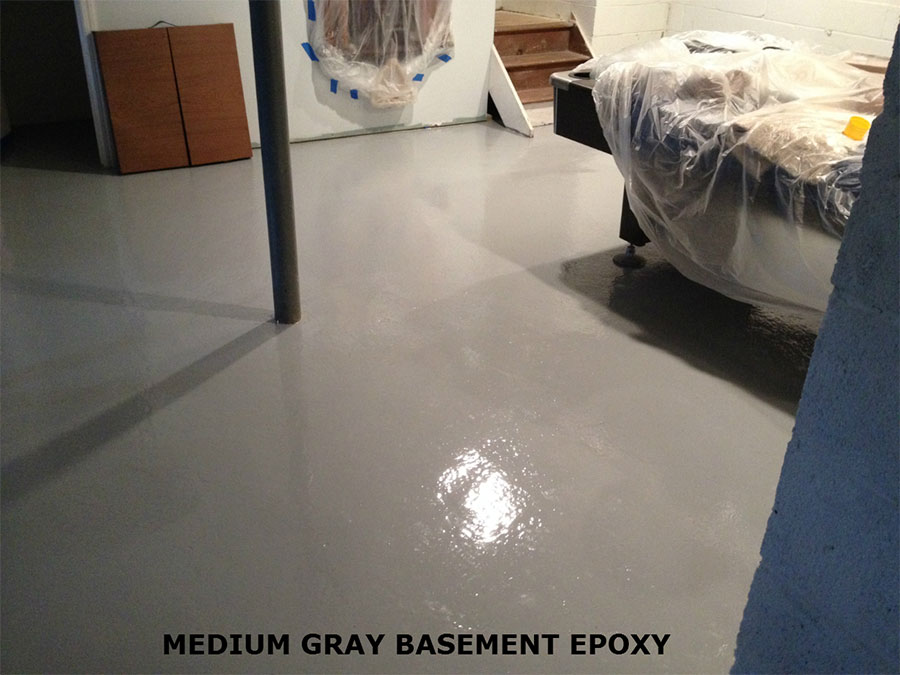
How to Install Epoxy Basement Flooring
Installing epoxy basement flooring is a fairly simple process if you have the right tools and materials. Here’s what you need to get started:
– Epoxy Resin
– Mixer and Applicator
– Tape Measure
– Paint Tray
– Paint Brush or Roller
Once you have all the necessary supplies, you’re ready to begin! The process involves four steps:
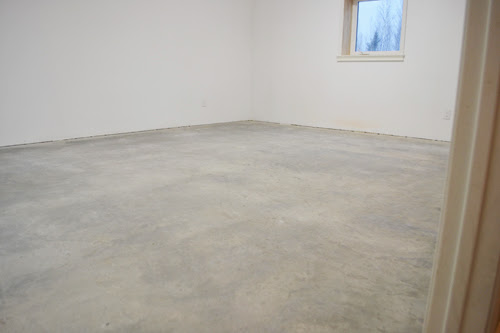
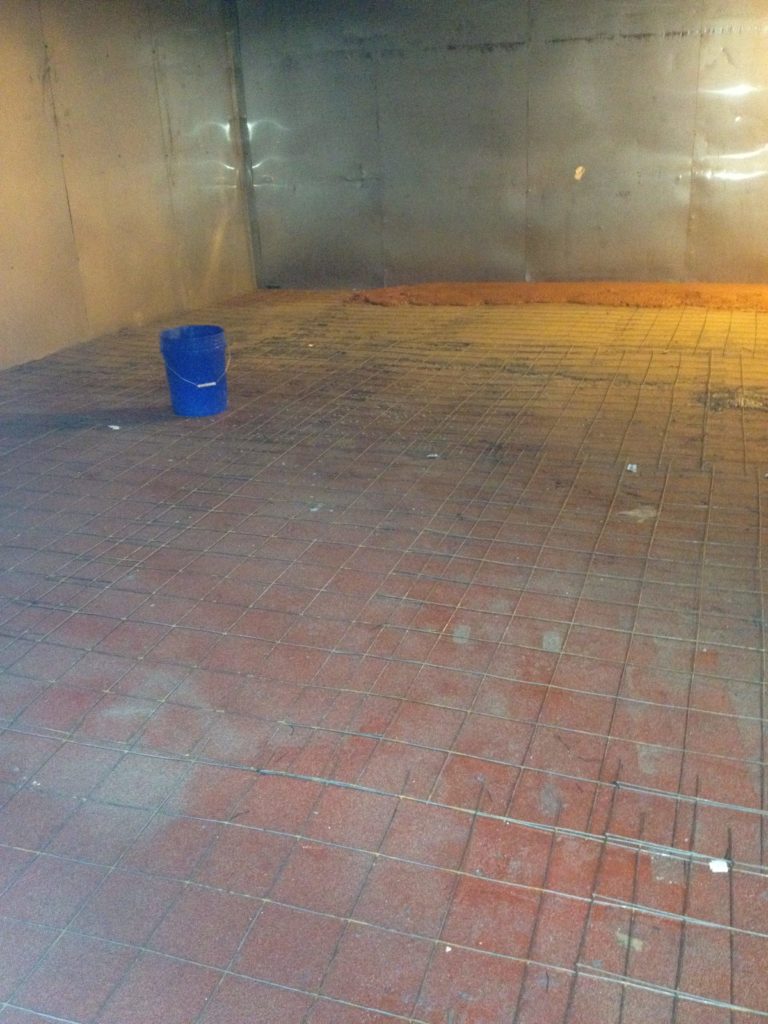
1. Prep the Floor: Start by cleaning the floor and removing any debris or dirt. Use a vacuum cleaner or broom and dustpan to get rid of any dust or dirt before you begin.
2. Apply the Primer: Next, apply a primer coat to the floor using an applicator tool or paint brush. This will help the epoxy resin adhere properly to the surface. Allow the primer to dry completely before moving on to step three.
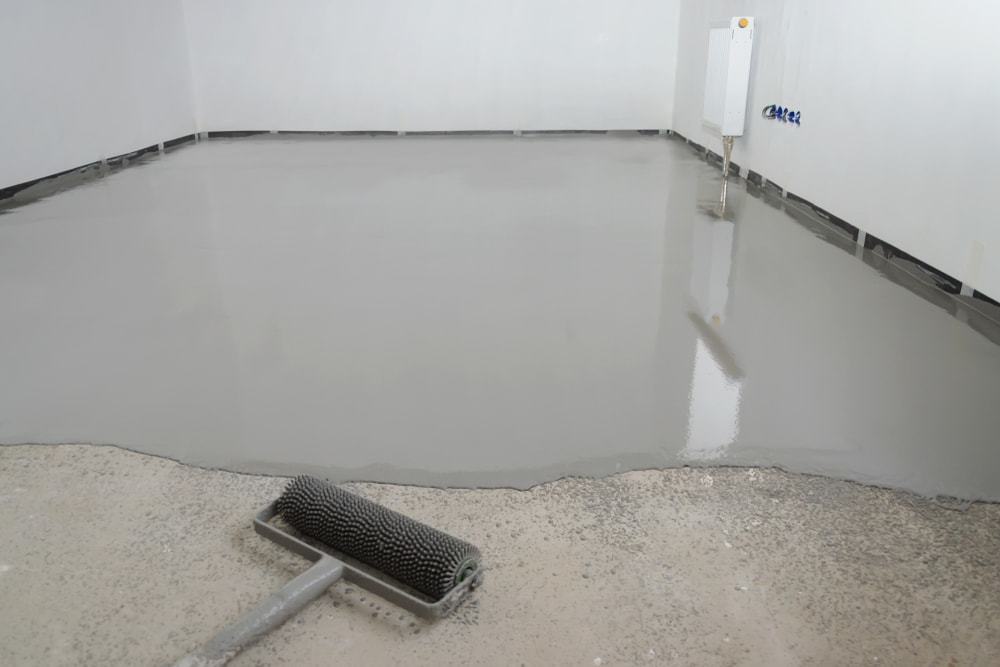
3. Mix the Epoxy Resin: Follow the manufacturer’s instructions for mixing the epoxy resin and applicator tool or paint brush. Once the mixture is ready, apply it evenly across the floor using an applicator tool or paint brush. Allow the epoxy resin to dry completely before continuing to step four.
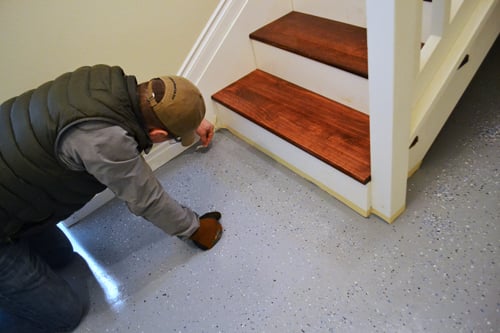
4. Apply Sealer: Finally, apply a sealer coat over the entire surface using an applicator tool or paint brush. Allow the sealer to dry completely before walking on the floor.
Common Questions About DIY Epoxy Basement Floors
Q: Is it difficult to install an epoxy basement floor?
A: No, installing an epoxy basement floor is not difficult if you follow the steps outlined above. However, it does require some time and patience as each step must be completed correctly for best results.
Q: How long does it take for an epoxy basement floor to dry?
A: The drying time can vary depending on temperature and humidity levels, but typically it should take at least 24 hours for the epoxy resin and sealer coats to fully dry before walking on them again.
Q: How much does it cost to install an epoxy basement floor?
A: The cost of installing an epoxy basement floor depends on several factors, such as size of the space and materials used. On average, most homeowners report spending between $2-$4 per square foot for installation costs alone.
Q: How often do I need to maintain my epoxy basement floor