Picture this: a floor that goes from dull and ordinary to sleek and shiny, like magic. That’s the wonder of epoxy flooring, and today, I’m here to take you on a journey through the captivating process that turns your floor into a masterpiece. We’ll dive into each step, from preparing the base to the finishing touches, so buckle up and get ready for the inside scoop on epoxy flooring.
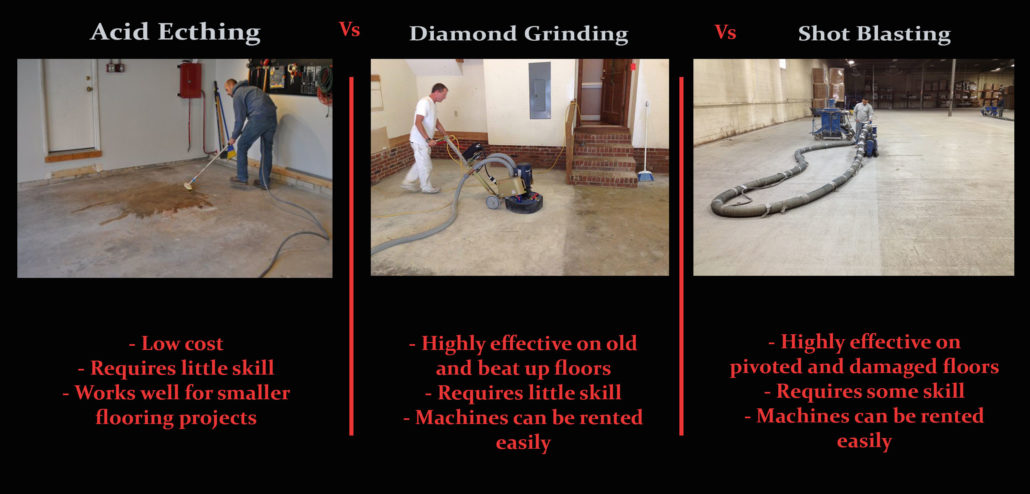
Preparing the Substrate
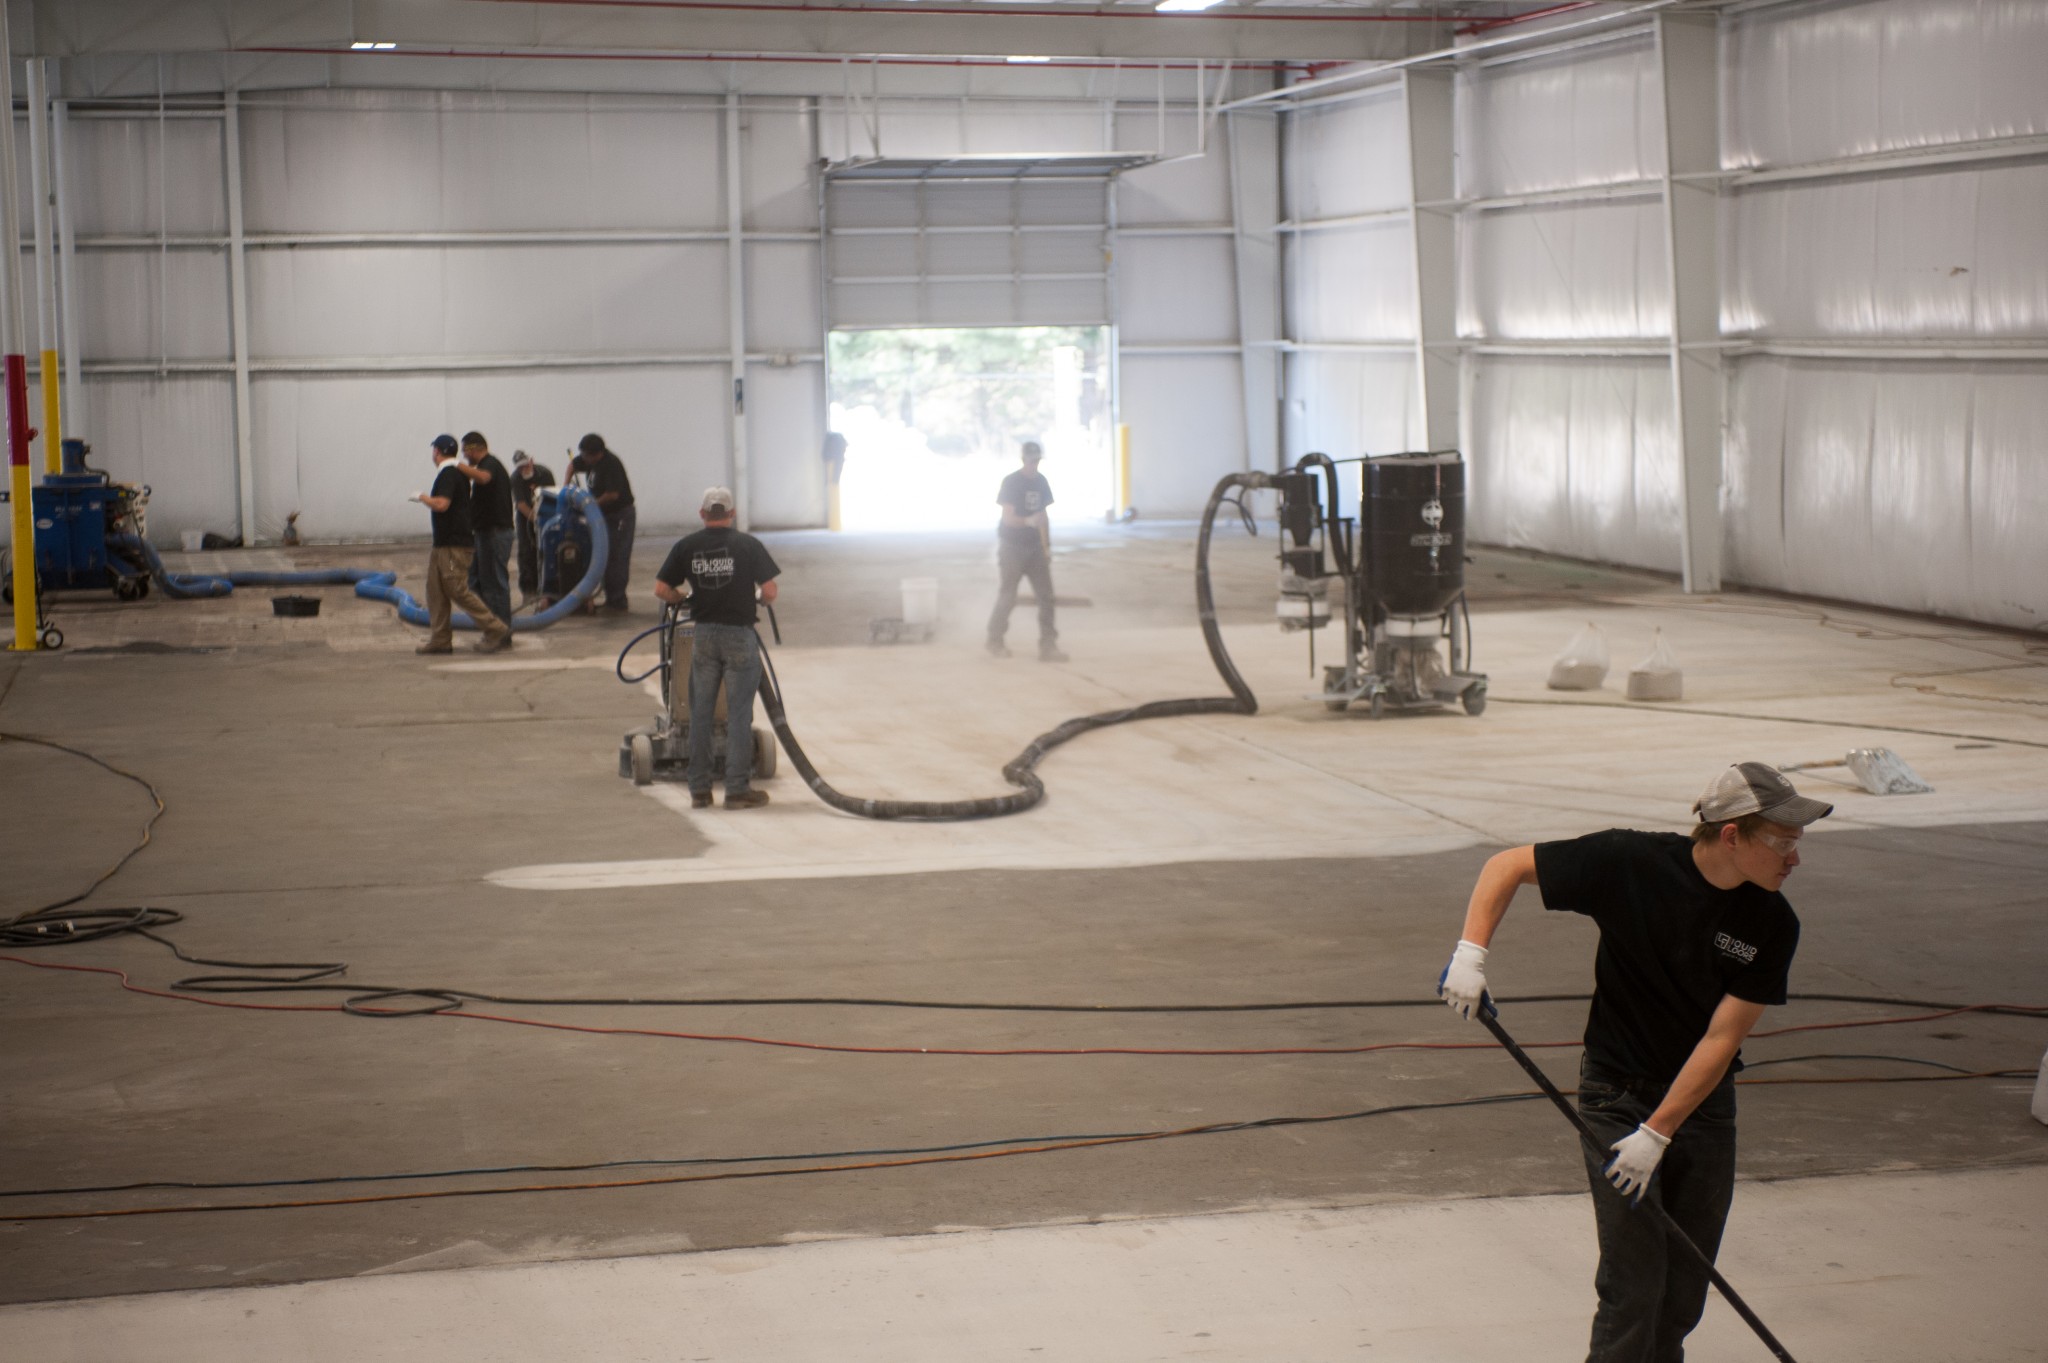
Before the epoxy magic happens, the stage needs to be set. And by stage, I mean the floor! We’re talking about proper preparation, like a clean canvas for a masterpiece. Start by stripping away the old flooring and clearing debris. But that’s not all – those cracks and imperfections need some love too. Think of it as giving your floor a spa day – a little grinding here and filling there until it’s smooth and ready for its transformation.
Primer Application
Now, let’s talk primers. They’re like the secret sauce that makes the magic stick. There are two types: epoxy and moisture-mitigating. Think of them as the glue that ensures your epoxy floor bonds like a lifelong friendship. Applying the primer is like laying the foundation for a strong relationship – do it right, and you’re in for something beautiful.
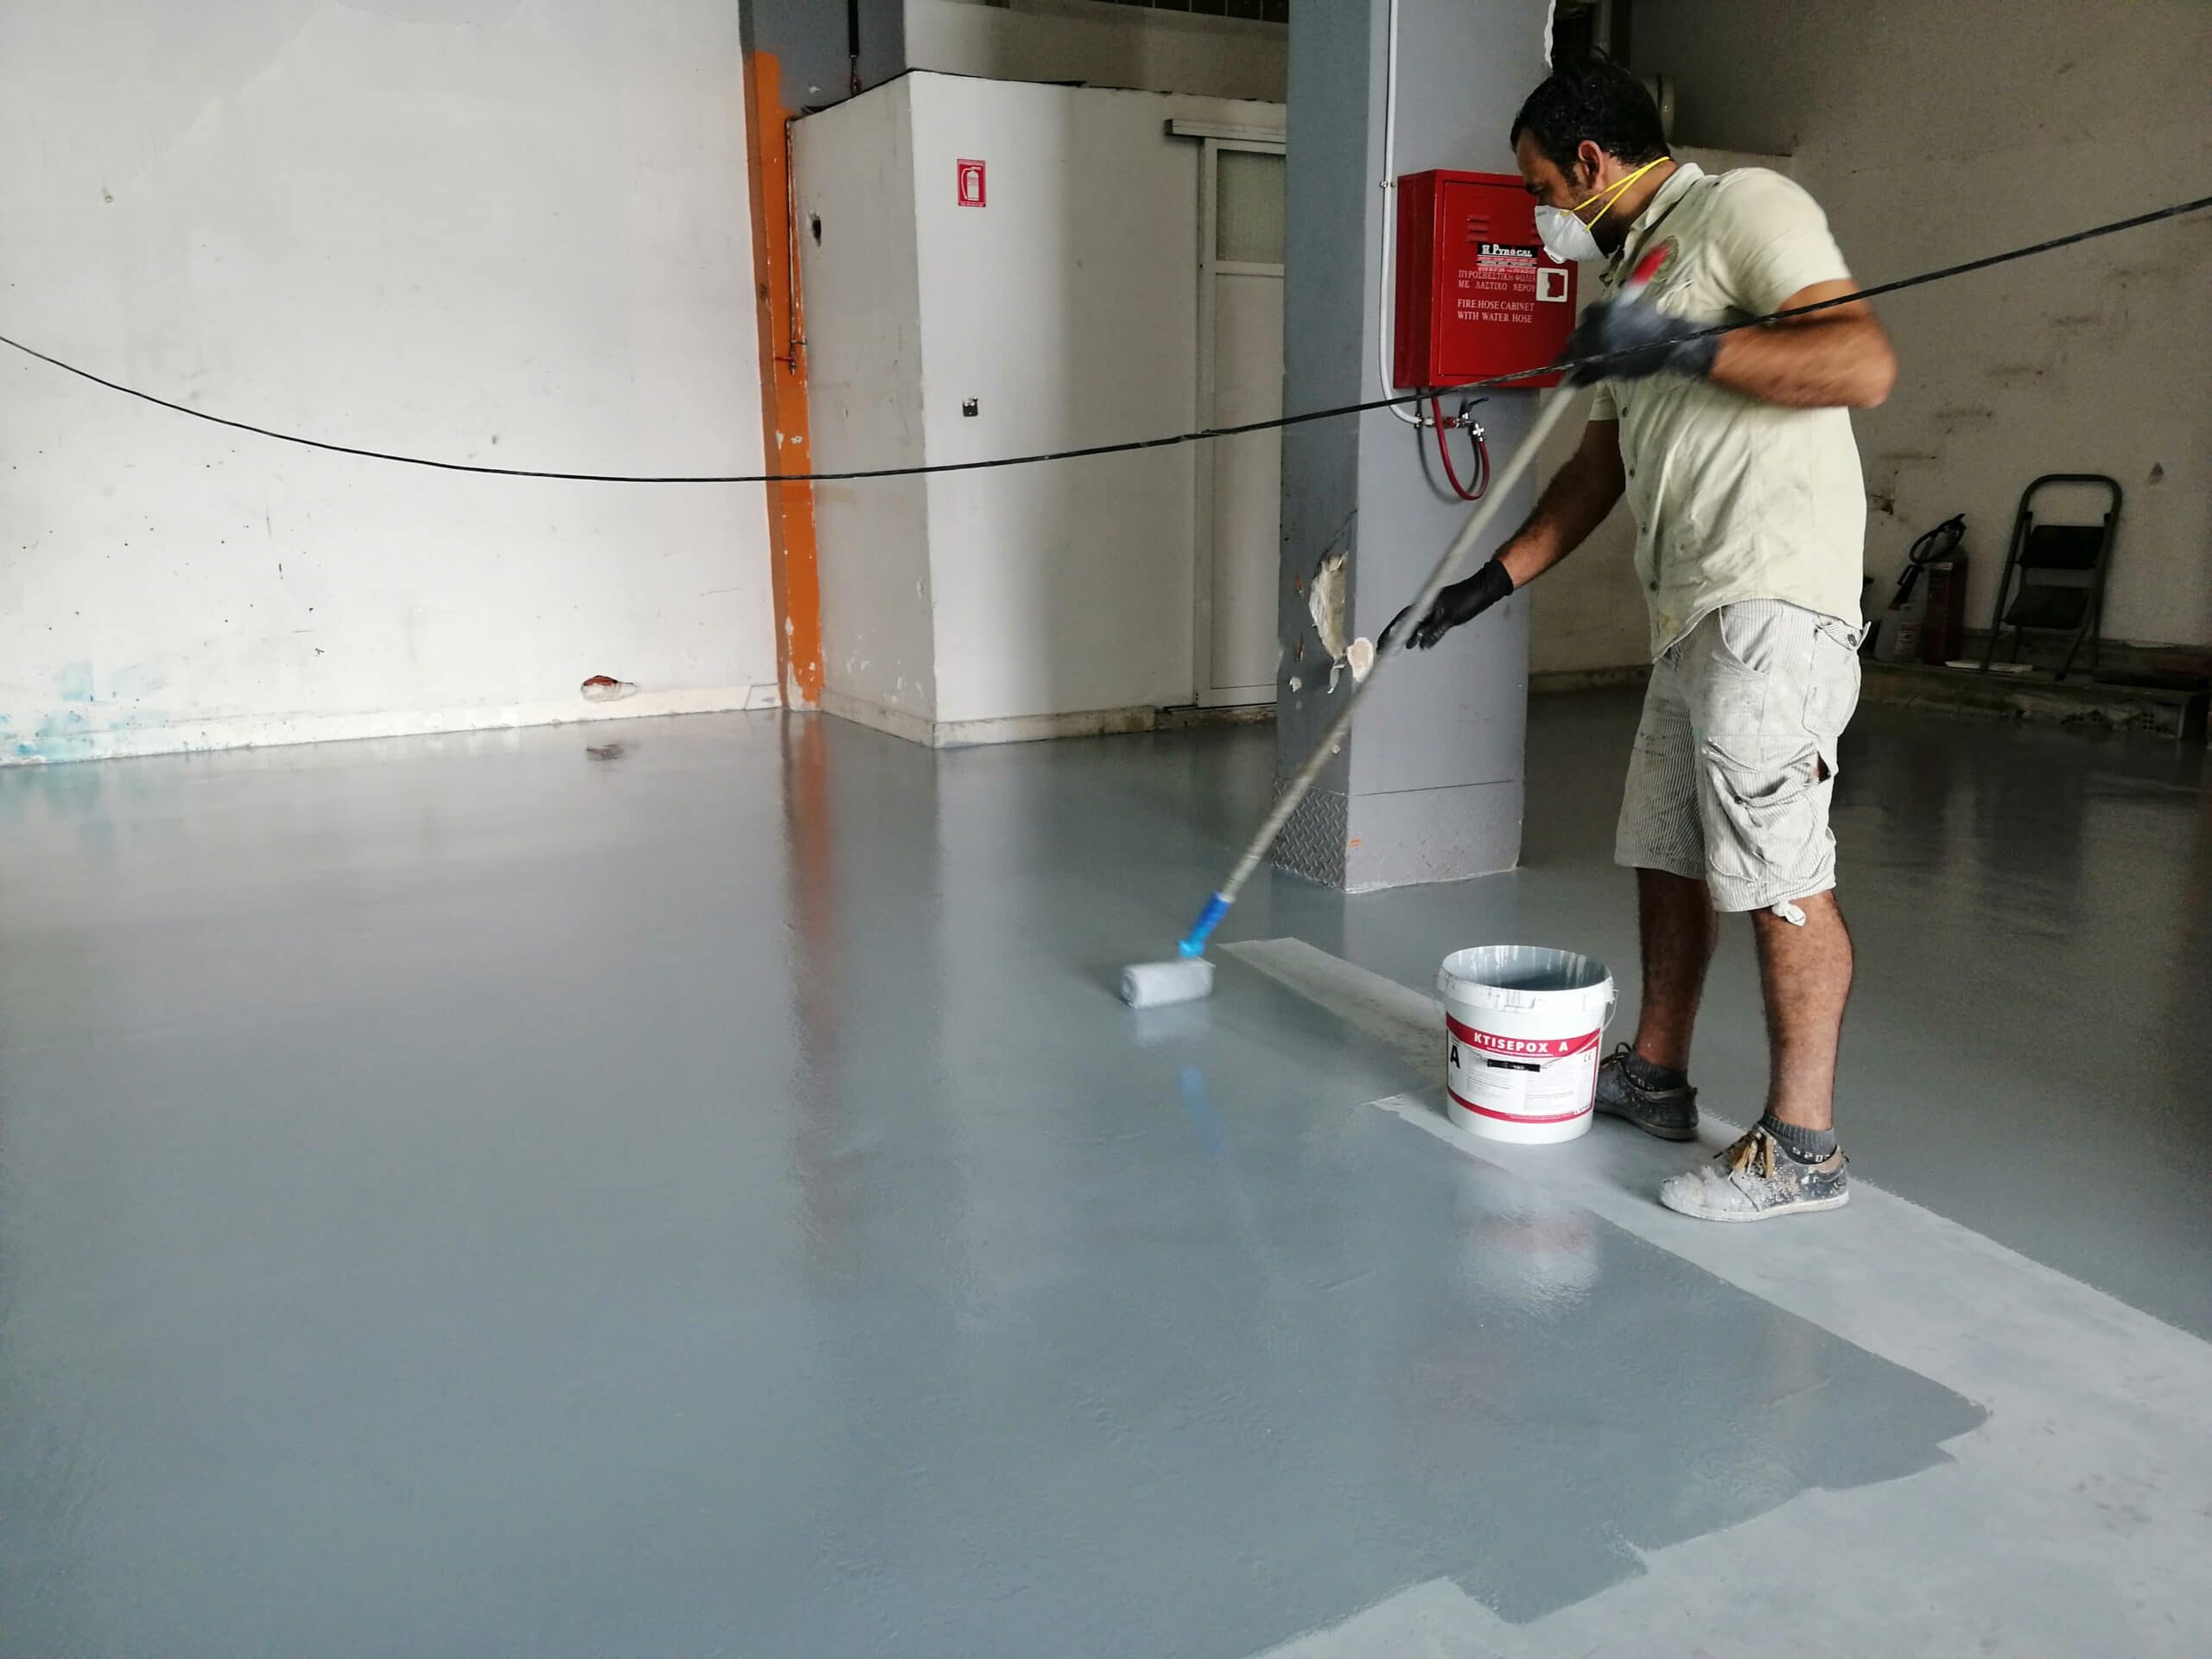
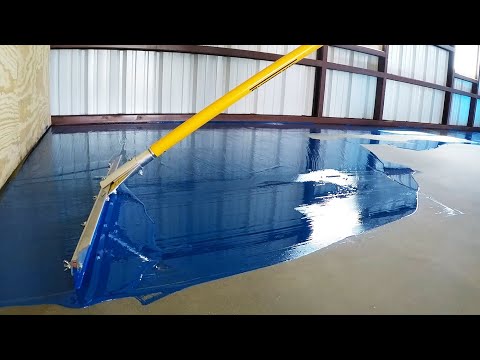
Mixing and Applying Epoxy Resin
Epoxy is where the real magic happens. It’s like the artist’s palette, turning your floor into a canvas of possibilities. But here’s the trick: epoxy resin and hardener must be mixed just right. It’s like baking a cake – get the proportions wrong, and you might not like the result. Rollers or squeegees are your brushes, and the floor is your canvas. Spread the epoxy like you’re painting a masterpiece, creating a smooth and even surface.
Adding Decorative Elements (Optional)
Now, if you’re feeling artsy, this is where the fun begins. You can add colored pigments, flakes, or metallics to your epoxy for a touch of personality. It’s like adding sprinkles to your ice cream – a little extra flavor! With techniques like swirls or patterns, you’re turning your floor into a work of art. Seal it in with a protective layer, and voilà – your floor becomes a masterpiece within a masterpiece.
Allowing for Curing and Drying
Now, patience is the name of the game. After all the excitement, let your floor rest and cure. It’s like letting a painting dry before you frame it. The temperature and humidity play a role here, like the weather affecting your art’s drying time. So, give it the time it needs – check for that perfect touch, and know when it’s ready to shine.
Applying the Top Coat
Ah, the final touch. It’s like adding that glossy finish to your painting. The top coat protects your masterpiece from wear and tear. It comes in two types: clear epoxy and polyurethane. Think of it as the varnish that seals in the beauty, making your floor shine and adding that extra layer of durability.
Final Checks and Inspections
Before the grand reveal, it’s time for one last look. Inspect your floor for imperfections or bubbles like a final brushstroke on a canvas. And if you spot something, don’t worry – a little touch-up is like the artist’s signature, ensuring your masterpiece is flawless.
Post-Installation Care and Maintenance
Congratulations, you’ve got yourself a stunning epoxy floor! But the journey doesn’t end here. Treat it like you would a fresh painting during the curing period with care. And for the long run, think of it as an art piece that needs maintenance. Prevent scratches, and show it some love to keep it looking fabulous for years.
Comparing DIY and Professional Installation
Now, you might wonder if this is a DIY adventure or one that calls for professionals. It’s like deciding if you want to paint your masterpiece or commission an artist. DIY can be rewarding, but for complex projects, having a pro on board is like having a guiding hand to ensure your floor becomes a true masterpiece.
How to Apply Epoxy Floor Paint
Epoxy Coating Process – The 4 key steps involved
How to do Epoxy Floors – STEP BY STEP GUIDE – S3E3
The Cons of DIY Epoxy Garage Coatings Dreamcoat Flooring
We use cookies on our website to give you the most relevant experience by remembering your preferences and repeat visits. By clicking “Accept All”, you consent to the use of ALL the cookies. However, you may visit "Cookie Settings" to provide a controlled consent.
This website uses cookies to improve your experience while you navigate through the website. Out of these, the cookies that are categorized as necessary are stored on your browser as they are essential for the working of basic functionalities of the website. We also use third-party cookies that help us analyze and understand how you use this website. These cookies will be stored in your browser only with your consent. You also have the option to opt-out of these cookies. But opting out of some of these cookies may affect your browsing experience.
Necessary cookies are absolutely essential for the website to function properly. These cookies ensure basic functionalities and security features of the website, anonymously.
Cookie
Duration
Description
cookielawinfo-checkbox-analytics
11 months
This cookie is set by GDPR Cookie Consent plugin. The cookie is used to store the user consent for the cookies in the category "Analytics".
cookielawinfo-checkbox-functional
11 months
The cookie is set by GDPR cookie consent to record the user consent for the cookies in the category "Functional".
cookielawinfo-checkbox-necessary
11 months
This cookie is set by GDPR Cookie Consent plugin. The cookies is used to store the user consent for the cookies in the category "Necessary".
cookielawinfo-checkbox-others
11 months
This cookie is set by GDPR Cookie Consent plugin. The cookie is used to store the user consent for the cookies in the category "Other.
cookielawinfo-checkbox-performance
11 months
This cookie is set by GDPR Cookie Consent plugin. The cookie is used to store the user consent for the cookies in the category "Performance".
viewed_cookie_policy
11 months
The cookie is set by the GDPR Cookie Consent plugin and is used to store whether or not user has consented to the use of cookies. It does not store any personal data.
Functional cookies help to perform certain functionalities like sharing the content of the website on social media platforms, collect feedbacks, and other third-party features.
Performance cookies are used to understand and analyze the key performance indexes of the website which helps in delivering a better user experience for the visitors.
Analytical cookies are used to understand how visitors interact with the website. These cookies help provide information on metrics the number of visitors, bounce rate, traffic source, etc.
Advertisement cookies are used to provide visitors with relevant ads and marketing campaigns. These cookies track visitors across websites and collect information to provide customized ads.


 Related Posts: