Preparing a garage floor for coating is a crucial step in ensuring a successful and long-lasting application. Proper preparation helps to create a clean, smooth, and durable surface that allows the coating to adhere effectively and provide optimal performance. The first step in garage floor coating preparation is to thoroughly clean the surface to remove any dirt, dust, oil, grease, or other contaminants. This can be done using a pressure washer, degreaser, or concrete cleaner, followed by scrubbing the surface with a stiff-bristled brush to loosen and remove stubborn stains or debris. It’s important to pay attention to areas around oil spills, tire marks, and other high-traffic areas, as these areas may require extra cleaning and preparation to ensure proper adhesion of the coating.
Images about Garage Floor Coating Preparation
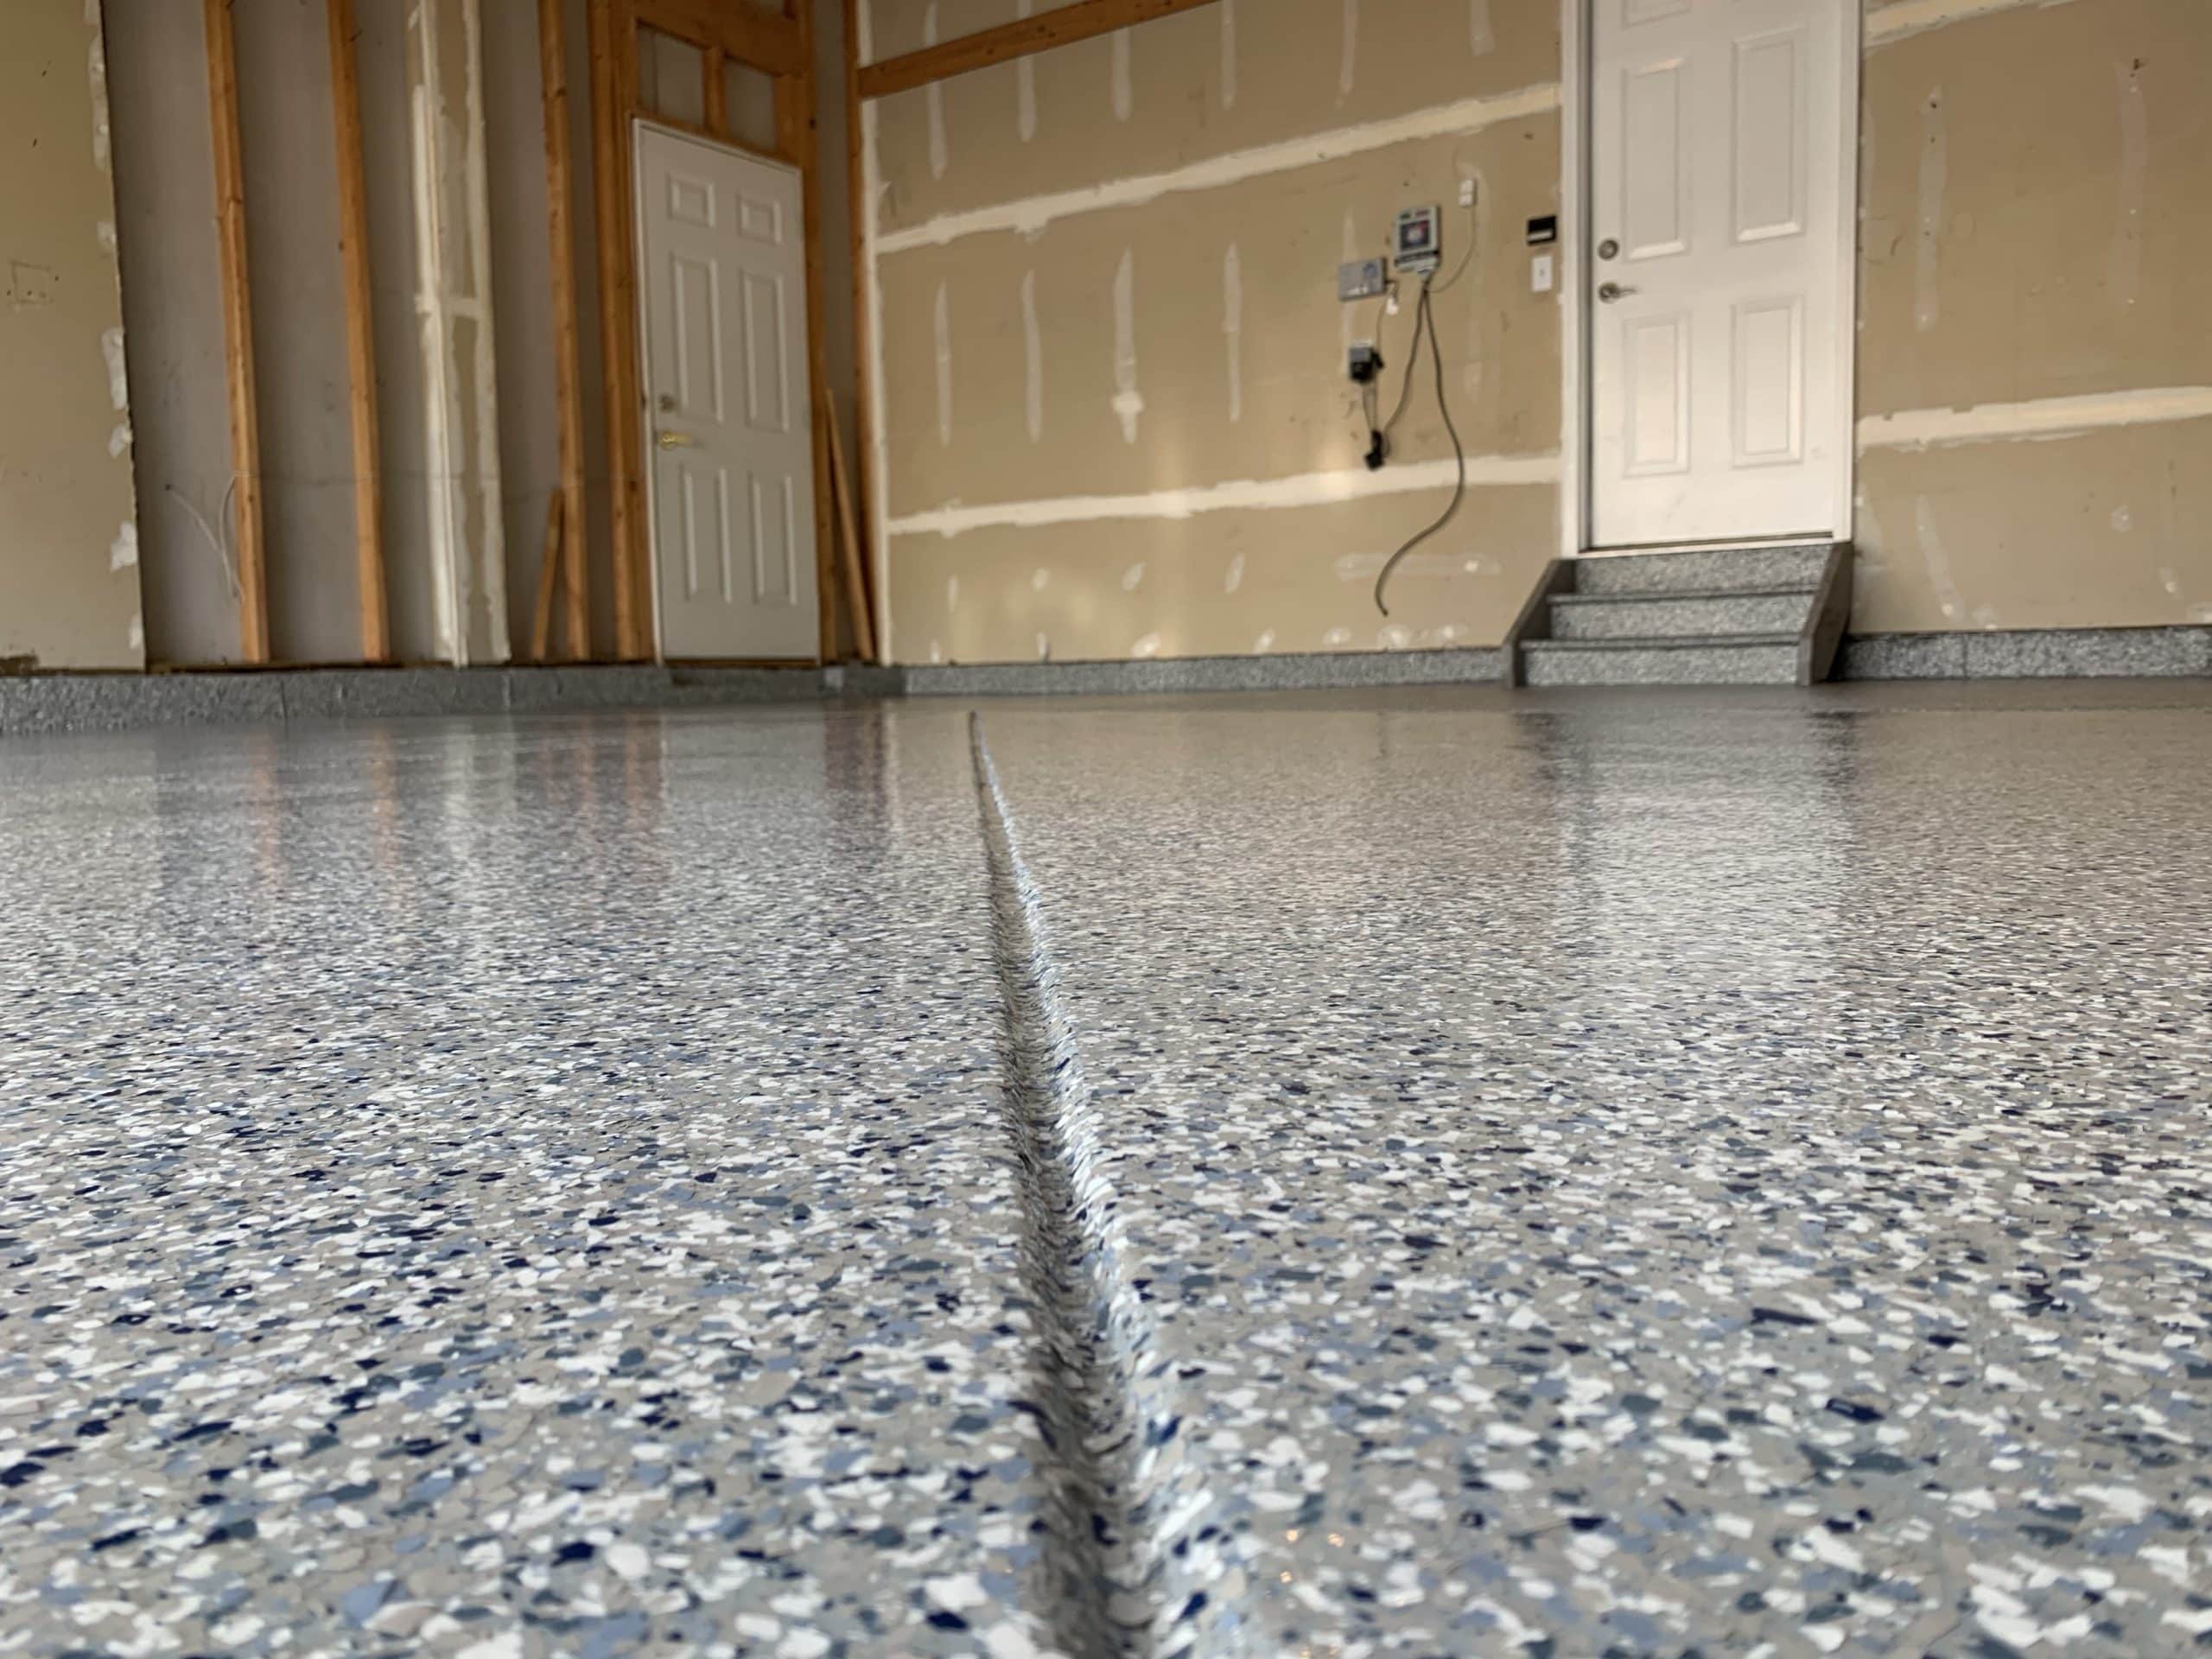
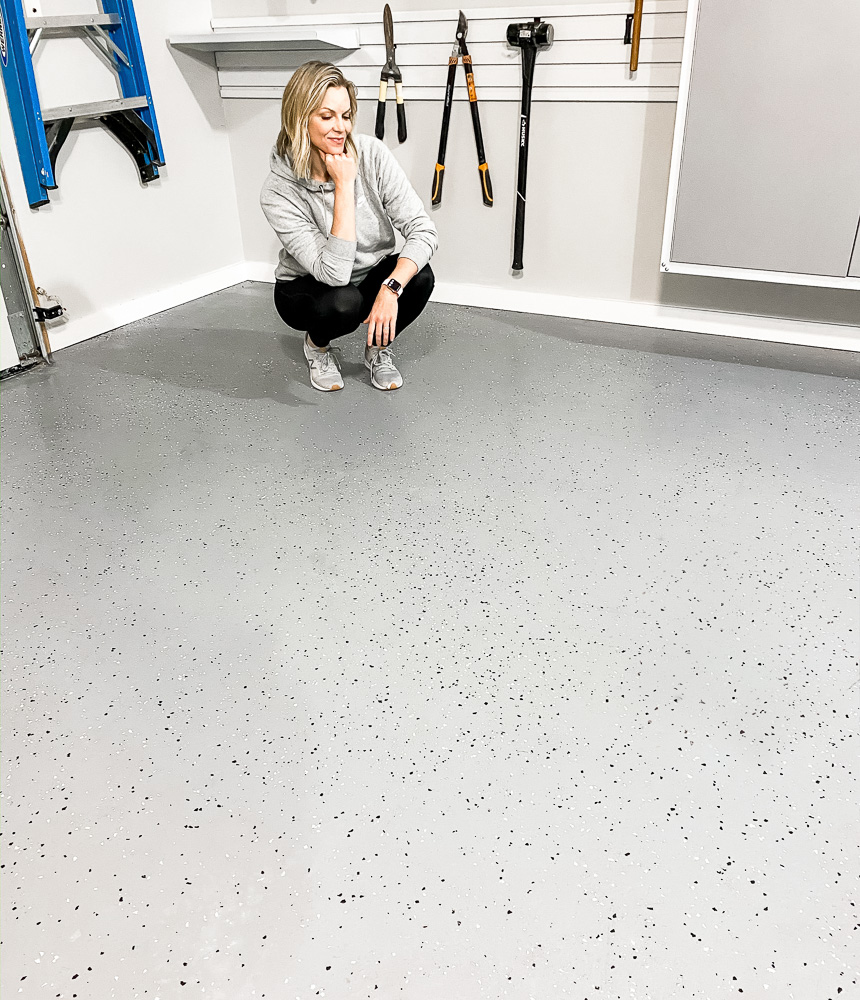
Garage Floor Coating Preparation
Once the garage floor is clean, the next step in preparation is to repair any cracks, holes, or damage to the surface. This may involve filling in cracks with a concrete patching compound, using a self-leveling concrete compound to smooth out uneven areas, or repairing damaged concrete with a bonding agent and patching material. It’s essential to allow any repair materials to fully cure before proceeding with the coating application to ensure a smooth and seamless finish.

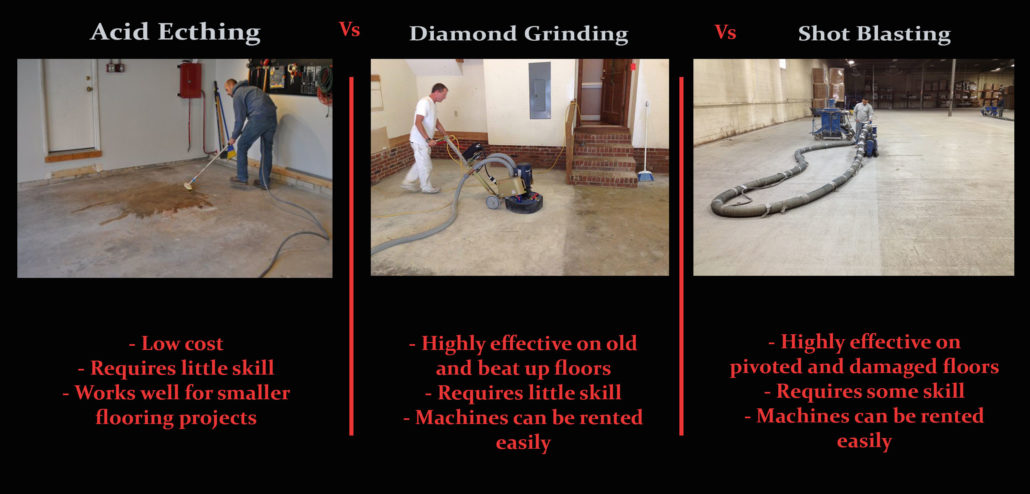
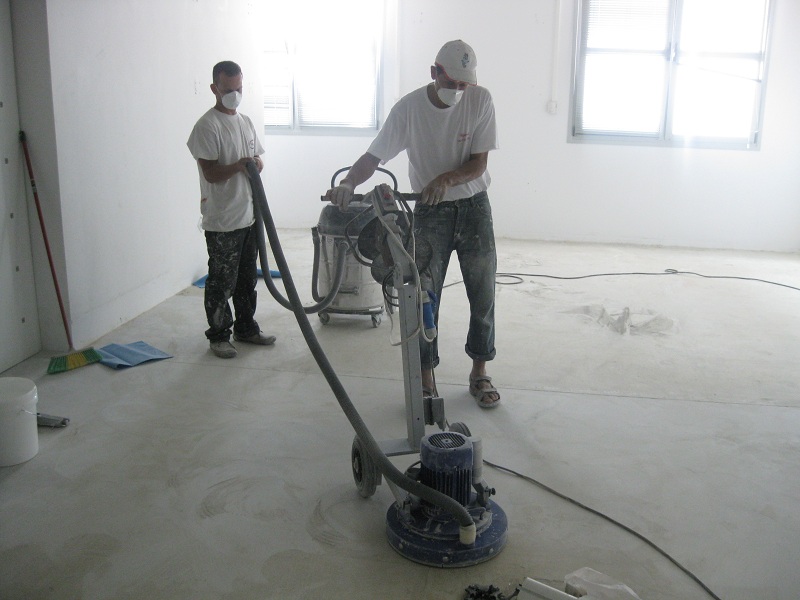
After the surface is cleaned and repaired, the next step in garage floor coating preparation is to etch or mechanically roughen the surface to improve adhesion. Etching involves applying an acidic solution or etching compound to the surface of the concrete, which helps to open up the pores and create a rough texture that allows the coating to bond more effectively. Alternatively, mechanical roughening methods such as shot blasting or diamond grinding can be used to achieve a similar result. This step is crucial for ensuring proper adhesion of the coating and maximizing its durability and longevity.
Finally, before applying the garage floor coating, it’s essential to carefully inspect the surface for any remaining contaminants, defects, or imperfections that may affect the quality of the coating. This may involve performing a final cleaning with a solvent-based cleaner or degreaser to remove any remaining residue, as well as sanding or grinding down any rough spots or high points on the surface. Additionally, it’s important to ensure that the surface is completely dry before applying the coating to prevent adhesion issues or other problems. By following these steps and properly preparing the garage floor, homeowners can ensure a successful and long-lasting application of their chosen coating, providing a durable and attractive finish that enhances the appearance and functionality of their garage space.
Epoxy Equipment: What is needed to apply an epoxy floor
How To Prep A Garage Floor For Epoxy Coating Floor Shields

How to Prep Your Garage Floor for Epoxy Epoxy Colorado
How to Apply Epoxy Coating to a Garage Floor
:no_upscale()/cdn.vox-cdn.com/uploads/chorus_asset/file/19496132/h0308stepbystep03.jpg)
How to Prep Garage Floor for Epoxy Coating One Day Custom Floors

Colorado Garage Floor Epoxy Itu0027s All About Surface Preparation

How to Prep a Garage Floor and Apply Epoxy Garage floor epoxy

Painting Your Garage Floors
Related Posts:
- 4 Car Garage Floor Plans
- DIY Garage Floor Paint
- Concrete Garage Floor Paint
- Garage Floor Treatments
- How To Paint Garage Floors
- Rustoleum Garage Floor Paint
- Garage Flooring Tiles Ideas
- Rubber Garage Flooring
- Inexpensive Garage Floor
- Industrial Garage Floor
Garage Floor Coating Preparation: A Comprehensive Guide
Garages are often an overlooked part of the home, but they can still be one of the most important spaces. Whether you use it to store your belongings or use it as a workspace, it needs to be kept in good condition. One of the best ways to protect and enhance the look of a garage is by applying a garage floor coating. While this process may seem daunting, preparation is key to achieving a beautiful and durable finish. This guide will provide the necessary steps for garage floor coating preparation so that you can get the most out of your new floor.
Cleaning and Prepping
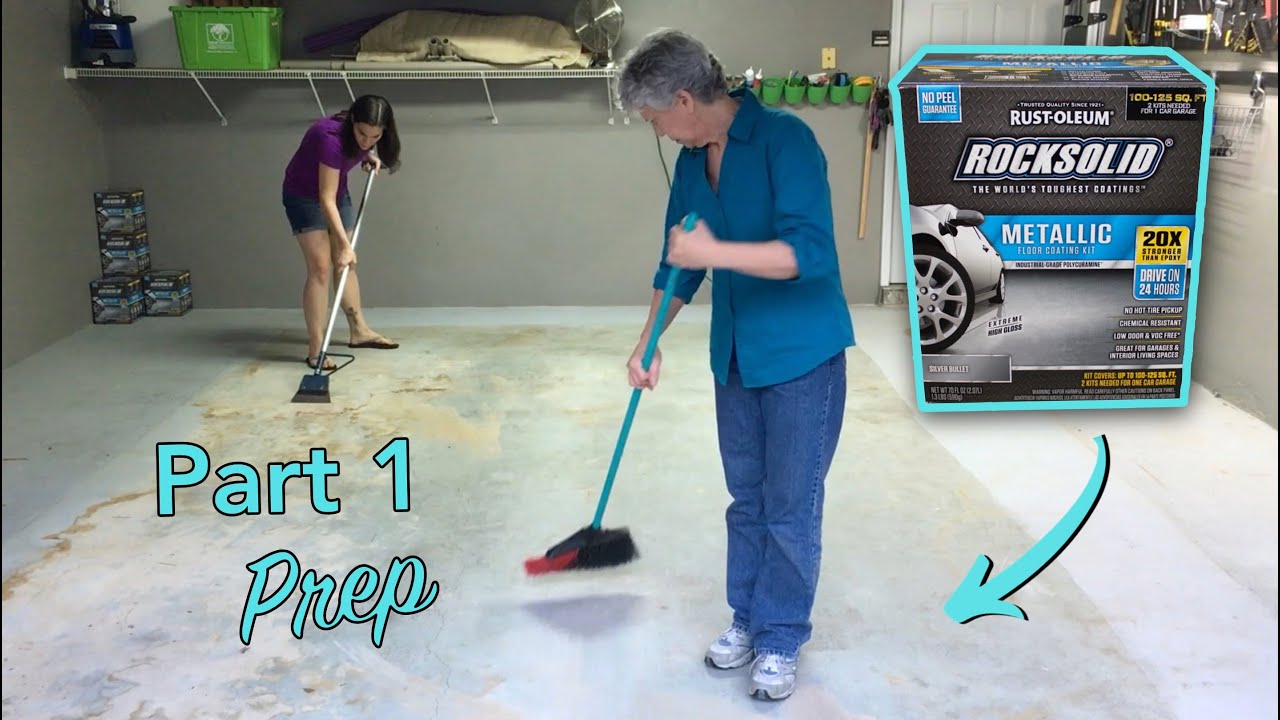
The first step in any garage floor coating project is to properly clean and prepare the surface before applying any coating. This ensures that any dirt, grime, or debris on the existing floor is removed before you start. Depending on the state of your floor, this can be done with a pressure washer or by hand. If you choose to use a pressure washer, be sure to use caution as too much pressure can damage the concrete beneath.
After cleaning, you will want to thoroughly inspect your floor for any cracks, chips, or other irregularities. Any areas that need repair should be filled with an epoxy filler before proceeding with the coating application. This will ensure that your floor is even and smooth before applying the coating and will also help to prevent any issues from arising during or after the installation process.
Applying The Coating
Once you have completed all of the necessary preparation steps, you can begin applying your garage floor coating. This process involves mixing the epoxy or polyurethane coating with a hardener and then applying it evenly over the entire surface of your garage floor. Be sure to wear proper safety gear during this process as some coatings can be hazardous if ingested or inhaled.
The application process can vary based on the type of coating being used, so it is important to read and follow all instructions carefully. Some coatings may require multiple coats while others may allow for a single layer application. Regardless of which option you choose, take care to ensure that each coat is applied evenly and without any drips or runs.
Finishing Touches
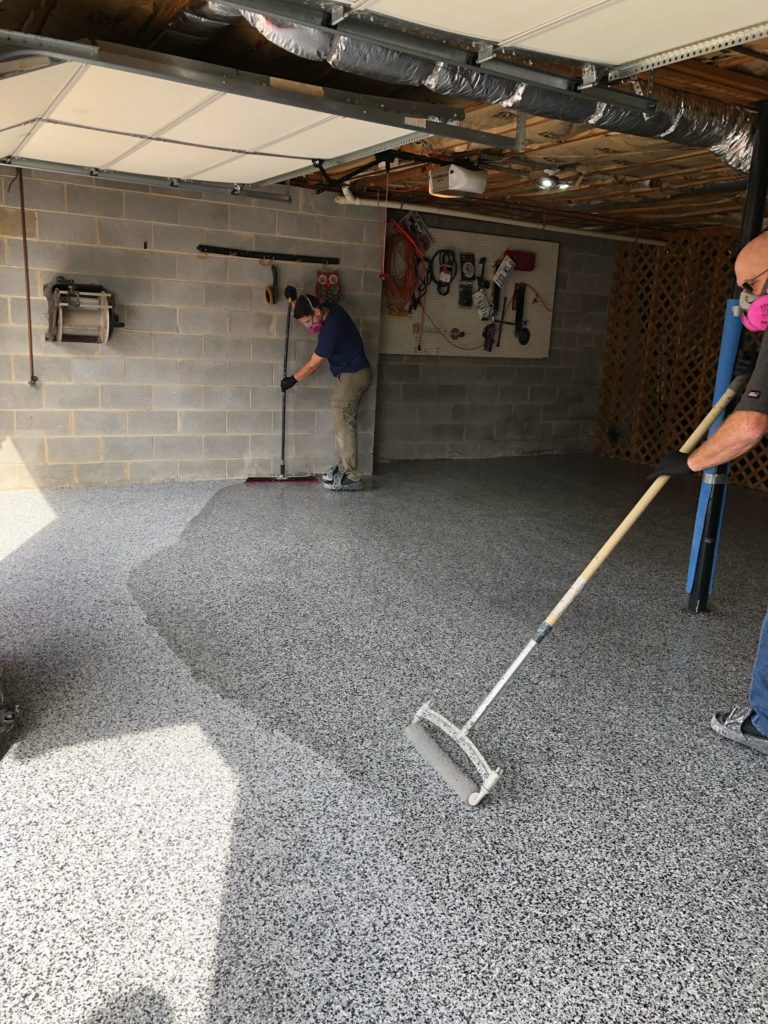
Once you have applied all the necessary layers of coating, it is time to complete your project with some finishing touches. These include adding non-slip elements such as paint chips or textured mats, as well as protective sealants which will help keep your new floor looking its best for years to come.
How do I prepare my garage floor for coating?
Before applying any coating, it is important to properly clean and prepare the surface of your garage floor. This includes removing any dirt, grime, or debris from the existing floor as well as filling in any cracks or chips with an epoxy filler. Once these steps are completed, you can begin applying your desired coatings according to the manufacturer’s instructions.
What type of safety gear should I wear when applying my coatings?
Depending on the type of coating being used, it is important to wear proper safety equipment such as goggles, gloves, and a respirator mask when applying coatings to your garage floor. Additionally, it is important to work in a well-ventilated area while applying coatings as some products may contain hazardous chemicals that should not be inhaled or ingested.
How do I add non-slip elements to my garage floor?
Non-slip elements such as paint chips or textured mats can be added after all coats of coating are applied and dry completely. These elements help provide grip when walking across your newly coated garage floor and keep it looking great for years to come. Be sure to read all instructions carefully before adding any non-slip elements so that they are installed correctly and securely.