Choosing the Right Garage Floor Paint: Types and Options
When it comes to painting your garage floor, choosing the right type of paint is crucial for achieving long-lasting results. With so many options available, it can be hard to know which one will best suit your needs. Whether you’re looking for durability, affordability, or an easy DIY solution, understanding the different types of garage floor paint can help you make an informed decision.
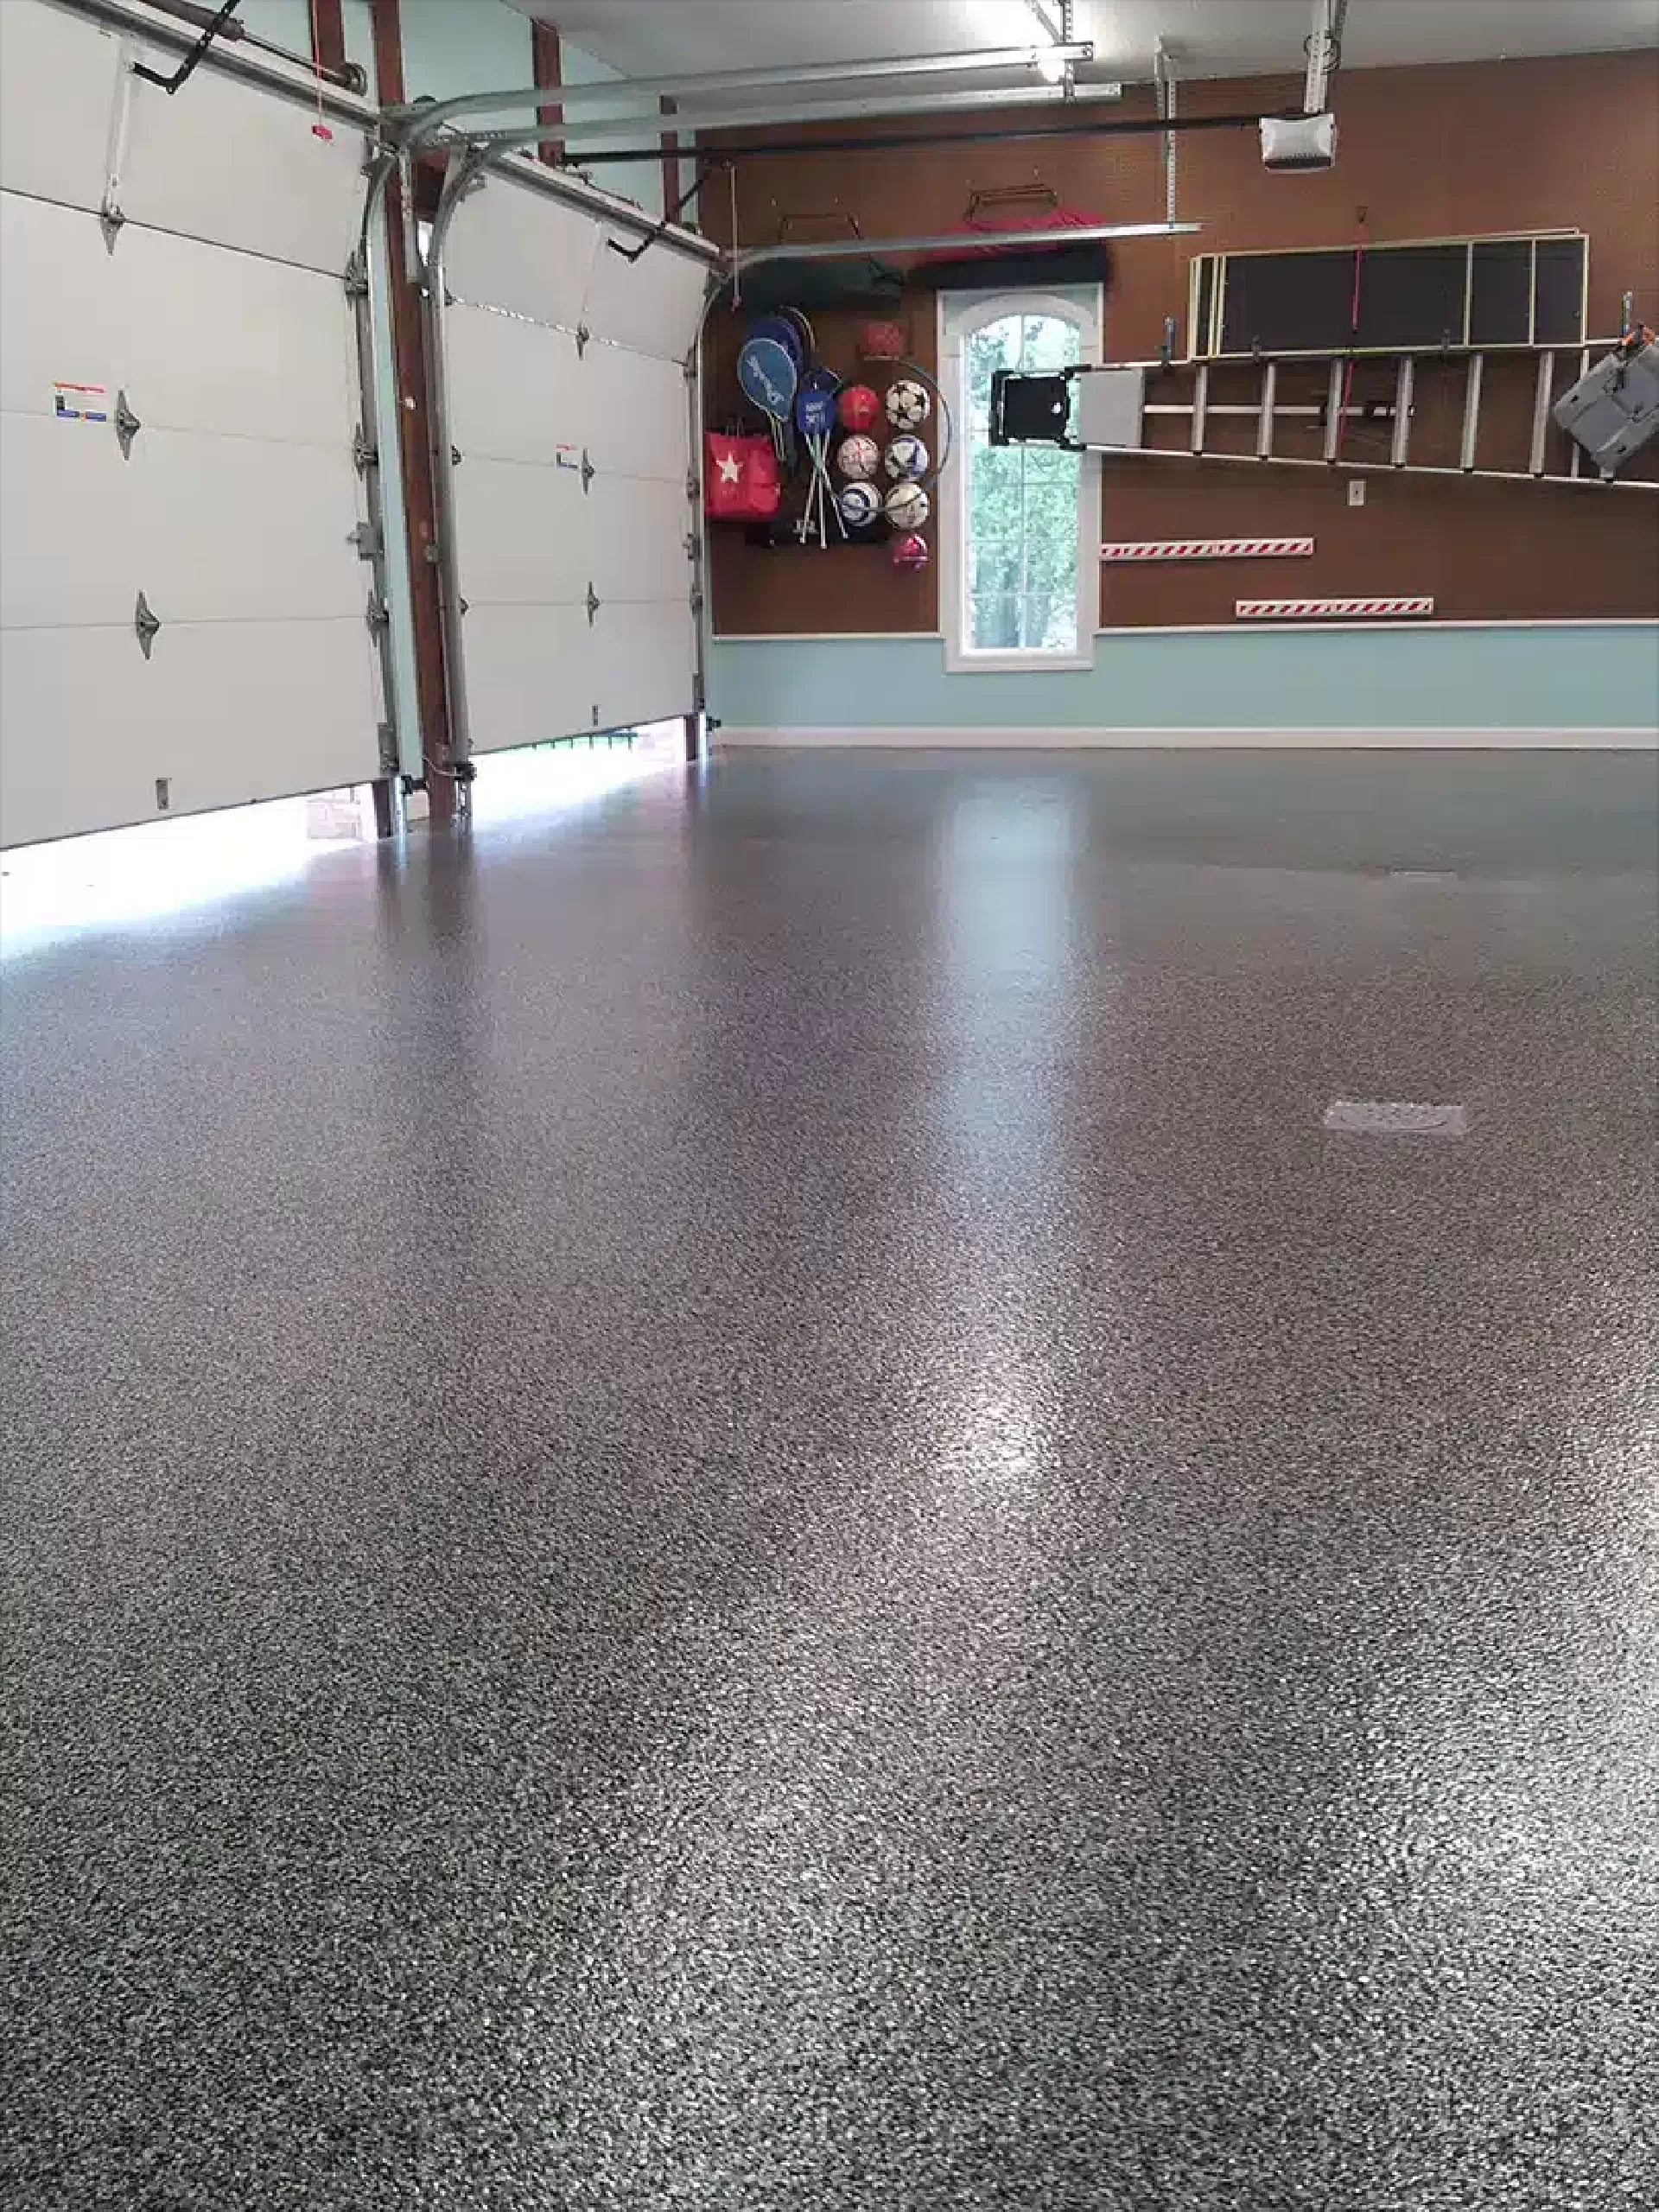
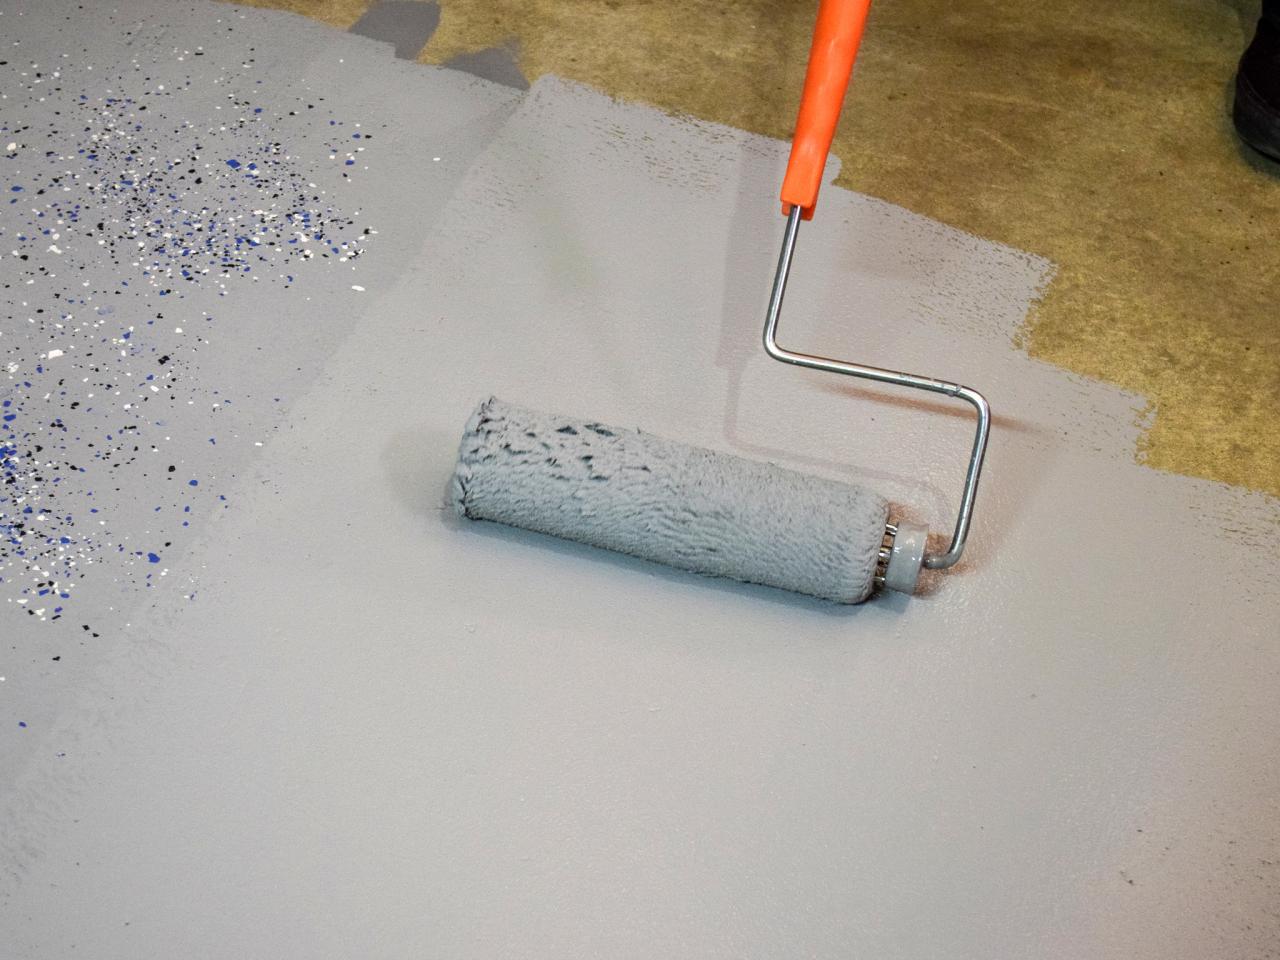
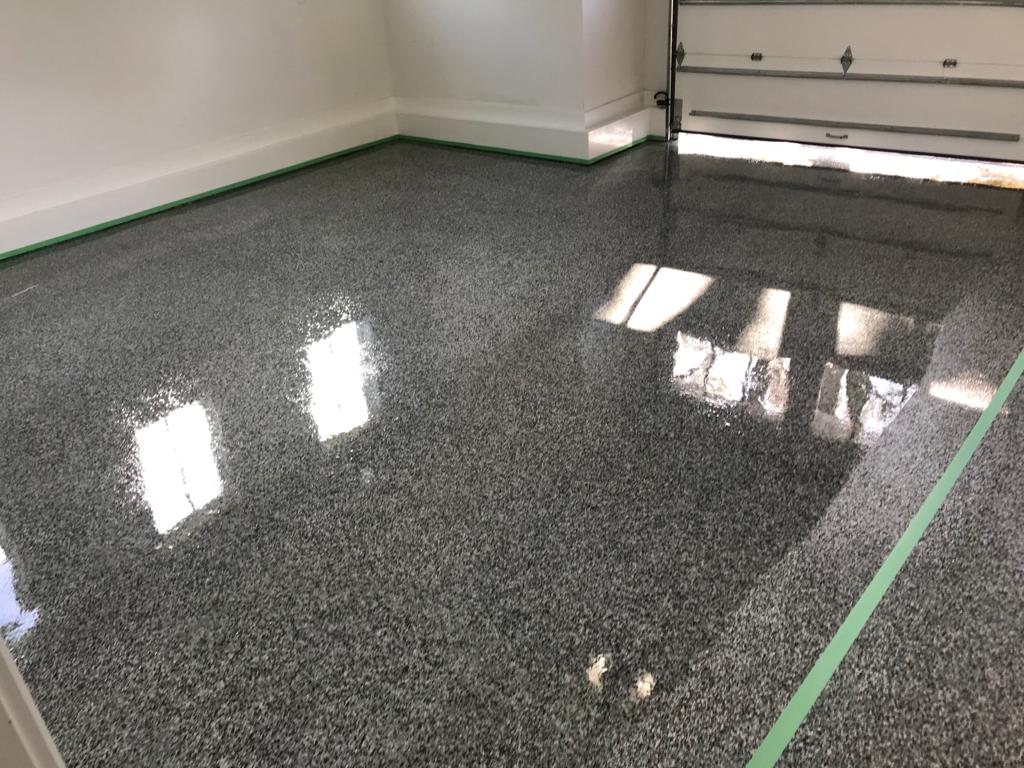
- Epoxy Garage Floor Paint: Epoxy is one of the most popular choices for garage floor coatings, and for good reason. Epoxy paints are incredibly durable, resistant to chemicals, and offer a high-gloss finish that looks great in any garage. I recommend epoxy if you want something that will stand up to heavy foot traffic, vehicles, and spills. It’s a bit more labor-intensive to apply but the long-lasting results are worth the effort. Just make sure you invest in a high-quality two-part epoxy kit for the best results.
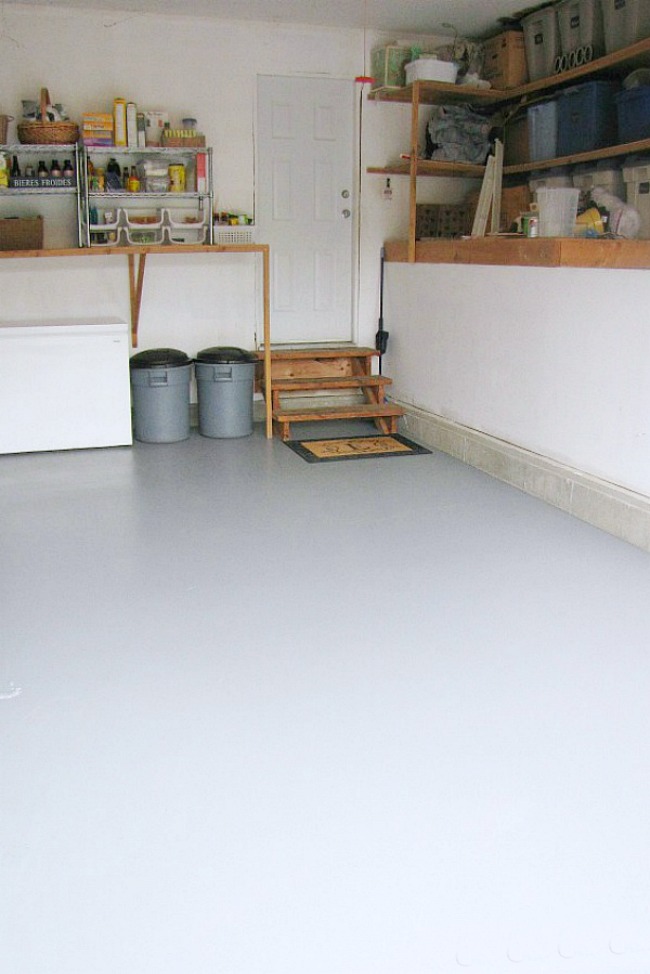
- Latex Garage Floor Paint: If you’re looking for a more budget-friendly option, latex garage floor paint is a great choice. Latex is much easier to apply than epoxy and dries faster, making it ideal for DIYers who want a quick weekend project. While it’s not as durable as epoxy, latex paint is resistant to mold and mildew and still offers a decent level of protection. I recommend it for light-use garages or spaces that don’t see heavy traffic from cars or equipment.
- Concrete Stain: Concrete stain isn’t exactly a paint, but it’s worth mentioning as another option for garage floors. Instead of forming a layer on top of the surface, stains penetrate the concrete, providing a more natural, low-sheen look. If you’re going for a minimalist or industrial aesthetic, concrete stain is a great option. It won’t offer as much protection as paint, but it does help enhance the look of the concrete while offering some resistance to moisture.
- Polyurethane Garage Floor Paint: Polyurethane is another durable option for garage floors. It’s often used as a topcoat over epoxy to add an extra layer of protection. It’s highly resistant to chemicals and UV rays, which makes it perfect if your garage is exposed to a lot of sunlight. While polyurethane can be more expensive than other options, the added durability can be worth the cost, especially for high-use garages.
- Acrylic Garage Floor Paint: Acrylic paint is another budget-friendly option, offering easy application and quick drying times. However, like latex, it’s not as durable as epoxy or polyurethane, making it better suited for light-use areas. Acrylic paint can be a good option if you’re looking for a temporary or low-cost solution, but be aware that it will need to be reapplied more frequently.
- Consider Anti-Slip Additives: Regardless of which paint you choose, I always recommend adding an anti-slip additive to the mix, especially if your garage sees a lot of moisture or spills. Anti-slip additives can be mixed into the paint or applied as a topcoat to improve traction and prevent accidents. It’s a small addition that can make a big difference in safety, particularly if you live in a region with wet or snowy conditions.
Step-by-Step Guide to Prepping Your Garage Floor for Painting
Before you get too excited about transforming your garage with a fresh coat of paint, proper floor preparation is key. Skipping the prep work will only result in peeling paint and uneven finishes, so it’s worth taking the time to do it right. Here’s a step-by-step guide to prepping your garage floor for painting, ensuring a smooth, long-lasting result.
Clear Out the Garage
The first thing you need to do is completely clear out the garage. Trust me, it’s easier to do this now than trying to paint around furniture, tools, and boxes. Move everything out, including your car, and give yourself a clean, empty workspace. This will make the entire process much easier and more efficient.
Clean the Floor Thoroughly
Next, you’ll want to give the garage floor a good cleaning. Sweep away any dirt, dust, and debris, then mop the surface with a degreasing solution. If there are any oil stains, be sure to tackle those with a degreaser or a concrete cleaner. For tough stains, scrubbing with a stiff brush may be necessary. The cleaner the floor, the better your paint will adhere, so don’t skimp on this step.
Repair Any Cracks or Damage
After cleaning, inspect the floor for cracks, chips, or other damage. Use a concrete patching compound to fill in any cracks or holes, and allow the repairs to dry completely before moving on. Painting over damaged areas without repairing them first can lead to unsightly results and may compromise the longevity of your paint job.
Etch the Concrete
To help the paint bond to the concrete, you’ll need to etch the floor. Etching opens up the pores of the concrete, allowing the paint to adhere more effectively. You can use a concrete etching solution or muriatic acid for this step. Be sure to follow the instructions on the product and wear proper safety gear, including gloves and goggles. After etching, rinse the floor thoroughly and allow it to dry completely.
Test for Moisture
Before you start painting, you need to make sure the floor is completely dry. One easy way to test for moisture is to tape a small piece of plastic sheeting to the floor and leave it for 24 hours. If moisture collects under the plastic, the concrete isn’t dry enough for painting. Wait until the floor is fully dry before moving forward with the project.
Prime the Floor
Once the floor is dry and prepped, it’s time to apply a primer. Primer helps the paint adhere better and can improve the longevity of your paint job. Use a concrete primer that’s compatible with the type of paint you plan to use, and apply it evenly using a roller. Allow the primer to dry according to the manufacturer’s instructions before applying your paint.
Best Practices for Applying Garage Floor Paint: Tips for a Professional Finish
Now that your garage floor is prepped and ready to go, it’s time to apply the paint. While the process might seem straightforward, there are a few tips and tricks that can make all the difference in achieving a professional-looking finish. Here’s how to paint your garage floor like a pro.
Choose the Right Day
Before you start painting, check the weather forecast. Garage floor paint tends to cure best in moderate temperatures—typically between 50°F and 90°F (10°C to 32°C). Avoid painting on extremely hot, cold, or humid days, as these conditions can affect the drying time and the overall finish. If your garage isn’t climate-controlled, this step is especially important.
Use High-Quality Paint and Tools
It might be tempting to cut costs by using cheaper paints and tools, but trust me, investing in high-quality materials will pay off in the long run. Use premium garage floor paint or epoxy, and apply it with high-quality brushes and rollers. The right tools will help you achieve a smooth, even finish and prevent the need for touch-ups down the road.
Apply Thin, Even Coats
One of the most common mistakes when painting a garage floor is applying the paint too thickly. Instead of trying to cover the floor in one heavy coat, apply multiple thin coats for a smoother, more even finish. This will also help prevent bubbling or peeling as the paint dries. Be patient and give each coat plenty of time to dry before applying the next one.
Cut In the Edges First
Just like when painting a wall, it’s a good idea to start by cutting in the edges of the floor with a brush. This will help you get a clean line along the walls, corners, and any other areas where a roller might be difficult to maneuver. After cutting in, you can switch to a roller for the larger areas.
Work in Sections
To ensure an even application, it’s best to work in sections. Start at the farthest corner of the garage and work your way toward the exit, so you don’t accidentally paint yourself into a corner! Paint in small sections, applying thin, even layers as you go. This method will help you maintain control and avoid missing any spots.
Allow Plenty of Drying Time
After applying the final coat, resist the urge to move everything back into the garage right away. Most garage floor paints require at least 24-48 hours to dry to the touch and up to a week for a full cure. Give the paint plenty of time to dry before walking on it or driving your car into the garage. Trust me, the last thing you want is to ruin all your hard work by rushing the drying process.
Epoxy vs. Latex Garage Floor Paint: Which One Is Right for You?
When it comes to choosing between epoxy and latex for your garage floor, it can be difficult to know which option will best suit your needs. Both have their benefits, but they serve different purposes depending on what you’re looking for. Let’s break down the differences between epoxy and latex garage floor paint, so you can make the right choice for your project.
Durability: Epoxy Takes the Lead
Epoxy is known for its durability, and if you’re looking for something that can handle heavy use, it’s the way to go. Epoxy coatings create a thick, hardened surface that can withstand vehicle traffic, heavy equipment, and harsh chemicals like oil and gasoline. Latex paint, on the other hand, is less durable. While latex can hold up for lighter use, it’s not going to last nearly as long in a garage that sees regular vehicle traffic or industrial use. In my experience, if you need something tough, epoxy is your best bet.
Ease of Application: Latex Wins for Simplicity
Latex garage floor paint is much easier to apply compared to epoxy. It dries faster and doesn’t require the same level of surface preparation. You can apply latex paint with just a roller and a brush, and it’s typically dry within a few hours, making it perfect for weekend projects. Epoxy, on the other hand, is a bit more involved. You’ll need to mix two parts (the resin and hardener), and it requires more meticulous surface preparation for proper adhesion. Plus, epoxy can take longer to cure fully, sometimes up to a week. So, if you’re after a quick, easy project, latex is the more convenient option.
Cost: Latex is More Budget-Friendly
If budget is a concern, latex garage floor paint is typically more affordable than epoxy. Latex paints are cheaper per gallon and don’t require as many additional supplies or preparation steps. Epoxy coatings, while more durable, tend to be more expensive upfront due to the materials and potential need for professional installation. That said, the long-term cost of epoxy might balance out because it lasts longer and requires fewer touch-ups.
Appearance: Epoxy Provides a High-Gloss, Professional Look
One of the biggest draws of epoxy is its glossy, polished finish. It can make your garage floor look like something straight out of a high-end auto shop. Epoxy can also be tinted in various colors or enhanced with decorative flakes for added texture and grip. Latex, while available in a range of colors, usually has a more matte finish and doesn’t offer the same sleek, professional appearance as epoxy. If aesthetics are a top priority for you, epoxy will give you the wow factor that latex might lack.
Longevity: Epoxy Offers Long-Term Value
In terms of longevity, epoxy far outperforms latex. Epoxy can last anywhere from 10-20 years with proper maintenance, while latex might need to be reapplied every few years, especially in high-traffic areas. If you don’t want to re-paint your garage floor every few years, investing in epoxy might be the more practical option in the long run. I recommend epoxy if you’re looking for a more permanent solution.
Best Use Case: Consider Your Needs
Ultimately, choosing between epoxy and latex depends on how you plan to use your garage. For a high-traffic garage with vehicles, heavy tools, or exposure to chemicals, epoxy is the better choice. If your garage is more of a storage space or light-use area, latex might be all you need. Consider how much abuse your floor will take and how much effort you’re willing to put into the application process before making a final decision.

How Long Does Garage Floor Paint Last? What to Expect
Once you’ve invested time and money into painting your garage floor, the big question is, “How long will it last?” The lifespan of garage floor paint can vary significantly depending on the type of paint, how well you prep the surface, and how much wear and tear the floor endures. Let’s look at what you can expect from different types of garage floor paints and how you can maximize their longevity.
Epoxy: The Long-Lasting Option
Epoxy garage floor paint is known for its longevity. If applied correctly, epoxy coatings can last anywhere from 10 to 20 years, even in high-traffic garages. The key to epoxy’s durability is its chemical makeup, which forms a hard, protective layer on the surface of the concrete. I’ve seen epoxy floors in garages that still look great after a decade, even with regular vehicle use and exposure to chemicals like oil and antifreeze. Keep in mind that proper surface preparation and application are crucial to getting the most out of an epoxy floor.
Latex: Shorter Lifespan, More Frequent Maintenance
Latex garage floor paint doesn’t last as long as epoxy. On average, you can expect latex paint to hold up for about 3 to 5 years, depending on traffic and use. In light-use garages, it might last closer to the 5-year mark, but if you’re parking cars or using heavy equipment in the space, the paint can start to wear down more quickly. Latex is also more prone to peeling and chipping compared to epoxy. While latex is more affordable upfront, you’ll likely need to repaint more often.
Polyurethane Coatings: Extended Protection
Polyurethane is often used as a topcoat over epoxy to add an extra layer of protection. If you go this route, the combination of epoxy and polyurethane can extend the life of your garage floor paint by several years. Polyurethane is highly resistant to chemicals, UV rays, and abrasion, making it an excellent choice for long-lasting durability. It can add another 5 to 10 years of life to your epoxy floor, making it an investment worth considering.
Concrete Stain: Less Protection, Longer Longevity
If you choose concrete stain instead of paint, you can expect a more natural look but less protection. Stains penetrate the concrete and last for years without needing touch-ups, but they don’t offer the same protection as paint or epoxy. In high-traffic areas, stained concrete can start to show wear and tear after a few years. However, because the stain is absorbed into the surface, it won’t peel or chip like a paint can, giving it a longer aesthetic lifespan.
Factors That Affect Longevity
The lifespan of your garage floor paint depends on several factors. First and foremost, surface preparation is key. If the floor isn’t properly cleaned, etched, and primed, the paint won’t adhere as well, leading to peeling and chipping. Second, the type of traffic your garage sees will also impact the longevity of the paint. Regular use by cars, heavy tools, or equipment will wear the paint down faster. Finally, environmental factors like moisture, temperature changes, and exposure to chemicals can also affect how long your paint lasts.
How to Extend the Life of Your Garage Floor Paint
To extend the life of your garage floor paint, regular maintenance is essential. This includes cleaning up spills as soon as they happen, avoiding harsh chemicals, and using mats or rugs in high-traffic areas to reduce wear. If you’ve opted for epoxy, consider applying a polyurethane topcoat for added protection. And remember, even if your paint job starts to show signs of wear, touching it up promptly can help you avoid a full re-paint sooner than necessary.

Top Mistakes to Avoid When Painting Your Garage Floor
Painting your garage floor can be a satisfying and transformative project, but it’s easy to make mistakes that can lead to peeling, bubbling, or a less-than-perfect finish. If you want your painted garage floor to last, avoiding common pitfalls is crucial. Here are the top mistakes to watch out for when painting your garage floor, and how you can avoid them.
Skipping Proper Surface Preparation
The biggest mistake you can make is skipping or rushing through the surface preparation process. Painting directly over a dirty or oily garage floor will almost guarantee poor adhesion, leading to peeling and chipping down the line. Always clean the floor thoroughly, degrease any oil spots, and etch the surface to open up the pores of the concrete. Trust me, a little extra time spent on prep will save you from headaches later on.
Ignoring Cracks and Imperfections
Painting over cracks, holes, or chips in your garage floor is another common mistake. These imperfections can cause the paint to wear unevenly or bubble up in certain areas. Before you start painting, inspect the floor and repair any cracks or damage with a concrete patching compound. Allow the repairs to dry completely before moving on to the painting step.
Choosing the Wrong Type of Paint
Not all paints are created equal, and using the wrong type of paint for your garage floor can lead to poor results. Latex paint, for example, won’t hold up as well as epoxy in a high-traffic garage. Be sure to choose a paint that’s designed for concrete and can withstand the type of use your garage will see. If you’re unsure, I always recommend going with a high-quality epoxy for the best results.
Painting in the Wrong Conditions
Another mistake to avoid is painting in extreme weather conditions. Garage floor paint tends to perform best in moderate temperatures, typically between 50°F and 90°F. If it’s too cold or too hot, the paint may not adhere properly, or it could dry too quickly, leading to an uneven finish. Also, avoid painting on humid days, as moisture can get trapped in the paint, leading to bubbles or blistering.
Applying Too Much Paint at Once
Applying a thick coat of paint might seem like a good way to save time, but it often results in uneven coverage and can take longer to dry properly. Instead, apply thin, even coats and let each coat dry completely before applying the next. This will give you a smoother finish and help prevent bubbling, peeling, or uneven drying.
Skipping the Primer
Forgetting to use a primer is another mistake that can cause your paint to fail prematurely. Primer helps the paint bond better to the concrete and provides a smooth, even surface for the paint to adhere to. Always apply a primer designed for concrete before painting your garage floor. Skipping this step might save time, but it will cost you in the long run when the paint starts to peel or chip sooner than expected.
Maintaining Your Painted Garage Floor: Cleaning and Touch-Up Tips
Once you’ve put in the time and effort to paint your garage floor, proper maintenance is key to keeping it looking fresh and functional for years to come. A little routine care can go a long way in preserving the quality of your painted floor, preventing unnecessary wear, and extending its lifespan. Below are some practical tips for cleaning and touching up your painted garage floor.
Regular Sweeping and Dusting
Keeping your painted garage floor free of dust and debris is essential for maintaining its appearance and durability. Over time, dirt and grit can act like sandpaper on your floor, causing scratches and dulling the surface. I recommend sweeping or vacuuming the floor regularly, especially in high-traffic areas. A simple broom or a shop vacuum can make a big difference in prolonging the life of the paint. It’s a quick task that can prevent long-term damage.
Mop Up Spills Right Away
Garage floors are bound to experience spills, whether it’s oil from your car, chemicals from a project, or even just water from a rainy day. One of the best ways to maintain your painted floor is by cleaning up spills as soon as they happen. Oil and chemical spills can stain or even degrade certain types of paint, especially latex. Use a gentle cleaner or degreaser, along with a soft cloth or mop, to wipe up any liquids. For oil or chemical spills, you’ll want to act fast to prevent staining or damage to the paint.
Use the Right Cleaning Products
Not all cleaning products are safe for painted garage floors, especially if you’ve opted for epoxy or latex paint. Harsh chemicals, such as bleach or ammonia, can erode the paint’s surface over time. Stick to pH-neutral cleaners or products specifically designed for cleaning painted or epoxy floors. I’ve found that warm water mixed with mild dish soap works well for most cleaning tasks. For tougher stains, you can use a soft scrub brush and a gentle cleaner without damaging the paint.
Protect High-Traffic Areas with Mats
High-traffic areas, such as where your car is parked or where you work with tools, will inevitably see more wear and tear. One way to extend the life of your painted floor is by using mats or rugs in these areas. Rubber mats or garage floor protectors can help absorb the impact of heavy objects, reduce the risk of scratches, and prevent oil or chemical spills from seeping into the paint. I highly recommend placing a mat under your car, as this is where most oil drips and tire wear will happen.
Address Chips and Scratches Early
Over time, even the most durable garage floor paint can develop chips or scratches, especially if you use your garage frequently for heavy-duty tasks. The key to maintaining a flawless finish is to address these imperfections as soon as you notice them. If you spot a small chip or scratch, clean the area thoroughly, sand it lightly to smooth out the edges, and apply a touch-up of paint. Touching up minor damage early prevents it from spreading and keeps your floor looking pristine.
Reapply a Topcoat for Added Protection
If you opted for an epoxy or polyurethane finish, you may want to consider reapplying a topcoat every few years. A fresh topcoat can provide an extra layer of protection, keeping your paint job looking new and ensuring its durability. This is particularly important for high-traffic garages or areas that see exposure to chemicals, oils, or UV rays. A fresh topcoat can make your garage floor look as good as new, without the need for a full repaint.
7. Prevent Moisture Buildup
If your garage is in an area prone to moisture or humidity, it’s important to prevent water buildup on your painted floor. Standing water can weaken certain paints over time, especially latex-based ones. Be mindful of wet weather, and use a squeegee or mop to remove water from the floor as soon as possible. For those living in regions with snowy or rainy climates, installing a drainage system or using floor fans can help keep your painted garage floor dry.

Related Posts: