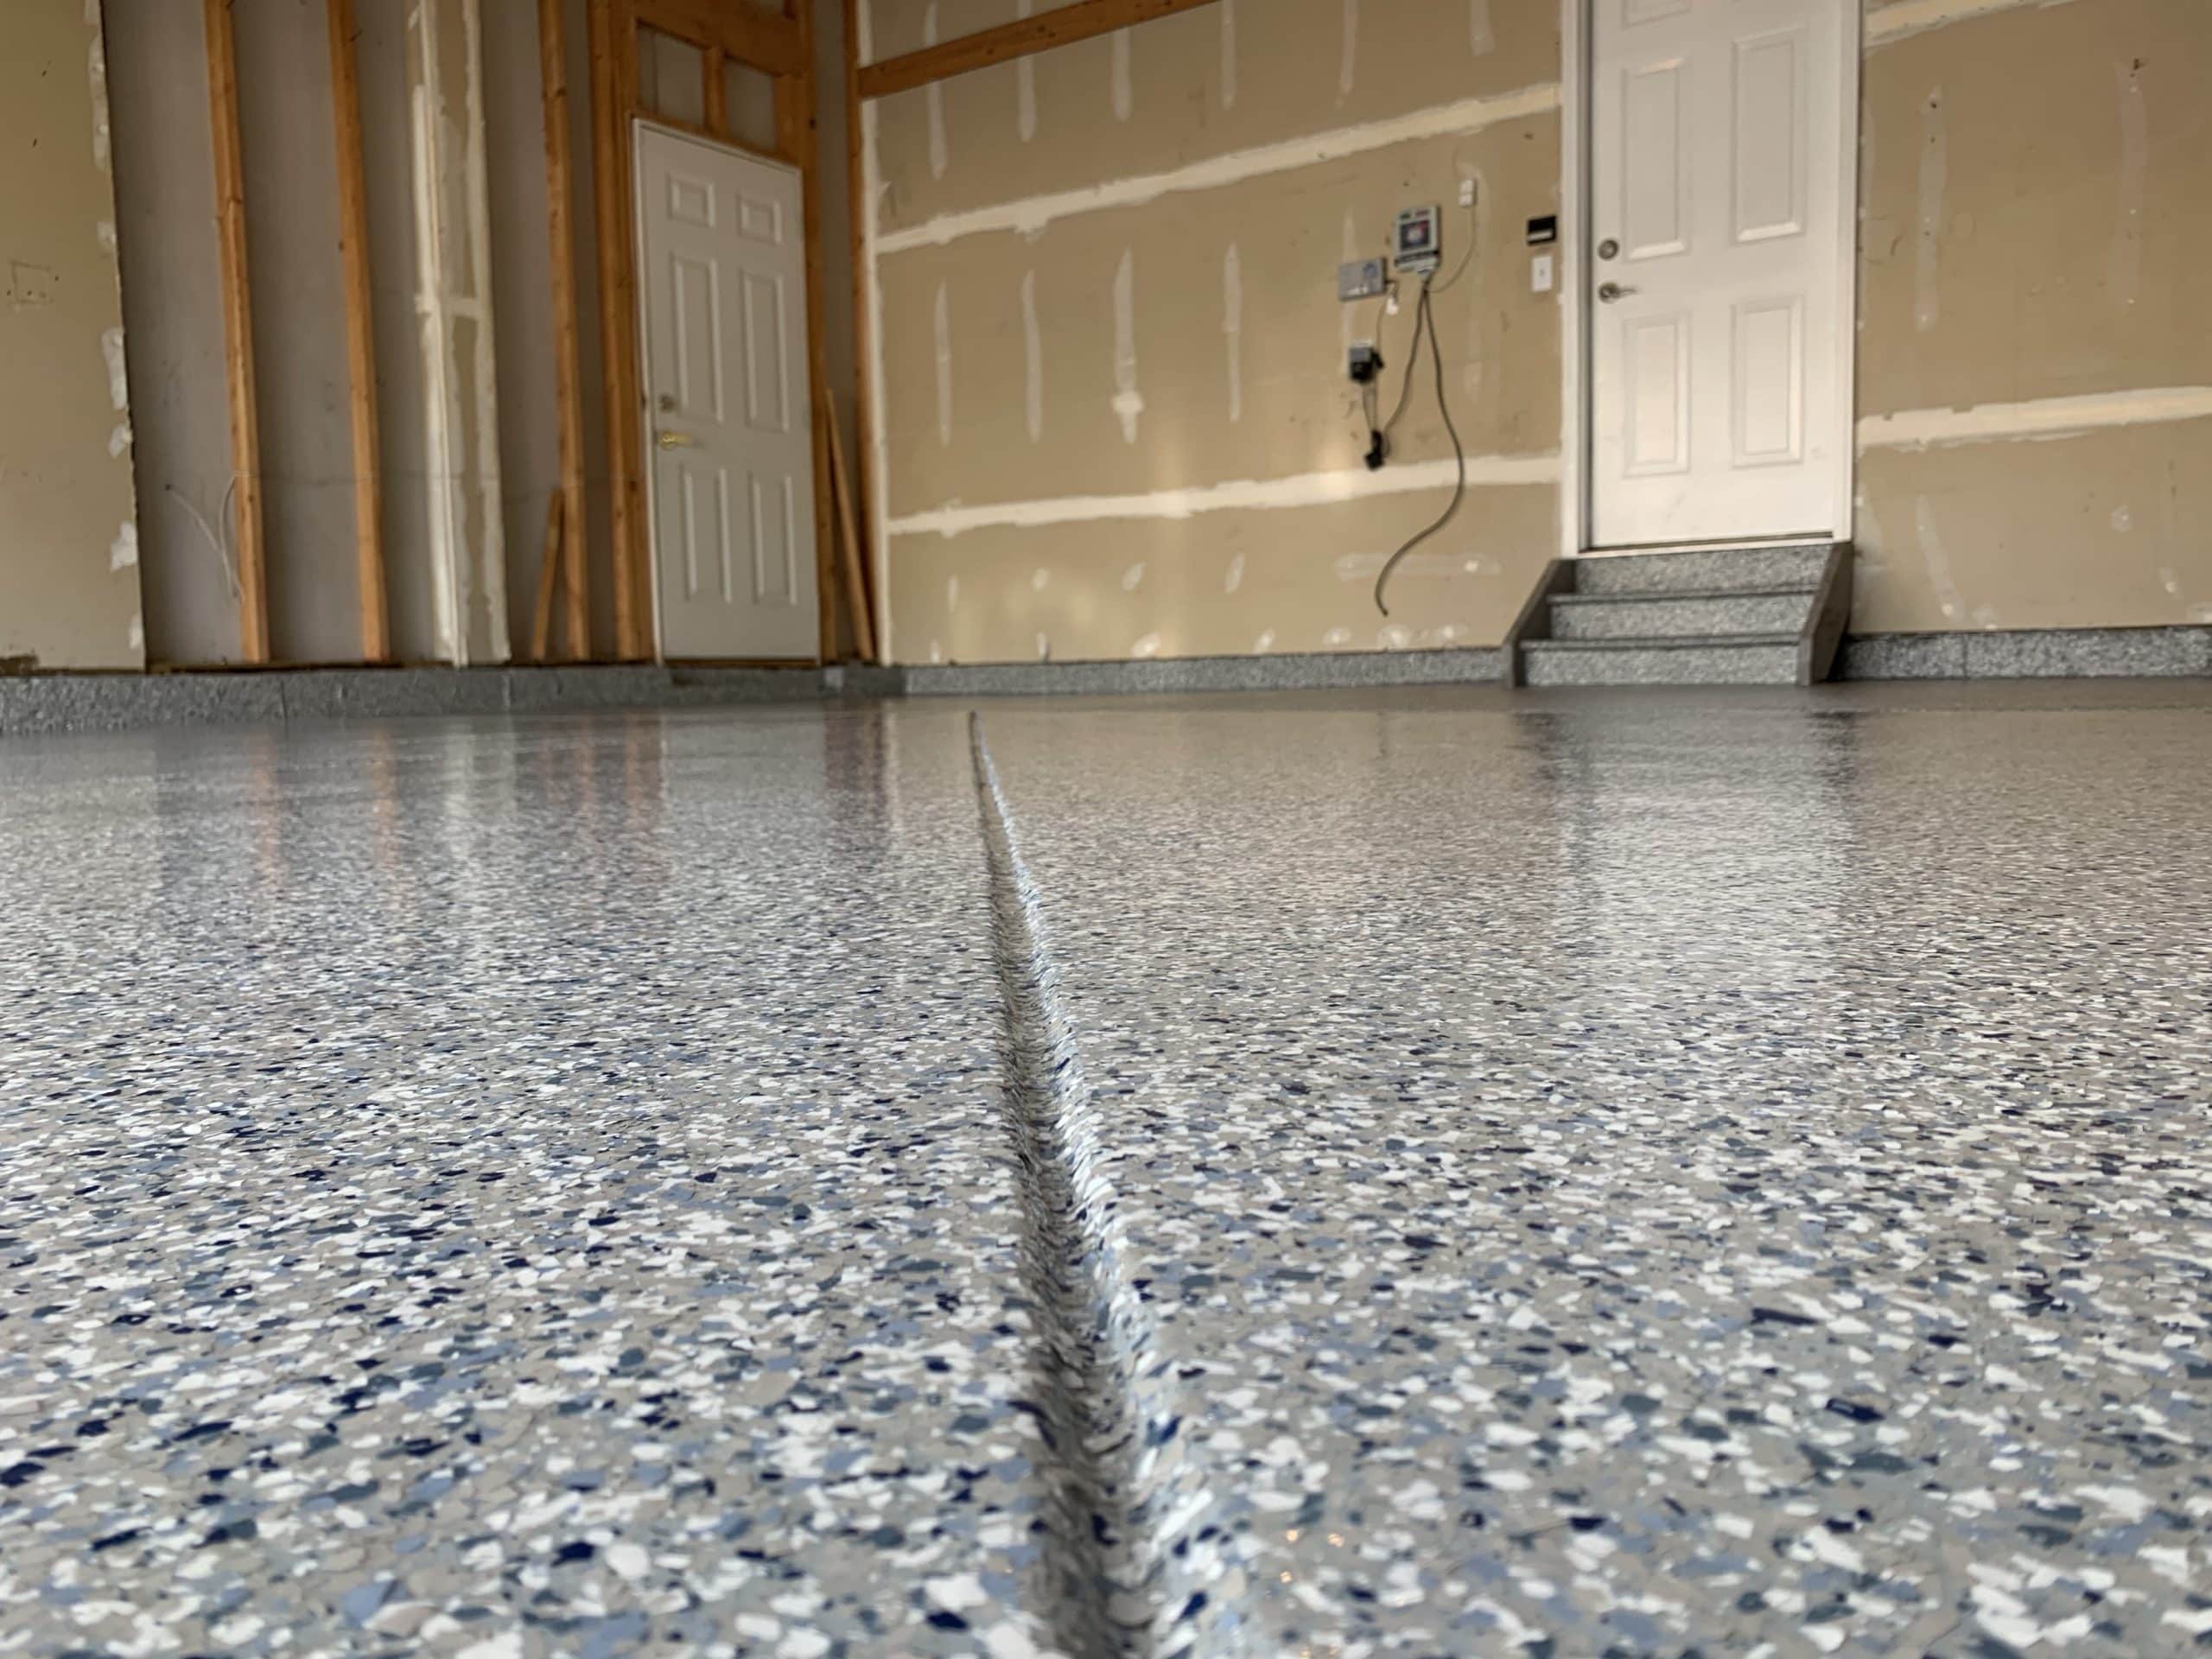
The Importance of Proper Garage Floor Paint Preparation
Preparing your garage floor for paint is the foundation of a durable and attractive finish. Without proper preparation, even the best paint won’t adhere correctly, leading to peeling, bubbling, and a less-than-satisfactory result. Let’s find out why proper preparation is crucial and what steps you should take to ensure your garage floor paint job is successful.
- Ensuring Adhesion One of the primary reasons for thorough floor preparation is to ensure the paint adheres properly. Concrete is porous, and it can hold onto dust, dirt, and oil that can prevent paint from sticking. By cleaning and prepping the surface, you create a clean slate for the paint to bond with the concrete effectively.
- Preventing Peeling and Flaking Peeling and flaking are common issues with improperly prepared floors. If the surface isn’t adequately prepped, the paint can start to lift away from the concrete over time, especially under the stress of vehicle traffic. Proper preparation helps prevent these issues, extending the life of your paint job.
- Achieving a Smooth Finish A smooth, even finish isn’t just about aesthetics; it’s also about functionality. Properly preparing your garage floor ensures that the paint goes on evenly, without unsightly bumps, bubbles, or rough spots. This not only looks better but also makes the floor easier to clean and maintain.
- Enhancing Durability Garage floors take a lot of abuse, from vehicle traffic to chemical spills. Proper preparation strengthens the bond between the paint and the concrete, enhancing the durability of the finish. This means your painted floor will withstand wear and tear better and last longer.
- Addressing Moisture Issues Concrete floors can be prone to moisture issues, which can affect the performance of your paint. Proper preparation, including moisture testing and addressing any dampness, ensures that the paint won’t be compromised by water seeping up through the concrete.
- Improving Safety A well-prepared and painted garage floor can also improve safety. Properly prepped floors can be treated with anti-slip additives to prevent accidents. Additionally, a clean, well-maintained floor reduces the risk of tripping over debris or cracks that could have been addressed during the preparation phase.
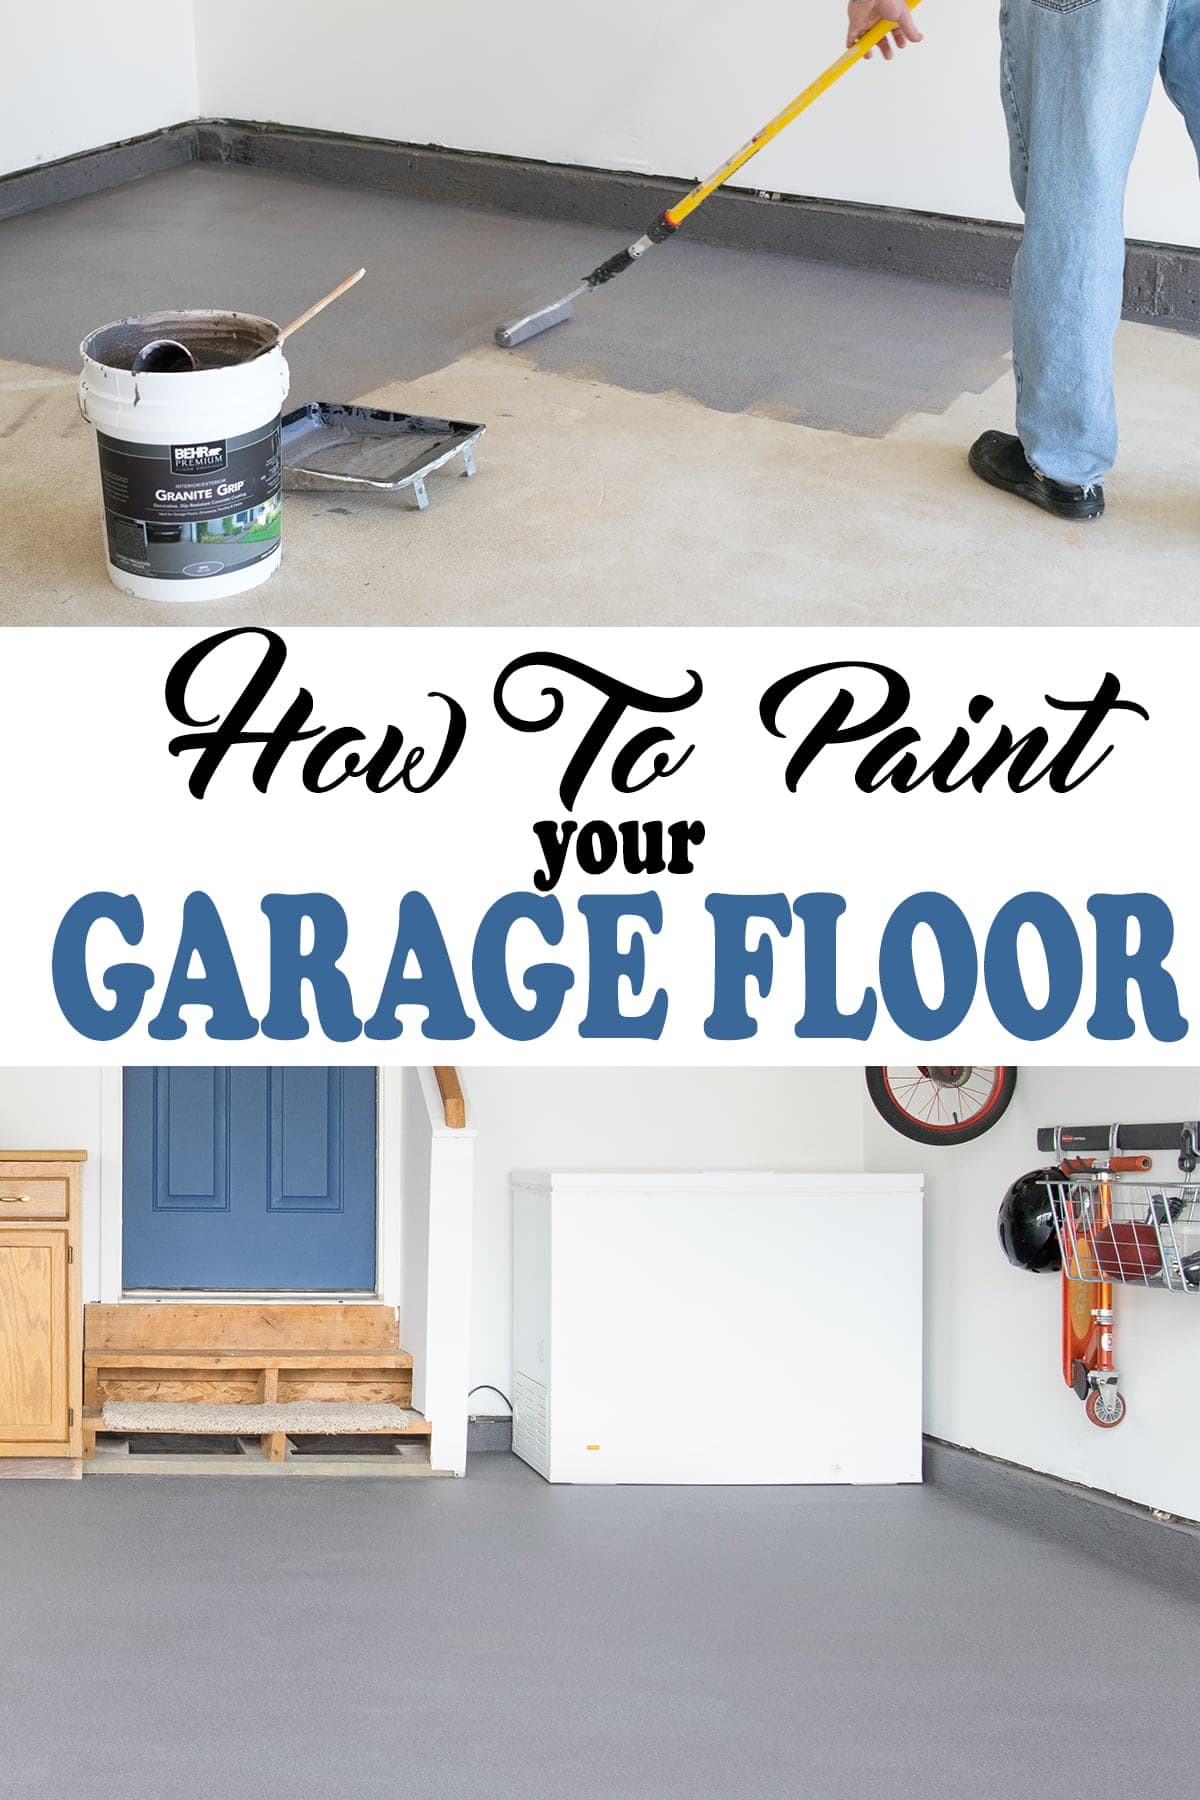
Identifying and Repairing Damage
Before you can start painting your garage floor, it’s essential to assess its condition and identify any damage that needs repair. This step is crucial for ensuring a long-lasting and visually appealing result. Let me walk you through how to assess your garage floor and what to look for.
Inspecting for Cracks and Holes Cracks and holes are common in garage floors, especially in older homes. Walk around your garage and carefully inspect the surface for any visible damage. Small hairline cracks may not seem like a big deal, but they can expand over time, so it’s essential to address them before painting.
Checking for Stains and Discoloration Stains from oil, grease, and other substances can affect the adhesion of paint. Identify any areas with significant staining, as these will need special attention during the cleaning phase. Discoloration might also indicate moisture issues, which should be addressed before painting.
Testing for Moisture Moisture can wreak havoc on a painted garage floor. To test for moisture, tape a piece of plastic or aluminum foil to the floor and leave it for 24 hours. If there’s condensation under the plastic, you have a moisture problem that needs to be resolved before painting.
Evaluating the Surface Texture The texture of your garage floor can affect how well the paint adheres. A very smooth surface may need etching to create a better bonding surface, while a very rough surface might need some smoothing. Assess the overall texture to determine what preparation steps are necessary.
Identifying Structural Issues While small cracks and holes are common, larger structural issues may need professional attention. If you notice significant damage, such as large cracks that appear to be spreading or sections of the floor that seem to be sinking, consult a professional before proceeding with your project.
Planning Repairs Once you’ve identified all the areas that need attention, plan your repairs. Gather the necessary materials, such as concrete filler for cracks and holes, and schedule enough time to complete the repairs. Properly repairing damage is a critical step in ensuring a smooth and durable paint job.
Cleaning Your Garage Floor: Removing Dirt, Grease, and Stains
A clean surface is essential for a successful garage floor paint job. Cleaning your garage floor thoroughly removes dirt, grease, and stains, ensuring the paint adheres properly and lasts longer. Here’s how to clean your garage floor effectively.
Clearing the Garage Start by clearing everything out of your garage. Remove all vehicles, tools, and stored items to give yourself a clean workspace. This step also helps you see the entire floor, making it easier to identify areas that need extra attention.
Sweeping and Vacuuming Begin the cleaning process by sweeping the floor to remove loose dirt and debris. Use a stiff-bristle broom to ensure you get into all the corners and crevices. For an even more thorough clean, use a shop vacuum to pick up any remaining dust and dirt.
Degreasing the Floor Grease and oil stains are common in garages and can prevent paint from adhering properly. Use a degreaser specifically designed for concrete floors to tackle these stains. Apply the degreaser according to the manufacturer’s instructions, scrub the stains with a stiff brush, and rinse thoroughly with water.
Removing Stubborn Stains For stubborn stains that don’t come off with degreaser, you may need to use a stronger cleaning solution or a poultice. A poultice is a paste made from a cleaner and an absorbent material, such as baking soda or kitty litter, that can draw out deep stains. Apply the poultice to the stain, cover it with plastic wrap, and let it sit for several hours or overnight before scrubbing and rinsing.
Power Washing Power washing is an effective way to clean your garage floor thoroughly. A power washer can remove dirt, grime, and any remaining stains from the surface. If you don’t own a power washer, you can rent one from a home improvement store. Be sure to follow safety guidelines and use the appropriate settings to avoid damaging the concrete.
Drying the Floor After cleaning, it’s crucial to let the floor dry completely before proceeding to the next steps. Moisture can affect the adhesion of the paint, so give the floor ample time to dry. Depending on the temperature and humidity, this could take anywhere from a few hours to a full day. Use fans or a dehumidifier to speed up the drying process if needed.
Etching the Concrete: Preparing the Surface for Paint
Etching the concrete is a critical step in preparing your garage floor for paint. This process opens up the pores of the concrete, creating a textured surface that allows the paint to adhere better. Here’s how to etch your garage floor properly.
Understanding the Purpose of Etching Etching helps remove any remaining grime and creates a rougher surface that paint can bond to. It’s especially important for smooth or previously sealed concrete surfaces. Without etching, the paint may not adhere properly, leading to peeling and chipping.
Choosing the Right Etching Solution There are various etching solutions available, including muriatic acid and less harsh, environmentally friendly options. Muriatic acid is very effective but requires careful handling and safety precautions. Safer alternatives, such as phosphoric acid-based etchers, are also available and easier to use for DIY projects.
Preparing the Etching Solution Follow the manufacturer’s instructions to prepare your etching solution. If you’re using muriatic acid, dilute it with water according to the recommended ratio. Always add acid to water, not water to acid, to prevent a violent reaction. Wear protective gear, including gloves, goggles, and a mask, to protect yourself from fumes and splashes.
Applying the Etching Solution Wet the garage floor with water before applying the etching solution. This helps the solution spread evenly and prevents it from being absorbed too quickly. Pour the etching solution onto the floor in small sections, working in manageable areas. Use a stiff-bristle brush or broom to scrub the solution into the concrete, ensuring even coverage.
Rinsing Thoroughly After the etching solution has done its job (usually within a few minutes, depending on the product), rinse the floor thoroughly with water. It’s crucial to remove all traces of the etching solution to prevent it from interfering with the paint. Use plenty of water and a scrub brush to ensure a thorough rinse.
Neutralizing the Surface Some etching solutions, particularly those containing muriatic acid, require neutralizing after rinsing. Use a neutralizing solution, such as baking soda and water, to neutralize any remaining acid. Apply the neutralizing solution, scrub the floor, and rinse thoroughly again. Allow the floor to dry completely before moving on to the next step.
Filling Cracks and Holes: Ensuring a Smooth Surface
Before painting your garage floor, it’s essential to fill any cracks and holes to ensure a smooth, even surface. This step not only improves the appearance of the finished floor but also prevents further damage. Here’s how to properly fill cracks and holes in your garage floor.
Choosing the Right Filler There are various fillers available for concrete, including epoxy, latex, and polymer-based products. Choose a filler that is compatible with your specific floor type and paint. Epoxy fillers are generally the most durable and effective for garage floors.
Cleaning the Cracks and Holes Before applying the filler, clean the cracks and holes thoroughly. Use a wire brush to remove loose debris, dust, and dirt from the damaged areas. Vacuum the cracks and holes to ensure they are clean and free of debris that could interfere with the filler’s adhesion.
Applying the Filler Follow the manufacturer’s instructions to mix and apply the filler. For small cracks and holes, you can use a putty knife or trowel to apply the filler. For larger cracks, consider using a caulking gun for more precise application. Apply the filler in layers, allowing each layer to dry before adding the next one. This ensures a solid, durable repair.
Smoothing the Surface After applying the filler, use a trowel or putty knife to smooth the surface. Ensure that the filler is level with the surrounding concrete to create a seamless finish. If necessary, sand the filled areas lightly after they have dried to achieve a smooth surface.
Allowing Proper Drying Time Give the filler ample time to dry and cure before moving on to the next steps. Drying times can vary depending on the product and environmental conditions. Check the manufacturer’s recommendations and ensure the filler is fully cured before proceeding.
Inspecting the Repairs Once the filler has dried, inspect the repaired areas to ensure they are smooth and level. If you notice any uneven spots or areas that need additional filling, address them before moving on to priming and painting. Properly filled cracks and holes provide a strong, smooth base for your paint, ensuring a professional-looking finish.
Priming the Garage Floor: Laying the Foundation for a Durable Finish
Priming your garage floor is a crucial step in achieving a durable and long-lasting paint job. A good primer provides a solid foundation for the paint, enhancing adhesion and durability. Here’s how to properly prime your garage floor.
Choosing the Right Primer Select a primer specifically designed for concrete floors. Epoxy-based primers are typically the best choice for garage floors due to their strong adhesion and durability. Make sure the primer is compatible with the paint you plan to use.
Preparing the Primer Follow the manufacturer’s instructions to prepare the primer. Some primers may require mixing or stirring before application. Make sure you have all the necessary tools, such as paint rollers, brushes, and trays, ready before you begin.
Applying the Primer Start by cutting in around the edges of the garage floor with a brush. This ensures that you get primer into all the corners and along the edges where a roller may not reach. Once the edges are done, use a paint roller to apply the primer to the rest of the floor. Work in small sections and apply the primer evenly, ensuring full coverage.
Ensuring Even Coverage Apply the primer in thin, even coats to avoid pooling or uneven spots. If necessary, apply a second coat after the first one has dried to ensure complete coverage. Thin, even coats help the primer bond better with the concrete and create a smoother surface for the paint.
Allowing Proper Drying Time Give the primer ample time to dry and cure before applying the paint. Drying times can vary depending on the product and environmental conditions. Follow the manufacturer’s recommendations and ensure the primer is fully cured before proceeding to the next step.
Inspecting the Primed Surface Once the primer has dried, inspect the surface for any uneven spots or areas that may need additional priming. A well-primed surface provides the best foundation for your paint, ensuring a durable and long-lasting finish. If necessary, apply a second coat of primer to achieve a smooth, even surface.
Choosing the Right Paint for Your Garage Floor
Selecting the right paint for your garage floor is crucial for achieving a durable and visually appealing finish. With so many options available, it can be challenging to decide which one is best for your needs. Here are some tips and recommendations to help you choose the right paint for your garage floor.
Understanding Different Types of Paint There are several types of paint available for garage floors, including epoxy, latex, and polyurethane. Epoxy paint is the most popular choice due to its durability, resistance to chemicals and stains, and long-lasting finish. Latex paint is easier to apply and less expensive but may not be as durable. Polyurethane paint offers a high-gloss finish and excellent durability but can be more challenging to apply.
Considering Your Garage’s Use Think about how you use your garage and choose a paint that meets your needs. If your garage sees heavy traffic, such as vehicles, tools, and equipment, opt for high-durability paint like epoxy or polyurethane. For lighter use, such as a workshop or storage space, latex paint may be sufficient.
Evaluating the Paint’s Resistance to Chemicals and Stains Garage floors are exposed to various chemicals, including oil, gasoline, and cleaning agents. Choose a paint that offers excellent resistance to these substances to ensure your floor remains looking good and is easy to clean. Epoxy and polyurethane paints are known for their chemical resistance.
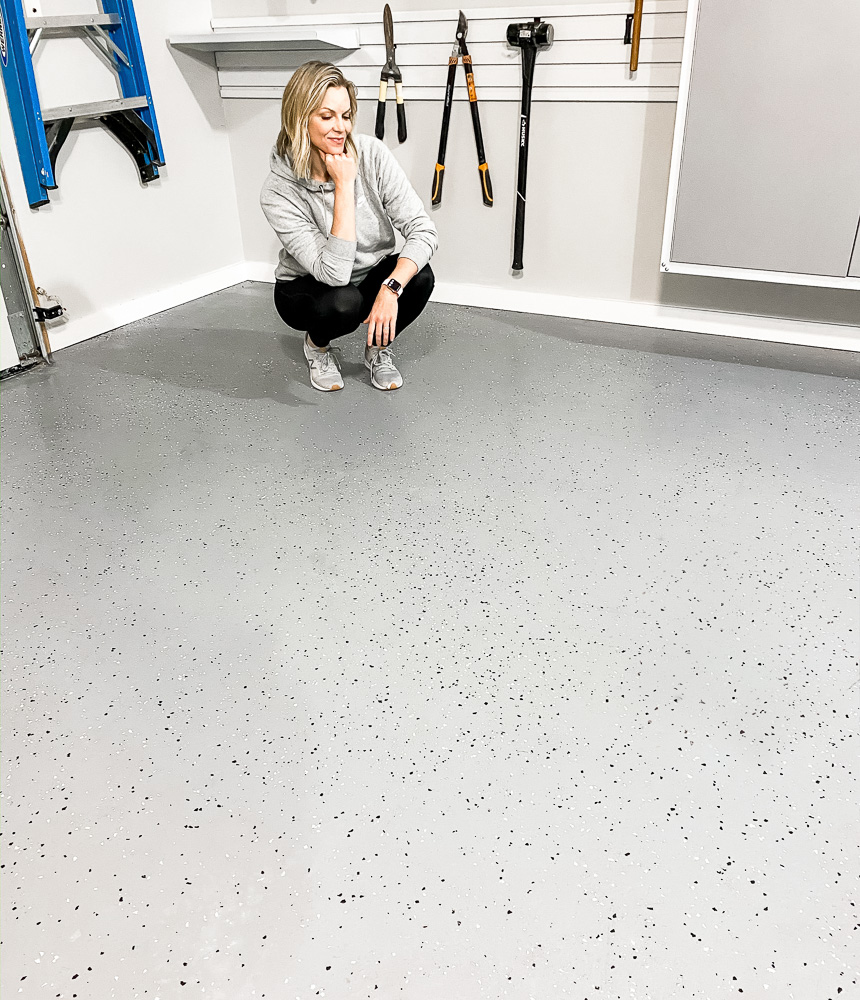
Considering the Aesthetic The appearance of your garage floor is also important. Epoxy and polyurethane paints are available in various colors and finishes, allowing you to choose a look that complements your garage’s style. Some paints also offer decorative flakes or chips that can be added for a unique, textured finish.
Checking for UV Stability If your garage is exposed to direct sunlight, choose a paint that offers UV stability to prevent fading and yellowing over time. UV-resistant paints maintain their color and finish longer, ensuring your garage floor looks great for years to come.
Reading Reviews and Seeking Recommendations Before making a final decision, read reviews from other homeowners who have used the paint you’re considering. Look for feedback on durability, ease of application, and overall satisfaction. Seeking recommendations from friends, family, or professionals can also help you choose the best paint for your garage floor.
How to Prep a Garage Floor and Apply Epoxy Garage floor epoxy
How to Prep Your Garage Floor for Epoxy Epoxy Colorado
How to Apply Epoxy Floor Paint – A 7 step guide
Related Posts:

