Therefore, while this might be the cheaper first alternative you need to reapply stains, paint or sealers periodically. The friction-free look which these floor mats have is ideal for moving players. Epoxy paint demands all of the cleaning actions for good results, including acid etching.
Images about Garage Floor Prep For Epoxy
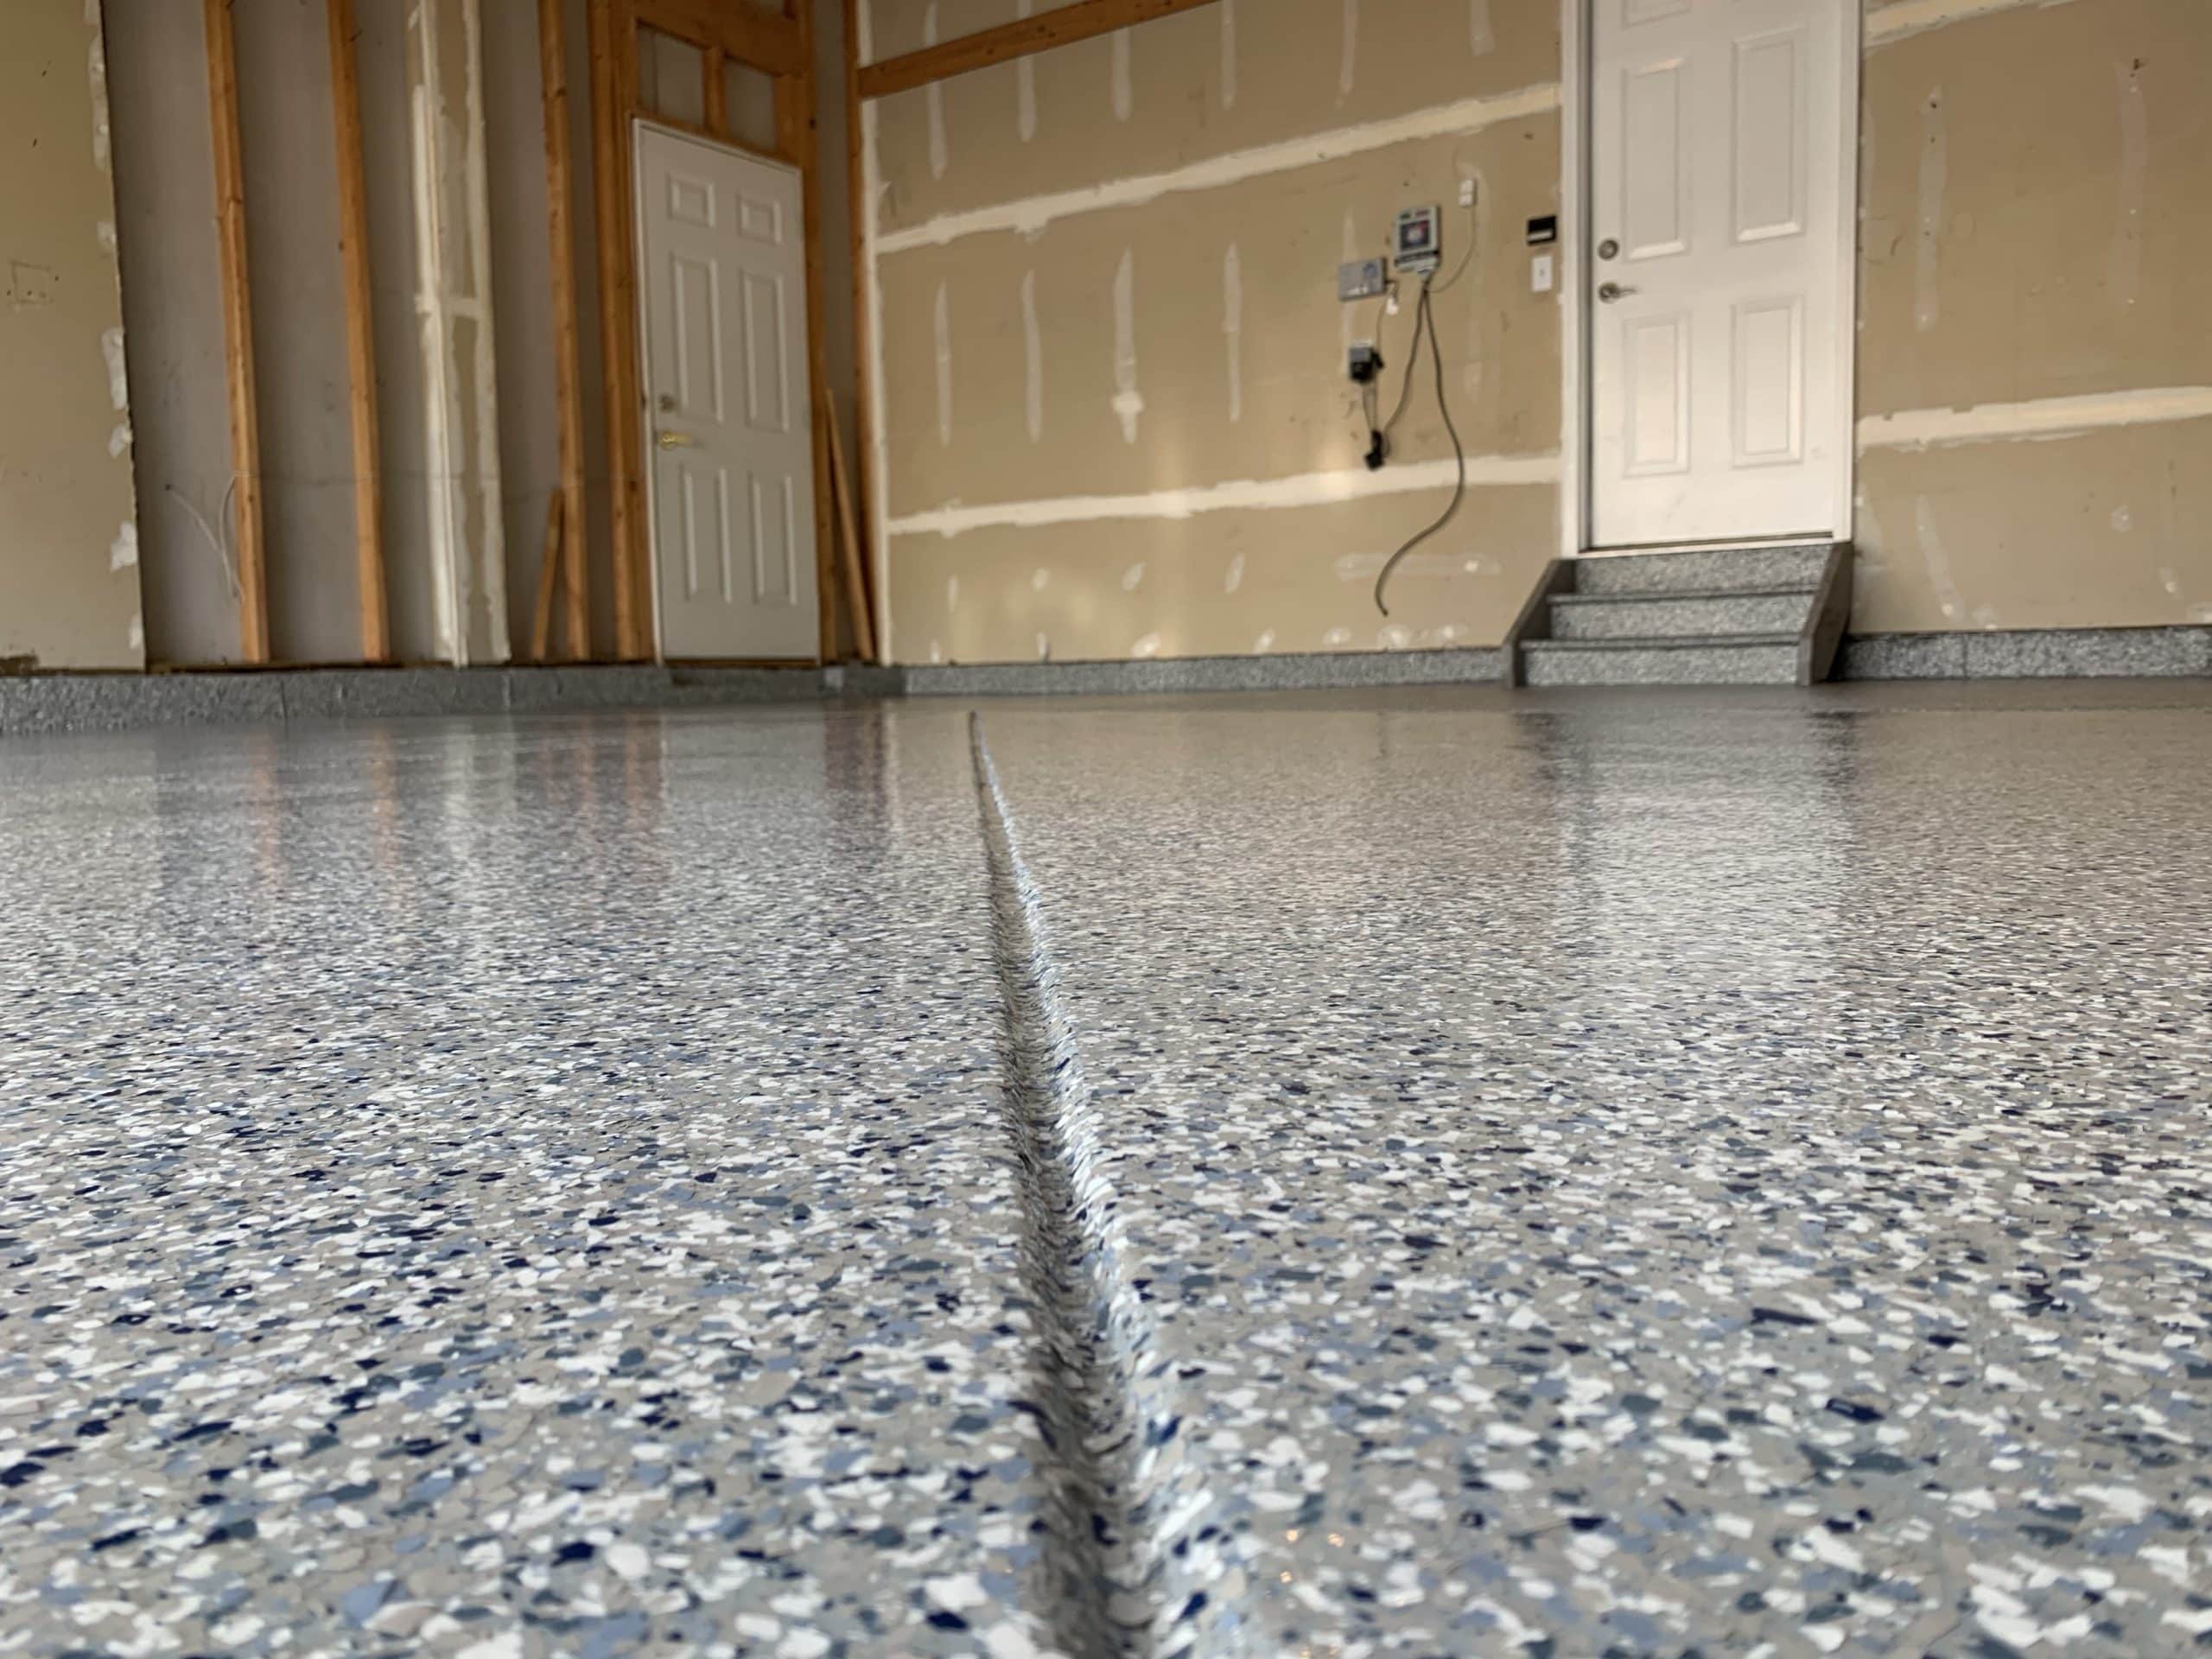
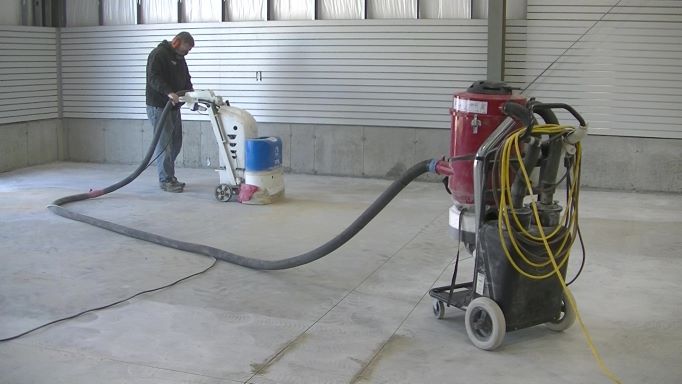
Garage Floor Prep For Epoxy
/cdn.vox-cdn.com/uploads/chorus_asset/file/19495950/epoxy_floor_overview.jpg)
Next, there are alternatives of adding what you want for the floor to leave a custom, showy piece of work. Epoxy based coatings are durable and hard enough which will keep going for many years. Before you implement any paint or maybe coating your floor has to be totally free of all grime, grease and grime. They aid in insulation, which brings down the dampness of the surface area.
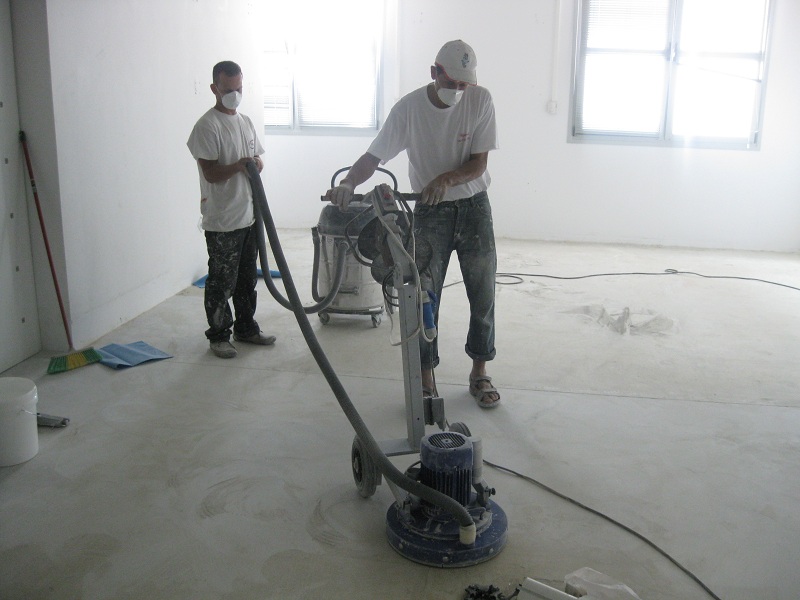
Preparing Concrete Floors for Epoxy Coating –

Fortunately today the sorts of garage floorings offered come in a variety of colors and so you don't need to stick to boring old grey colored or dark. Nonetheless, there exist a number of limits of rubber garage area flooring, especially if you want to utilize the garage space for the standard purpose of parking the car.
How to Prep Your Garage Floor for Epoxy Epoxy Colorado
Epoxy Concrete Floor Prep by GE of the Triad Garage Experts of

How to Use Epoxy Garage Floor Coating For Your Floor Epoxy

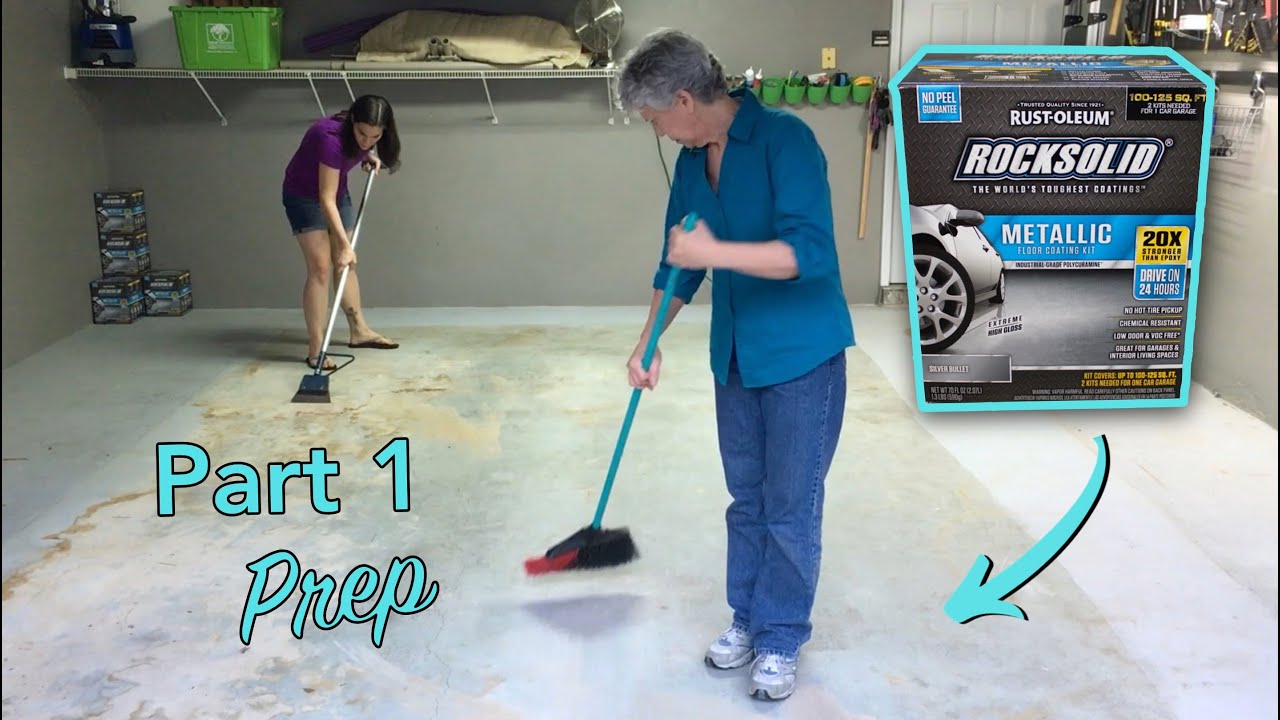
Rust-Oleum RockSolid Coating: Garage Floor Prep // Part 1
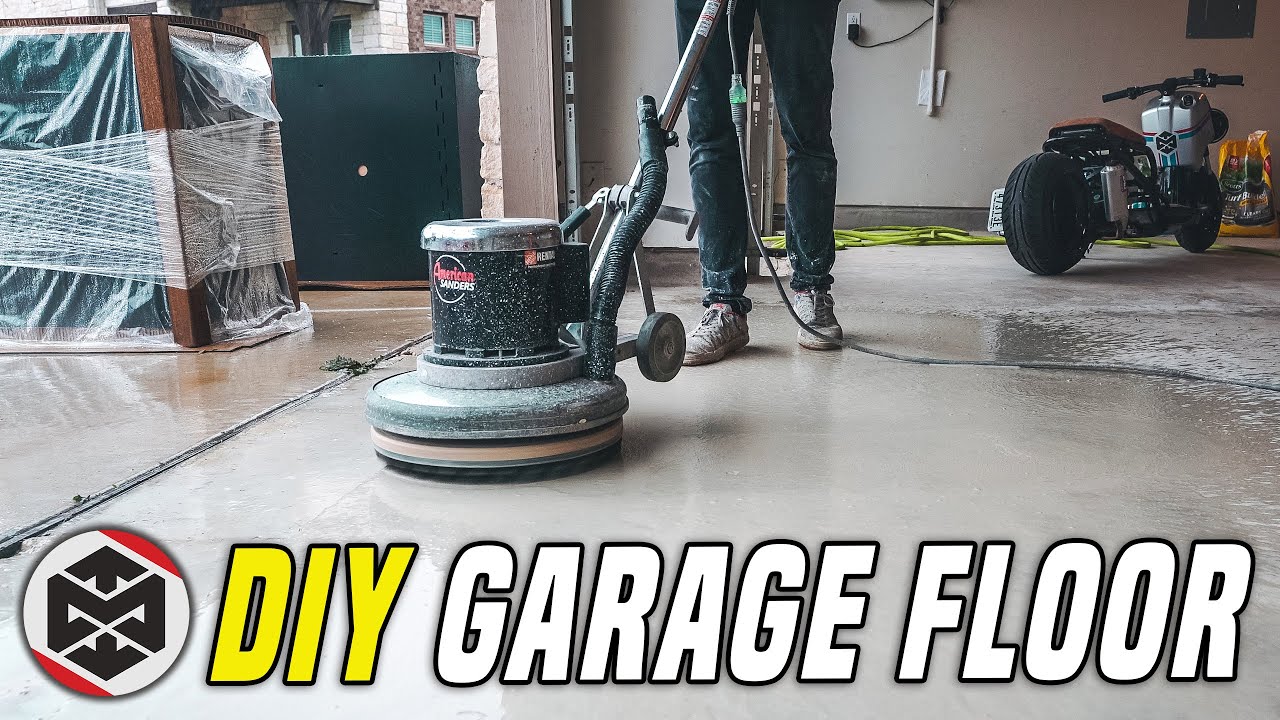
How to DIY Concrete Prep for Epoxy Floors! 🛠️ ULTIMATE Dream Garage Build Part 1
How To Prep A Garage Floor For Epoxy Coating Floor Shields

How to Apply Epoxy Coating to a Garage Floor
/clean-garage-178594527-ed57fd7843ba42f59bb637cf7cf5d47d.jpg)
Epoxy Equipment: What is needed to apply an epoxy floor
How To Prepare An Epoxy Garage Floor – My 5 Best Methods
How To Prepare An Epoxy Garage Floor – My 5 Best Methods

DIY Epoxy Garage Floor Coating Repair – Casper, WY

How to Apply Epoxy Coating to a Garage Floor – This Old House
/cdn.vox-cdn.com/uploads/chorus_asset/file/19496068/h0308stepbystep07_1.jpg)
Related Posts:
- 4 Car Garage Floor Plans
- DIY Garage Floor Paint
- Concrete Garage Floor Paint
- Garage Floor Treatments
- How To Paint Garage Floors
- Rustoleum Garage Floor Paint
- Garage Flooring Tiles Ideas
- Rubber Garage Flooring
- Inexpensive Garage Floor
- Industrial Garage Floor
Garage Floor Prep For Epoxy: A Comprehensive Guide
If you’ve been looking to upgrade the look of your garage floor, one of the most popular and effective methods is to coat the surface with epoxy. Epoxy is a durable, long-lasting coating that can give your garage floor a slick, professional look. But before you can begin the epoxy application process, you must first prepare the floor by performing garage floor prep.
In this comprehensive guide, we’ll discuss what garage floor prep is, why it’s important, and how to go about it in order to ensure a successful epoxy application. Let’s get started!
What Is Garage Floor Prep?
Garage floor prep is the process of preparing the surface of your garage floor for an epoxy coating. This includes cleaning the floor, filling any cracks or pitting, and etching the surface in order to provide a better grip for the epoxy. By taking the time to properly prepare your garage floor in advance, you can ensure that the epoxy will adhere properly and last longer.
Why Is Garage Floor Prep Important?
Garage floor prep is an essential part of any epoxy installation because it helps ensure that your epoxy coating will adhere properly to the surface of your garage floor. If you don’t take the time to properly prepare your garage floor, then you could end up with a coating that easily peels off or doesn’t provide enough protection from wear and tear. Additionally, if you don’t clean or fill cracks and pitting in the surface of your garage floor before applying epoxy, then you could end up with an uneven finish or a coating that won’t hold up over time.
How To Perform Garage Floor Prep
Before you begin applying an epoxy coating to your garage floor, there are several steps you should take in order to properly prepare it. Below is an overview of these steps:
1. Clean the Surface
The first step in preparing your garage floor for an epoxy coating is to thoroughly clean it. You should use a pressure washer to remove dirt, debris, grease and oil from the surface of your garage floor before applying any epoxy. Additionally, you should use an industrial strength cleaner designed specifically for concrete in order to remove any stubborn stains that may be present on the surface of your garage floor.
2. Fill Cracks and Pits
Once you’ve cleaned the surface of your garage floor, you should then fill any cracks or pitting in order to create a smooth, even surface for the epoxy coating. You can use a concrete repair compound specifically designed for this purpose or a self-leveling concrete filler if needed. Be sure to fill any holes or pits completely and allow ample time for them to dry before proceeding with the next step.
3. Etch The Surface
The next step in preparing your garage floor for epoxy is to etch the surface in order to give it more texture so that the epoxy can better adhere to it. To do this, you can use muriatic acid or trisodium phosphate (TSP). Be sure to wear protective gear such as gloves and goggles when working with these chemicals and always follow manufacturer instructions carefully when mixing and applying them. Once you’ve applied either muriatic acid or TSP, allow ample time for it to dry before rinsing it off with water and proceeding with the next step.
4. Neutralize The Surface
The last step in preparing your garage floor for an epoxy coating is to neutralize any remaining acid on the surface of your garage floor by rinsing it off with baking soda and water solution (or vinegar and water solution for TSP). This will help ensure that all traces of acid are removed from your garage floor before applying any epoxy so that it won’t interfere with its adhesion.
FAQs About Garage Floor Prep For Epoxy
Q: What type of cleaner should I use on my garage floor?
A: You should use an industrial strength cleaner specifically designed for use on concrete surfaces