Preparing the Dirt Floor: Steps to Level and Clean the Surface
When it comes to finishing a dirt floor basement, proper preparation is key. Before moving forward with any other steps, it’s crucial to ensure that the dirt floor is level and clean. Let me guide you through the necessary steps to prepare the dirt floor for further basement finishing.
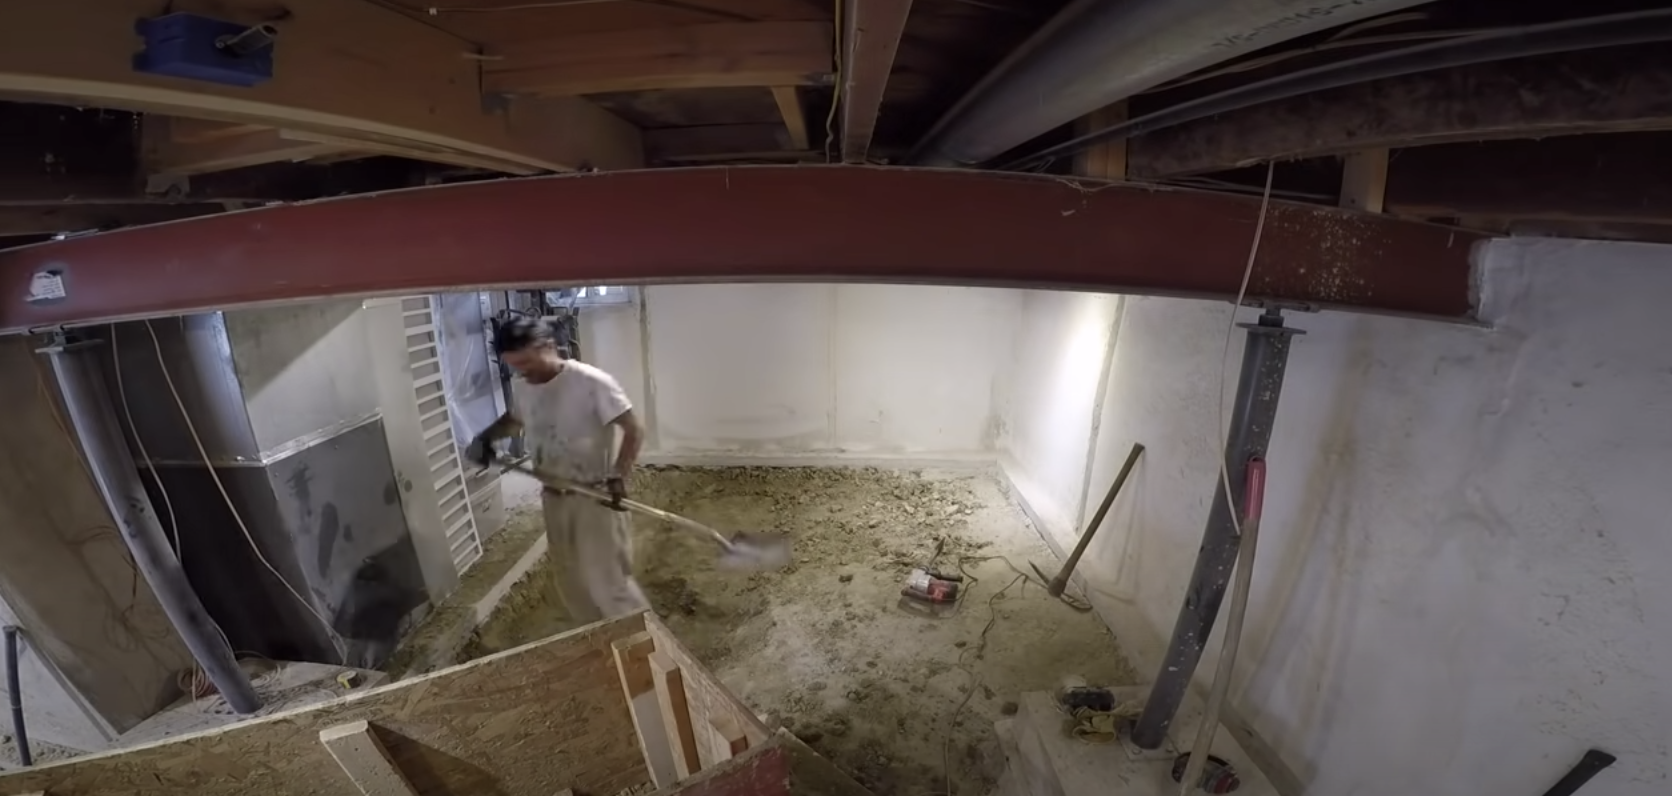
- Clearing the Space: Start by removing any debris, rocks, or obstructions from the dirt floor. Use a shovel and a wheelbarrow to clear the area effectively. This step will provide a clean slate for the next stages of preparation.
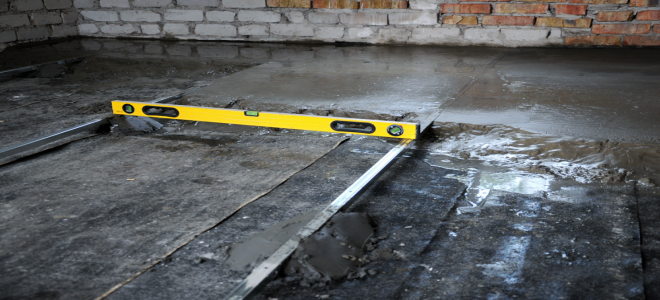
- Leveling the Floor: A level floor is essential for a finished basement. Use a long, straight board or a laser level to check for any uneven areas. If you find any low spots, fill them with compacted soil or gravel. For high spots, consider removing the excess dirt and leveling it with the surrounding area.
- Compact the Soil: Once the floor is level, compact the soil to create a solid and stable base. Use a hand tamper or a rented plate compactor to achieve the desired level of compaction. Pay extra attention to high-traffic areas to ensure long-term durability.
- Apply a Weed Barrier: To prevent weeds from growing through the dirt floor, it’s recommended to apply a weed barrier. Lay down a layer of landscaping fabric or heavy-duty plastic sheeting over the compacted soil. This will act as a barrier and help maintain a clean and weed-free basement.
- Consider Moisture Barrier: While a moisture barrier will be discussed in more detail later, it’s worth mentioning that if your basement experiences high levels of moisture, it may be necessary to install a moisture barrier at this stage. Consult with a professional to determine if this step is required for your specific situation.
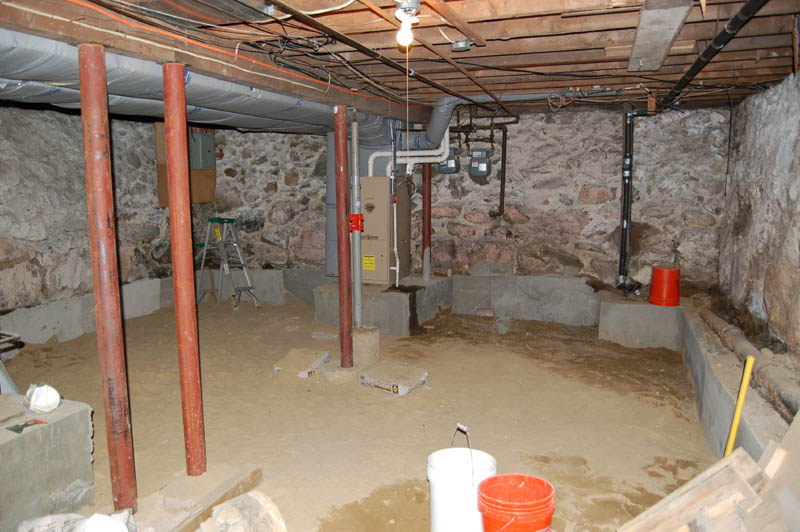
- Clean the Surface: Before moving on to the next steps of basement finishing, thoroughly clean the dirt floor. Use a broom or a vacuum to remove any remaining debris, dust, or dirt. This will ensure a clean and fresh starting point for the upcoming stages of basement transformation.

Moisture Control: Strategies for Preventing Dampness and Mold
Moisture control is crucial when finishing a dirt-floor basement. Dampness and mold can be common issues in basements, but with the right strategies, you can prevent them from wreaking havoc on your finished space. I will share effective strategies to keep your basement dry and mold-free.
Identify the Source of Moisture: Before implementing any moisture control measures, it’s essential to identify the source of moisture in your basement. Common sources include groundwater seepage, condensation, or leaks from plumbing or the foundation. Once identified, you can take appropriate steps to address the issue.
Improve Drainage: Proper drainage is crucial in preventing moisture buildup in a basement. Ensure that the soil around your home slopes away from the foundation. Consider installing a French drain or a sump pump to redirect water away from the basement. Regularly clean gutters and downspouts to prevent water from pooling near the foundation.
Seal Foundation Cracks: Inspect the foundation for any cracks or gaps that may allow water to seep into the basement. Use hydraulic cement or epoxy sealant to fill these cracks and prevent moisture intrusion. Additionally, check for gaps around windows and doors and seal them with weatherstripping or caulk.
Install a Dehumidifier: A dehumidifier is a valuable tool for controlling moisture levels in a basement. It helps remove excess humidity from the air, reducing the risk of mold growth. Choose a dehumidifier with the appropriate capacity for your basement size, and regularly empty and clean the water collection container.
Insulate Pipes and HVAC Ducts: Condensation on pipes and HVAC ducts can contribute to moisture problems in the basement. Insulate these components to prevent condensation from forming. Use foam insulation sleeves or wrap them with insulation tape to maintain a consistent temperature and reduce moisture buildup.
Proper Ventilation: Ensure proper ventilation in the basement to promote air circulation and reduce humidity. Install vents or fans, or consider opening windows periodically to allow fresh air to enter. This will help prevent stale air and excess moisture from accumulating.
Insulation and Vapor Barrier Installation
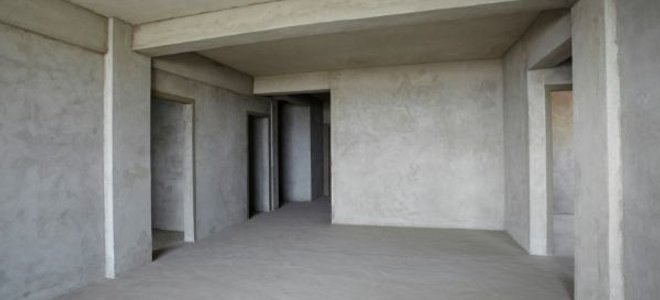
Insulating and installing a vapor barrier in your basement is crucial for maintaining a comfortable and dry living space. Proper insulation helps regulate temperature, while a vapor barrier prevents moisture from seeping through the walls and causing damage. Follow this guide to help you through the steps of insulating and installing a vapor barrier in your dirt floor basement.
Choose the Right Insulation: When it comes to basement insulation, there are several options to consider. One common choice is rigid foam insulation, which provides excellent insulation and moisture resistance. Another option is fiberglass batt insulation, which is more affordable but requires careful installation to prevent moisture problems. Research the pros and cons of each option and choose the one that best suits your needs.
Install Insulation on Walls: Start by measuring and cutting the insulation panels to fit the walls of your basement. Attach the panels to the walls using construction adhesive or mechanical fasteners. Ensure a tight fit and seal any gaps with foam insulation or caulk. This step will help regulate temperature and prevent heat loss.
Install a Vapor Barrier: Next, it’s time to install a vapor barrier to prevent moisture from entering the basement. Roll out a plastic sheeting or vapor barrier over the insulation, ensuring it covers the entire wall surface. Use a staple gun or adhesive to secure the barrier in place. Overlap the seams and seal them with vapor barrier tape for added protection.
Insulate the Rim Joists: The rim joists, where the walls meet the floor joists, are often overlooked but can be a significant source of heat loss and moisture infiltration. Insulate these areas by wrapping them with insulation batts or foam board insulation. Seal any gaps with foam insulation or caulk to create a tight seal.
Consider Insulating the Floor: While insulating the floor may not always be necessary, it can help improve energy efficiency and prevent cold drafts. Consider installing rigid foam insulation boards or spray foam insulation between the floor joists. This will create a thermal barrier and make the basement more comfortable.
Seek Professional Assistance: If you’re unsure about the insulation and vapor barrier installation process or if your basement has unique challenges, it’s wise to seek professional assistance. An experienced contractor can provide guidance and ensure the insulation and vapor barrier are installed correctly for optimal performance.
Choosing the Right Flooring: Options for a Finished Look on a Dirt Floor
Choosing the right flooring for your finished basement is an important decision that will greatly impact the overall look and feel of the space. When working with a dirt floor, it’s crucial to select flooring materials that can withstand potential moisture and provide a durable and aesthetically pleasing finish. I will discuss various flooring options suitable for a dirt-floor basement.
Concrete Stain or Epoxy Coating: If you prefer a rustic or industrial look, consider staining or coating the concrete floor. Concrete stain can add color and texture, while epoxy coating provides a glossy and durable finish. Both options are resistant to moisture and can be easily cleaned, making them suitable for dirt floor basements.
Vinyl Flooring: Vinyl flooring is a popular choice for basements due to its affordability, durability, and moisture resistance. Opt for vinyl planks or tiles specifically designed for basements, as they are thicker and offer better water resistance. Vinyl flooring comes in a wide range of styles, mimicking the appearance of wood, stone, or tile.
Ceramic or Porcelain Tile: Ceramic or porcelain tiles provide a timeless and elegant look to any basement. These tiles are highly durable, easy to clean, and resistant to moisture. Choose tiles with a slip-resistant surface to ensure safety, especially in areas prone to moisture.
Engineered Wood Flooring: While solid hardwood is not recommended for dirt floor basements due to moisture concerns, engineered wood flooring can be a suitable alternative. Engineered wood consists of a top layer of real wood veneer bonded to plywood or high-density fiberboard (HDF). It offers the beauty of hardwood while being more resistant to moisture and temperature fluctuations.
Laminate Flooring: Laminate flooring is an affordable and versatile option for dirt floor basements. It consists of multiple layers, including a durable top layer that mimics the appearance of wood or stone. Laminate flooring is easy to install, resistant to moisture, and low-maintenance. Look for laminate flooring with an attached underlayment for added moisture protection.
Carpet Tiles: Carpet tiles are a practical choice for creating a cozy and comfortable basement. They are easy to install, and if one tile gets damaged or stained, it can be replaced individually. Opt for carpet tiles with moisture-resistant backing and consider using a moisture barrier underneath for added protection.
Finishing Touches: Lighting, Ventilation, and Decor Tips for a Cozy Basement Space
To create a cozy and inviting atmosphere in your finished dirt floor basement, paying attention to the finishing touches is crucial. Proper lighting, ventilation, and thoughtful decor can make a significant difference in the overall ambiance of the space. Here are some tips and ideas to add those finishing touches to your basement.
Adequate Lighting: Basements often lack natural light, so it’s important to incorporate sufficient artificial lighting. Use a combination of ambient, task, and accent lighting to create a well-lit space. Install recessed can lights or track lighting for general illumination, and add table lamps or floor lamps for task lighting in reading or seating areas. Consider using dimmer switches to adjust the lighting intensity according to your needs.
Natural Light Solutions: If your basement has windows, maximize the natural light by keeping them unobstructed. Use sheer or light-colored curtains to allow light to penetrate while still maintaining privacy. If possible, trim any overgrown vegetation outside the windows to let in more light. Additionally, consider installing light wells or window wells to bring in additional natural light.
Ventilation and Air Circulation: Proper ventilation is essential to maintain a fresh and comfortable basement environment. Install ceiling fans or vent fans to ensure adequate air circulation. Consider using a dehumidifier to control humidity levels. If your basement lacks windows, consult with a professional about installing a mechanical ventilation system.
Decor and Color Scheme: Choose a color scheme that suits your taste and complements the overall theme of your basement. Lighter colors can make the space feel more open and airy, while darker colors can create a cozy and intimate atmosphere. Incorporate artwork, rugs, and decorative items that reflect your personal style. Use mirrors strategically to enhance the sense of space and reflect light.
Furnishing and Seating: Select furniture that is both functional and comfortable. Opt for pieces that can withstand potential moisture and are easy to clean. Sectional sofas or modular seating can be a great option, allowing flexibility in arranging the space. Add throw pillows and soft blankets for extra coziness.
Storage Solutions: Make sure to incorporate adequate storage options in your basement to keep the space organized and clutter-free. Utilize shelves, cabinets, or storage bins to store items such as books, games, and seasonal decorations. Consider built-in shelving or under-stair storage to optimize space utilization.
How to Transform A Damp, Dark Basement with A Dirt Floor

Crawlspace Waterproofing u2013 Should You Insulate the Dirt Floor

Related Posts: