You are able to choose wood-look-alike luxury vinyl flooring or perhaps for floor the exact likeness of natural stone or even floor with modern complex abstract look. It's hardly any seams, also. It is important to hold out for 5 days for the adhesive to set in prior to moving in quite heavy items. For a high quality floor it can actually be that costly to buy. Printed vinyl floor is perfect for traffic areas that are low like personal bedroom.
Images about How To Install Floating Vinyl Flooring On Concrete
How To Install Floating Vinyl Flooring On Concrete
Whether it is cheap luxury or vinyl vinyl, it's incredibly important the flat surface to the place that the flooring will be placed will be soft. Another benefit of using vinyl is its ability to appear in any room. An average do-it yourself homeowner could find installing sheet vinyl a little harder. In order to top it off, you will find numerous stores which provide discounted vinyl flooring, hence it's double the savings.
How to Install Laminate Flooring on Concrete in the Kitchen Mryoucandoityourself

Let us discuss in detail the qualities of this flooring. You are going to be ready to find a category and finish that appeal to help you. One more thing people dislike about the traditional cheap vinyl flooring would be that the self-stick tiles do not stick effectively. When dirt cannot be rid off by a broom or vacuum, make use of a mop dampened on water that is lukewarm. For a space which has high foot traffic, pick the one particular with enhanced urethane.
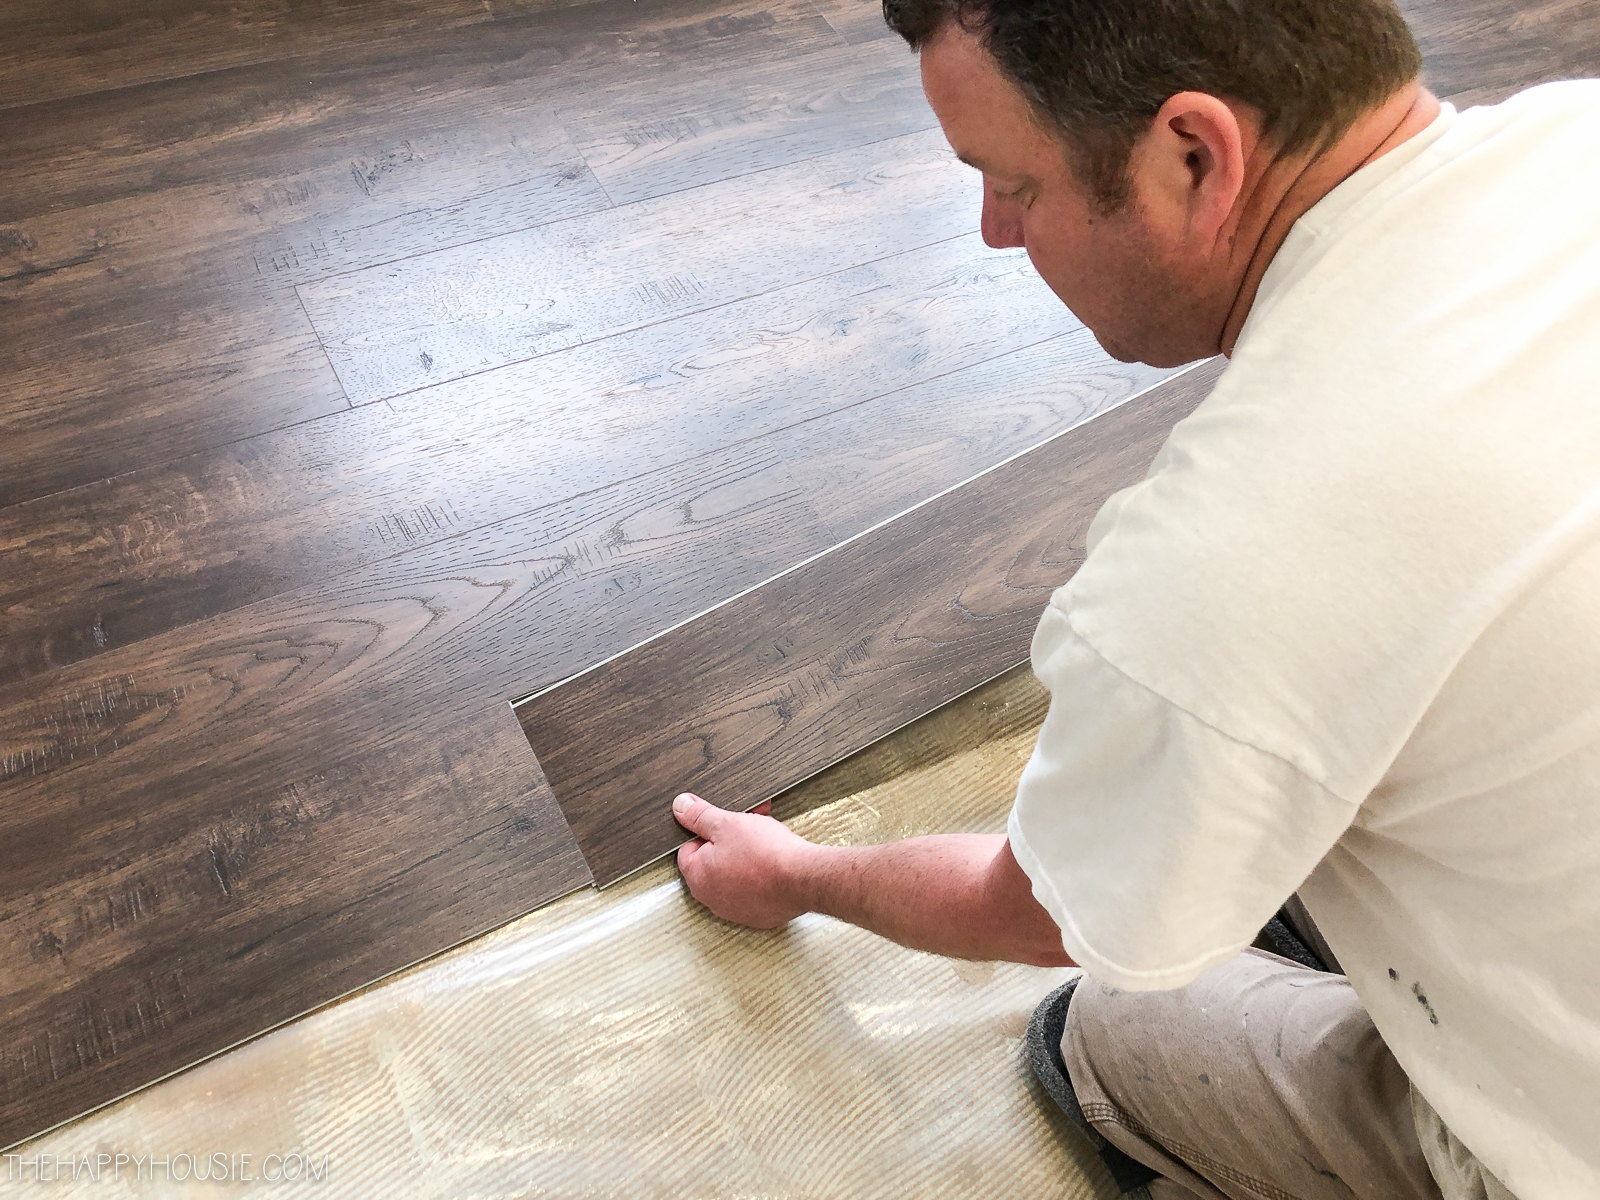
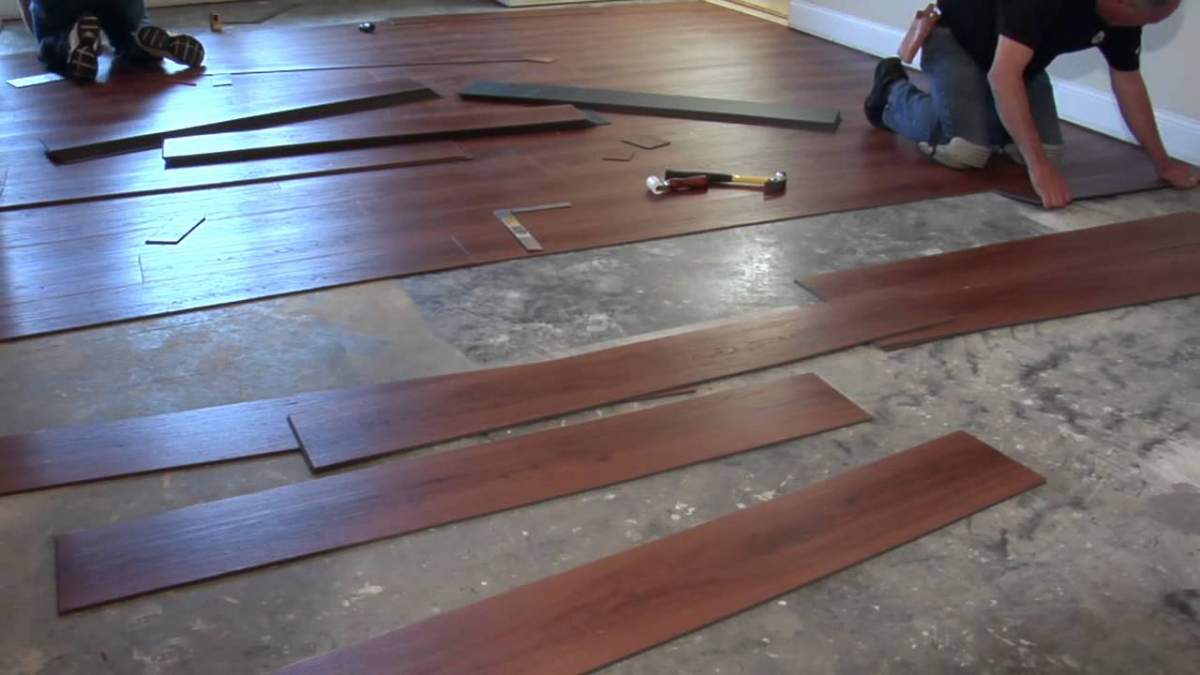
Vinyl Plank Installation: How to Install Vinyl Plank Flooring on

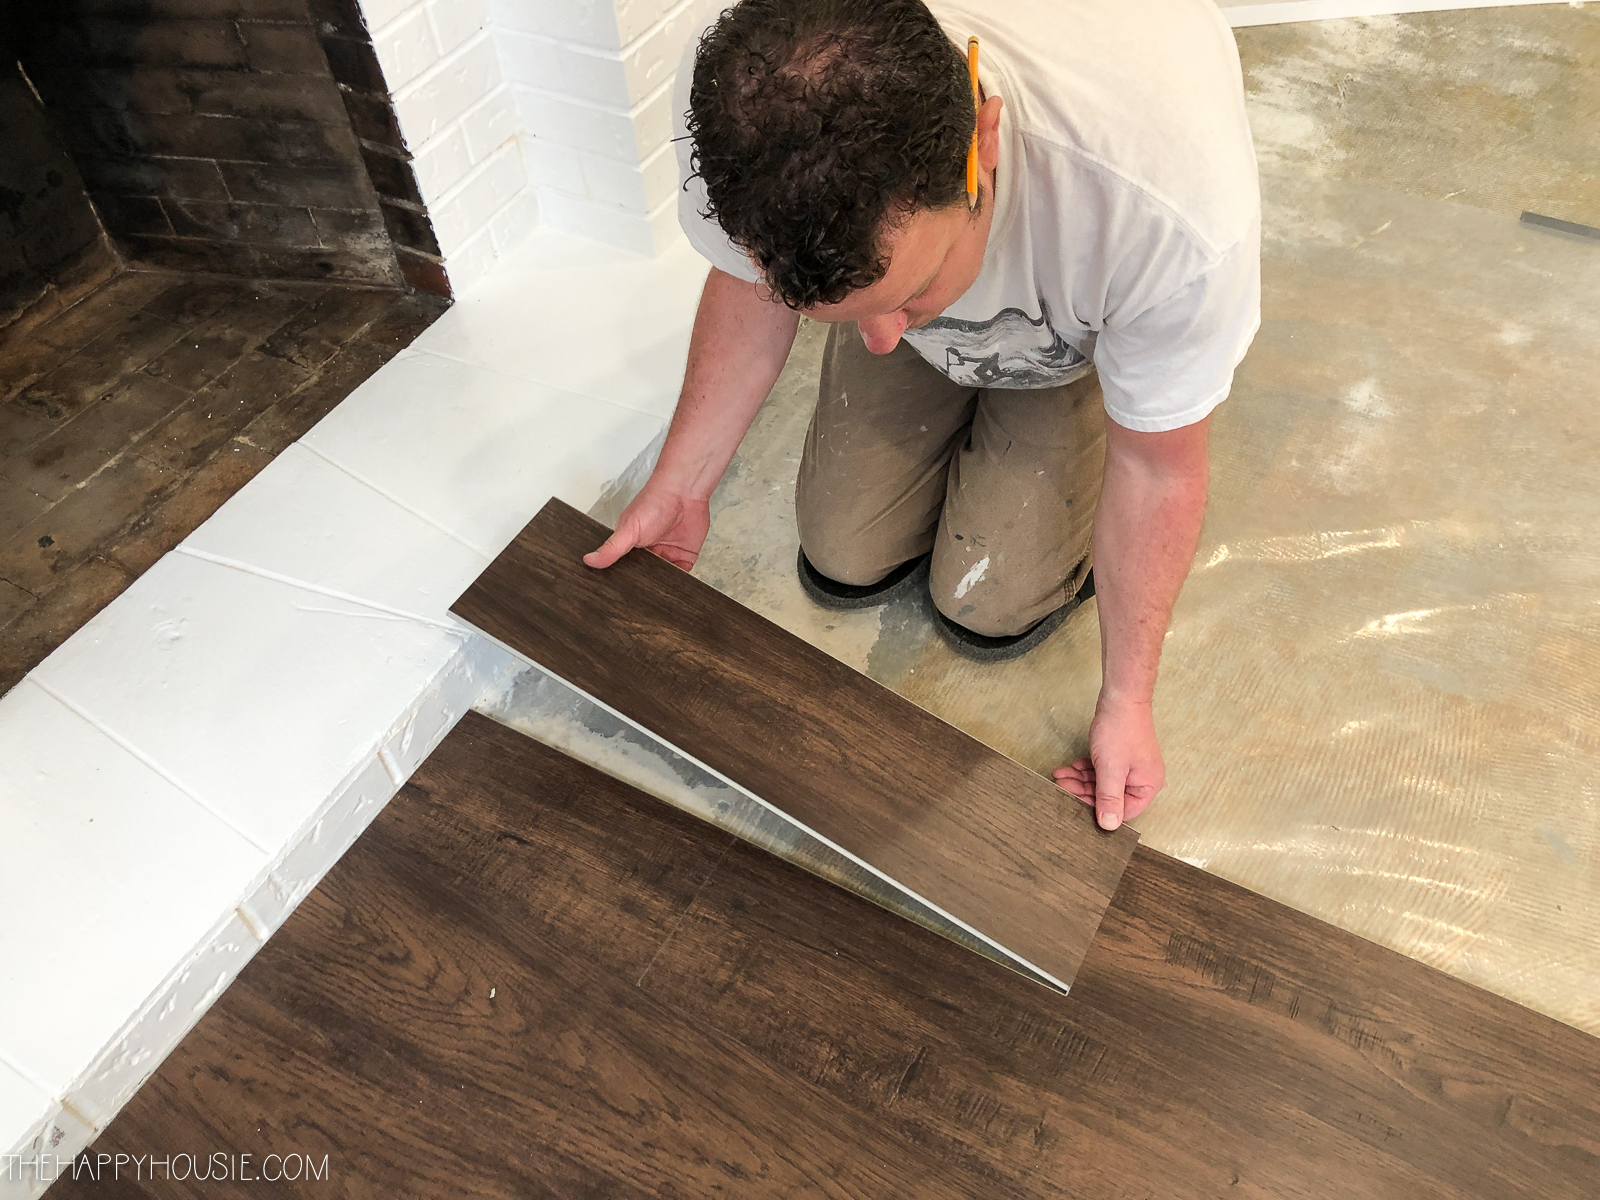
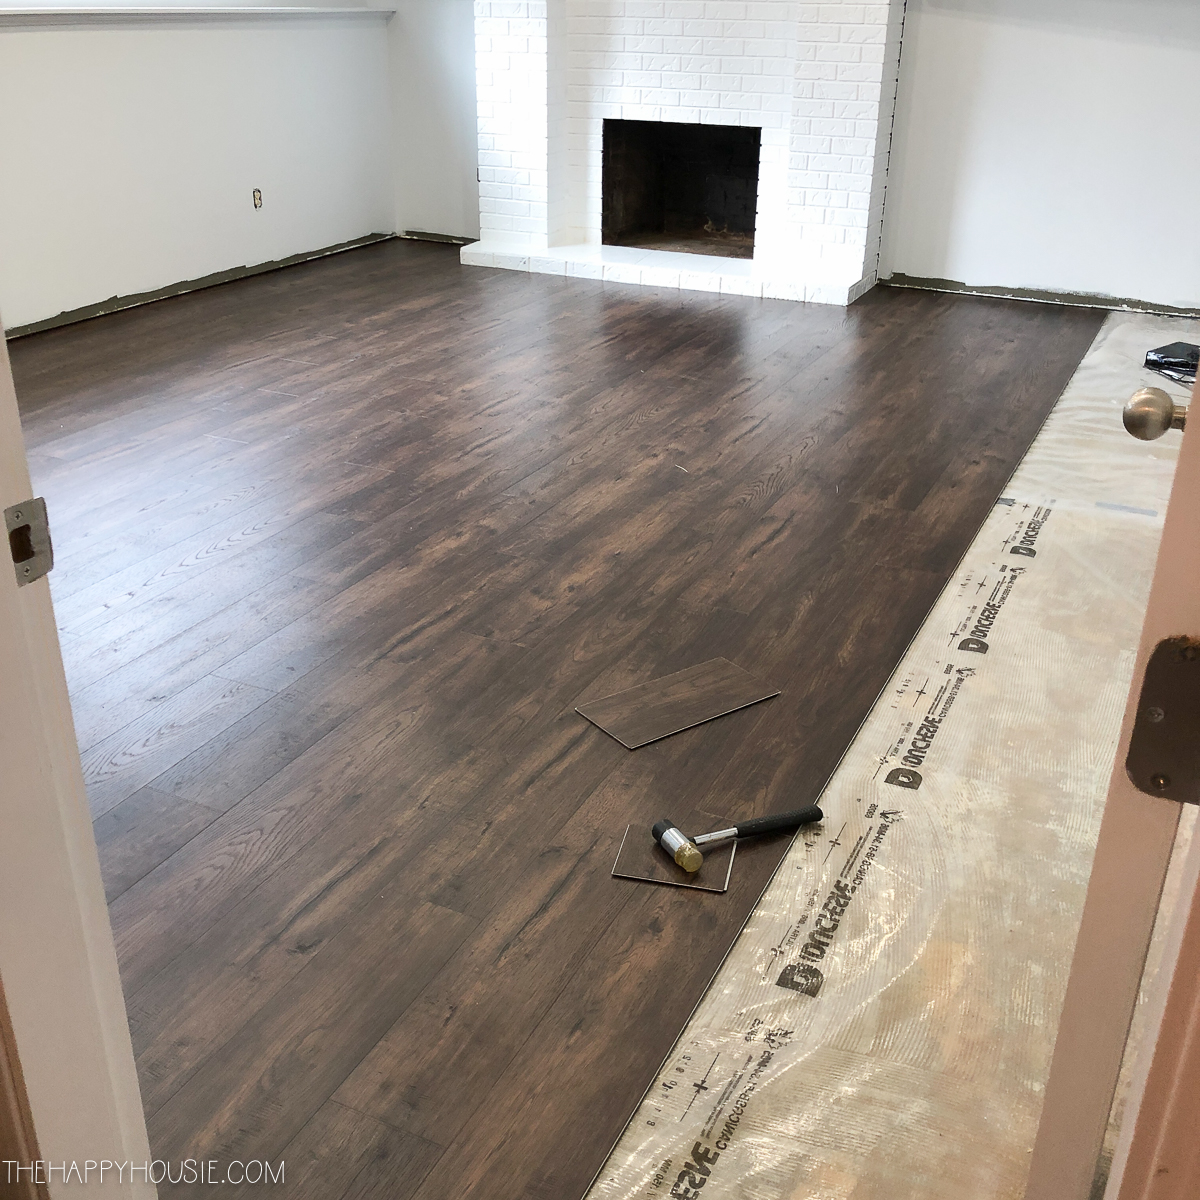
How to Install Vinyl Plank over Concrete (ORC Week 4/5) The
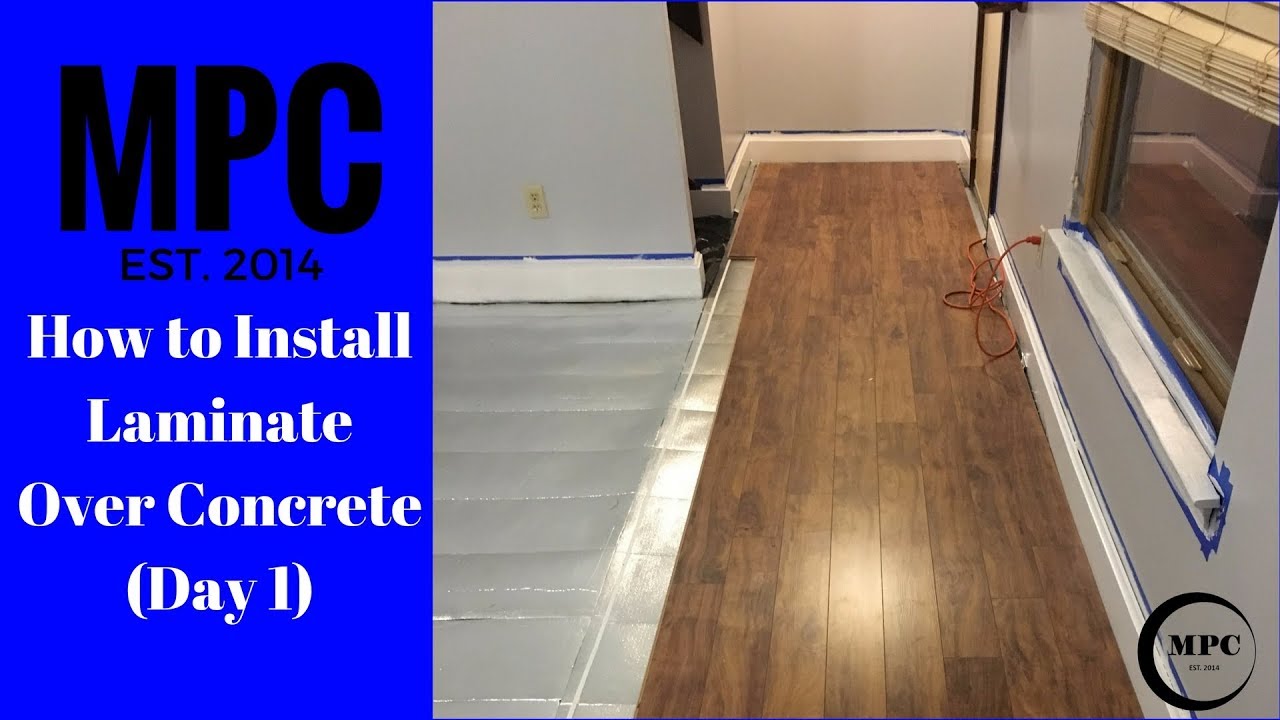
How to Install Laminate Over Concrete (Day 1)
Can You Put Vinyl Tile On Concrete Floor? – Ready To DIY

Easy Ways to Install Vinyl Plank Flooring on Concrete

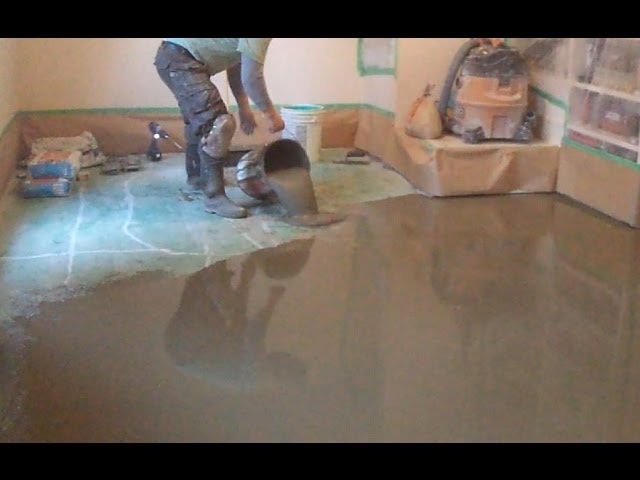
Concrete Subfloor Preparation for the Vinyl Floor Installation How
How to Install Vinyl Plank Flooring on Concrete – Step By Step Guide

How to Install Vinyl Plank over Concrete (ORC Week 4/5) The
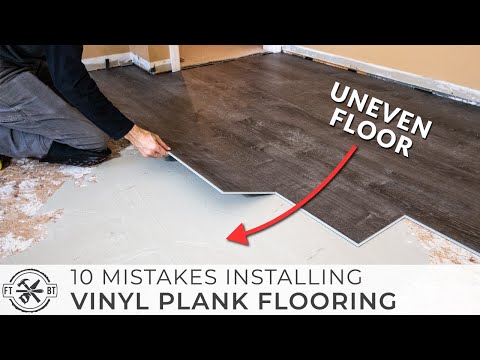
10 Beginner Mistakes Installing Vinyl Plank Flooring
How to install vinyl plank flooring on concrete base
Installing Laminate Flooring Over Concrete – The Ultimate Guide

Easy Ways to Install Vinyl Plank Flooring on Concrete

Related Posts:
- How To Repair Vinyl Flooring Scratches
- Copper Vinyl Flooring
- Vinyl Flooring In Bathroom
- Commercial Vinyl Flooring
- Luxury Vinyl Flooring Bedroom
- Herringbone Vinyl Floor Tiles
- Vinyl Flooring That Looks Like Wood
- Vinyl Flooring For Basement
- Toilet Vinyl Flooring
- Rustic Vinyl Flooring
How To Install Floating Vinyl Flooring On Concrete
Floating vinyl flooring is a great way to upgrade any room in your home. It’s relatively easy to install, and it can last for many years with minimal maintenance. Plus, it adds a unique look to the room and can make it look more modern and stylish. With that said, if you’re planning to install floating vinyl flooring on a concrete subfloor, there are some extra steps you’ll need to take. In this article, we’ll go over the necessary steps for installing floating vinyl flooring on a concrete subfloor.
Preparation
Before you begin the installation process, there are a few steps you’ll need to take in order to ensure a successful installation. First, you’ll need to make sure that your concrete subfloor is clean and free of any debris or dust. You can do this by using a vacuum cleaner or broom. Once the subfloor is clean, you’ll need to check it for any cracks or holes that may need to be filled in order to create a smooth surface. If there are any cracks or holes, you’ll need to fill them with an appropriate filler before continuing with the installation process.
Installing Underlayment
Once your concrete subfloor is prepped, you’ll need to install an underlayment before laying down the floating vinyl flooring. An underlayment is a thin layer of material that helps protect the vinyl from moisture and provides additional cushioning for the flooring. When installing underlayment on a concrete subfloor, you’ll want to use an appropriate adhesive or tape in order to secure it in place. Be sure to follow the manufacturer’s instructions when applying the adhesive or tape in order to ensure proper installation.
Laying Down The Vinyl Flooring
Now that the underlayment is installed, you can begin laying down the floating vinyl flooring. When laying down the flooring, be sure to start at one corner of the room and work your way outwards. It’s important to stagger each row of flooring so that they don’t all line up perfectly with one another. This will help ensure that the seams between each row of flooring are not visible once the installation is complete. As you lay down each row of flooring, be sure to check for any gaps in between them and fill them with an appropriate sealant if needed.
Cutting The Vinyl Flooring
Once all of the floating vinyl flooring has been laid down, you’ll need to cut it around any obstacles such as doorways and baseboards. You can use either a utility knife or specialty vinyl cutter for this job. Once all of the flooring has been cut into place, you can use a roller or rolling pin to press it firmly into place and ensure that it won’t come loose over time.
Finishing The Installation
Once all of the floating vinyl flooring has been laid down and cut into place, your installation is almost complete! The final step is to install any trim pieces along the edges of the room if desired. This will help give your new floor a professional-looking finish and will help hide any gaps between the wall and the edge of the vinyl flooring. Trim pieces can be purchased at most home improvement stores or online retailers and are relatively easy to install.
FAQs
Q: What type of adhesive should I use when installing underlayment on a concrete subfloor?
A: When installing underlayment on a concrete subfloor, you’ll want to use an adhesive specifically designed for such surfaces. Be sure to read all instructions provided by the manufacturer before selecting an adhesive for your project.
Q: How do I cut around obstacles such as doorways and baseboards?
A: When cutting around obstacles such as doorways and baseboards, you’ll want to use either a utility knife or a specialty vinyl cutter designed specifically for this job. Be sure to follow all safety instructions provided by the manufacturer when using either tool during your installation process.
Q: How