
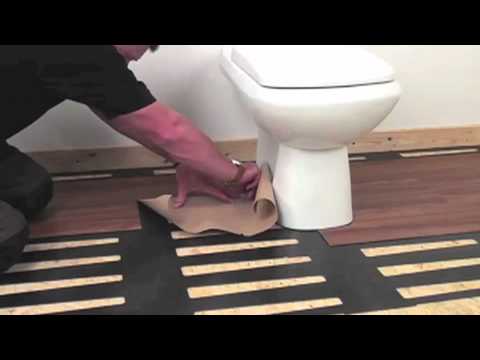
If you are installing vinyl flooring around a toilet, you will need to make sure the vinyl flooring is cut to fit around the base of the toilet. Once the vinyl flooring is cut to size, peel off the backing and stick the vinyl flooring to the floor. Use a rolling pin to smooth out any bubbles. Finally, trim any excess vinyl flooring from around the edges of the room. Installing vinyl flooring in a bathroom can add a touch of style and durability to the space.
Do you have to remove toilet to install vinyl flooring?
Installing vinyl flooring in your bathroom is a great way to update the space and make it more waterproof. But, one of the most important steps in any vinyl flooring installation is making sure that the subfloor is completely level. This means that you may have to remove your toilet to install the vinyl flooring properly.
How do you seal a vinyl floor around a toilet?
If you have a toilet with a flange that is level with the vinyl floor, you can use a self-leveling sealant. This type of sealant will flow into the space around the flange and create a watertight seal. If your toilet flange is higher than the vinyl floor, you will need to use a caulk that is designed for use in wet areas. Apply the caulk around the flange, making sure to smooth it out so that there are no gaps. Once the sealant or caulk has dried, you can replace the toilet.
Images about How To Install Vinyl Flooring Around A Toilet
How To Install Vinyl Flooring Around A Toilet
Vinyl flooring is probably the most common kind of resilient flooring and undoubtedly the most popular flooring substance in the U.S. It’s likewise tough, long-lasting and sturdy, even for places that foot traffic is on a constant high. By picking Vinyl flooring you can have durable and beautiful floors for each area in the house. This budget friendly option makes it easy to get the appearance of costly floors without the price.
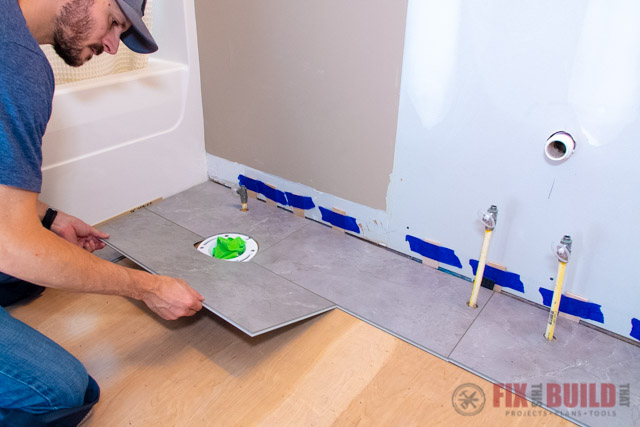
How to easily install vinyl flooring around a toilet
Vinyl floor tiles don’t need waxing. Instead of wasting the money of yours on cheap, DIY vinyl which will end up quickly destroyed, have a pro install sheet vinyl for the flooring of yours. The moisture may cause the floor to discolor or swell. Not only is it going to help out with that spending budget, it will still maintain the impressive look of a properly chosen floor. It’s simple to install, and even to clean and keep.
How to Install Sheet Vinyl Around a Toilet
More and more individuals are choosing cheap vinyl flooring as the floor of theirs of preference. No matter the kind of luxury vinyl flooring as well as the kinds of its wear layer, most vinyl floor coverings are made with built-in cushion underlayment. Vinyl flooring tends to absorb some spills or discolorations that eventually cover it or it’s possible you are able to scratch, mark or perhaps rip your vinyl floor.
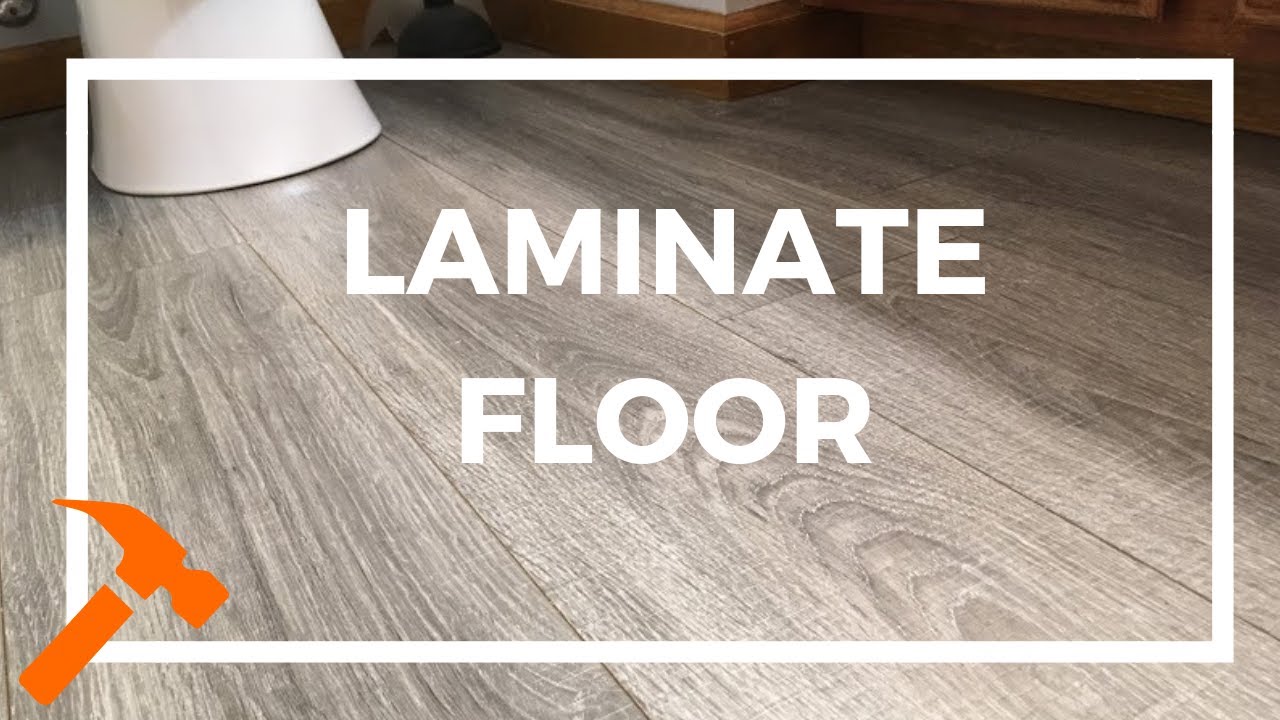
How to install laminate around a toilet and other round shapes

🔥 🚽 Install Vinyl Plank Floor Around Toilet 🚽🔥
How to Install Vinyl Plank Flooring in a Bathroom FixThisBuildThat
How To Install Vinyl Plank Flooring In A Bathroom As A Beginner Home Renovation
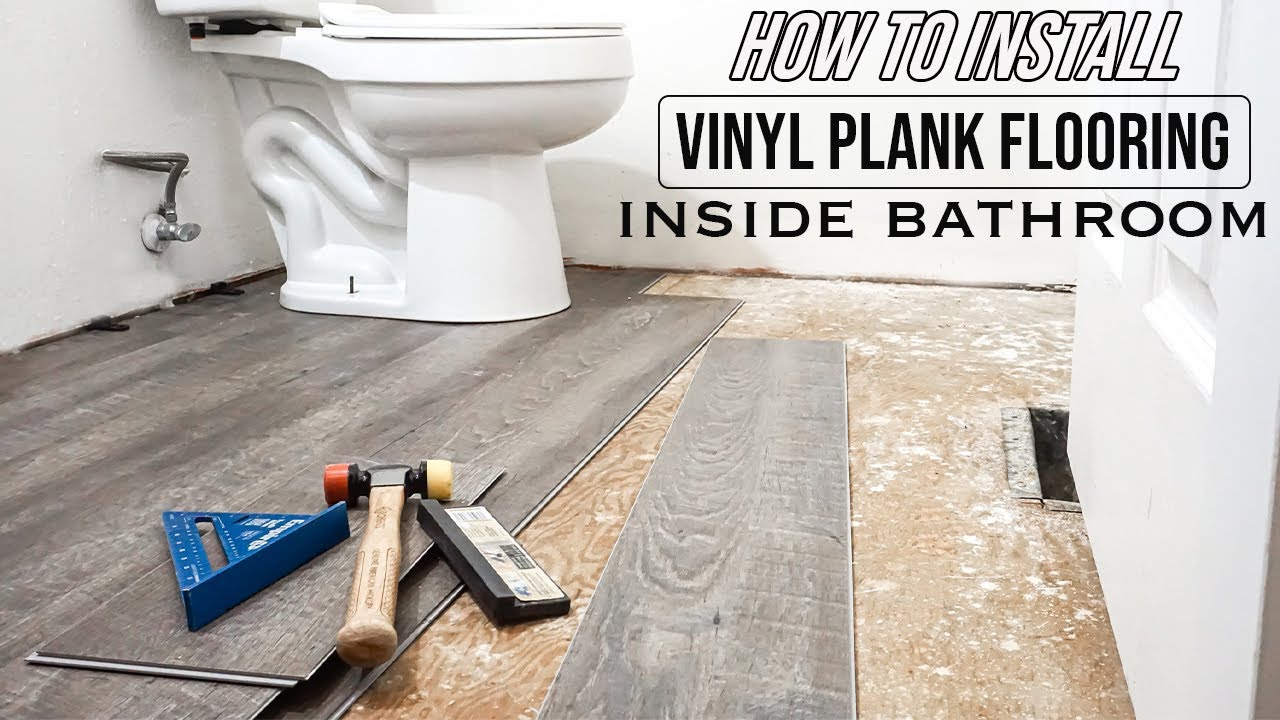
Easy Way To Cut Flooring Around A Toilet
How to Install Vinyl Plank Flooring in a Bathroom FixThisBuildThat
How to Install Vinyl Flooring in a Sheet (DIY) Family Handyman
How to Install Vinyl Plank Flooring in a BATHROOM 🚽

How to Install Vinyl Plank Flooring in a Bathroom FixThisBuildThat
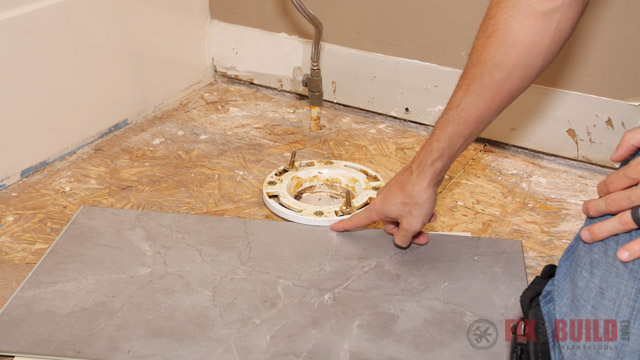
IVC Installation Tips #2 – Cutting Around Toilet
How To Install Vinyl Plank Flooring Around Bathroom Toilet Bowl Flange Perfectly! Tips And Tricks!
Related Posts:
- How To Repair Vinyl Flooring Scratches
- Copper Vinyl Flooring
- Vinyl Flooring In Bathroom
- Commercial Vinyl Flooring
- Luxury Vinyl Flooring Bedroom
- Herringbone Vinyl Floor Tiles
- Vinyl Flooring That Looks Like Wood
- Vinyl Flooring For Basement
- Toilet Vinyl Flooring
- Rustic Vinyl Flooring
Installing Vinyl Flooring Around a Toilet: A Step-by-Step Guide
Vinyl flooring is a popular choice for bathroom flooring due to its durability, affordability, and water resistance. However, installing vinyl flooring around a toilet can be a bit tricky, as you need to make sure the flooring fits snugly around the base of the toilet. With the right tools and a little bit of patience, you can have a beautiful new floor in no time.
Materials Needed:
- Vinyl flooring
- Measuring tape
- Utility knife
- Straightedge or T-square
- Notched trowel
- Adhesive spreader
- Spacers
- Caulk gun
- Silicone caulk
Step 1: Measure the Bathroom Measure the length and width of your bathroom and calculate the total square footage. Add 10% extra to your purchase to account for cuts and mistakes.
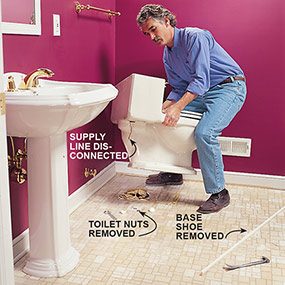
Step 2: Remove the Toilet Turn off the water supply to the toilet and flush it several times to empty the tank. Disconnect the water supply line, remove the two bolts that secure the toilet to the floor, and lift the toilet carefully. Place it in a safe place where it won’t get damaged.
Step 3: Prepare the Subfloor Remove any old flooring and clean the subfloor thoroughly. Make any necessary repairs to the subfloor, such as filling any cracks or holes.
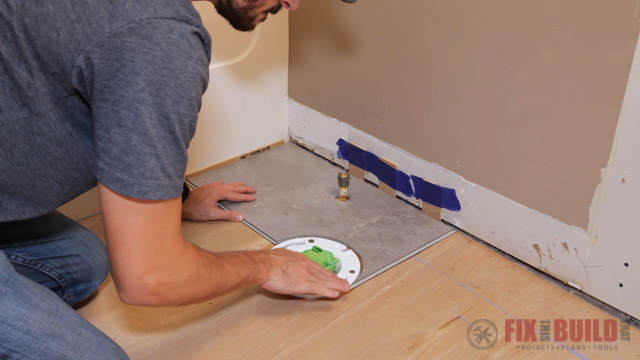
Step 4: Cut the Vinyl Flooring Measure and cut the vinyl flooring to fit around the perimeter of the room. Leave an inch or two of extra space around the edges for trimming later.
Step 5: Apply Adhesive Using a notched trowel, apply adhesive to a section of the subfloor. Spread it evenly, making sure to cover the entire area.
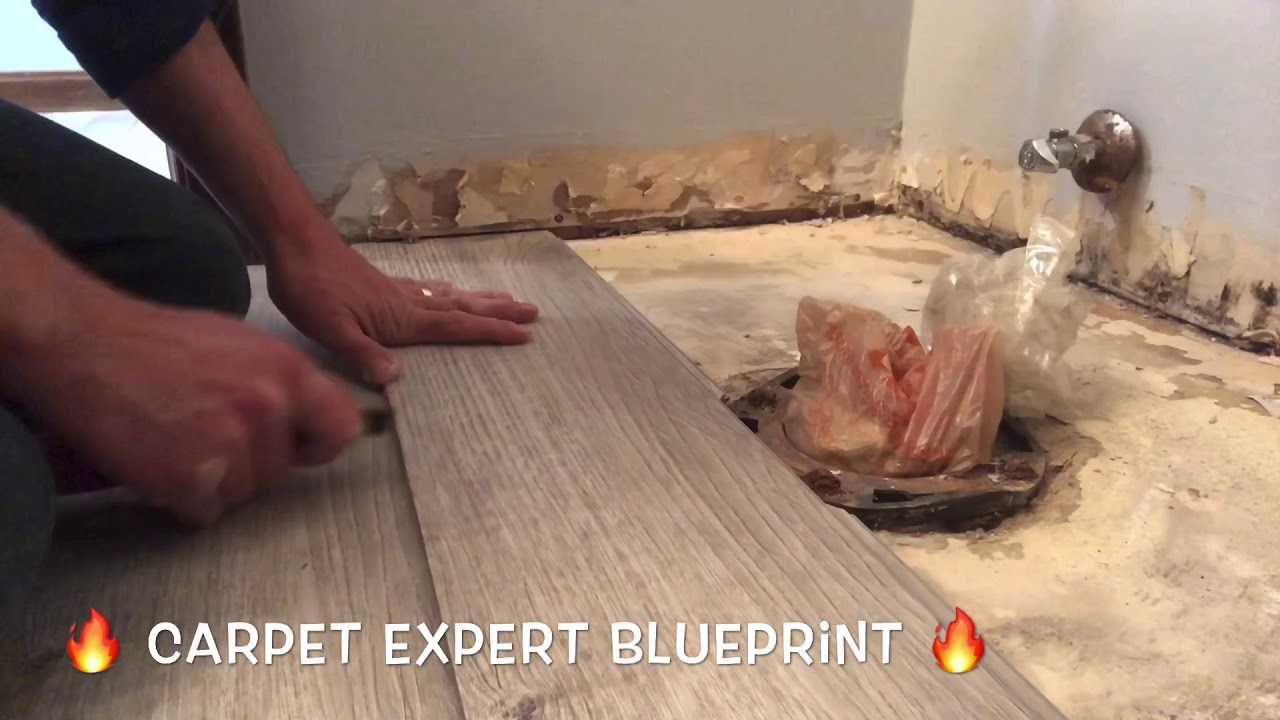
Step 6: Place the Vinyl Flooring Start in one corner of the room and place the vinyl flooring into the adhesive, pressing it down firmly to ensure it sticks. Repeat this process for each section of the room.
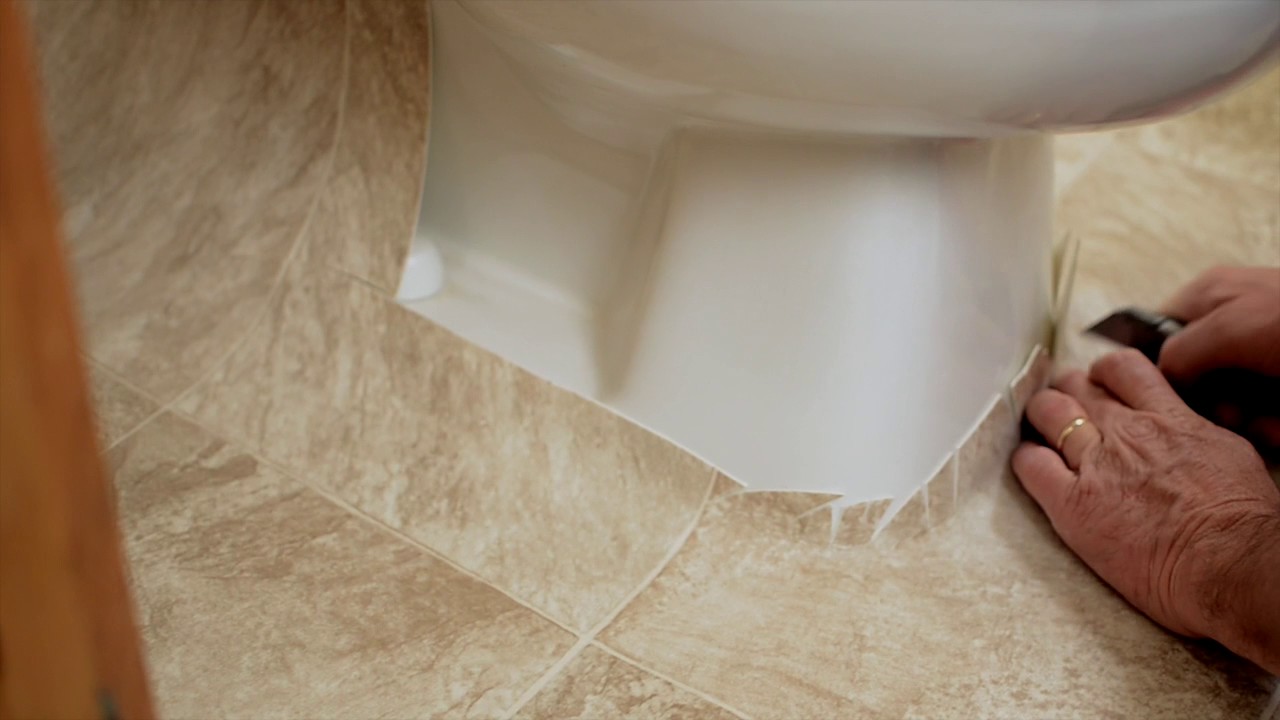
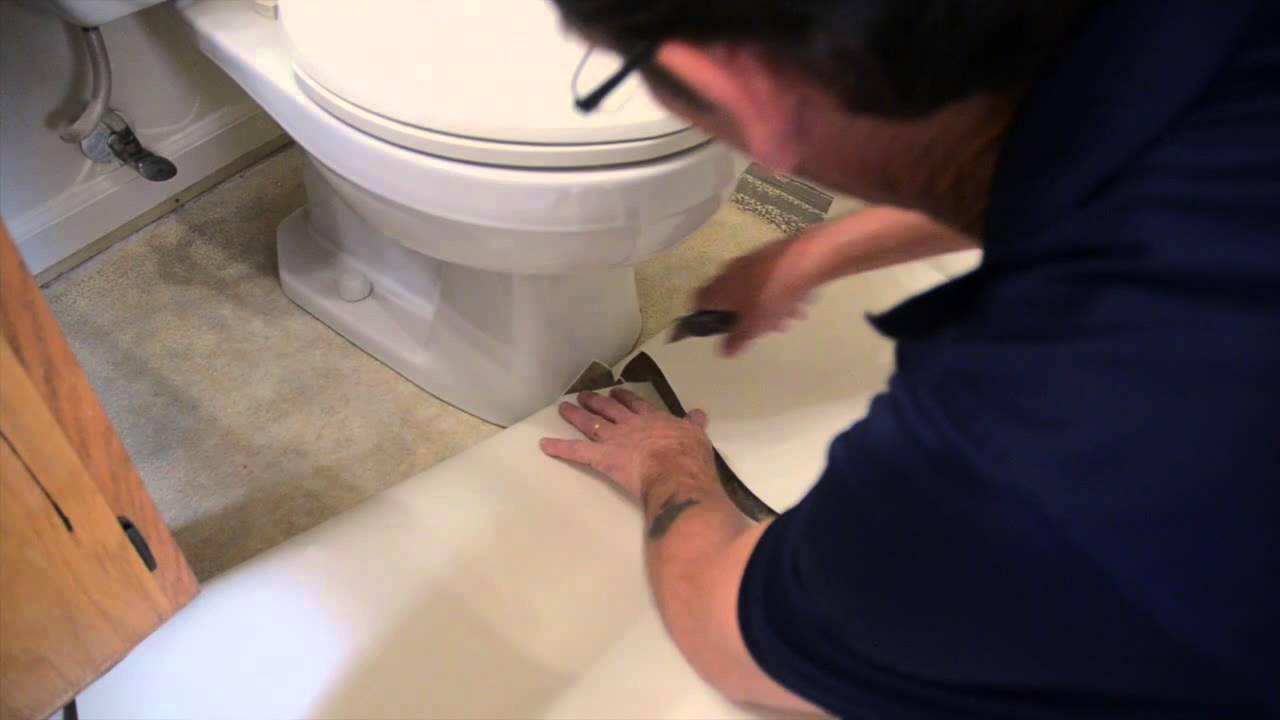
Step 7: Trim the Edges Use a straightedge or T-square and a utility knife to trim the edges of the vinyl flooring around the baseboards and other obstructions.
Step 8: Replace the Toilet Carefully place the toilet back over the flange, and secure it with the bolts. Reattach the water supply line.
Step 9: Install Spacers Place spacers between the toilet and the vinyl flooring to ensure there is proper ventilation and to prevent water damage.
Step 10: Caulk the Joints Use silicone caulk and a caulk gun to fill any gaps between the vinyl flooring and the base of the toilet, as well as between the vinyl flooring and the baseboards.
Step 11: Clean Up Remove the spacers and clean up any excess adhesive or caulk. Allow the caulk to dry completely before using the bathroom.
Common Questions
Q: How much vinyl flooring do I need to purchase?
A: To determine the amount of vinyl flooring you need, measure the length and width of your bathroom and calculate the total square footage. Add 10% extra to your purchase to account for cuts and mistakes.
Q: Do I need to remove the toilet to install vinyl flooring?
A: Yes, it is recommended to remove the toilet to ensure a proper fit and to prevent any water damage.
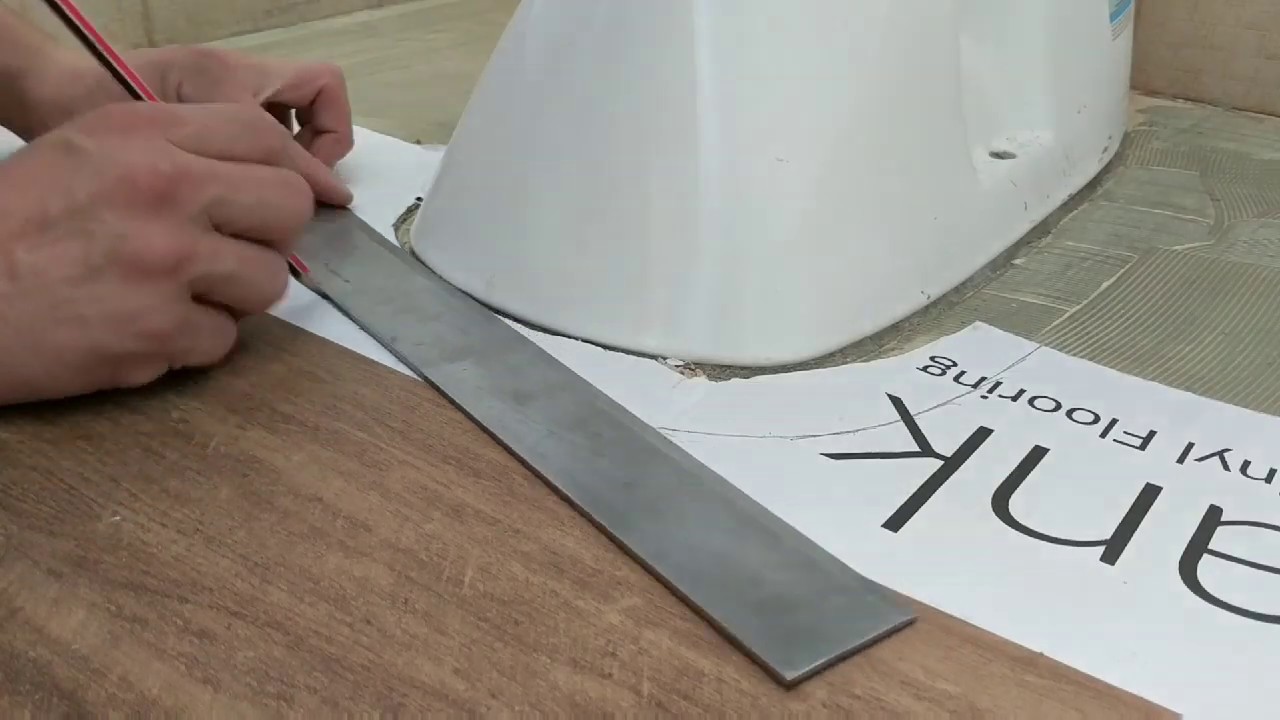
Q: How do I cut vinyl flooring to fit around a toilet?
Measure and cut the vinyl flooring to fit around the base of the toilet, leaving an inch or two of extra space around the edges for trimming later. Use a straightedge or T-square and a utility knife to trim the edges to the proper size, making sure to follow the contours of the toilet base. Take your time and use caution when cutting to ensure a clean, precise cut.