Preparing the Bathroom Floor Surface
Before installing vinyl tiles in your bathroom, proper preparation of the floor surface is crucial to ensure a smooth and durable installation. Here are some essential steps to prepare the bathroom floor surface for vinyl tile installation:
- Remove Old Flooring: Start by removing any existing flooring materials, such as tiles, laminate, or vinyl, from the bathroom floor. Use a scraper or pry bar to lift and remove the old flooring, taking care to avoid damaging the subfloor underneath.
- Clean and Smooth Subfloor: Thoroughly clean the subfloor to remove any dirt, debris, or adhesive residue from the previous flooring. Use a vacuum cleaner followed by a damp mop to ensure the subfloor is clean and free of any contaminants. Additionally, check the subfloor for any imperfections or uneven areas that may need to be addressed before installing the vinyl tiles.
- Repair Subfloor Damage: Inspect the subfloor for any signs of damage, such as cracks, holes, or unevenness. Repair any damaged areas using a patching compound or self-leveling underlayment to create a smooth and level surface for the vinyl tiles. Allow the patching compound or underlayment to dry completely before proceeding to the next step.
- Apply Primer (if necessary): Depending on the type of subfloor and the adhesive used for installing the vinyl tiles, you may need to apply a primer to improve adhesion. Follow the manufacturer’s instructions for the specific primer product you choose, and allow it to dry completely before laying the vinyl tiles.
- Acclimate Vinyl Tiles: Before installing the vinyl tiles, allow them to acclimate to the room temperature and humidity levels for at least 24-48 hours. This helps prevent the expansion or contraction of the tiles after installation, ensuring a stable and long-lasting floor.
- Check Moisture Levels: Finally, check the moisture levels in the bathroom to ensure they are within acceptable limits for vinyl tile installation. Excessive moisture can lead to adhesive failure and damage to the vinyl tiles over time. Use a moisture meter to test the subfloor and address any issues before proceeding with the installation.
Choosing the Right Vinyl Tiles for Your Bathroom
When it comes to choosing vinyl tiles for your bathroom, there are several factors to consider to ensure you select the right product for your needs. From durability to design options, here’s what to look for when choosing vinyl tiles for your bathroom:
Water Resistance: Since bathrooms are high-moisture areas, it’s essential to choose vinyl tiles that are water-resistant or waterproof. Look for vinyl tiles specifically designed for wet environments, such as bathrooms, to ensure they can withstand exposure to water without warping, swelling, or deteriorating over time.
Durability: Consider the durability of the vinyl tiles, especially in a high-traffic area like the bathroom. Opt for vinyl tiles with a wear layer that protects against scratches, stains, and dents, ensuring your bathroom floor remains looking new and pristine for years to come.
Slip Resistance: Safety is paramount in the bathroom, so choose vinyl tiles with a slip-resistant surface to reduce the risk of slips and falls, especially when the floor is wet. Look for vinyl tiles with textured surfaces or added grip features to improve traction and stability underfoot.
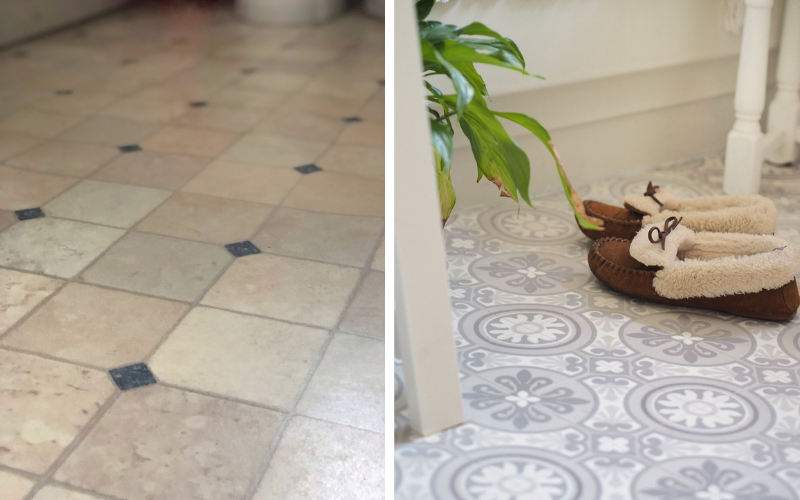
Design Options: Vinyl tiles come in a wide range of colors, patterns, and styles, allowing you to customize the look of your bathroom to suit your personal taste and décor preferences. Whether you prefer a classic ceramic tile look or a modern wood plank design, there are vinyl tiles available to complement any aesthetic.
Ease of Installation: Consider the ease of installation when choosing vinyl tiles for your bathroom. Opt for tiles that are designed for DIY installation with self-adhesive backing or click-lock systems, making it easy to achieve professional-looking results without the need for specialized tools or professional assistance.
Budget Considerations: Finally, consider your budget when choosing vinyl tiles for your bathroom. Vinyl tiles are available at a range of price points, so choose a product that fits within your budget while still meeting your requirements for quality, durability, and design.
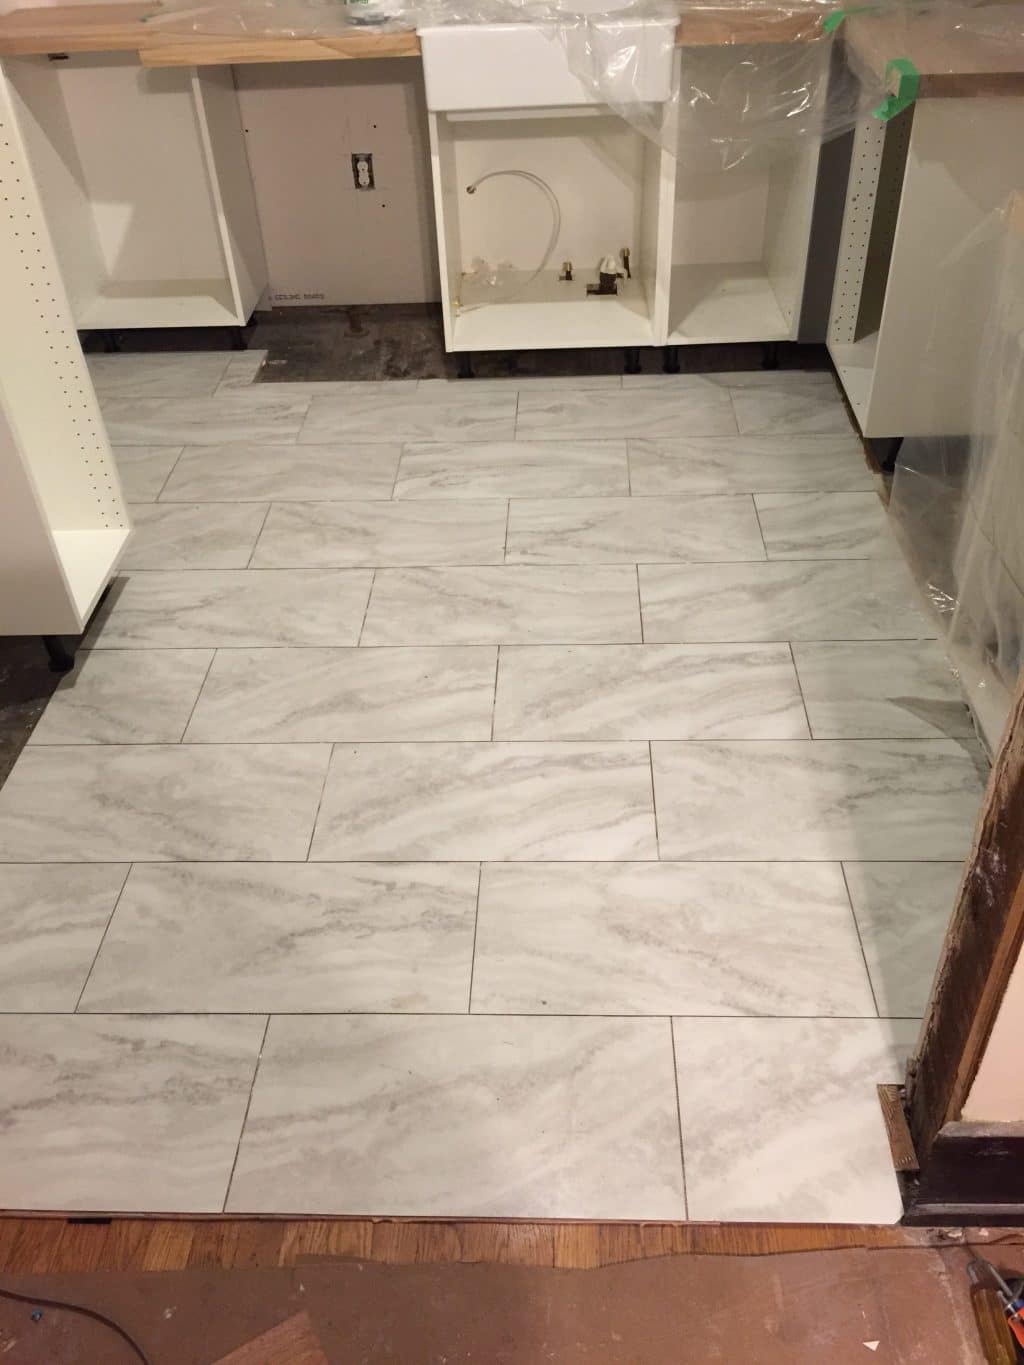
Laying Out the Vinyl Tiles: Planning and Preparation
Before installing vinyl tiles in your bathroom, proper planning and preparation are essential to ensure a successful and professional-looking installation. Here are some key steps to follow when laying out the vinyl tiles in your bathroom:
Measure the Bathroom Floor: Start by measuring the dimensions of your bathroom floor to determine the square footage needed for the vinyl tiles. Measure the length and width of the floor, and multiply the two measurements to calculate the total square footage. Add 10% to account for waste and cuts during installation.
Plan the Layout: Once you have measured the bathroom floor, plan the layout of the vinyl tiles to determine the best placement and orientation of the tiles. Consider starting the installation from the center of the room and working your way outwards to ensure a balanced and symmetrical layout.
Dry Layout: Before applying adhesive or installing the vinyl tiles, do a dry layout of the tiles on the bathroom floor to visualize the final design and ensure proper spacing and alignment. Use spacers or tape to maintain consistent grout lines and ensure the tiles are evenly spaced.
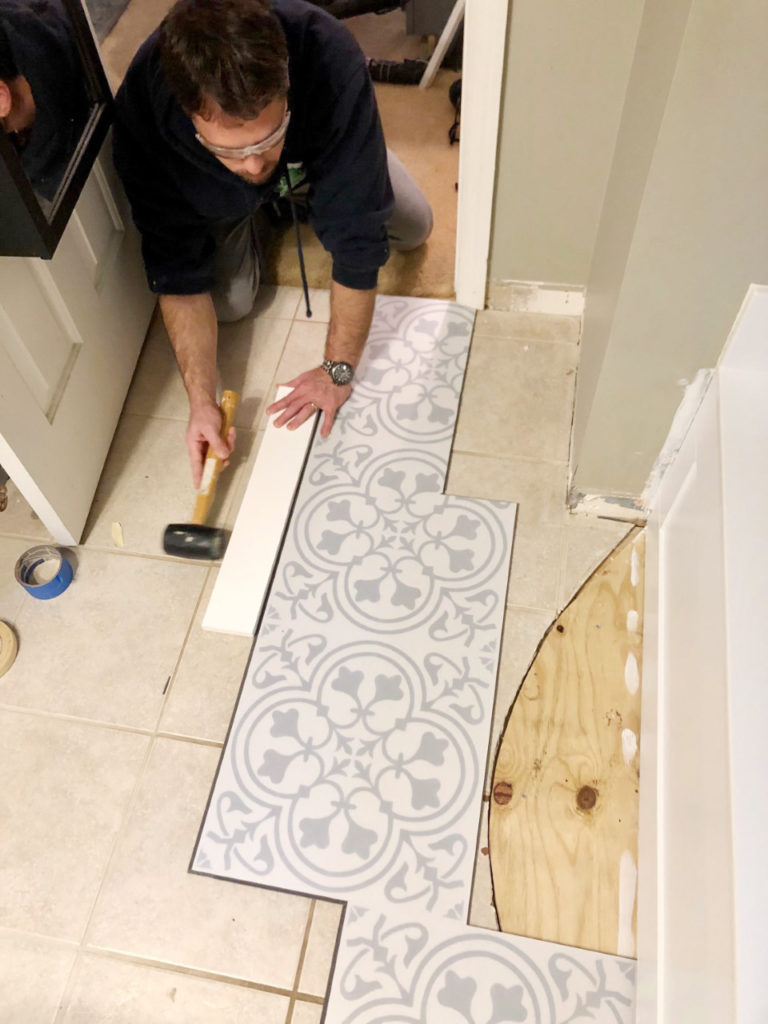
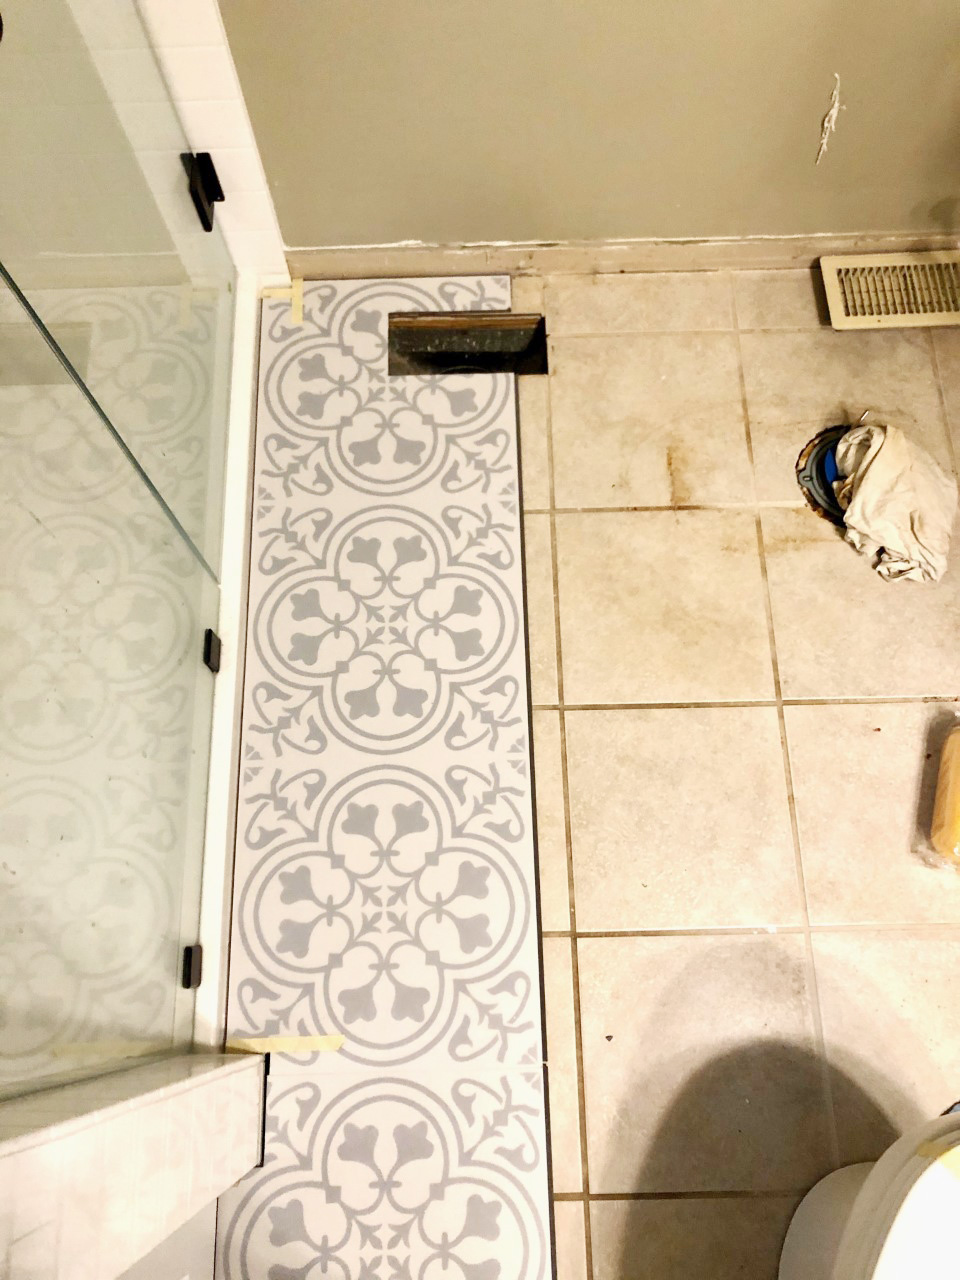
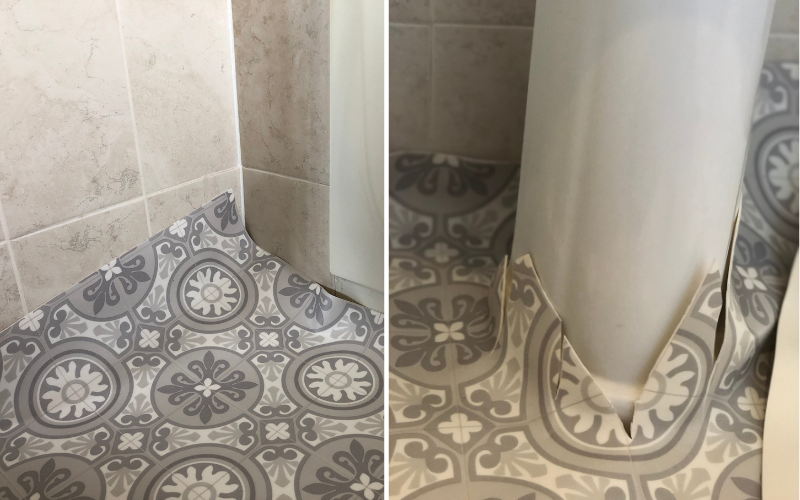
Cutting Tiles: If necessary, use a utility knife or vinyl tile cutter to cut tiles to fit around obstacles such as toilets, vanities, or doorways. Measure and mark the tiles accurately before cutting to ensure precise and seamless installation.
Mixing Tiles: To achieve a natural and random appearance, mix tiles from multiple boxes or batches to ensure variation in color and pattern. This helps create a more realistic and visually appealing flooring design.
Allow for Expansion Gaps: Leave a small expansion gap around the perimeter of the room to allow for natural expansion and contraction of the vinyl tiles. Use spacers or cardboard shims to maintain the proper gap, and fill it with flexible caulk or grout after installation.
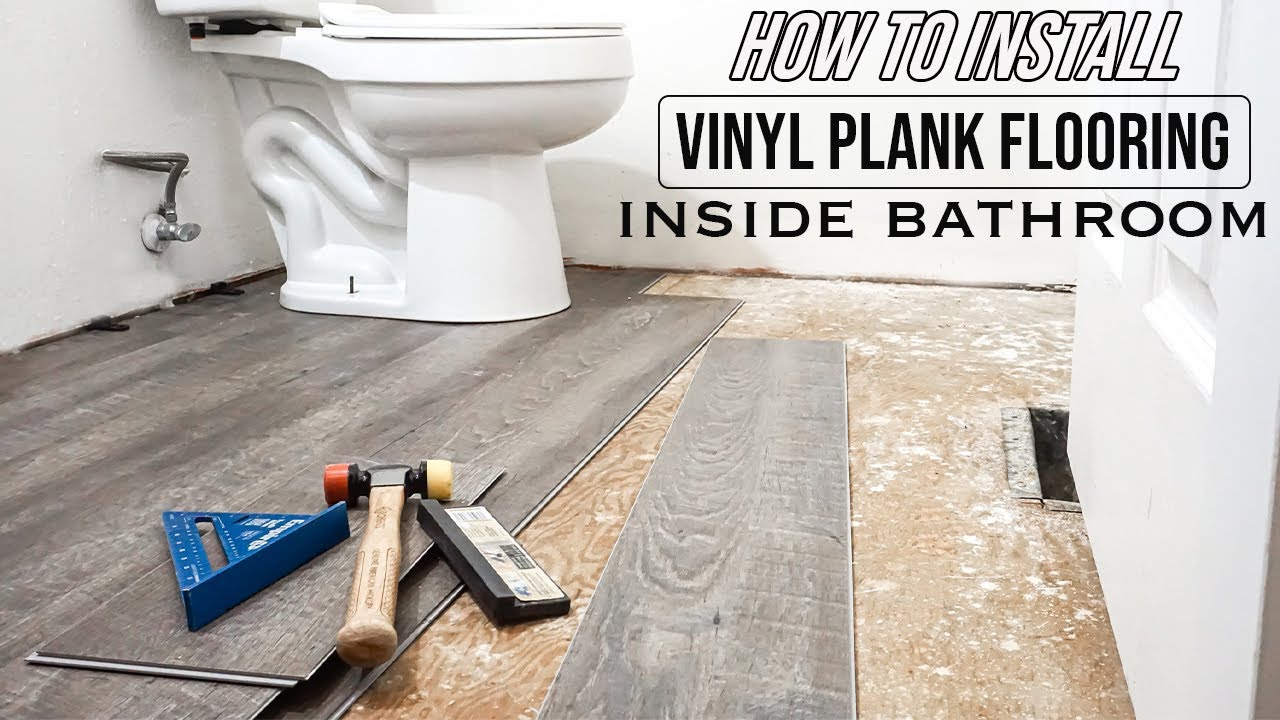
Installing the Vinyl Tiles: Step-by-Step Guide
Installing vinyl tiles in your bathroom is a straightforward DIY project that can transform the look and feel of the space. With the right tools and techniques, you can achieve professional-looking results in no time. Here’s a step-by-step guide to installing vinyl tiles in your bathroom:
Gather Your Materials: Before you begin, gather all the materials and tools you’ll need for the installation, including vinyl tiles, adhesive, a trowel, a utility knife, a straightedge, spacers, and a roller.
Prepare the Subfloor: Ensure the bathroom floor is clean, dry, and free of any debris or imperfections. If necessary, apply a primer to the subfloor to improve adhesion and allow it to dry completely before proceeding.
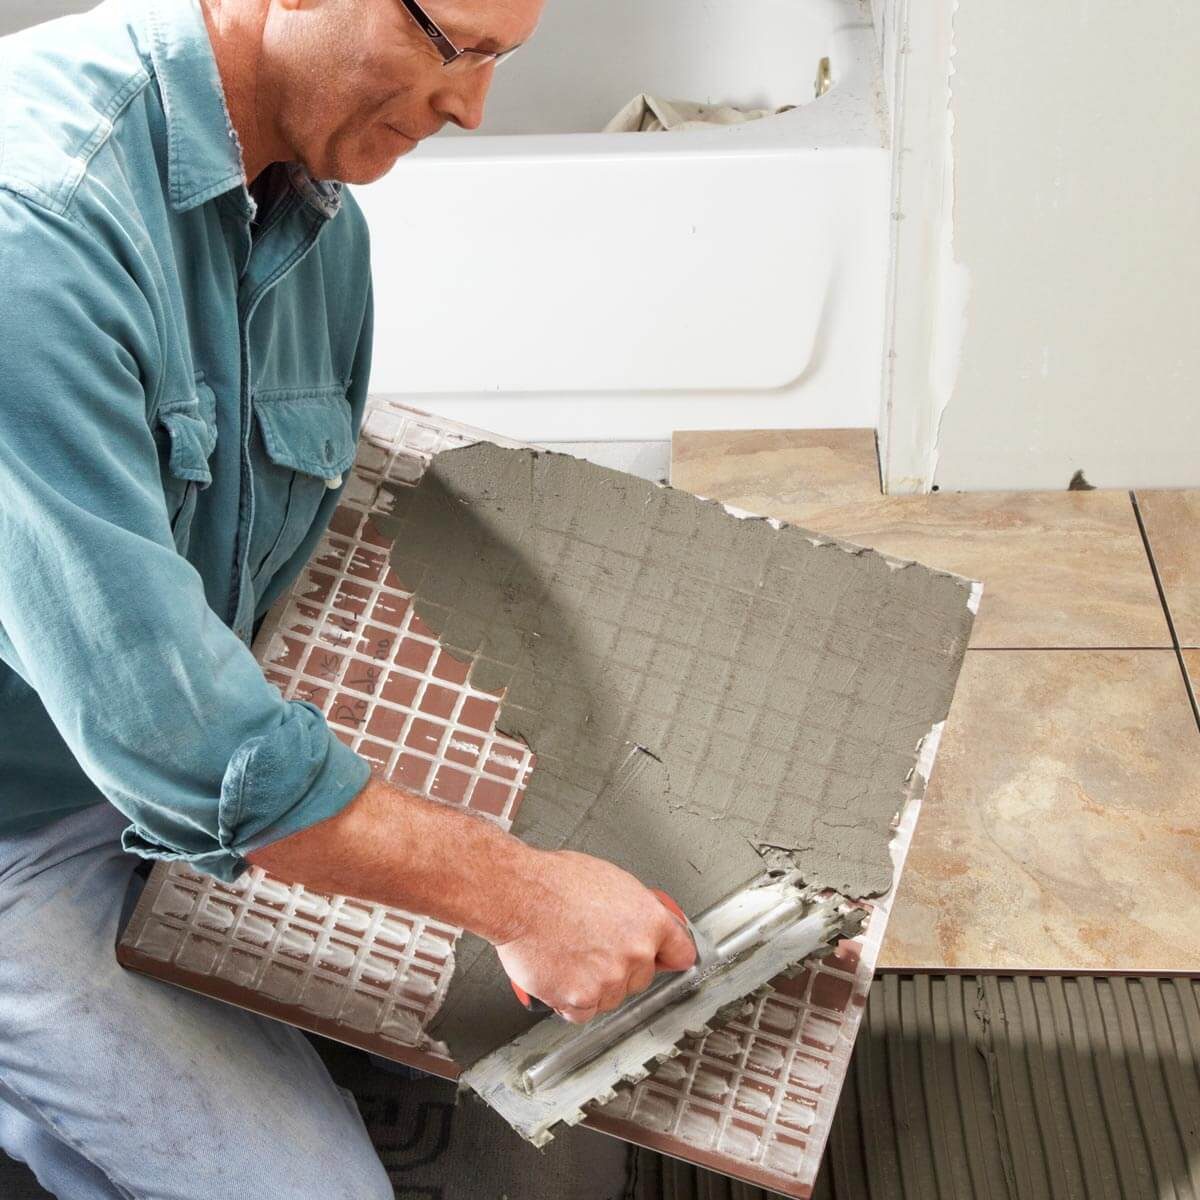
Apply Adhesive: Using a trowel, apply a thin, even layer of adhesive to the bathroom floor, starting from the center and working your way outwards. Follow the manufacturer’s instructions for the specific type of adhesive you’re using.
Install the Vinyl Tiles: Carefully place the vinyl tiles onto the adhesive, starting from the center of the room and working your way towards the walls. Press each tile firmly into place, ensuring they are evenly spaced and aligned.
Cut Tiles to Fit: Use a utility knife or vinyl tile cutter to cut tiles to fit around obstacles such as toilets, vanities, or doorways. Measure and mark the tiles accurately before cutting to ensure a precise fit.
Roll the Tiles: Once all the tiles are installed, use a roller to firmly press the tiles into the adhesive and ensure proper adhesion. This step helps eliminate any air bubbles and ensures a smooth, flat surface.
Allow the Adhesive to Dry: Allow the adhesive to dry completely according to the manufacturer’s instructions before walking on or grouting the tiles. This typically takes 24-48 hours, depending on the type of adhesive used and environmental conditions.
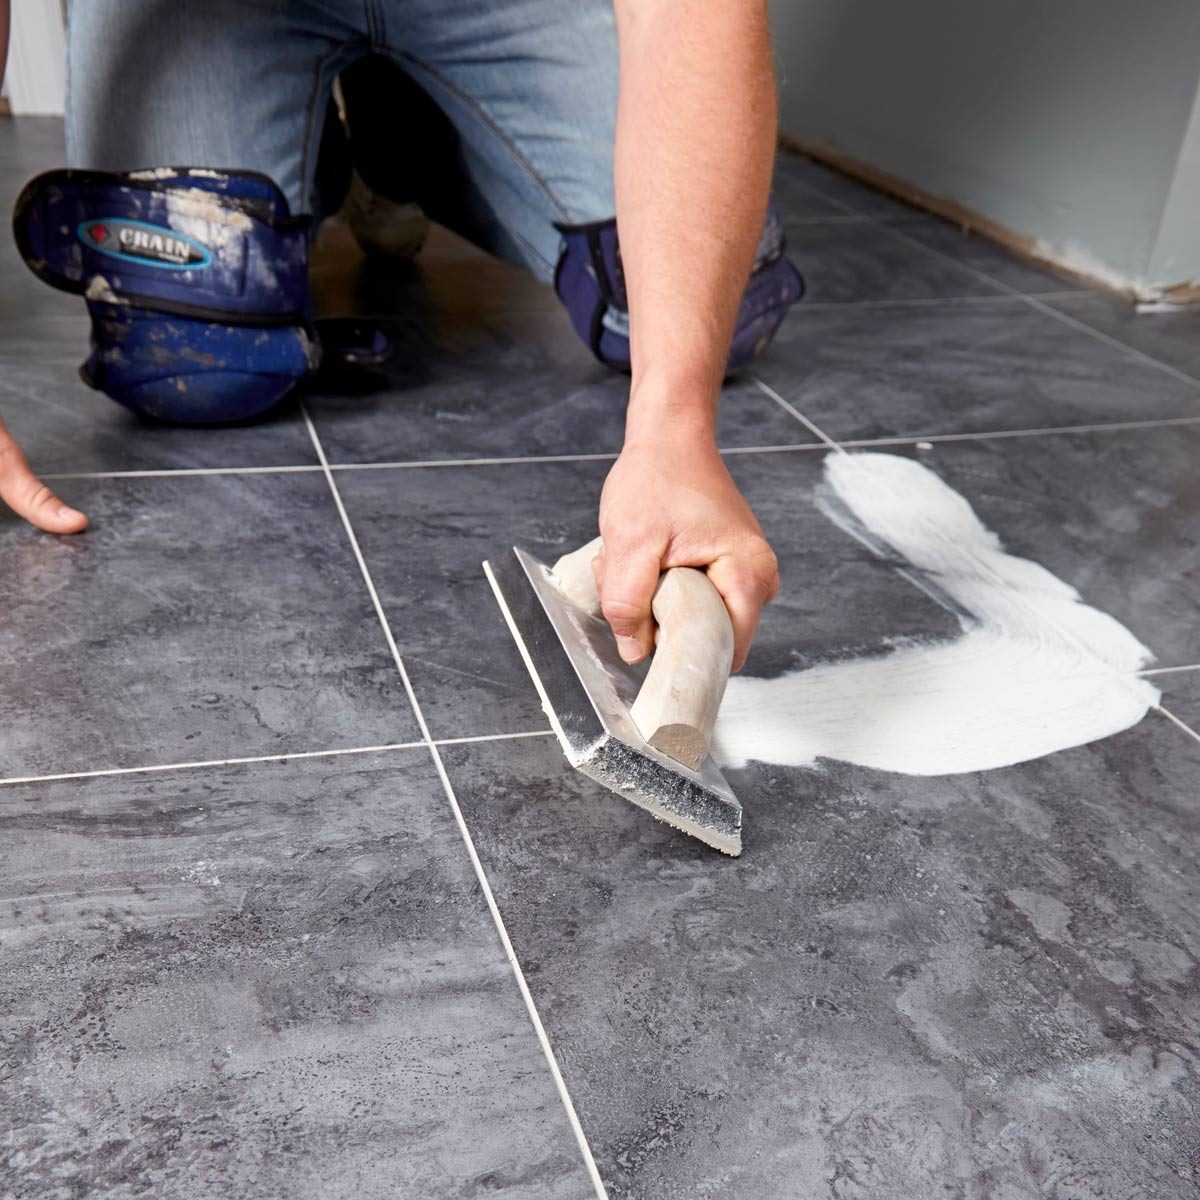
Apply Grout (if necessary): If you’re using vinyl tiles with groutable edges, apply grout to the joints between the tiles using a grout float. Follow the manufacturer’s instructions for mixing and applying the grout, and wipe away any excess grout with a damp sponge.
Finishing Touches: Once the adhesive and grout have dried, apply a vinyl floor sealer to protect the tiles and enhance their durability. Additionally, install transition strips or molding around the perimeter of the room to create a clean and finished look.
Finishing Touches and Maintenance Tips
After installing vinyl flooring in your bathroom, proper finishing touches and maintenance are essential to ensure the longevity and appearance of the floor. Here are some finishing touches and maintenance tips for bathroom vinyl flooring:
Seal the Edges: Apply a bead of silicone sealant around the perimeter of the room where the vinyl flooring meets the walls or baseboards. This helps create a watertight seal and prevents moisture from seeping under the edges of the flooring.
Install Transition Strips: Install transition strips or molding around the perimeter of the room to create a clean and finished look. Transition strips also help protect the edges of the vinyl flooring from damage and provide a smooth transition between different flooring materials.
Clean Regularly: To keep your bathroom vinyl flooring looking its best, clean it regularly with mild detergent and water. Avoid using abrasive cleaners or harsh chemicals, as they can damage the surface of the vinyl flooring.
Use Floor Mats: Place floor mats or rugs in high-traffic areas of the bathroom, such as in front of the sink or shower, to protect the vinyl flooring from scratches and wear. Choose mats or rugs with non-slip backing to prevent slips and falls.
Avoid Standing Water: While vinyl flooring is water-resistant, prolonged exposure to standing water can damage the surface over time. Wipe up spills promptly and avoid leaving wet towels or bathmats on the floor for extended periods.
Repair Damage Promptly: If your bathroom vinyl flooring becomes damaged or develops scratches or gouges, repair the damage promptly to prevent further deterioration. Use a vinyl floor repair kit or contact a professional for assistance with more extensive damage.
Avoid Harsh Chemicals: Avoid using harsh chemicals or abrasive cleaners on your bathroom vinyl flooring, as they can damage the surface and degrade the finish over time. Stick to mild detergents and cleaning solutions recommended for use on vinyl flooring.
Routine Maintenance: In addition to regular cleaning, perform routine maintenance tasks such as sweeping or vacuuming to remove dirt, dust, and debris from the surface of the vinyl flooring. This helps prevent scratches and keeps the floor looking clean and well-maintained.

How to Prepare a Vinyl Floor in Bathroom
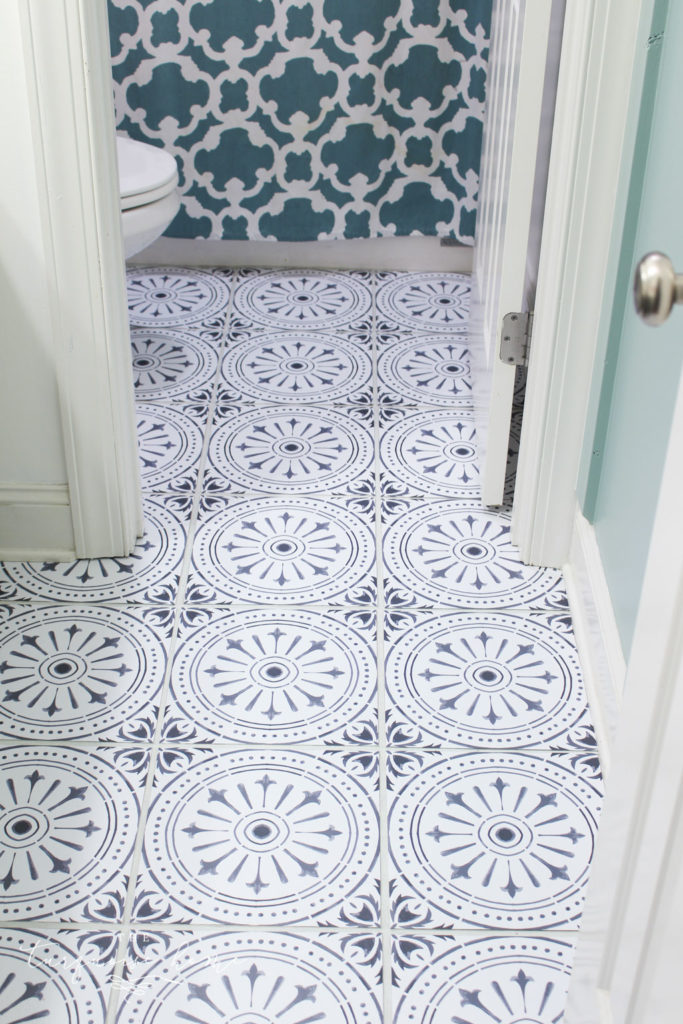
Vinyl Tile Bathroom Flooring
![]()
Luxury Vinyl Tile Installation (DIY) Family Handyman
LVT Flooring Over Existing Tile the Easy Way – Vinyl Floor

How to lay vinyl floor in a bathroom Dove Cottage
How to Install Sheet Vinyl Flooring Over Tile – Blessu0027er House

Installing Your Peel-and-Stick Vinyl Tile Floor

How to Lay Tile: Install a Ceramic Tile Floor In the Bathroom (DIY)
DIY Peel and Stick Vinyl Floor Tile – The Turquoise Home
Related Posts: