Steps to Determine If Your Kitchen Floor Needs Leveling
When it comes to installing new flooring in your kitchen, having a level surface is crucial for both aesthetics and functionality. Before diving into a kitchen floor leveling project, it’s important to assess the current condition of your floor to determine if it requires leveling. Let me guide you through the steps to assess your kitchen floor and decide if leveling is necessary.
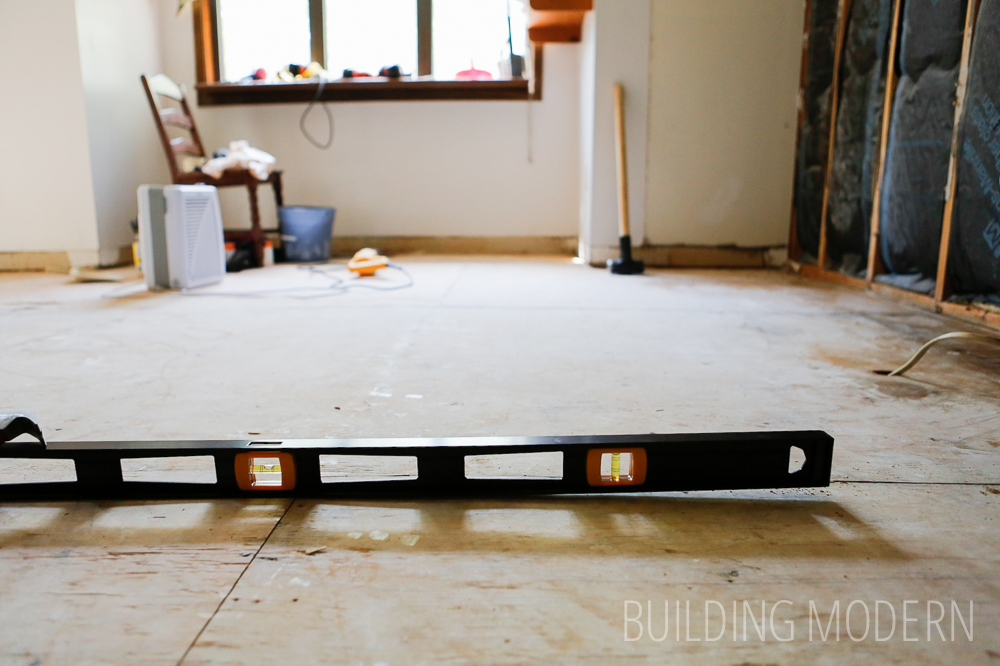
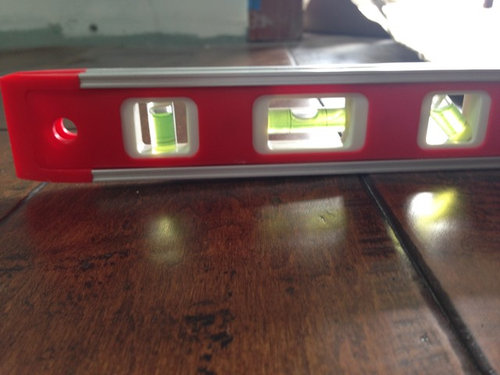
- Inspecting for Unevenness: Start by visually inspecting your kitchen floor for any noticeable unevenness. Look out for dips, bulges, or areas where the floor feels uneven underfoot. Use a spirit level or a straightedge to check for any significant deviations from a level surface. Take note of any problem areas that require attention.
- Checking for Movement: Next, check for any signs of movement on the floor. Walk around the kitchen and pay attention to any squeaking or creaking sounds. These can indicate that the subfloor is not adequately supported or is uneven. Additionally, check for cracks in the tiles or gaps between floorboards, as these can also be signs of an uneven floor.
- Using a Leveling Tool: To get a more accurate assessment, use a leveling tool such as a laser level or a water level. These tools will help you identify any subtle variations in the floor surface that might not be visible to the naked eye. Follow the manufacturer’s instructions to set up the leveling tool and use it to measure the floor’s level.
- Measuring Deviations: Once you have identified the problem areas, measure the deviations from a level surface. Use a tape measure or a ruler to determine the height differences between the lowest and highest points of the floor. This will give you a better understanding of the extent of the leveling required.
- Consulting with a Professional: If you’re uncertain about the severity of the floor’s unevenness or if you lack experience in floor leveling projects, it’s advisable to consult with a professional. An expert can provide a more accurate assessment and guide you on the best course of action, ensuring a successful kitchen floor leveling project.
Gathering the Necessary Tools and Materials
To successfully level a kitchen floor, it is essential to have the right tools and materials at hand. Gathering all the necessary items before starting the project will save you time and ensure a smoother workflow. Below we provide you with a comprehensive checklist of the tools and materials required for a successful kitchen floor leveling project.
Safety Equipment
- Safety goggles to protect your eyes from debris and dust.
- Dust mask or respirator to prevent inhaling harmful particles.
- Work gloves to safeguard your hands from sharp edges or chemicals.
Measuring and Marking Tools
- Tape measure to measure distances and heights accurately.
- Pencil or marker for marking reference points and leveling lines.
- Straightedge or spirit level to ensure level lines and surfaces.
Floor Preparation Tools
- Pry bar or crowbar to remove any existing flooring or baseboards.
- Floor scraper or chisel to eliminate adhesive residues or high spots.
- Vacuum cleaner or broom to clean the floor thoroughly before leveling.
Mixing and Application Tools
- Mixing bucket or container to prepare the leveling compound.
- Drill with a mixing attachment for efficient compound mixing.
- Trowel or flooring squeegee for spreading the leveling compound evenly.
Leveling Compounds
- Self-leveling compound for minor leveling needs.
- Floor patching compound for small cracks or depressions.
- Underlayment mortar for larger leveling projects or extreme unevenness.
Additional Materials
- Plastic sheeting or drop cloths to protect surrounding areas from spills.
- Masking tape to secure the plastic sheeting in place.
- Nails or screws for securing loose subflooring or plywood.

Preparing the Area
Before embarking on a kitchen floor leveling project, it is important to prepare the area properly. Clearing the kitchen and creating a safe work environment will not only make the project more manageable but also help prevent accidents and damage. Here are some valuable tips and techniques to prepare the area for a seamless kitchen floor leveling project.
Remove Furniture and Appliances: Start by removing all furniture, appliances, and any other items from the kitchen. Clearing the space will give you ample room to work and prevent any accidental damage to your belongings. Consider storing them in another room or covering them with protective sheets if moving them out entirely is not possible.
Protect Surfaces: Cover any fixed cabinets, countertops, or other surfaces that won’t be directly involved in the leveling process. Use plastic sheeting or drop cloths to protect them from dust, debris, and potential spills. Secure the coverings in place with masking tape to ensure they stay in position throughout the project.
Disconnect Utilities: For safety reasons, it’s essential to disconnect and turn off any utilities that may interfere with the project. Shut off the electricity to the kitchen by flipping the circuit breaker, ensuring that no power is running through the area. If necessary, turn off the main water supply to prevent any accidental water damage.
Remove Existing Flooring: If your kitchen has an existing floor covering, such as tiles, linoleum, or laminate, you’ll need to remove it before leveling the floor. Use a pry bar or crowbar to carefully lift and remove the flooring. Take caution not to damage the subfloor during the removal process.
Clear Debris and Clean: Once the existing flooring is removed, clear away any debris or leftover adhesive from the subfloor. Use a floor scraper or chisel to remove any stubborn residues. Afterward, thoroughly clean the subfloor by sweeping or vacuuming to ensure a clean and smooth surface for the leveling process.
Create Ventilation: Ensure proper ventilation during the project to keep the air fresh and minimize the accumulation of dust and fumes. Open windows and doors if possible, or use fans and air purifiers to maintain good airflow. This will help create a healthier and more comfortable work environment.
Step-by-Step Methods for Leveling Different Types of Kitchen Floors
Leveling a kitchen floor requires different techniques depending on the type of flooring material you have. Each material may have unique considerations and steps involved in achieving a level surface. We will guide you through step-by-step methods for leveling different types of kitchen floors, ensuring a successful leveling project.
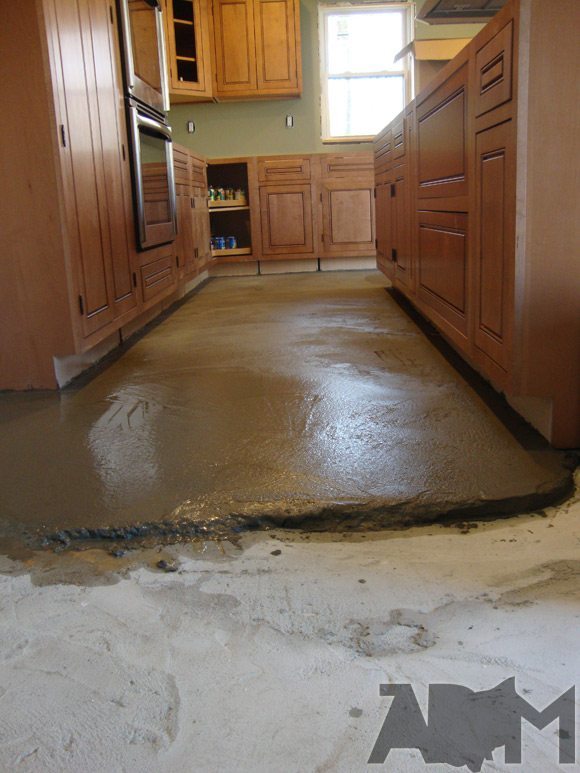
Leveling a Concrete Subfloor
- Clean the subfloor thoroughly, removing any debris or loose materials.
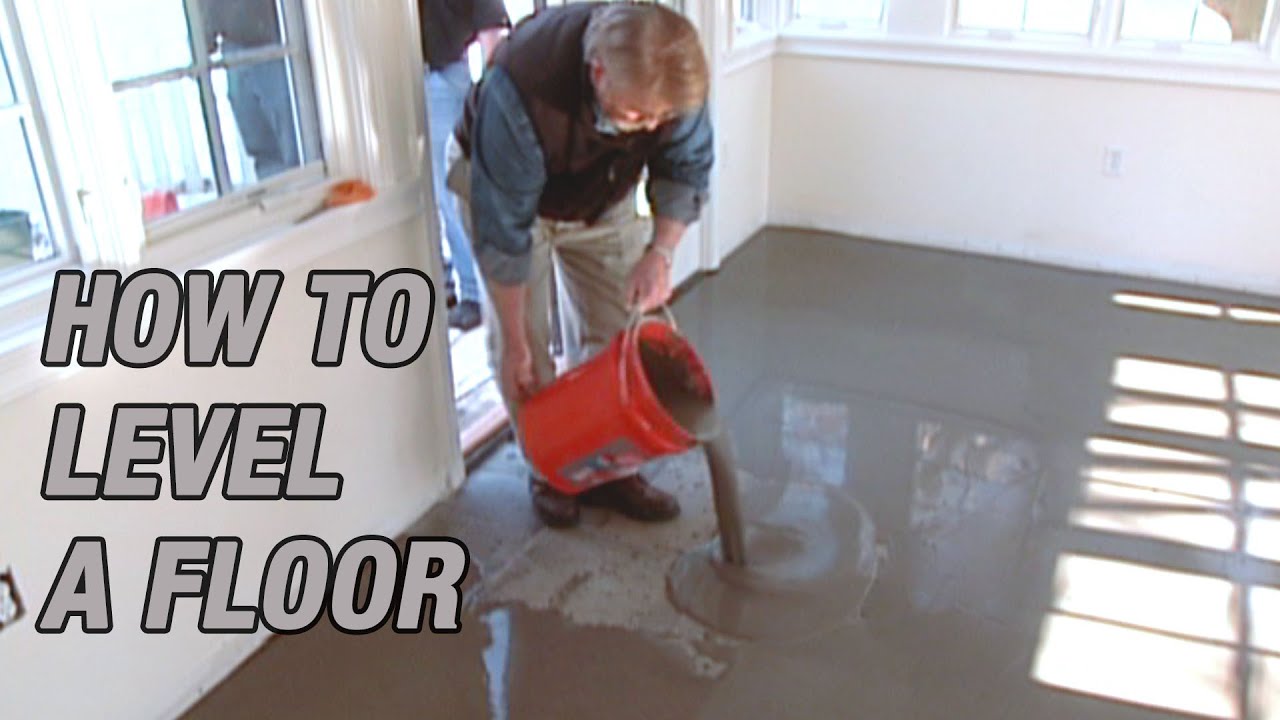
- Use a leveling compound designed for concrete floors and mix it according to the manufacturer’s instructions.
- Pour the leveling compound onto the low areas of the floor, working in small sections.
- Spread the compound evenly using a trowel or flooring squeegee, ensuring it reaches the desired height.
- Allow the compound to dry completely before proceeding with any additional flooring installation.
Leveling a Wood Subfloor
- Inspect the subfloor for any damaged or loose boards. Replace or secure them as needed.
- Install shims or plywood patches in areas where the subfloor shows significant dips or unevenness.
- Apply a floor patching compound to fill in any cracks, gaps, or depressions in the wood subfloor.
- Use a straightedge or spirit level to check for levelness and make adjustments as necessary.
- Allow the patching compound to dry completely before continuing with the leveling process.
Leveling a Vinyl or Linoleum Floor
- Remove the existing flooring, ensuring the subfloor is clean and free from any residue.
- Inspect the subfloor for any signs of damage, such as rot or moisture issues. Address these before proceeding.
- Use a self-leveling compound to fill in any low areas or irregularities on the subfloor.
- Spread the leveling compound evenly using a trowel or flooring squeegee, working in small sections.
- Allow the compound to dry completely before installing the new vinyl or linoleum flooring.
Leveling a Tile Floor
- Remove the existing tiles, being careful not to damage the underlying subfloor.
- Inspect the subfloor for any cracks or unevenness. Repair any damaged areas before proceeding.
- Use a floor patching compound to fill in any low spots or gaps in the subfloor.
- Spread the compound evenly using a trowel, ensuring it is level with the surrounding areas.
- Allow the patching compound to dry completely before installing new tiles.
Leveling a Laminate or Engineered Wood Floor
- Remove the existing flooring, taking care not to damage the subfloor.
- Inspect the subfloor for any signs of damage or unevenness. Address any issues before proceeding.
- Install leveling underlayment or self-leveling compound over the subfloor, following the manufacturer’s instructions.
- Spread the material evenly, ensuring it reaches the desired level height.
- Allow the underlayment or leveling compound to dry completely before installing the new laminate or engineered wood flooring.
Finishing Touches
After leveling your kitchen floor, it’s vital to apply the final layer to ensure a smooth and level surface for your new flooring. This step is crucial for achieving a professional and long-lasting finish. Follow this guide to help you through the process of applying the final layer and provide tips to ensure a successful outcome for your kitchen flooring.
Fill in Small Imperfections: Before applying the final layer, inspect the leveled floor for any small imperfections, such as minor cracks or surface irregularities. Use a floor patching compound to fill in these imperfections, following the manufacturer’s instructions. Smooth the compound with a trowel or putty knife and allow it to dry completely.
Sand the Surface: To achieve a perfectly smooth and level surface, lightly sand the entire leveled floor. Use a floor sander or an orbital sander with fine-grit sandpaper. Sanding will help to remove any rough spots, level out minor inconsistencies, and create a uniform surface for the final layer.
Vacuum and Clean: After sanding, thoroughly vacuum and clean the surface to remove any dust or debris. Use a broom or vacuum cleaner to remove loose particles, and then wipe the floor with a damp cloth or mop. Ensuring a clean surface will promote better adhesion of the final layer and result in a more polished finish.
Apply a Primer: Applying a primer is an essential step to enhance adhesion and ensure the longevity of the final layer. Choose a primer that is compatible with both the final layer material and the subfloor. Follow the manufacturer’s instructions to apply a thin, even coat of primer to the entire leveled floor. Allow the primer to dry according to the recommended drying time.
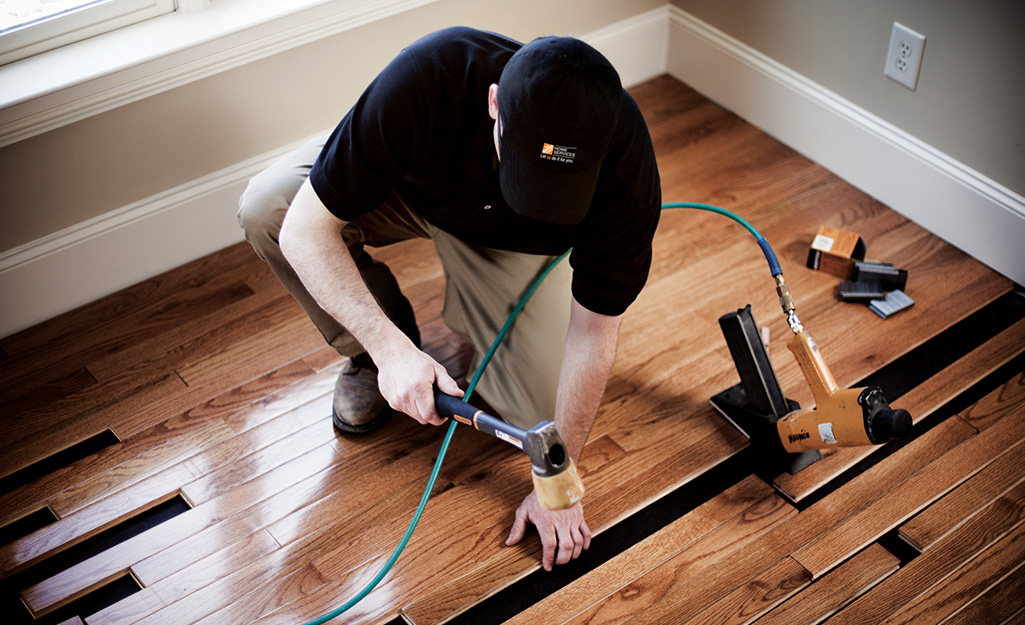
Choose the Final Layer: Select the appropriate final layer material based on your preferences and the requirements of your kitchen. Options include tiles, laminate, hardwood, vinyl, or linoleum. Consider factors such as durability, maintenance, and aesthetics when making your decision. Follow the manufacturer’s instructions for installing the chosen flooring material, ensuring proper acclimation and installation techniques.
Install the Final Layer: Follow the recommended installation techniques for your chosen flooring material. Pay attention to spacing, adhesive application, and any specific instructions provided by the manufacturer. Use a flooring installation kit or appropriate tools to ensure a professional and secure installation. Work carefully and methodically, starting from one corner of the room and progressing towards the exit.
Check for Levelness: After installing the final layer, use a straightedge or spirit level to check for any remaining unevenness. Check for any visible gaps or height variations in the flooring. If necessary, make adjustments by adding additional adhesive or shimming certain areas to achieve a completely level surface. Taking the time to double-check the levelness will ensure a flawless end result.
We have 2 tons of concrete in our kitchen

How to Level a Floor: 8 Important Things to Know Before You DIY

Kitchen Floor Not Level – What To Do? – Kitchen Seer

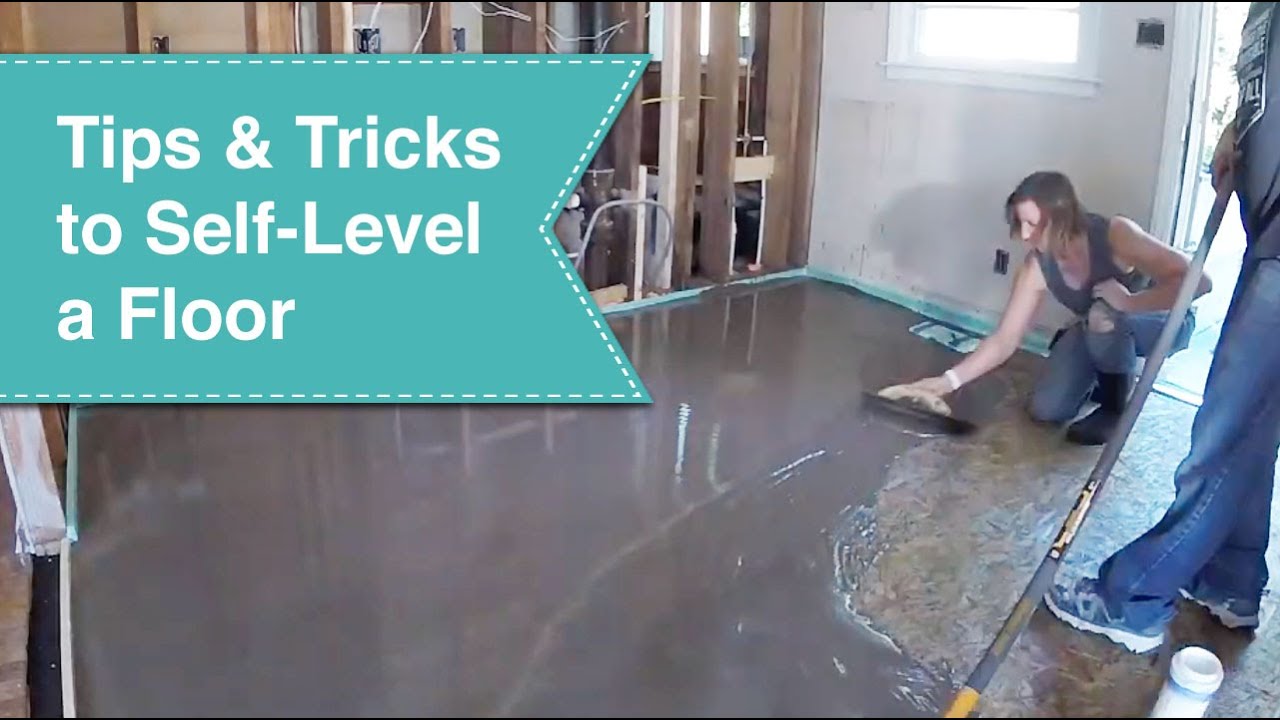
Episode 6: Millieu0027s Remodel – The Floor is Not Level! Tips u0026 Tricks for Leveling a Floor
Kitchen Floor Not Level – What To Do? – Kitchen Seer

How important is a level kitchen floor?
Tiling kitchen. Floor uneven. Going crazy! DIY Home Improvement

Related Posts:
- Commercial Kitchen Floor
- Polished Concrete Floor Kitchen
- Cream Kitchen Floor Tiles Ideas
- Black Slate Tile Kitchen Floor
- Industrial Kitchen Floor Tiles
- Ceramic Tile Kitchen Floor
- Kitchen Floor Designs
- Light Grey Wood Floor Kitchen
- Grey Vinyl Flooring Kitchen
- Country Kitchen Flooring