Armstrong vinyl flooring is one of the best and resilient most known of all of the vinyl flooring made now. Based on where and exactly how exactly you intend to use them, you might go in for the right tiles for your installation. So you might spot the proper cheap vinyl flooring that's of quality which is higher, you've to be keen in choosing. Luxury Vinyl Flooring consists of vinyl, dyes, and fibreglass.
Images about How To Measure And Cut Vinyl Floor Tiles
How To Measure And Cut Vinyl Floor Tiles

Modern technology has the capability to create the regular vinyl flooring of yours into a luxurious one. The process used to imprint the design of the flooring is able to imitate a lot of patterns like wood grain, tile, marble and stone. Vinyl flooring can be purchased in several forms. You may even have vinyl flooring with wood design in your basement or bathroom, areas which are a definite no-no for wood floors due to the closeness of theirs to water.
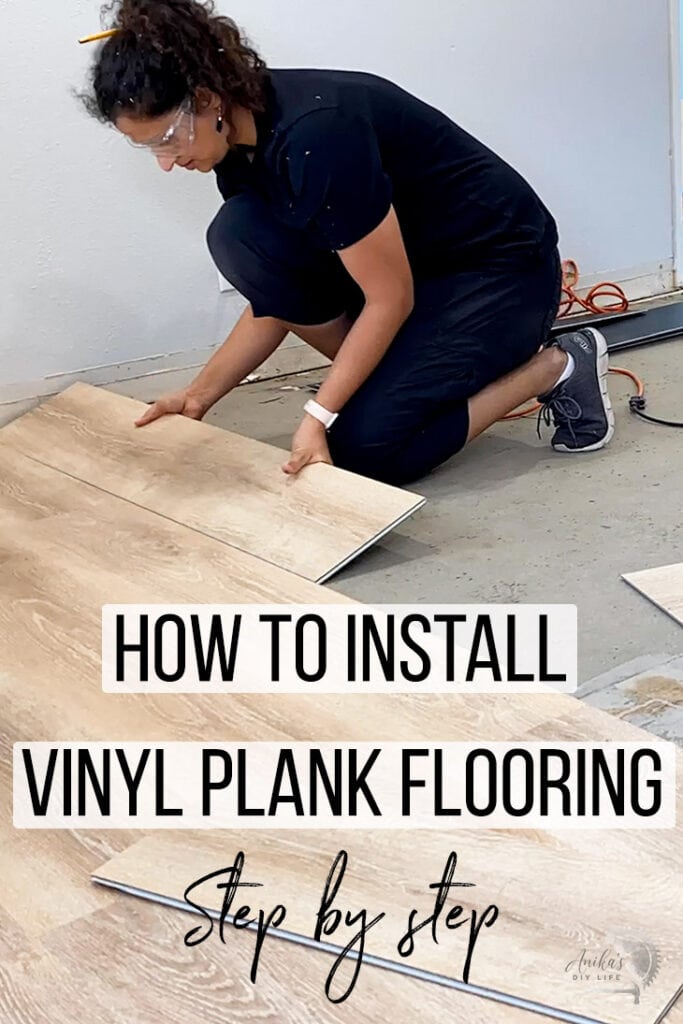
How to Install Vinyl Plank Flooring as a Beginner Home Renovation

There are several sorts of vinyl flooring, with vinyl sheets as well as tiles, to printed top layered vinyl as well as the heavier inlaid vinyl. In addition, when reading vinyl options, you are going to note it's readily available in almost every color ink, thus you do not need to be concerned with the floor not identical the majority of your bedroom or home.
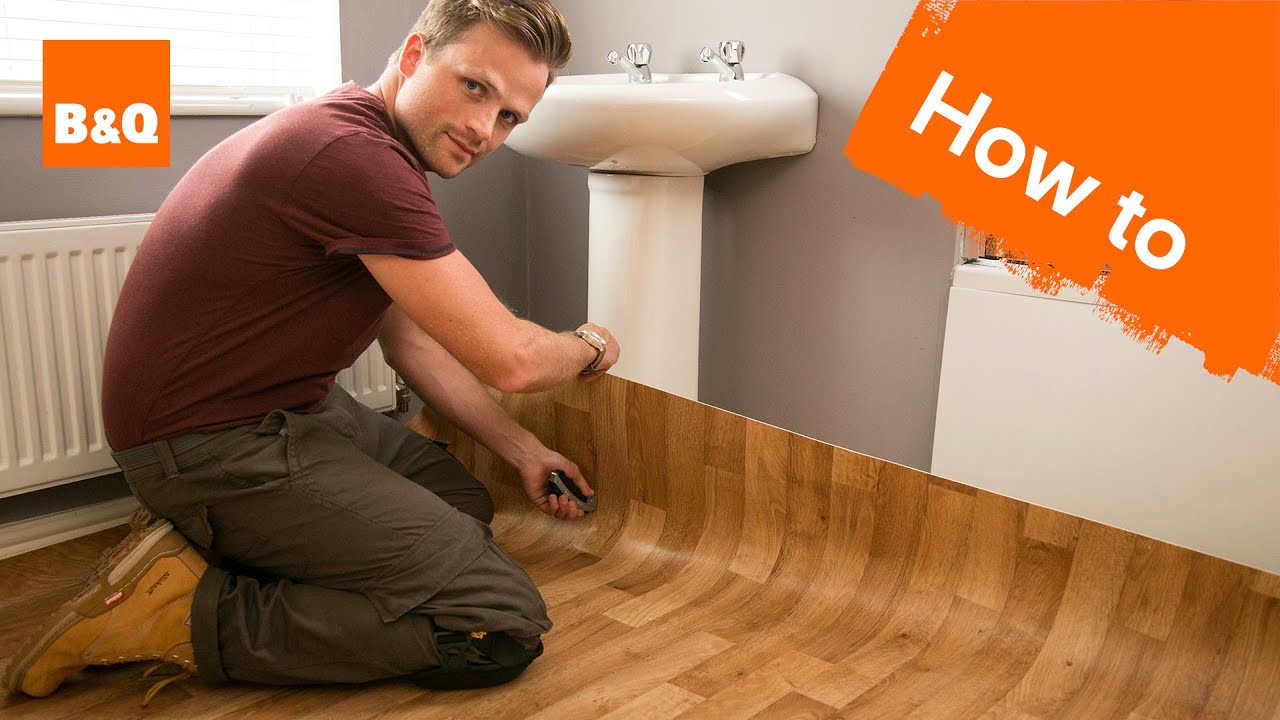
How to Install Vinyl Plank Flooring in a BATHROOM 🚽

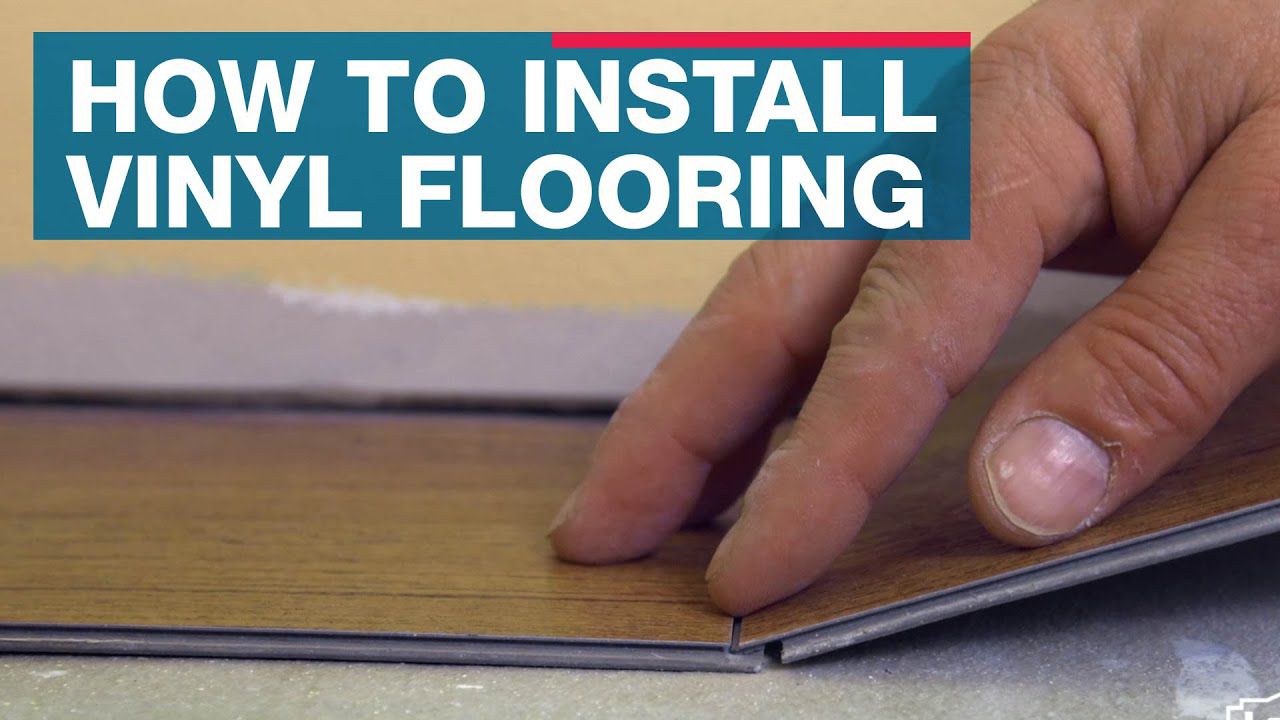
How to Install Vinyl Plank Flooring
:max_bytes(150000):strip_icc()/easy-install-plank-vinyl-flooring-1822808-06-3bb4422ca1bd49b080bfa73bce749acc.jpg)
Installing Vinyl Plank Flooring For Beginners – Anikau0027s DIY Life
How to Install Vinyl Plank Flooring Loweu0027s
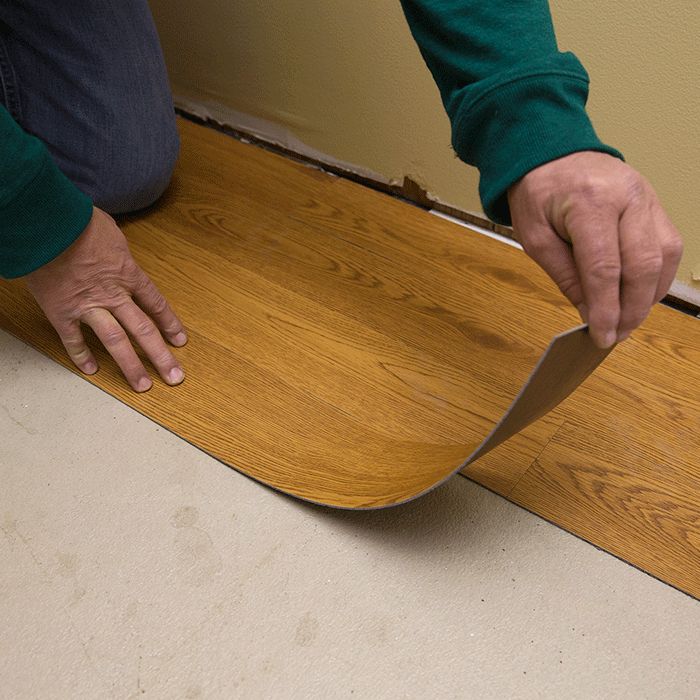
How to lay sheet vinyl flooring
How to Install Vinyl Plank Flooring
How to Install Vinyl Plank Flooring
How to Install Vinyl Plank Flooring Loweu0027s
How to lay Vinyl flooring sheets, tiles and planks Tarkett
How to Install Vinyl Plank Flooring
/easy-install-plank-vinyl-flooring-1822808-hero-cefa2d84f781434b9e1e73a0c44e3a5c.jpg)
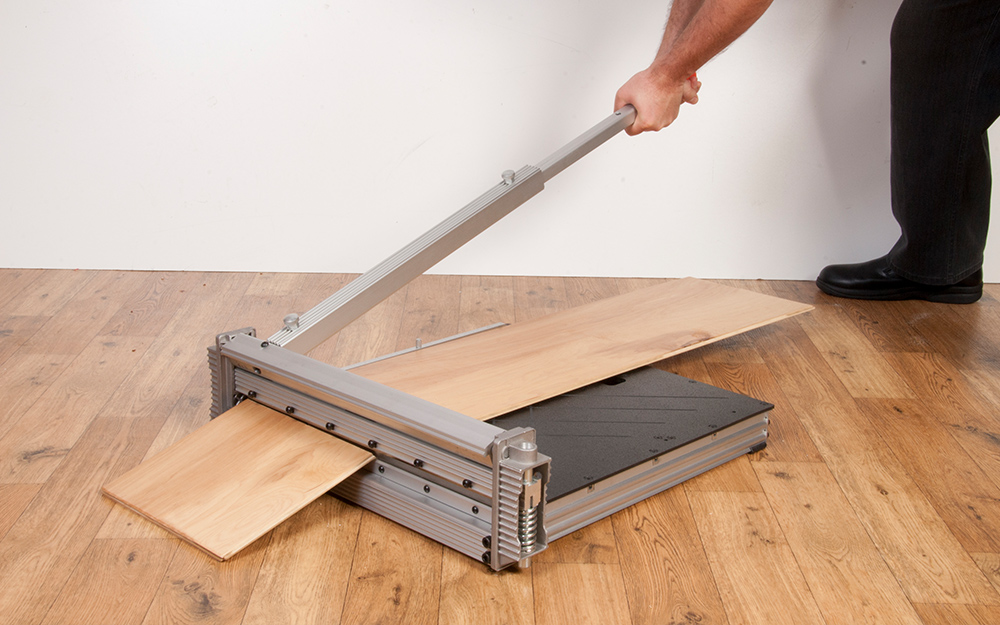
6 Ways to Cut Vinyl Plank Flooring Beginners Guide

WPC Vinyl Installation Instructions

Related Posts:
- How To Repair Vinyl Flooring Scratches
- Copper Vinyl Flooring
- Vinyl Flooring In Bathroom
- Commercial Vinyl Flooring
- Luxury Vinyl Flooring Bedroom
- Herringbone Vinyl Floor Tiles
- Vinyl Flooring That Looks Like Wood
- Vinyl Flooring For Basement
- Toilet Vinyl Flooring
- Rustic Vinyl Flooring
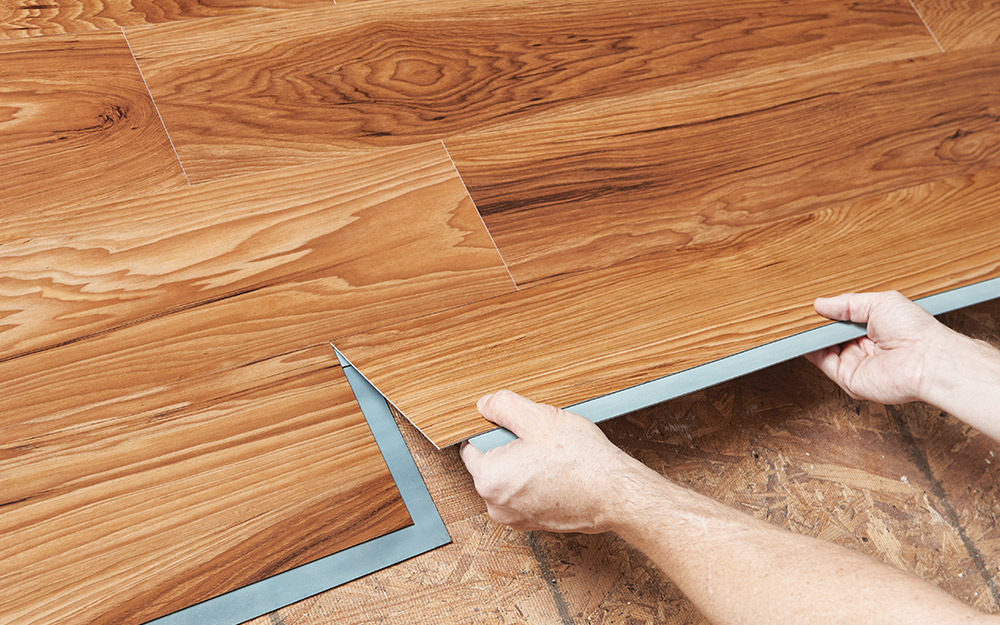
How To Measure And Cut Vinyl Floor Tiles
Measuring and cutting vinyl floor tiles is a relatively simple process that can be done with a few basic tools. The key to success is measuring and cutting accurately so that your finished product looks professional and fits perfectly. This article will provide step-by-step instructions on how to measure and cut vinyl floor tiles like a pro.
Gather the Required Tools and Materials
Before you begin, make sure you have all the necessary tools and materials to complete the job. You will need:
– Vinyl floor tiles
– Measuring tape
– Pencil
– Straight edge
– Utility knife
– Chalk line
– Tile spacers
– Protective gloves
Measure the Area to Be Covered
The first step is to measure the area where you plan to install the vinyl floor tiles. Measure from wall to wall, making sure to account for any outside corners or angles in the room. Mark the measurements on the wall with a pencil, then use the straight edge to draw a line connecting those points. This will be used as a reference for when you are laying out your tiles.
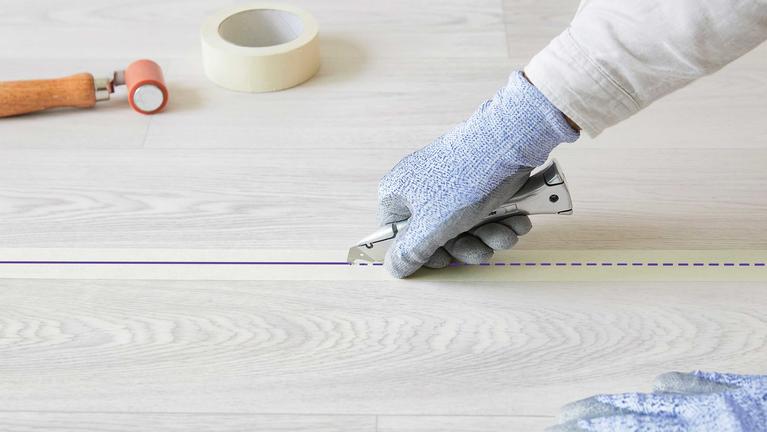
Cutting The Tiles
Once you have measured and marked out your area, it’s time to start cutting the tiles. Place the tile against the wall and mark where it needs to be cut using a pencil or chalk line. Use a utility knife or other sharp blade to carefully cut along the marked lines. Always wear protective gloves when cutting tiles, as they can be sharp and cause injury if handled improperly.
Laying Out The Tiles
Now that you have all of your tiles cut, it’s time to start laying them out. Begin by laying out several tiles in a row, making sure they are level and evenly spaced apart. Use tile spacers between each tile as they help keep everything even and ensure a professional finish. Once you are satisfied with the layout, you can begin installing them one by one.
Installing The Tiles
Installing vinyl floor tiles is relatively simple but does require some patience and attention to detail. Start by applying a thin layer of adhesive to the back of each tile using a notched trowel. Make sure not to spread too much adhesive as this can cause it to seep out between the tiles when installed. Carefully place each tile into position, pressing firmly against the subfloor or existing flooring material. Once all of your tiles are installed, use a rolling pin or other flat object to press them firmly into place. This will help ensure a secure bond between both surfaces.
Finishing Up
Once all of your tiles have been installed, go over them one last time with a damp cloth to remove any excess adhesive or dirt. Allow the adhesive to dry completely before walking on your new flooring. Depending on the type of adhesive used, this may take anywhere from 24 hours up to several days before it’s fully cured. Check with the manufacturer for specific drying times for their products before walking on them.
FAQs
Q: How precise do I need to be when measuring and cutting vinyl floor tiles?
A: It’s important to be as precise as possible when measuring and cutting vinyl floor tiles. Take your time and make sure each measurement is accurate before marking it down with a pencil or chalk line. Using a straight edge or level can also help ensure accuracy when drawing lines on walls or floors prior to cutting tiles.
Q: What type of blade should I use when cutting vinyl floor tiles?
A: A utility knife or other sharp blade works best for cutting vinyl floor tiles. Make sure it’s sharp enough for smooth cuts without causing too much damage or tearing along edges of the tile material itself. Wear protective gloves when handling sharp blades, as they can easily cause injury if handled improperly