Therefore, apart from reducing the worries of yours of use and tear, this type of flooring will save the money of yours. This floor is sturdy and won't rip or tear. Be sure that spillages and spots get wiped up sooner instead of later; tougher stains might often be tackled with yellow spirits or perhaps ammonia remedy, but consult the instructions or the supplier of yours.
Images about How To Replace Vinyl Flooring In A Travel Trailer
How To Replace Vinyl Flooring In A Travel Trailer

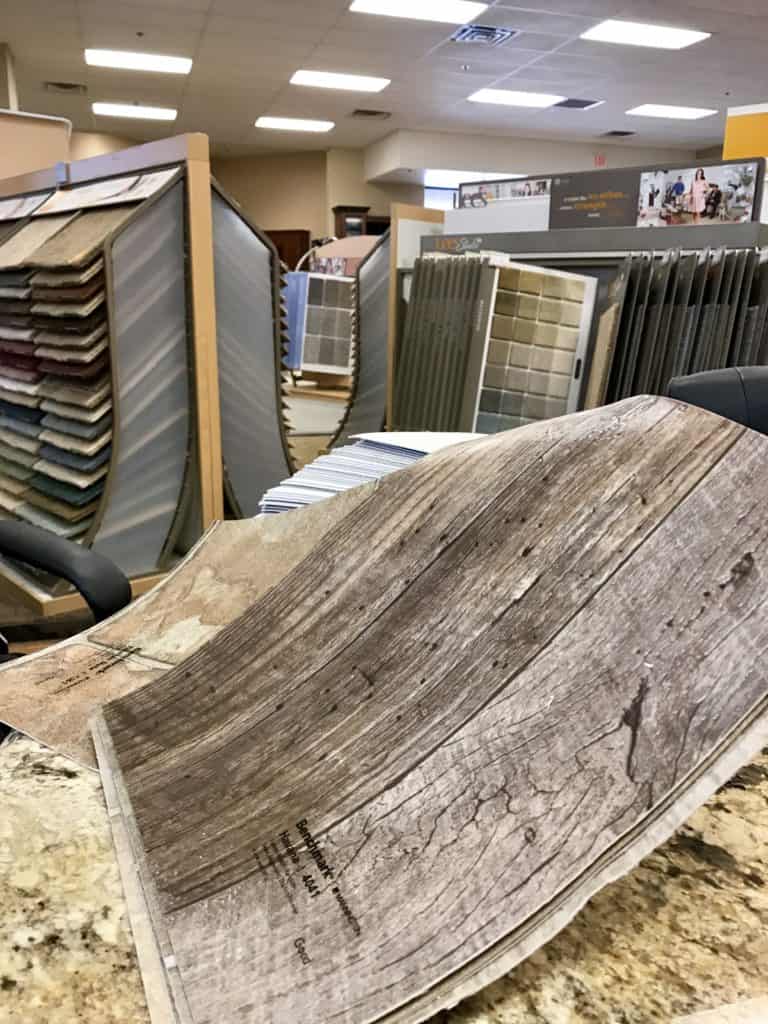
A printing method has been produced making vinyl flooring are like replicates of fire wood, brick, marble or tile. It is less per square-metre. You simply have to take the style that best suits the taste of yours, read through its make, make an order and receive them right on your doorstep. Additionally, it can be purchased in sheets which resemble stone, tile, slate and other natural textures.
Install Vinyl Plank Flooring in an RV with a Pull Out Our DIY

You might likewise have the same pattern installed in your kitchen – an area where not many would think about wood for because of the heavy foot traffic and strong probability of stains and spills. Perhaps even if you're tempted to cut on costs and just DIY installation of your vinyl sheets/ tiles, be happy to hear that hiring an expert would be a better choice.
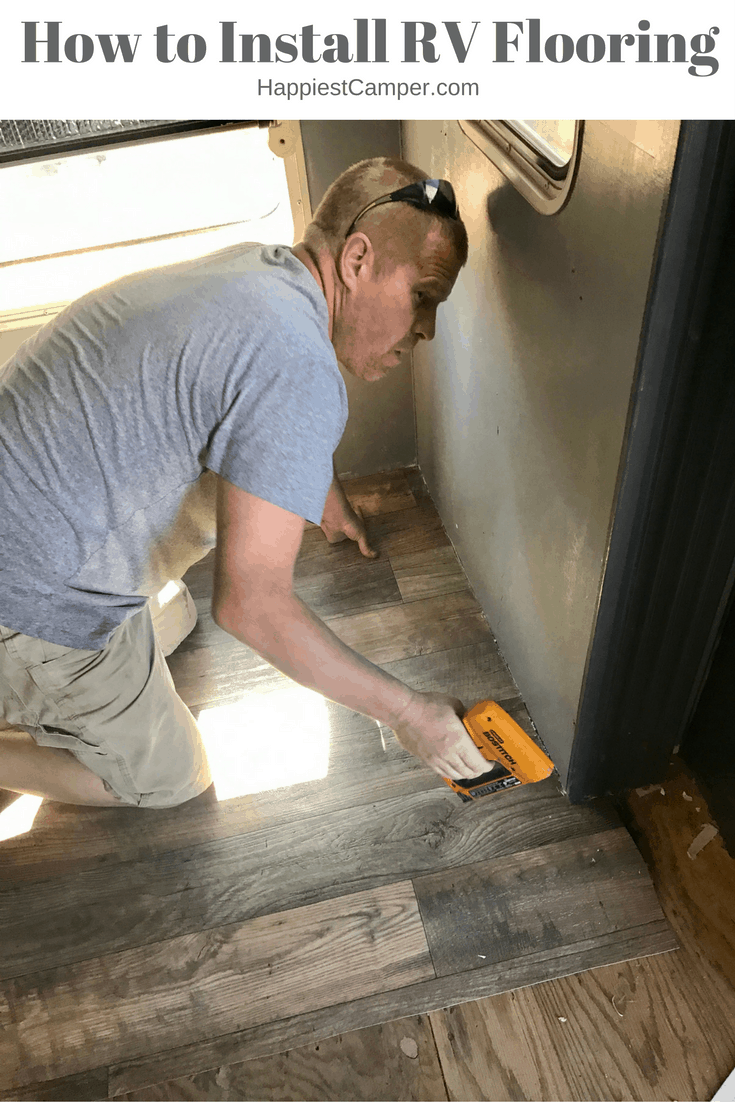
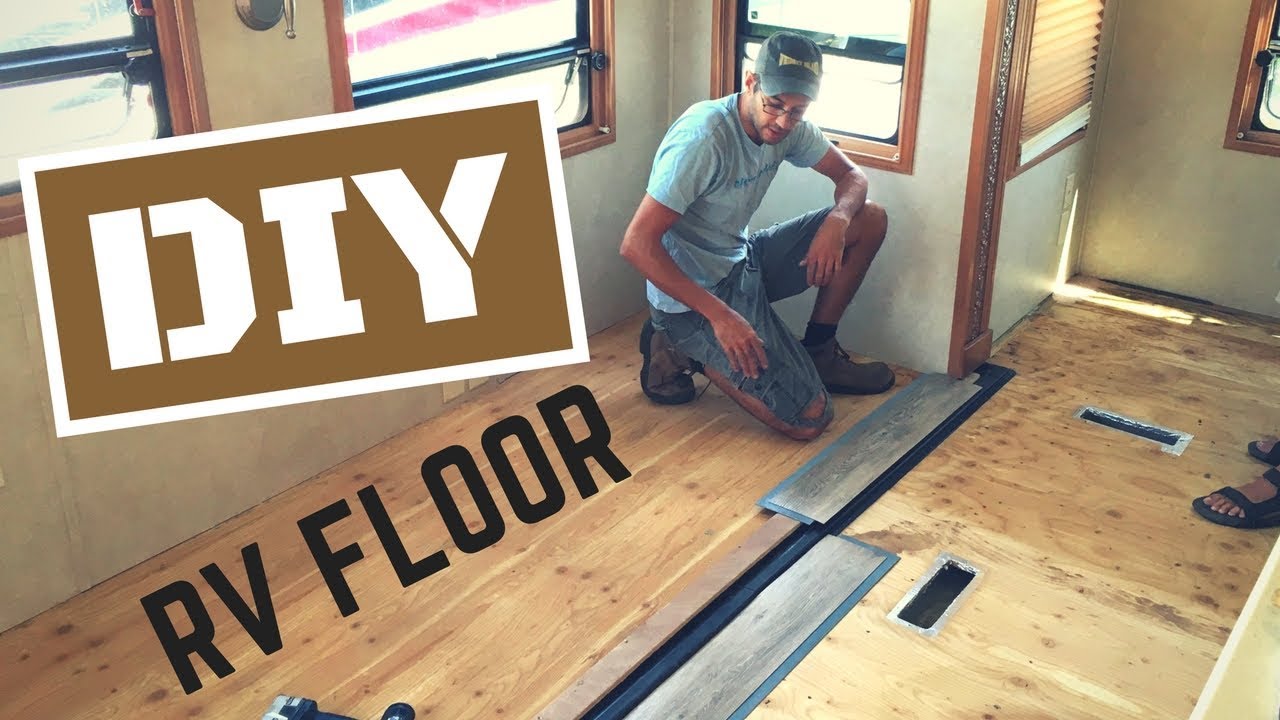
RV Flooring: How to Install Step by Step
Install Vinyl Plank Flooring in an RV with a Pull Out Our DIY
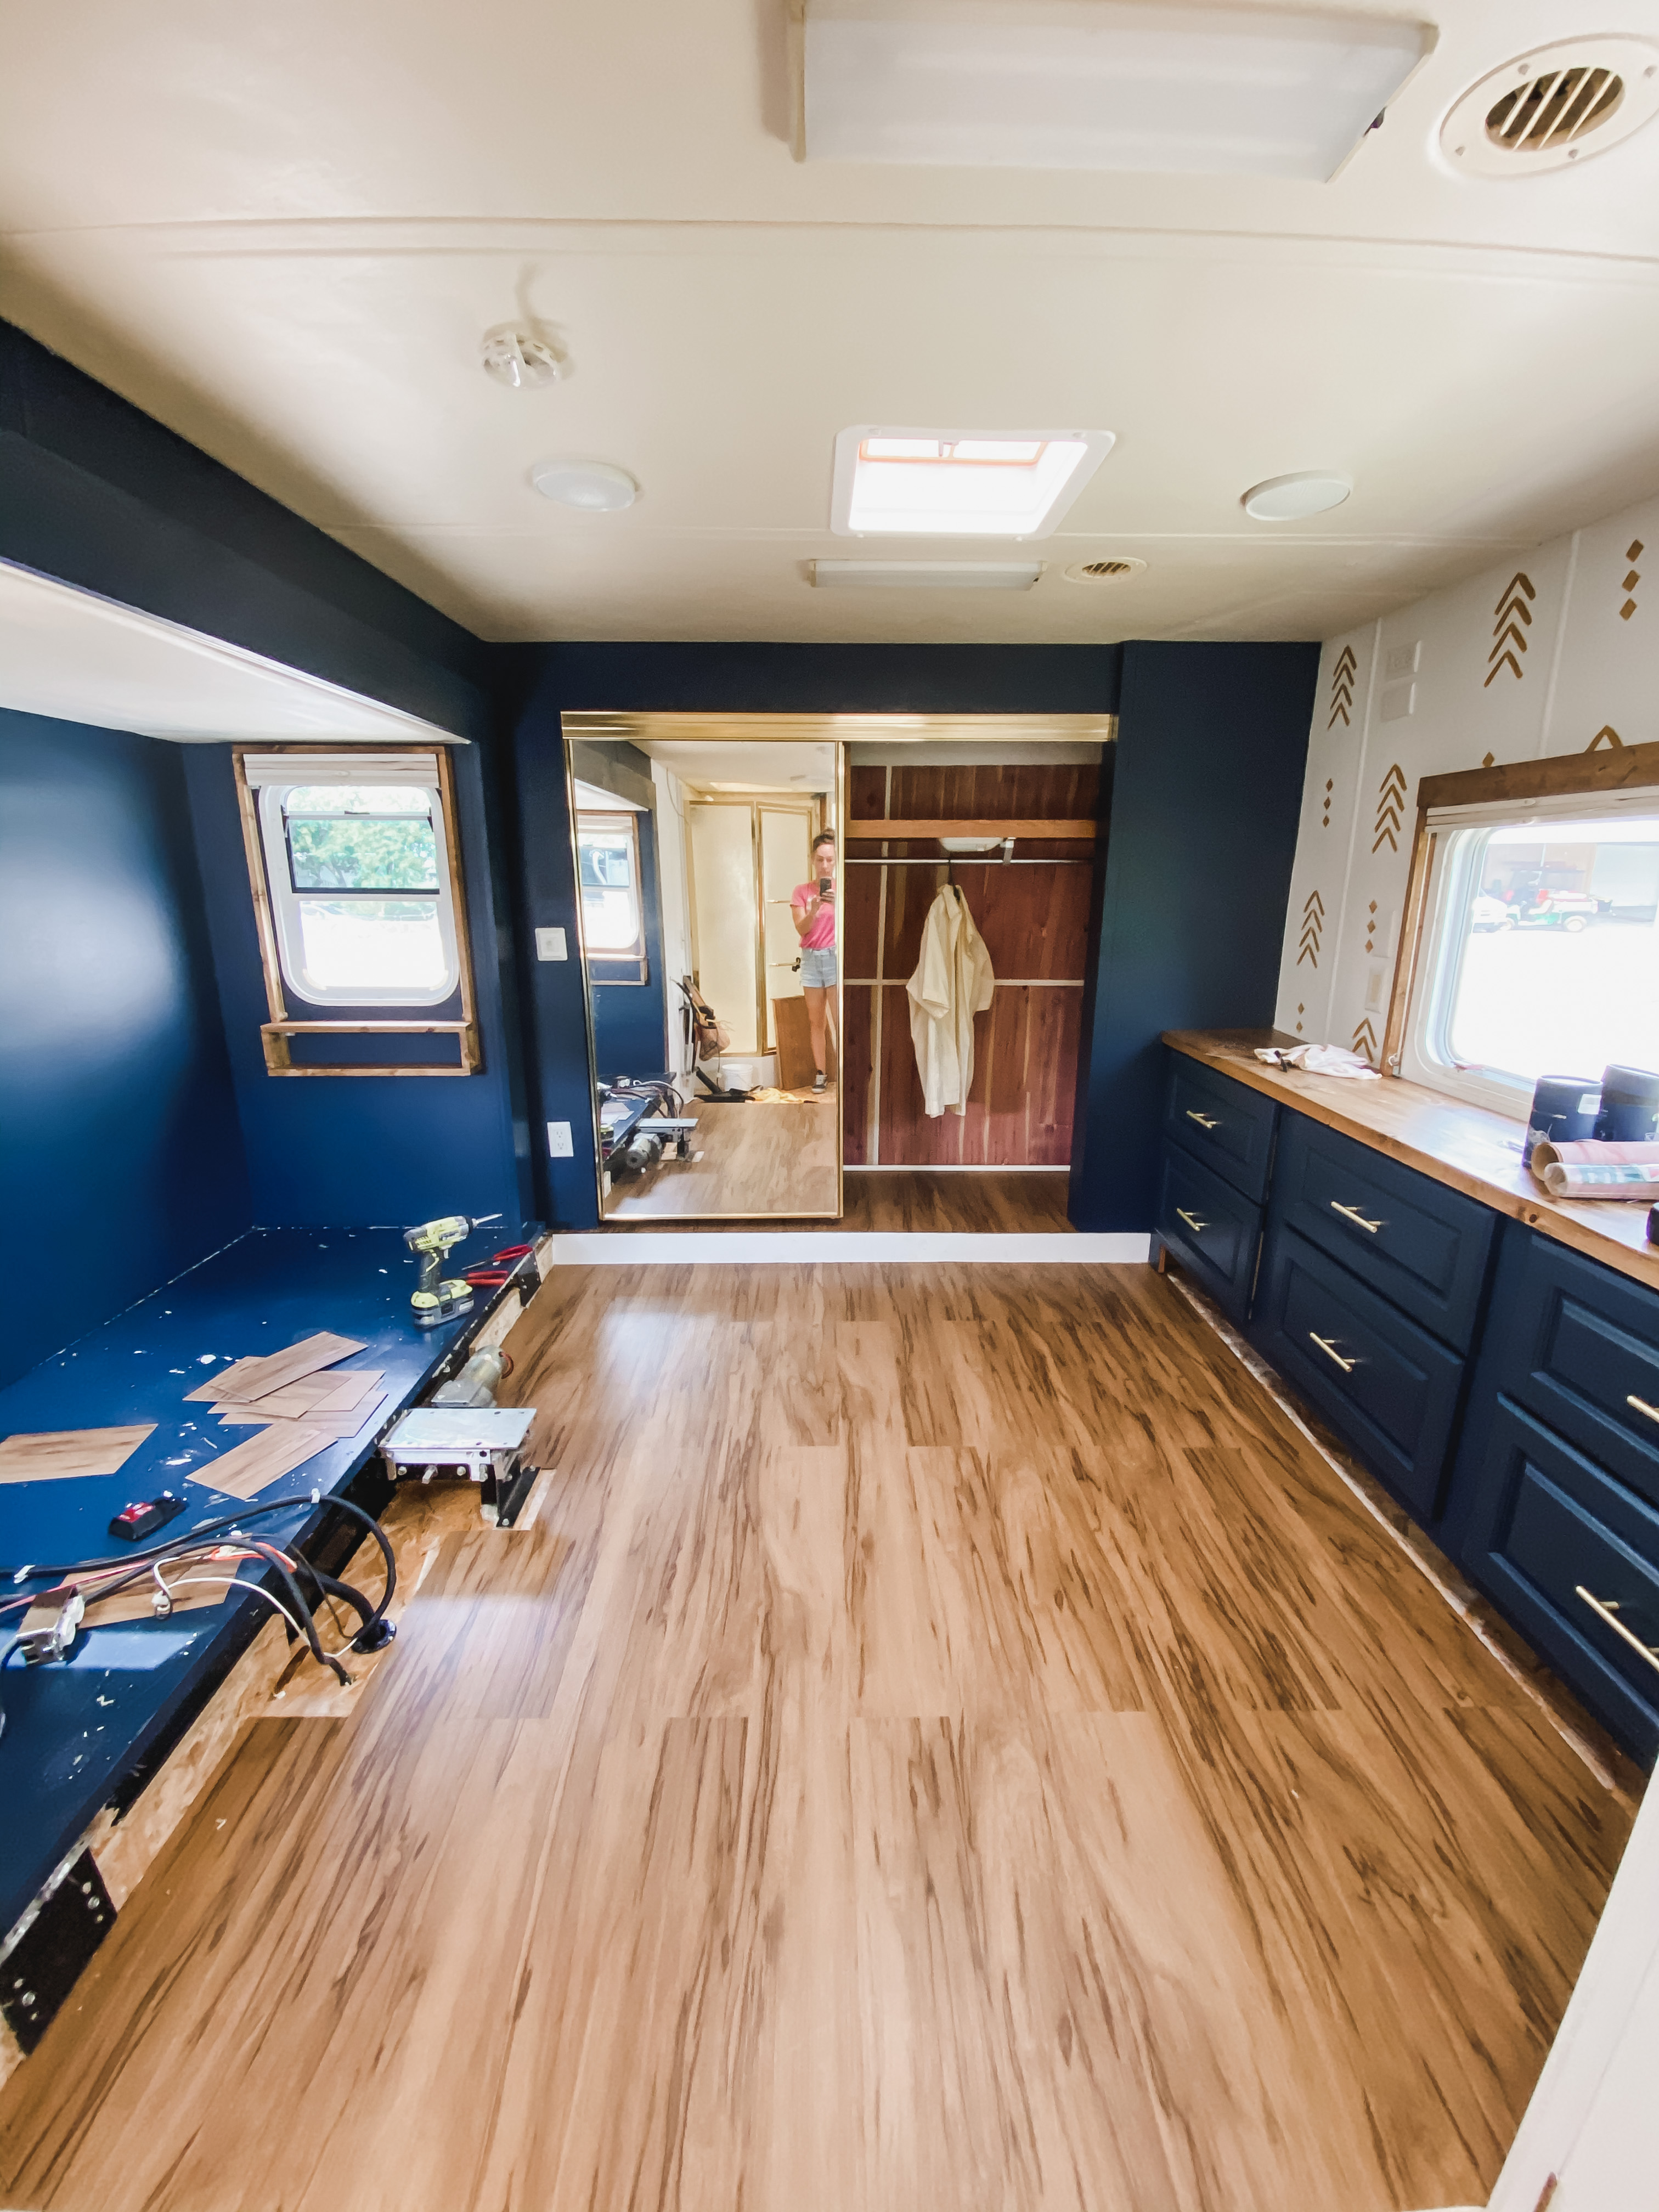
The Cameo Camper Renovation: Why + How We Installed Vinyl Plank
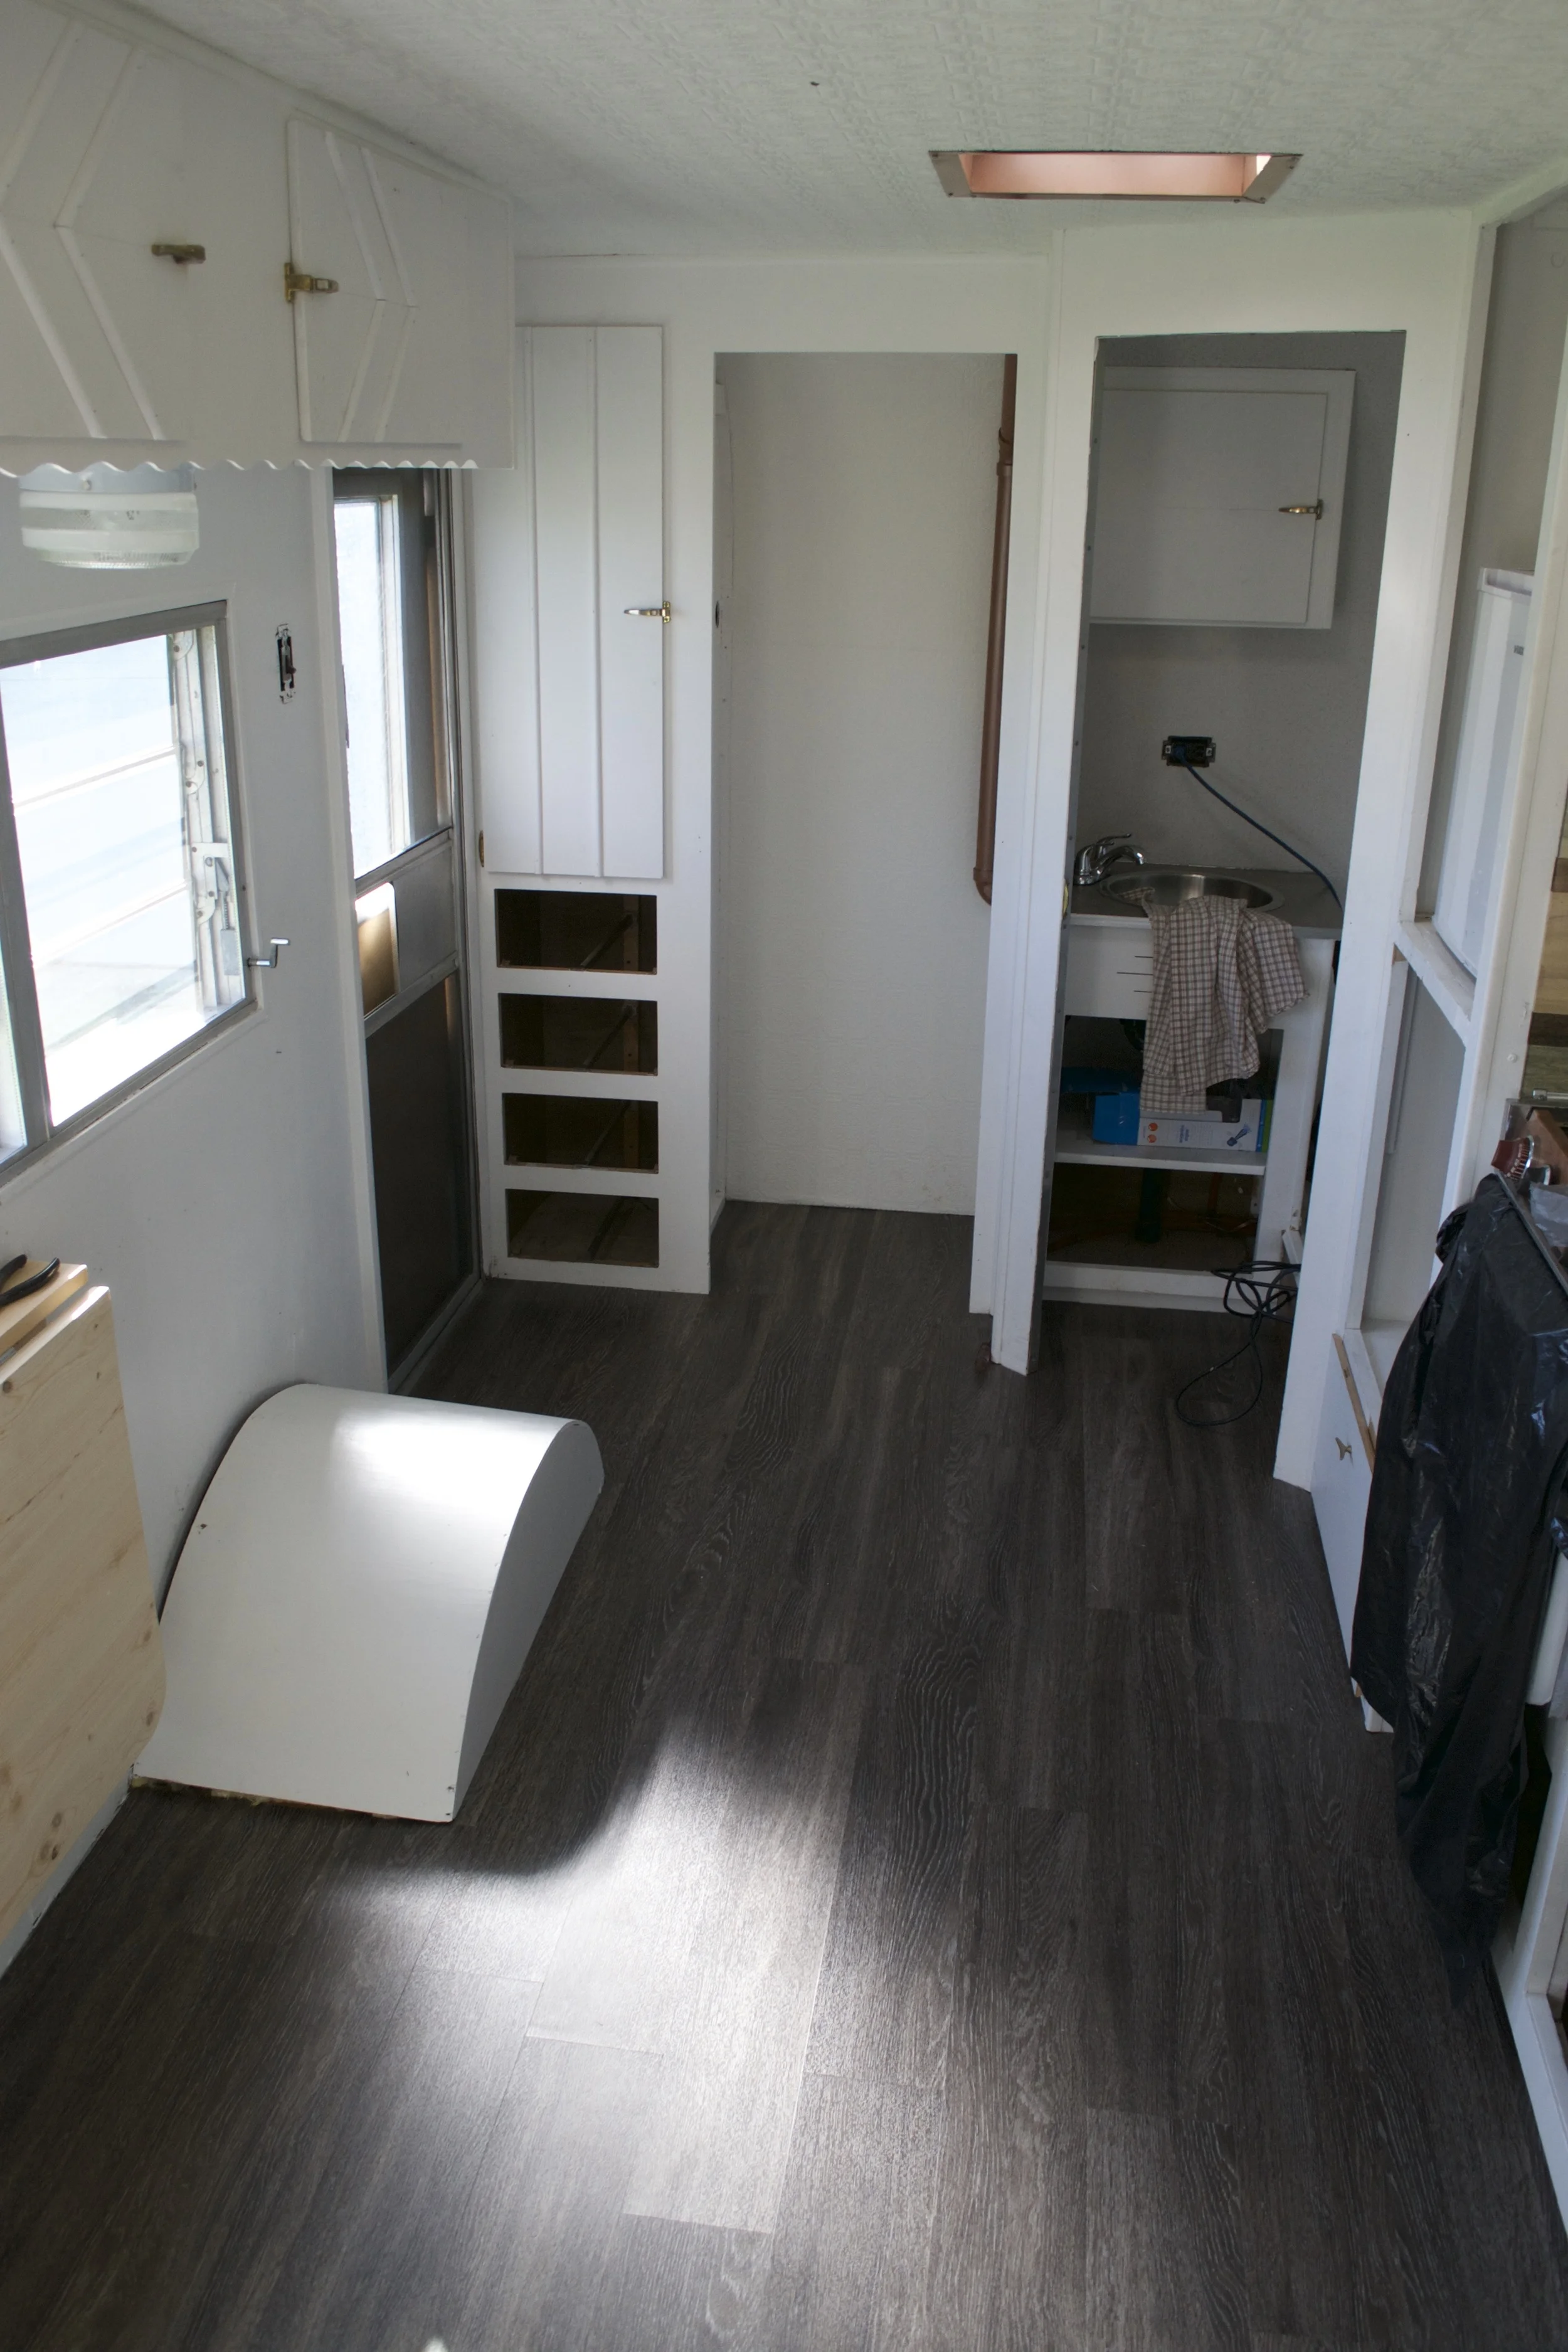
DIY RV Reflooring with a Flush Slide-Out
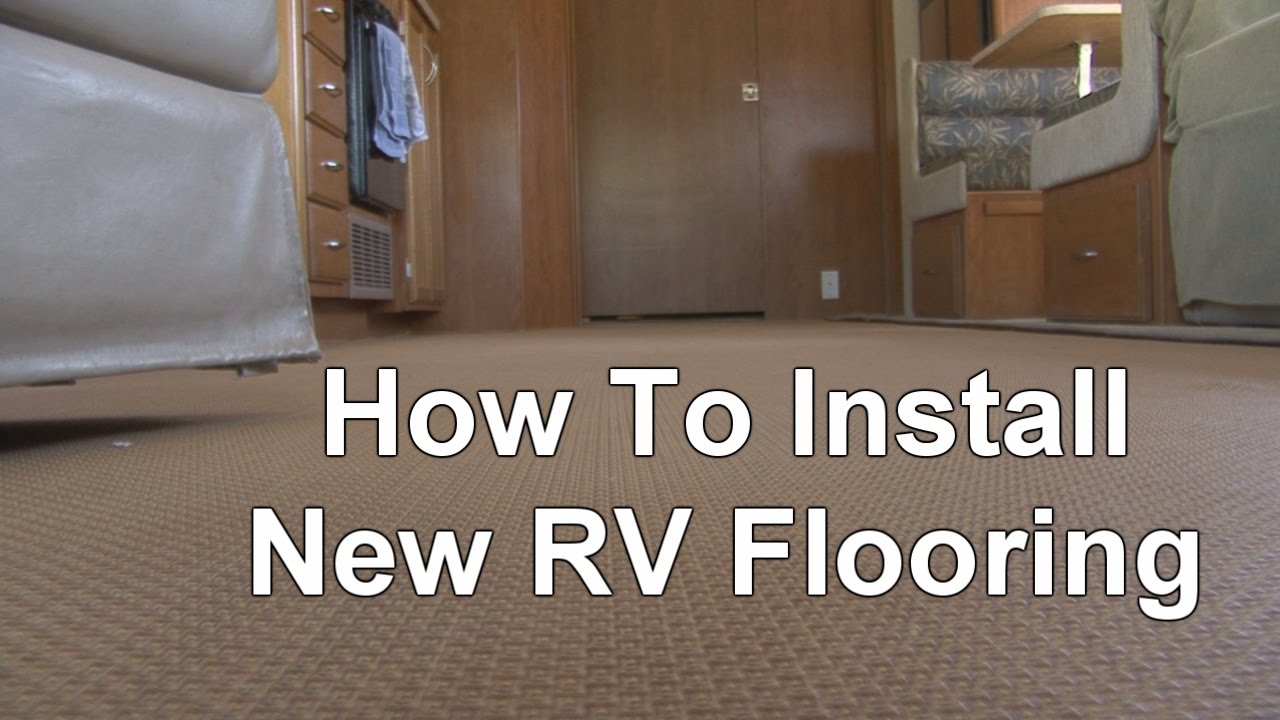
How To Install New RV Flooring
Reasons to Install Vinyl Plank Flooring in your Trailer or RV
RV Flooring: How to Install Step by Step
Remove and Install New RV Floors for a Better Footing Good Sam
RV Flooring: How to Install Step by Step
How to Install Vinyl Flooring in a Camper Van » VanConverts.com

How Should I Replace The Vinyl Floor In Our RV?
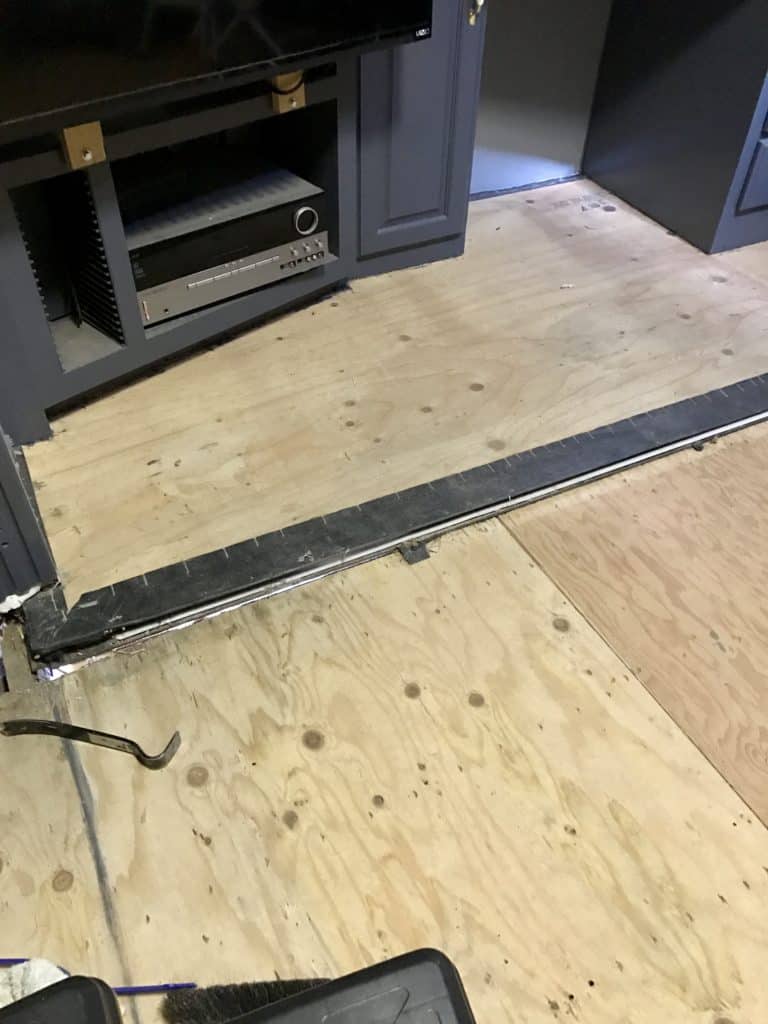
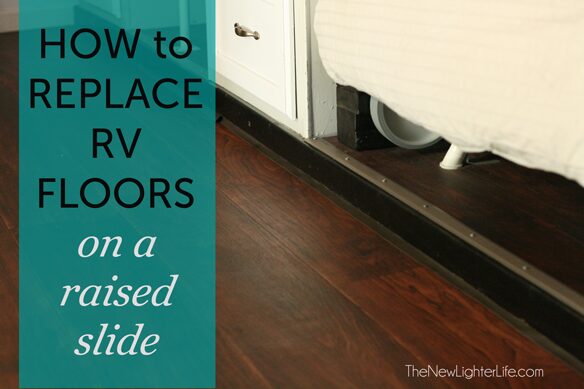
How to Replace RV Flooring on a Raised Slide
Related Posts:
- How To Repair Vinyl Flooring Scratches
- Copper Vinyl Flooring
- Vinyl Flooring In Bathroom
- Commercial Vinyl Flooring
- Luxury Vinyl Flooring Bedroom
- Herringbone Vinyl Floor Tiles
- Vinyl Flooring That Looks Like Wood
- Vinyl Flooring For Basement
- Toilet Vinyl Flooring
- Rustic Vinyl Flooring
How To Replace Vinyl Flooring In A Travel Trailer
Replacing the vinyl flooring in a travel trailer is a great way to upgrade the look and feel of an old trailer. It is not a difficult job and can be completed with a few tools, some basic DIY skills, and some time. Replacing the vinyl flooring in a travel trailer is a great way to increase the value of your trailer, as well as provide it with a fresh new look. In this article, we will discuss how to replace vinyl flooring in a travel trailer, including what tools and materials you will need, as well as tips for making the job go smoothly.
Tools & Materials Needed
Before you begin replacing the vinyl flooring in your travel trailer, you will need to gather the necessary tools and materials. The most important tool that you will need is a good quality putty knife. This will be used to scrape away any existing adhesive that may have been used to hold down the old vinyl flooring. You will also need a utility knife, scissors, and a hammer. Additionally, you will need some basic supplies such as masking tape and protective gloves.
In terms of materials, you should purchase high-quality vinyl flooring that is designed specifically for travel trailers. You should also purchase a good quality adhesive that is designed to be used with vinyl flooring. It is important to use an adhesive specifically designed for use with vinyl flooring, as other types of adhesives may not be strong enough to hold down the flooring properly.
Preparing The Area For Installation
Once you have gathered all of the necessary tools and materials for replacing the vinyl flooring in your travel trailer, it is important to prepare the area. The first step is to remove any existing furniture or fixtures from the area where the new flooring will be installed. This will make it easier to access all areas of the floor. You should also sweep or vacuum the area in order to remove any dirt or debris that may be present.
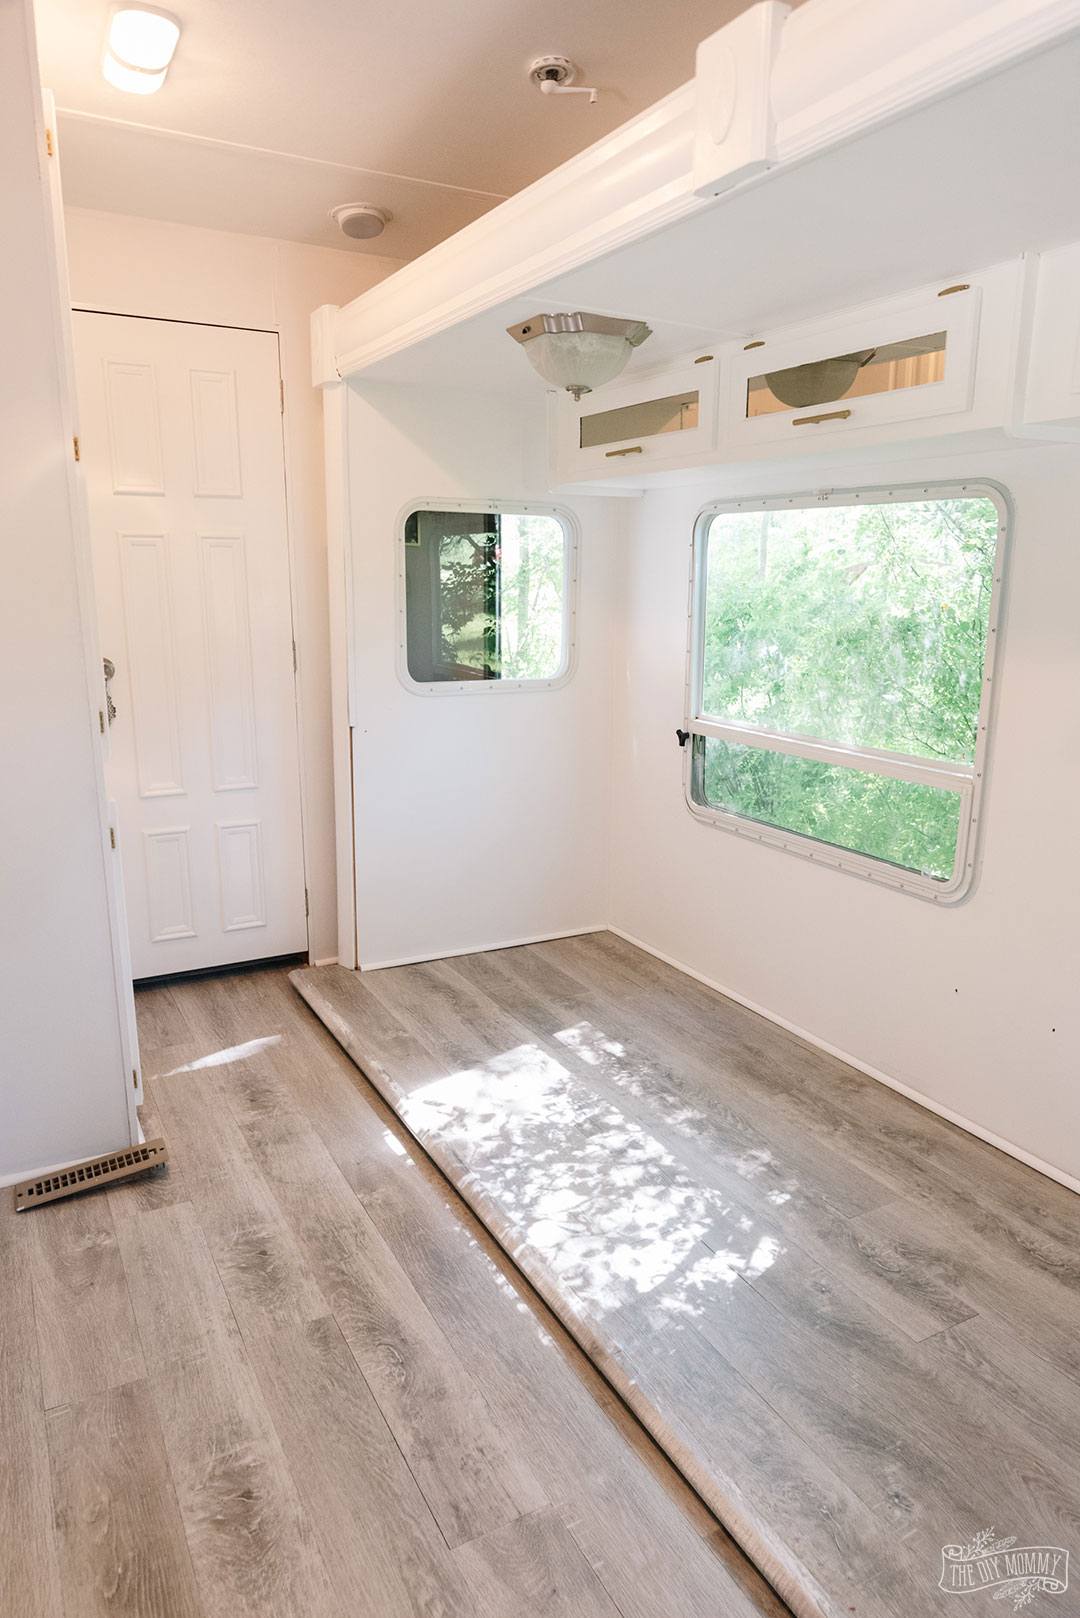
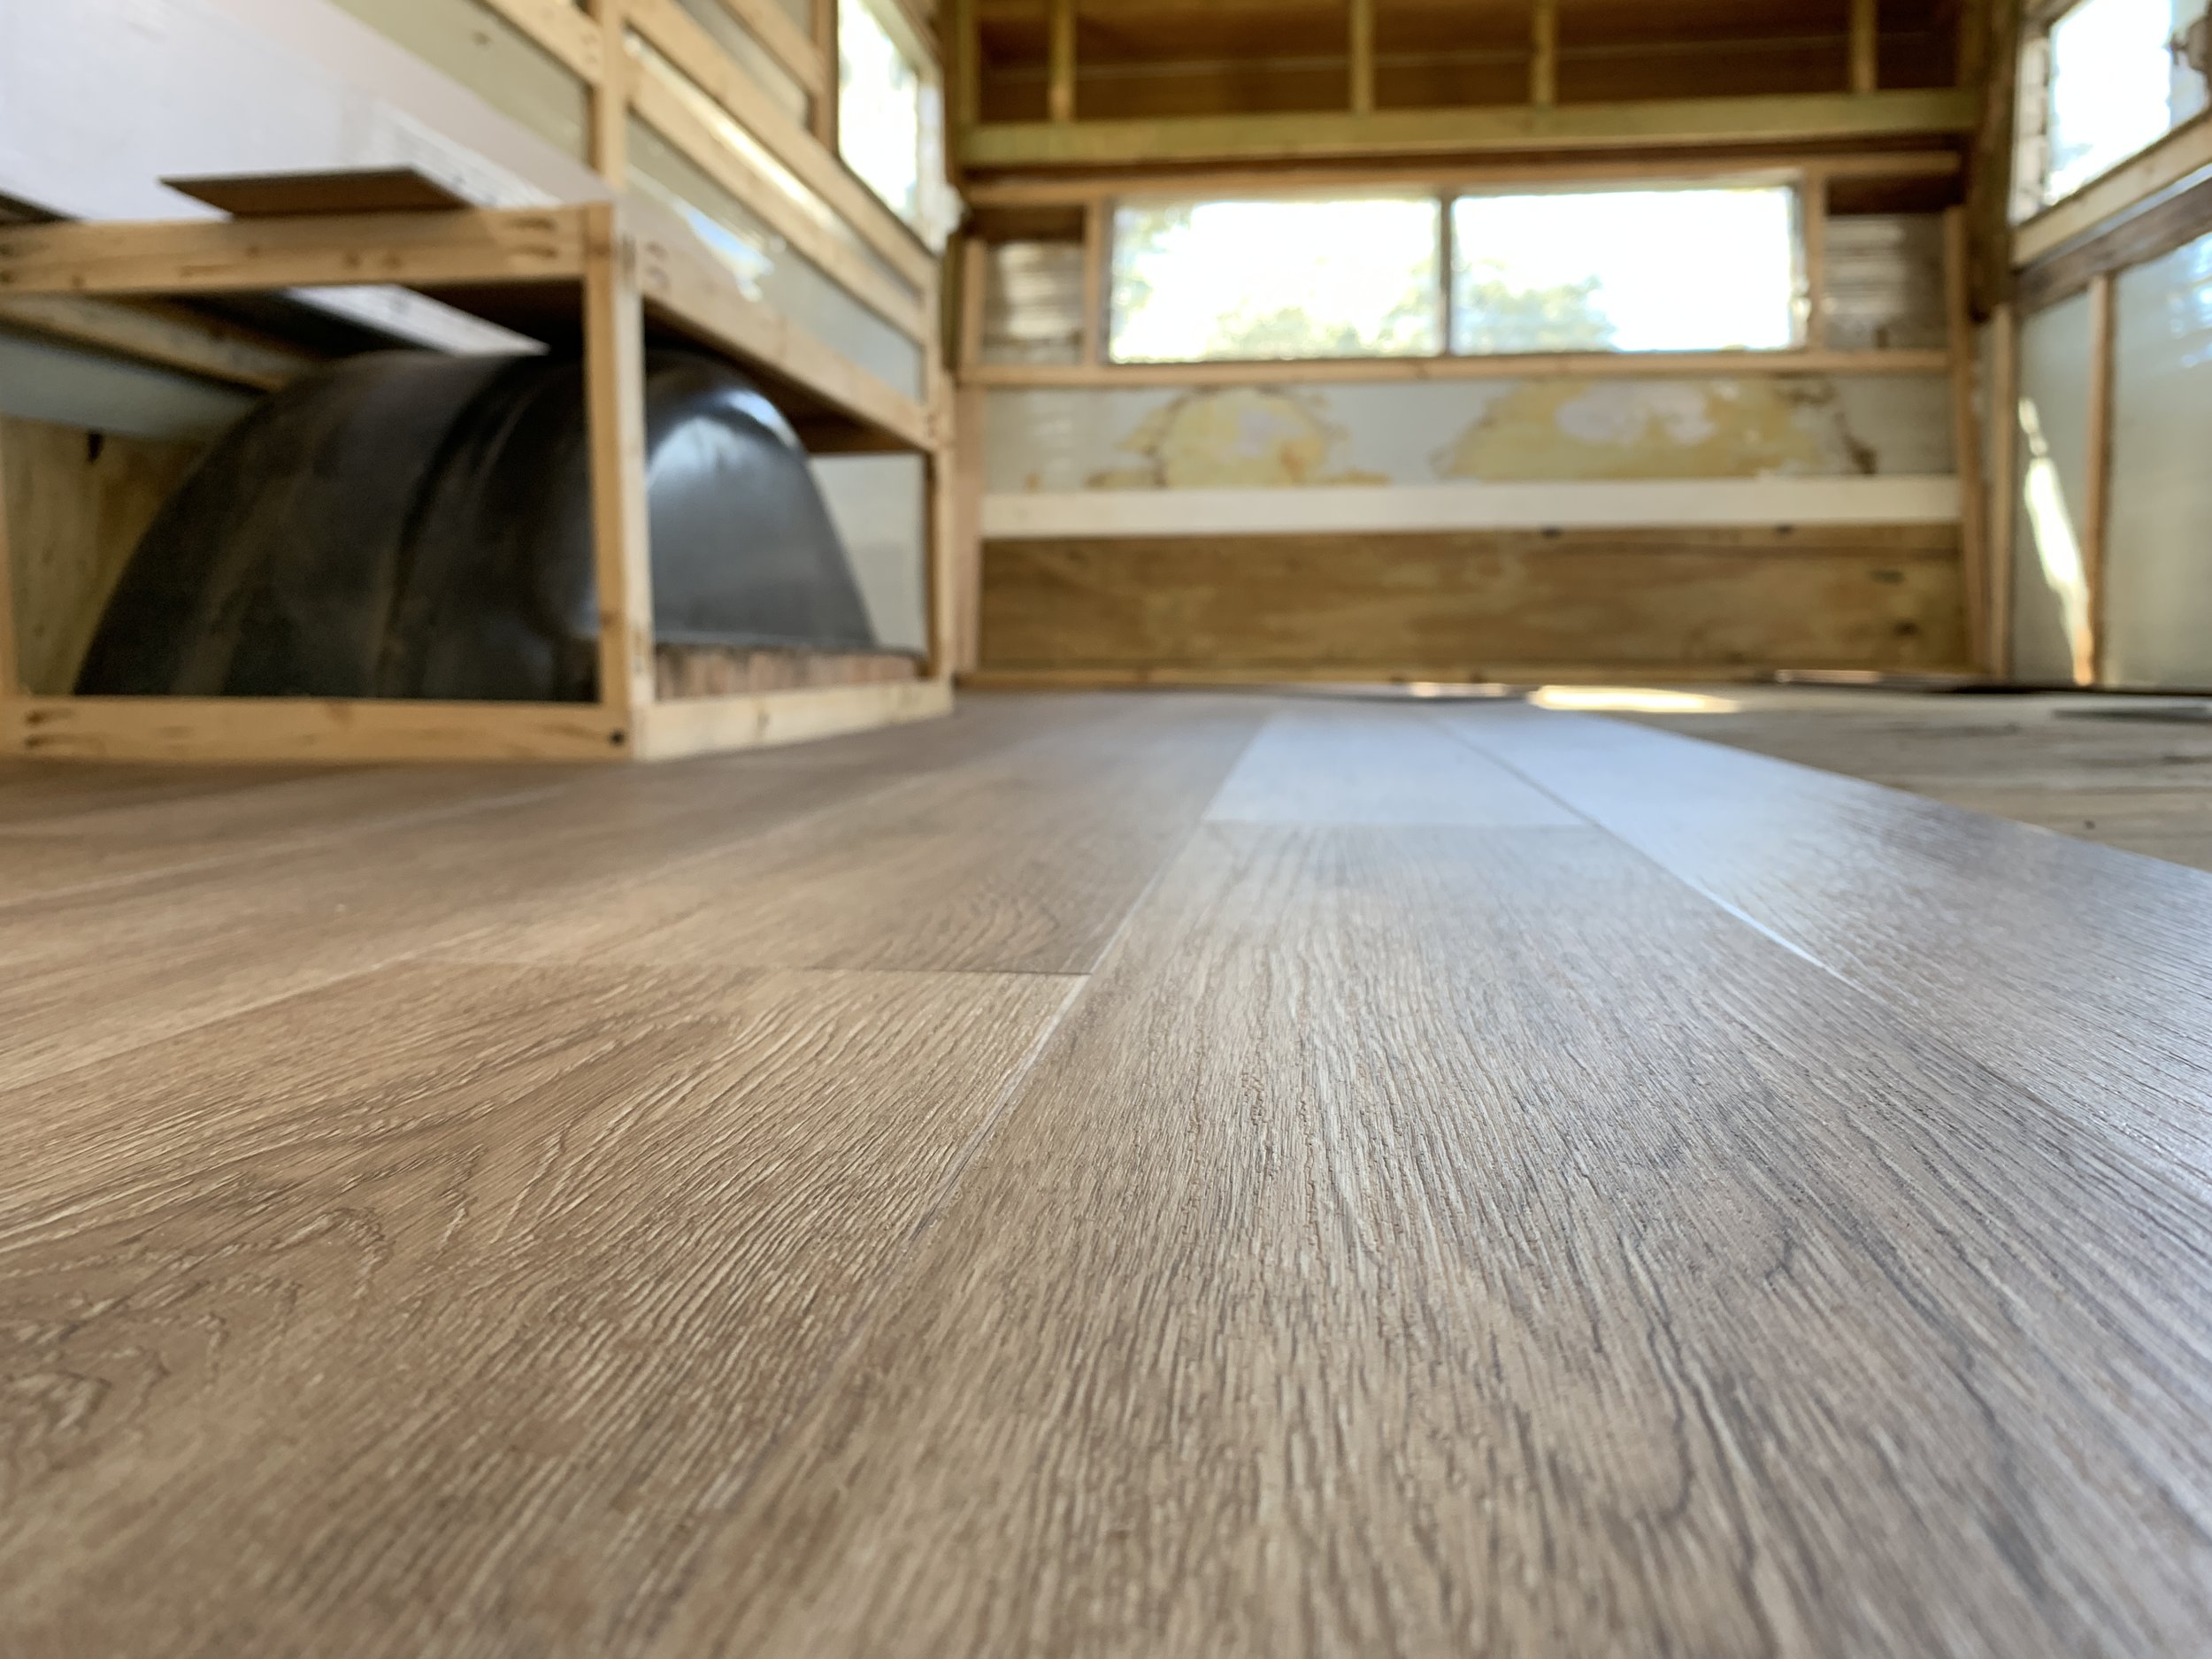
Next, you should inspect the subfloor for any potential damage such as warping or dampness. If there is any damage present, it should be repaired before moving forward with installation. Once this is done, you can begin measuring and cutting out pieces of vinyl flooring to fit each section of your travel trailer’s interior. It is important to measure accurately and cut precisely in order to ensure that each piece fits perfectly and looks great once installed.
Installing The Vinyl Flooring
Once all of the pieces of vinyl flooring have been cut out, it is time to install them in your travel trailer. Begin by applying adhesive to one end of each piece of flooring. Make sure that you apply an even layer of adhesive across the entire surface of the piece so that it will adhere properly when installed. Then carefully place each piece into position on the subfloor and press down firmly so that it adheres properly.
Once all of pieces are installed, you should use a roller or other tool to press down firmly on each piece in order to ensure proper adhesion. After this is done, you should allow the adhesive to dry completely before walking on or placing any furniture or fixtures on top of it. Once everything is dry and secure, your new vinyl flooring should be ready for use!
FAQs
Q: How long does it take to install vinyl flooring in a travel trailer?
A: The amount of time needed for installation depends on several factors such as size and complexity of the project as well as how experienced you are at this type of work. However, most projects can usually be completed within one day if enough time and effort are devoted to it.
Q: Is special equipment required for installation?
A: No special equipment is required for installation; however, having certain tools such as a putty knife, utility knife, and hammer can make things easier and quicker when replacing vinyl flooring in a travel trailer.
Q: What type of adhesive should I use?
A: It is important to use an adhesive specifically designed for use with vinyl flooring in order to ensure that it holds properly