Preparing the Surface Steps to Ensure a Smooth and Even Marble Floor
Clean the floor: Before tiling a marble floor, it is crucial to ensure that the surface is clean and free from any dirt, dust, or debris. Start by sweeping or vacuuming the floor to remove loose particles. Then, use a mild detergent and warm water solution to mop the floor and remove any stubborn stains or grime. Rinse the floor thoroughly and allow it to dry completely before proceeding to the next step.
Repair any cracks or damages: Inspect the marble floor for any cracks, chips, or other damages. These imperfections should be repaired before tiling to ensure a smooth and even surface. Depending on the severity of the damage, you may need to use a marble repair kit or consult a professional to fix the issues. Allow the repaired areas to dry and set properly before moving on.
Level the floor: A level and even surface are essential for a successful marble floor installation. Use a long, straightedge and a level to check for any unevenness or dips in the floor. If any discrepancies are found, you may need to use a leveling compound to fill in the low spots and create a level surface. Follow the manufacturer’s instructions for mixing and applying the leveling compound, and allow it to dry completely before proceeding further.
Sand the surface: To ensure proper adhesion of the tile adhesive, it is recommended to sand the marble floor lightly. Use a fine-grit sandpaper or a sanding block to smooth out the surface and create a slightly rough texture. This will help the adhesive bond better with the marble and prevent any tiles from coming loose in the future. Be cautious not to sand too aggressively, as it may damage the marble.
Clean the surface again: After sanding, it is crucial to clean the floor once more to remove any dust or debris created during the sanding process. Use a damp cloth or mop to wipe down the entire floor, ensuring that all the dust and particles are removed. Allow the floor to dry completely before proceeding to the next step.
Choosing the Right Tools and Materials for Tiling a Marble Floor
When it comes to tiling a marble floor, selecting the appropriate tools and materials is crucial for achieving a professional and durable result. Here are some key considerations to keep in mind when choosing the right tools and materials for this project:
- Tile Cutter: A high-quality tile cutter is essential for cutting and shaping the marble tiles to fit the floor layout. Look for a tile cutter with a diamond blade, as this will provide clean and precise cuts without damaging the marble.
- Trowel: A trowel is used to apply the adhesive or mortar to the floor before laying the marble tiles. Opt for a notched trowel with the appropriate size notches for the thickness of your tiles. This will ensure proper coverage and adhesion.
- Level and Measuring Tools: To ensure a flat and even marble floor, a level and measuring tools such as a tape measure and a square are essential. These tools will help you accurately measure and align the tiles during installation.
- Adhesive or Mortar: Choosing the right adhesive or mortar is crucial for ensuring the longevity of your marble floor. Look for a high-quality, flexible adhesive or mortar specifically designed for marble tiles. This will provide a strong bond and prevent any future tile movement or cracking.
- Grout: Grout is used to fill the gaps between the marble tiles and provide a finished look. Opt for a grout that is specifically formulated for use with marble tiles to prevent any staining or discoloration. Consider the color of the grout carefully to complement the color of your marble tiles.
- Sealant: Marble is a porous material and can be prone to staining and damage from moisture. Applying a suitable sealant to the marble tiles before grouting will help protect them from stains and make cleaning easier. Choose a sealant that is specifically designed for use with marble and follow the manufacturer’s instructions for application.
- Safety Equipment: Lastly, don’t forget to prioritize safety by wearing appropriate protective gear such as safety goggles, gloves, and a dust mask when cutting and handling the marble tiles. This will help protect you from any potential hazards and ensure a safe working environment.
Step-by-Step Guide to Installing Marble Tiles on the Floor
Preparing the Surface:
- Start by removing any existing flooring materials, such as carpet or linoleum, and ensure the subfloor is clean, dry, and level.
- Fill any cracks or holes in the subfloor using a suitable patching compound, and allow it to dry completely before proceeding.
- Apply a layer of primer to the subfloor to improve adhesion, especially if the surface is porous or uneven.
Measuring and Planning:
- Measure the dimensions of the room to determine the amount of marble tile needed. It is recommended to purchase an additional 10% of tiles to account for any cutting or breakage during installation.
- Decide on the layout and pattern of the marble tiles. Consider factors such as the size and shape of the room, as well as any architectural features or furniture placement.
Cutting and Installing the Marble Tiles:
Start by dry-laying the marble tiles on the floor to visualize the pattern and ensure a proper fit. Adjust the layout as needed, paying attention to symmetry and alignment.
- Begin tiling in the center of the room, using a notched trowel to apply a thin layer of adhesive to a small section of the subfloor. Spread the adhesive evenly, following the manufacturer’s instructions.
- Place the first marble tile onto the adhesive, pressing it firmly and twisting it slightly to ensure a good bond. Use tile spacers to maintain consistent spacing between tiles.
- Continue applying adhesive and laying tiles in small sections, working outward from the center. Cut tiles as necessary using a wet saw or tile cutter, ensuring accurate measurements and smooth edges.
- After completing each section, use a tile level or straight edge to check for proper alignment and adjust as needed. Remove any excess adhesive or grout from the tile surface before it dries.
- Allow the adhesive to cure for the recommended time, usually 24 to 48 hours, before proceeding to the next step.
Grouting and Finishing:
- Mix the grout according to the manufacturer’s instructions, ensuring a smooth and consistent texture. Avoid mixing too much grout at once to prevent it from drying out.
- Apply the grout to the gaps between the marble tiles using a grout float, spreading it diagonally across the tiles to ensure full coverage. Clean off any excess grout from the tile surface using a damp sponge.
- Allow the grout to set for the time recommended by the manufacturer, typically around 15-30 minutes. During this time, avoid walking on the newly grouted area or disturbing the grout lines.
- After the initial setting time, use a grout finishing tool or a rounded stick to smooth and shape the grout lines. This step helps create a uniform and aesthetically pleasing finish.
- Once you’ve finished shaping the grout lines, let the grout dry for an additional 24 hours or as per the manufacturer’s instructions. Keep the area free from moisture and foot traffic during this curing period.
- After the grout has completely cured, apply a high-quality marble tile sealer to protect the marble and grout from stains and moisture. Follow the sealer manufacturer’s instructions for application and drying times.
- Finally, polish the marble tiles with a clean, dry cloth to restore their natural shine. Be sure to regularly clean and maintain your marble tiles to keep them looking their best for years to come.
Essential Tips and Tricks for Maintaining and Cleaning a Marble Tiled Floor
Marble floors are known for their elegance and beauty, but they require proper care and maintenance to keep them looking their best. Here are some essential tips and tricks to help you maintain and clean your marble-tiled floor.
1. Regularly sweep or vacuum the floor: Dust, dirt, and debris can scratch the surface of your marble tiles. To prevent this, make sure to sweep or vacuum the floor regularly. Use a soft-bristled broom or a vacuum cleaner with a soft brush attachment to avoid scratching the marble.
2. Clean up spills immediately: Marble is a porous stone, which means it can absorb liquids and stains easily. To prevent permanent staining, clean up spills immediately. Use a soft cloth or sponge and a mild, pH-neutral cleaner to gently blot the spill. Avoid using acidic or abrasive cleaners, as they can damage the marble.
3. Avoid using harsh chemicals: Harsh chemicals, such as bleach or ammonia, can damage the natural beauty of your marble tiles. Instead, opt for mild, pH-neutral cleaners specifically designed for marble. These cleaners will effectively remove dirt and stains without causing any harm to the marble.
4. Use a marble-specific cleaner for deep cleaning: Over time, your marble tiled floor may require a deeper clean. In such cases, use a marble-specific cleaner or a mixture of warm water and a mild dish soap. Apply the cleaner to the floor using a soft mop or cloth, and gently scrub any stubborn stains or dirt. Rinse the floor thoroughly with clean water and dry it with a soft towel.
5. Protect the floor from scratches and heavy furniture: To prevent scratches, place protective pads or felt pads under furniture legs. This will prevent the furniture from scratching the marble floor when it is moved. Avoid dragging heavy furniture across the floor, as it can also cause scratches.
6. Seal the marble periodically: Sealing your marble tiled floor can help protect it from stains and damage. Consult with a professional to determine the appropriate sealing schedule for your specific type of marble. Apply the sealer according to the manufacturer’s instructions and make sure to clean the floor thoroughly before sealing.
7. Avoid using abrasive tools or scrub brushes: Scrub brushes or abrasive tools can scratch the surface of your marble tiles. Instead, use a soft cloth or mop for regular cleaning. If you encounter stubborn stains or dirt, try using a soft-bristled brush specifically designed for marble surfaces.
Marble Flooring: What to Know About Buying, Installing, and
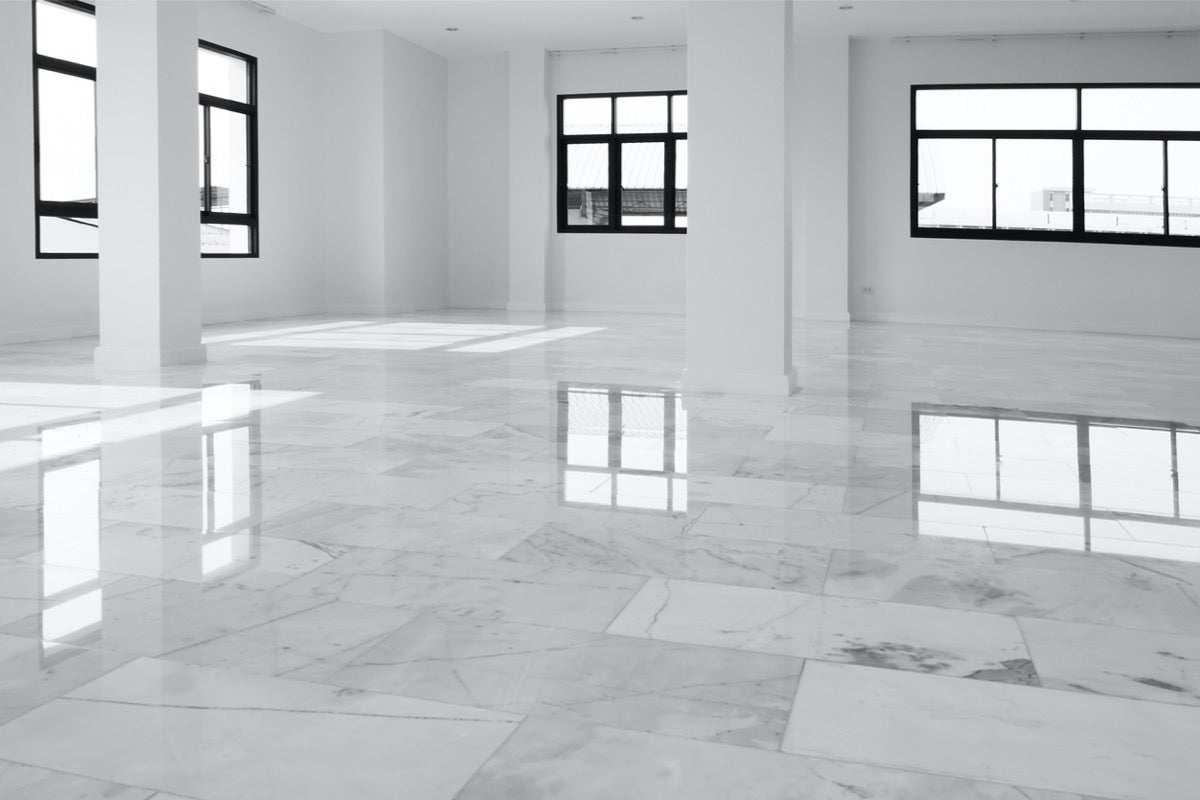
Know the difference between tile and marble
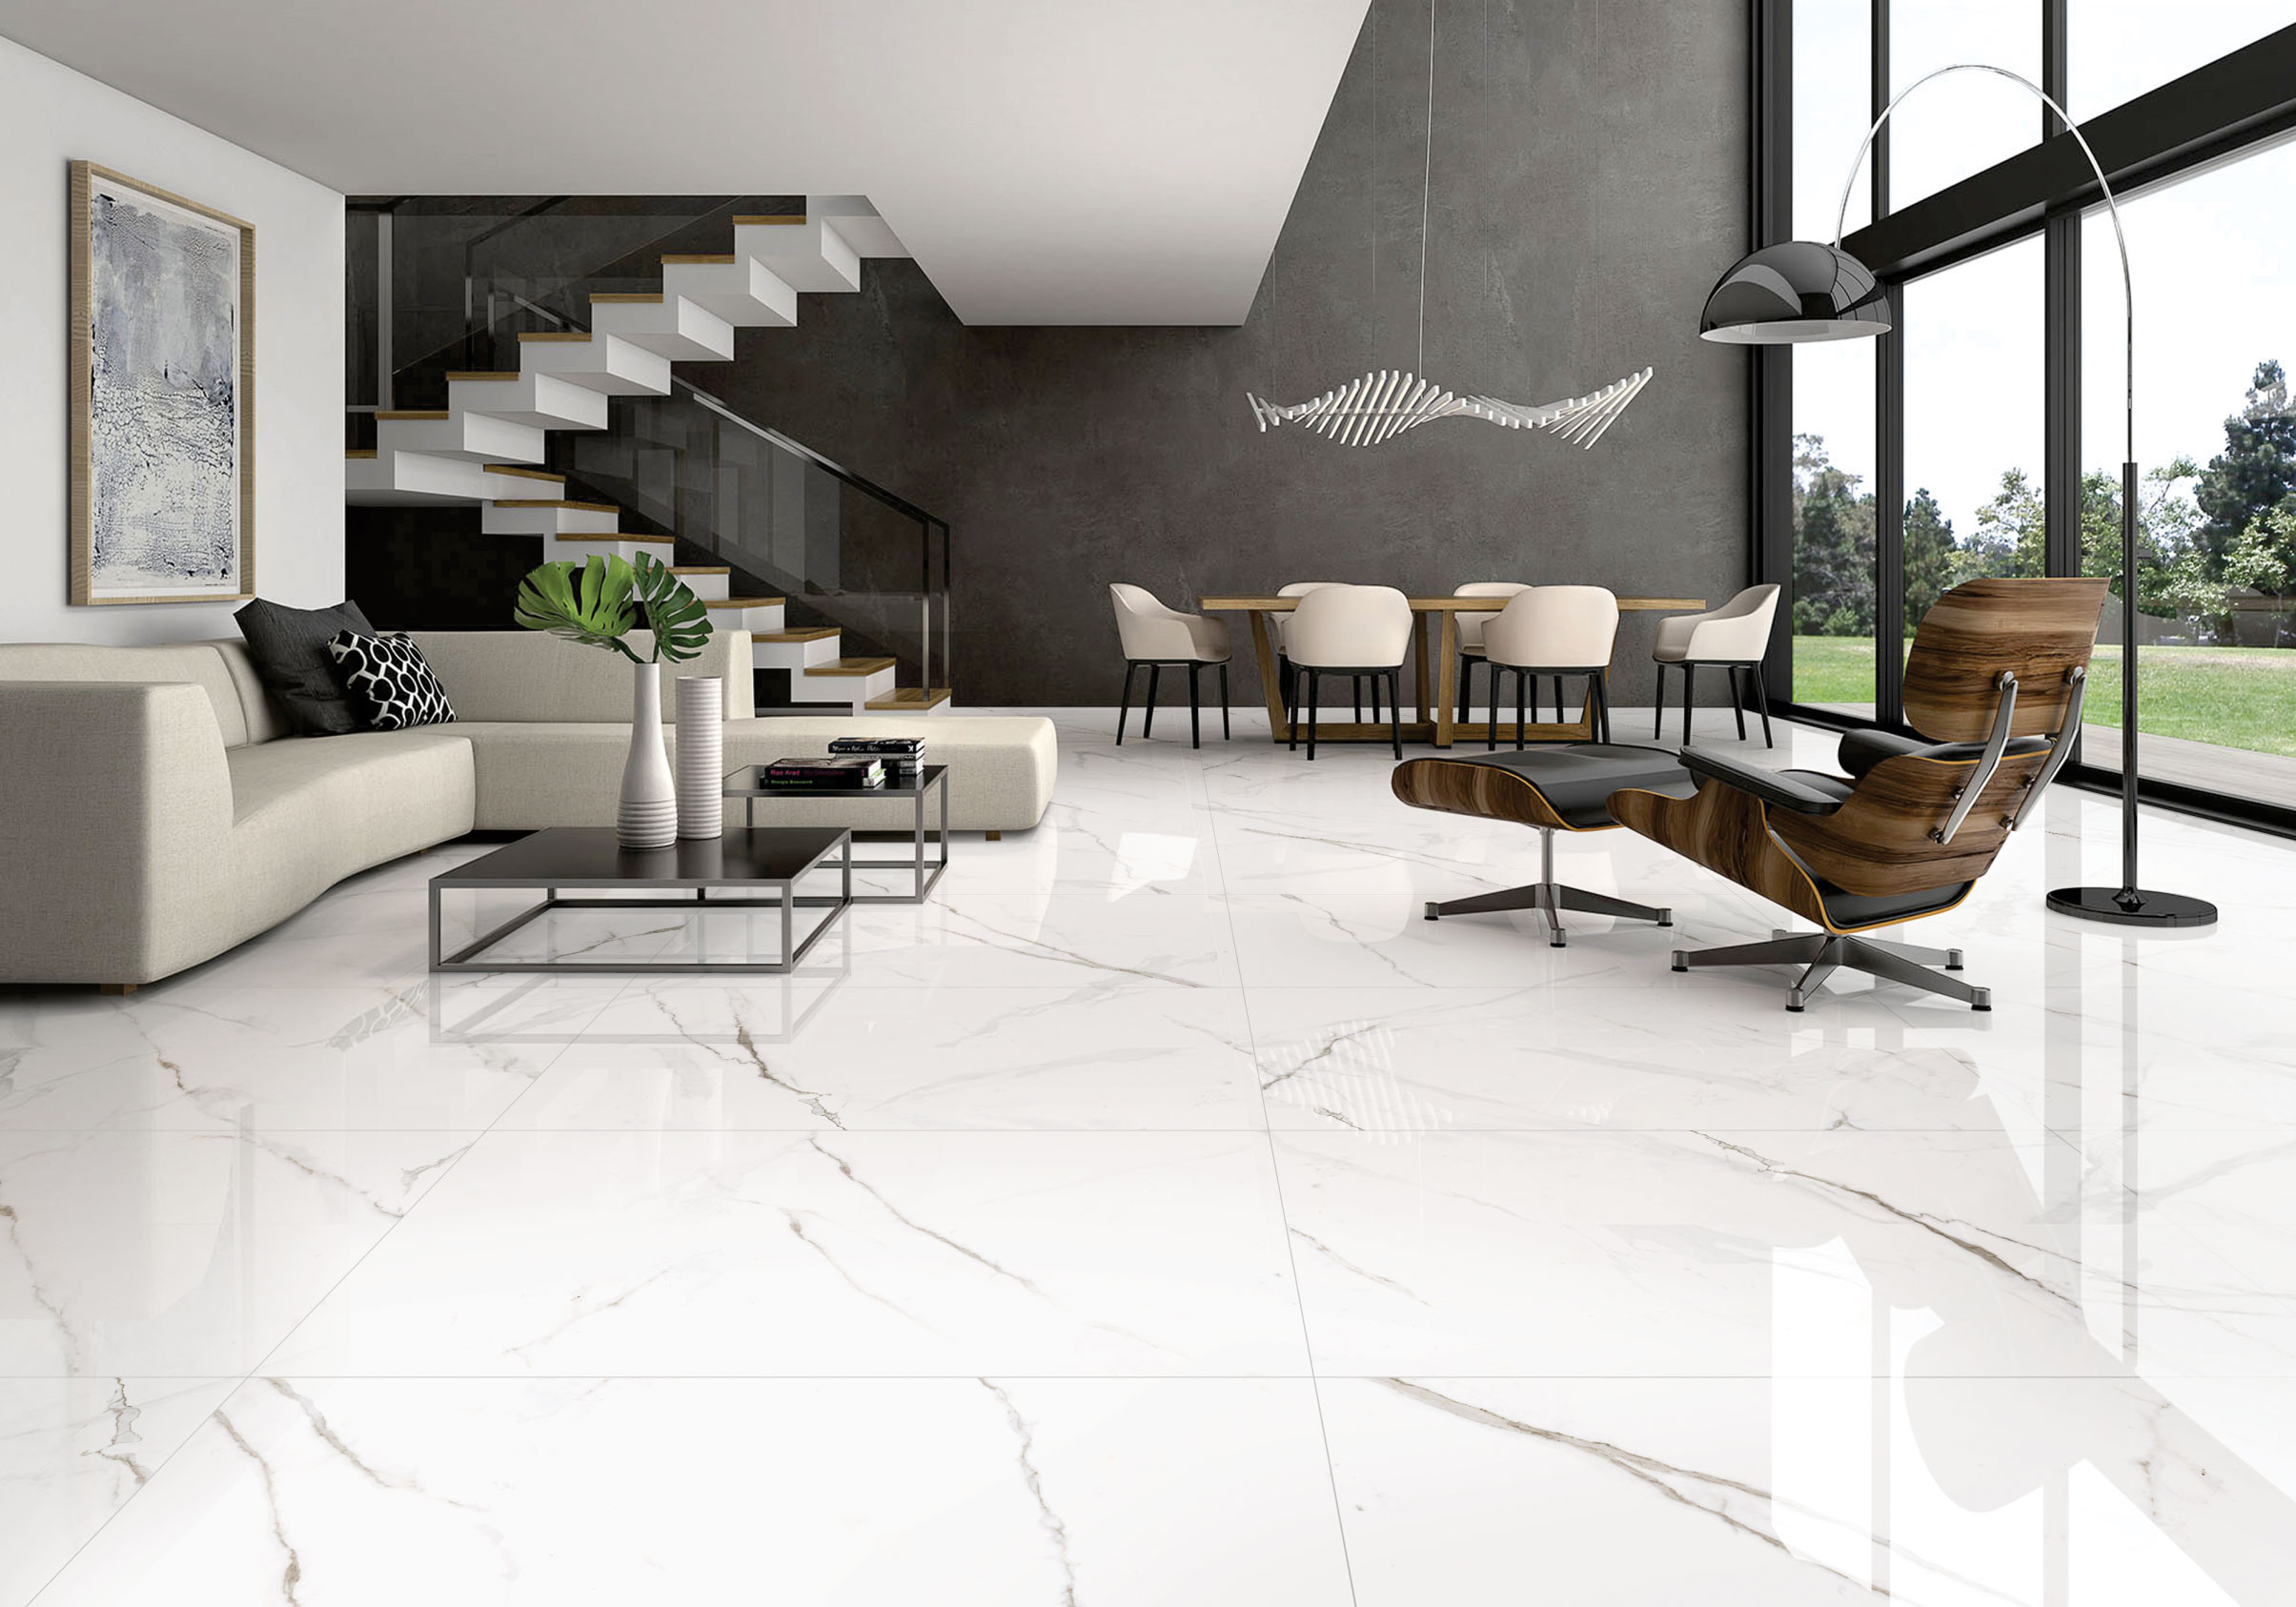
Feast Your Eyes on Marble Look Porcelain Tile Floor tile design

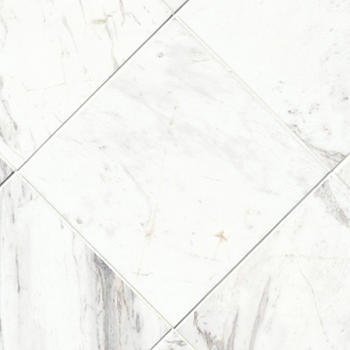
TRUE PORCELAIN CO. Arabescato Gold 12-in x 24-in Glazed Porcelain Marble Look Floor and Wall Tile Lowes.com

Volakas Honed Marble Wall and Floor Tile – 12 x 12 in. – The Tile Shop
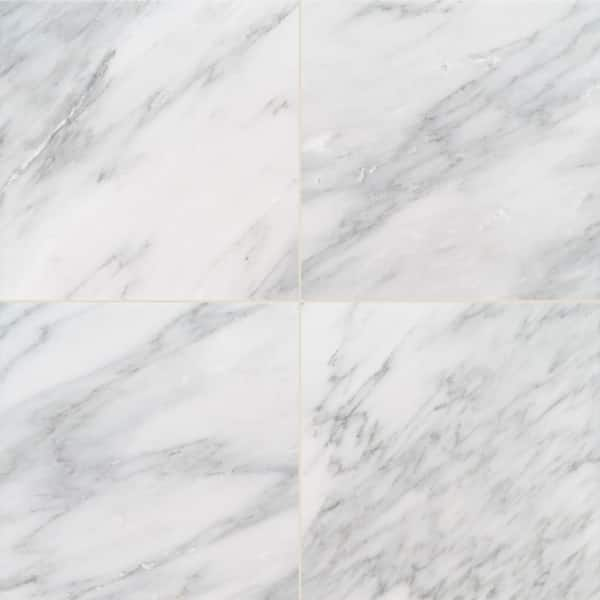
MSI Greecian White 18 in. x 18 in. Polished Marble Floor and Wall
Related Posts:
- Marble Flooring Border
- Home Marble Floor Design
- Beige Marble Flooring
- Black White Marble Floor
- White Carrara Marble Floor
- Marble Floor Design Ideas
- How To Clean White Marble Floors
- Marble Floor Entrance
- Yellow Marble Floor Tiles
- Luxury Marble Flooring Design