Installing laminate flooring in a basement on concrete can be a great way to add warmth, durability, and style to your space. Laminate flooring is a popular choice for basements due to its ability to resist moisture and its easy installation process. Whether you are looking to transform your basement into a cozy living area or a functional home office, laminate flooring can provide a beautiful and practical solution. In this guide, we will walk you through the steps of installing laminate flooring in a basement on concrete, ensuring that you achieve a professional-looking result that will stand the test of time. So, let’s get started and turn your basement into a space you’ll love!
Preparing the Basement Floor
When it comes to installing laminate flooring in the basement on concrete, it is crucial to prepare the basement floor properly to ensure a solid foundation. Taking the necessary steps will not only help the flooring adhere better but also prevent moisture issues and ensure the longevity of the flooring.
One of the first steps in preparing the basement floor is to thoroughly clean it. Remove any dirt, debris, or adhesive residues from the surface. A clean and smooth surface will allow the laminate flooring to lay flat and prevent any bumps or imperfections. After cleaning, it is important to check the moisture levels of the concrete. Moisture can seep through the concrete and damage the laminate flooring over time. Use a moisture meter to determine if the moisture levels are within an acceptable range. If the levels are too high, it may be necessary to install a moisture barrier or use a waterproofing sealer on the concrete.
Next, inspect the basement floor for any cracks or uneven areas. Fill any cracks with a concrete patching compound and level any uneven areas with a self-leveling compound. This will create a smooth and even surface for the laminate flooring to be installed on.
Before proceeding with the installation, it is recommended to lay down a vapor barrier. This will further protect the laminate flooring from moisture and create a barrier between the concrete and the flooring. Ensure that the vapor barrier is properly secured and overlaps at the seams.
Finally, it is important to acclimate the laminate flooring to the basement environment. Leave the flooring in the basement for a few days to adjust to the temperature and humidity levels. This will prevent any expansion or contraction issues once the flooring is installed.
Choosing the Right Laminate Flooring for Your Basement
Choosing the right laminate flooring for your basement can be a crucial decision, especially when installing it on concrete. Basements are prone to moisture and humidity, which can damage certain types of flooring. Laminate flooring, however, offers a great solution as it is resistant to moisture and can withstand the conditions commonly found in basements.
When selecting laminate flooring for your basement, it is important to consider a few key factors. Firstly, choose a laminate that has a high moisture resistance rating. This will ensure that the flooring can withstand any potential moisture or water damage. Look for laminate flooring with a moisture resistance rating of AC3 or higher.
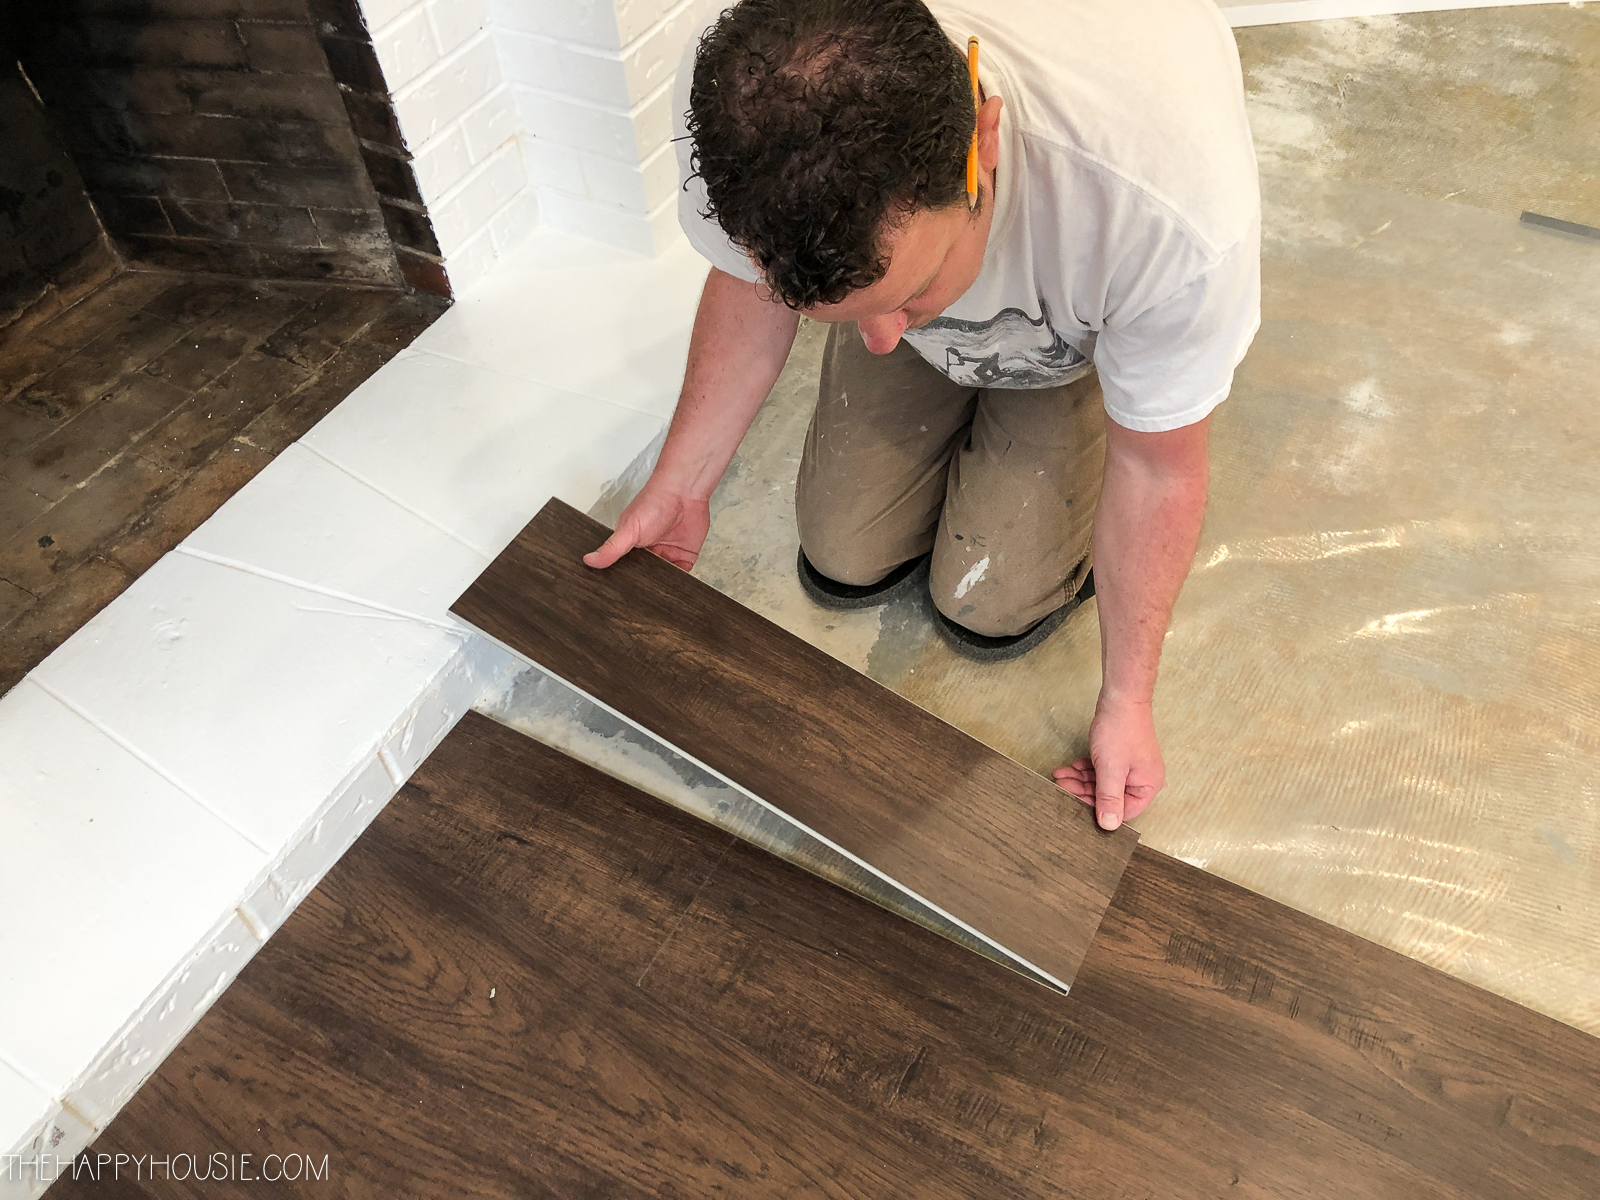
Secondly, consider the installation method of the laminate flooring. Opt for a floating floor system, which means the planks are not glued or nailed to the concrete. This allows for easier installation and also allows for the floor to expand and contract with changes in temperature and humidity.
Another important consideration is the underlayment. A proper underlayment is essential to protect the laminate flooring from moisture and provide insulation. Look for underlayments specifically designed for laminate flooring in basements.
Lastly, choose a laminate flooring design and style that suits your personal preferences and complements the overall aesthetic of your basement. Laminate flooring comes in a wide range of colors, patterns, and textures, allowing you to achieve the desired look for your space.

Essential Tools and Materials
- Moisture Barrier: Before installing laminate flooring on concrete, it is crucial to create a moisture barrier. This helps prevent any moisture from seeping through the concrete and damaging the flooring. A polyethylene plastic sheet or a moisture barrier kit can be used for this purpose.
- Underlayment: An underlayment is a thin layer of material that is placed between the concrete and the laminate flooring. It helps to provide cushioning, reduce noise, and act as a vapor barrier. Foam underlayment is commonly used for laminate flooring installations on concrete.
- Laminate Flooring: Of course, you will need the laminate flooring itself. Choose a high-quality laminate that is specifically designed for concrete installations. Consider factors such as durability, water resistance, and style when selecting laminate flooring.
- Measuring and Cutting Tools: Accurate measurements and precise cuts are essential for a professional-looking installation. You will need tools such as a tape measure, a square, and a utility knife to measure and cut the laminate flooring to fit the space properly.
- Installation Kit: An installation kit typically includes tools like a tapping block, pull bar, and spacers. These tools are used to properly connect the laminate planks, tap them into place, and create the necessary gaps around the edges for expansion.
- Adhesive or Click-Lock System: Depending on the type of laminate flooring you choose, you may need adhesive or a click-lock system for installation. The adhesive is typically used for glue-down laminate flooring, while click-lock systems allow for a floating floor installation.
- Protective Gear: It is important to prioritize safety during the installation process. Wear protective gear such as safety glasses, gloves, and knee pads to protect yourself from any potential hazards or injuries.

Step-by-Step Guide to Installing Laminate Flooring in a Basement
Installing laminate flooring in a basement on concrete can be a great way to enhance the look and functionality of the space. Follow this step-by-step guide to ensure a successful installation process.
1. Prepare the Basement:
Before installing laminate flooring, it is crucial to prepare the basement properly. Start by cleaning the concrete surface thoroughly, removing any dust, dirt, or debris. Fill any cracks or holes in the concrete using a patching compound and allow it to dry completely.
2. Acclimate the Laminate:
Laminate flooring needs to acclimate to the temperature and humidity of the basement before installation. Remove the packaging from the laminate planks and let them sit in the basement for at least 48 hours. This will prevent any expansion or contraction issues later on.
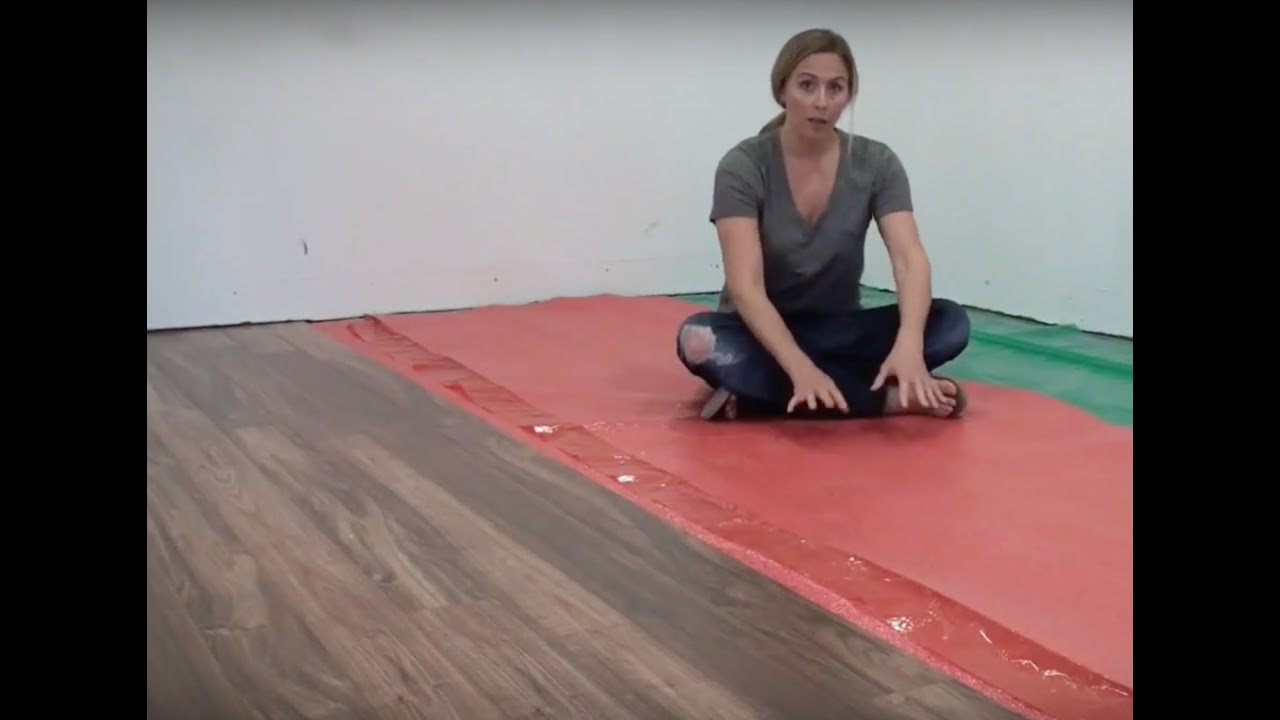
3. Install a Vapor Barrier:
To protect the laminate flooring from moisture, it is essential to install a vapor barrier. Roll out a plastic sheet or use a moisture barrier underlayment, ensuring it covers the entire basement floor. Secure the seams with moisture-resistant tape for added protection.
4. Lay the Underlayment:
Next, lay the underlayment over the vapor barrier. Underlayment helps to reduce noise, absorb impact, and provide additional moisture protection. Roll out the underlayment, ensuring it covers the entire basement floor. Trim any excess material along the edges.
5. Plan the Layout:
Before starting the actual installation, plan the layout of the laminate flooring. Measure the dimensions of the basement and determine the starting point. It is recommended to start from a straight wall or the longest wall in the room for a more seamless look.
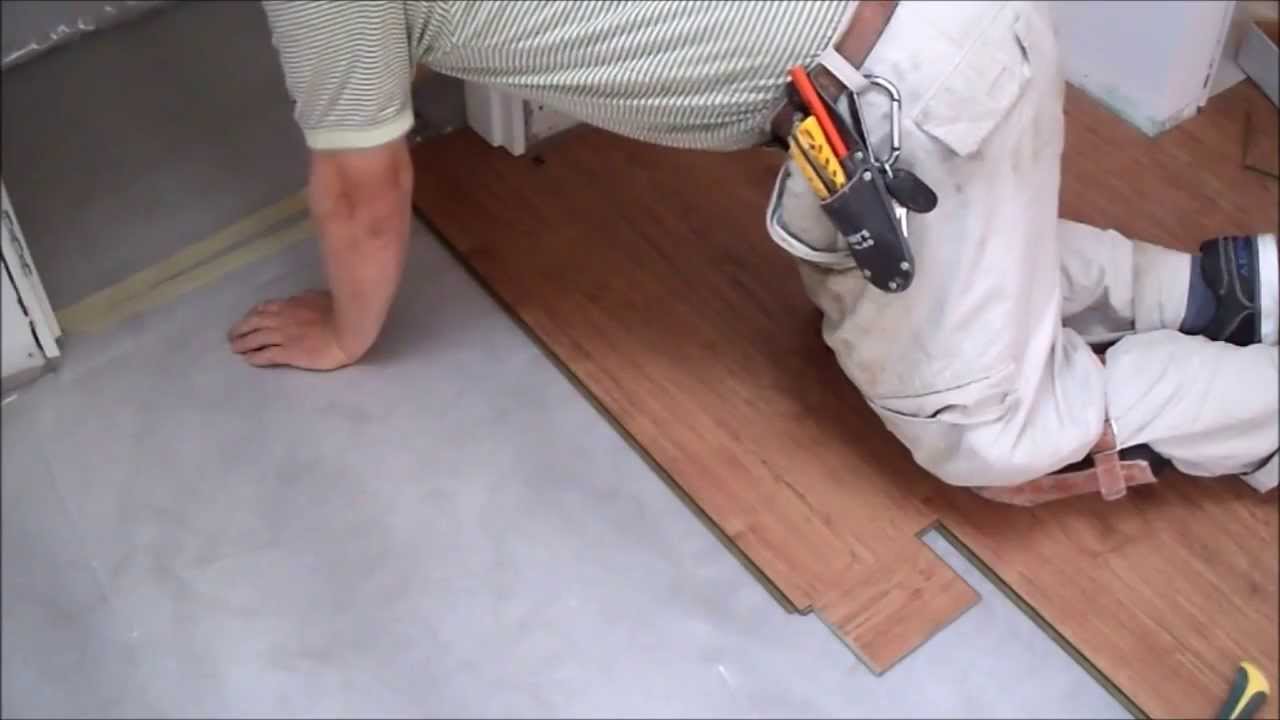
6. Install the First Row:
Begin by laying the first row of laminate planks along the starting wall. Place spacers between the planks and the wall to allow for expansion. Use a miter or circular saw to cut the planks to the desired length. Remember to leave a 1/4-inch gap between the planks and the wall for expansion.
7. Continue the Installation:
Continue installing the laminate flooring row by row. Use a tapping block and a rubber mallet to fit the planks tightly together. Stagger the joints between the rows to create a more natural and visually appealing look.
Tips for Overcoming Challenges
One common challenge is moisture. Concrete tends to retain moisture, which can cause damage to laminate flooring. To overcome this, it is important to properly seal the concrete before installation. This can be done using a moisture barrier or a sealant. By creating a moisture barrier, you can protect the laminate flooring from any potential moisture damage.
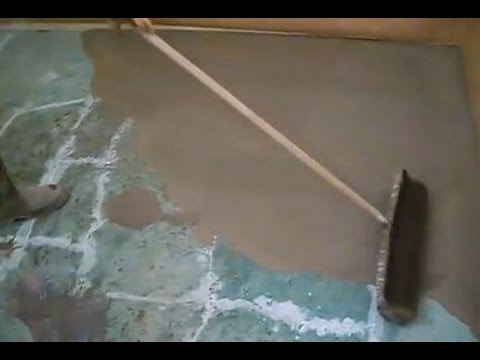
Another challenge is unevenness in the concrete surface. Uneven surfaces can cause the laminate flooring to buckle or warp over time. To address this, it is crucial to level the concrete before installing the laminate. This can be done by using a self-leveling compound or by grinding down any high spots. By ensuring a smooth and level surface, you can prevent any future issues with the laminate flooring.
Additionally, choosing the right underlayment is essential for a successful installation. The underlayment acts as a cushion and moisture barrier between the concrete and the laminate flooring. It also helps to reduce noise and improve insulation. It is important to select an underlayment specifically designed for laminate flooring on concrete to ensure proper installation and long-term durability.
Lastly, it is crucial to acclimate the laminate flooring to the room’s temperature and humidity before installation. This helps to prevent any expansion or contraction of the flooring after installation. By allowing the laminate to adjust to the environment, you can minimize the risk of gaps or buckling in the future.
Importance of Moisture Barrier and Underlayment
The moisture barrier and underlayment play a crucial role in basement installations when it comes to installing laminate flooring on concrete. These components are essential for maintaining the longevity and durability of the flooring.
Basements are often prone to moisture and humidity, which can seep through the concrete and cause damage to the laminate planks. A moisture barrier is designed to prevent this moisture from reaching the flooring by acting as a protective layer. It acts as a shield, blocking any moisture that may be present in the concrete from affecting the laminate flooring. Without a moisture barrier, the laminate can swell, warp, or develop mold and mildew, leading to costly repairs or replacement.
In addition to the moisture barrier, an underlayment is also necessary for basement installations. The underlayment provides several benefits, such as insulation, soundproofing, and leveling the concrete surface. It helps to create a more comfortable and quieter environment by reducing noise transmission between floors. The underlayment also helps to smooth out any unevenness in the concrete, ensuring a level surface for the laminate flooring.
Finishing Touches
Once you have successfully installed laminate flooring in your basement on a concrete subfloor, it is important to give it a polished and seamless finish. This involves properly trimming and transitioning the laminate flooring to ensure a smooth and professional look.
Trimming the laminate flooring is necessary to fit it neatly against walls, doorways, and other obstacles. To do this, measure the gap between the last row of laminate planks and the wall, and then cut the planks accordingly using a circular saw or a jigsaw. Make sure to leave a small gap for expansion between the laminate and the wall.
Transitioning the laminate flooring is essential for a seamless transition between different types of flooring or between rooms. There are various transition strips available, such as T-molding, reducer, or threshold strips, depending on the height difference and the type of flooring you are transitioning to. Measure the width of the doorway or the gap between the different types of flooring and cut the transition strip accordingly. Install the transition strip using adhesive or nails, ensuring it is securely attached.
In addition to trimming and transitioning, it is important to clean and inspect the laminate flooring for any imperfections or gaps. Use a damp mop or a laminate floor cleaner to remove any dirt or debris. Inspect the entire floor for any visible gaps or unevenness, and if necessary, use a floor leveling compound to fill in the gaps or sand down any high spots.
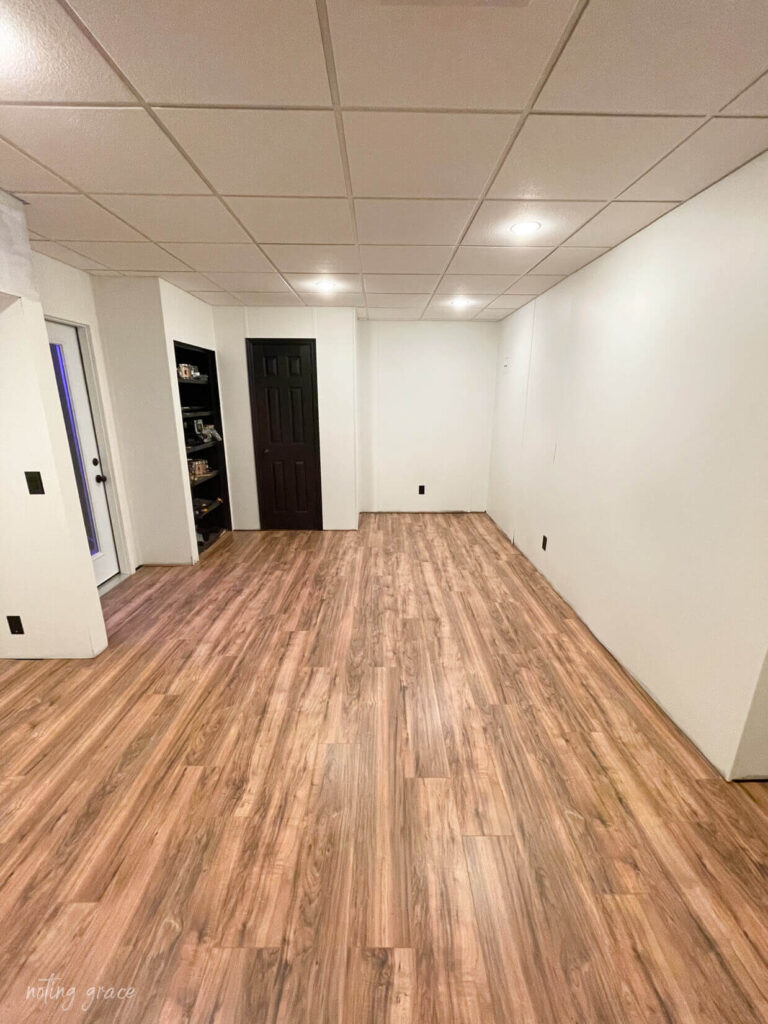
How To Install Laminate Flooring Over Concrete – Noting Grace
Can You Install Laminate on Uneven Concrete? – Ready To DIY

How To Level Concrete Subfloor: Preparation for Laminate or Hardwood floor Mryoucandoityourself
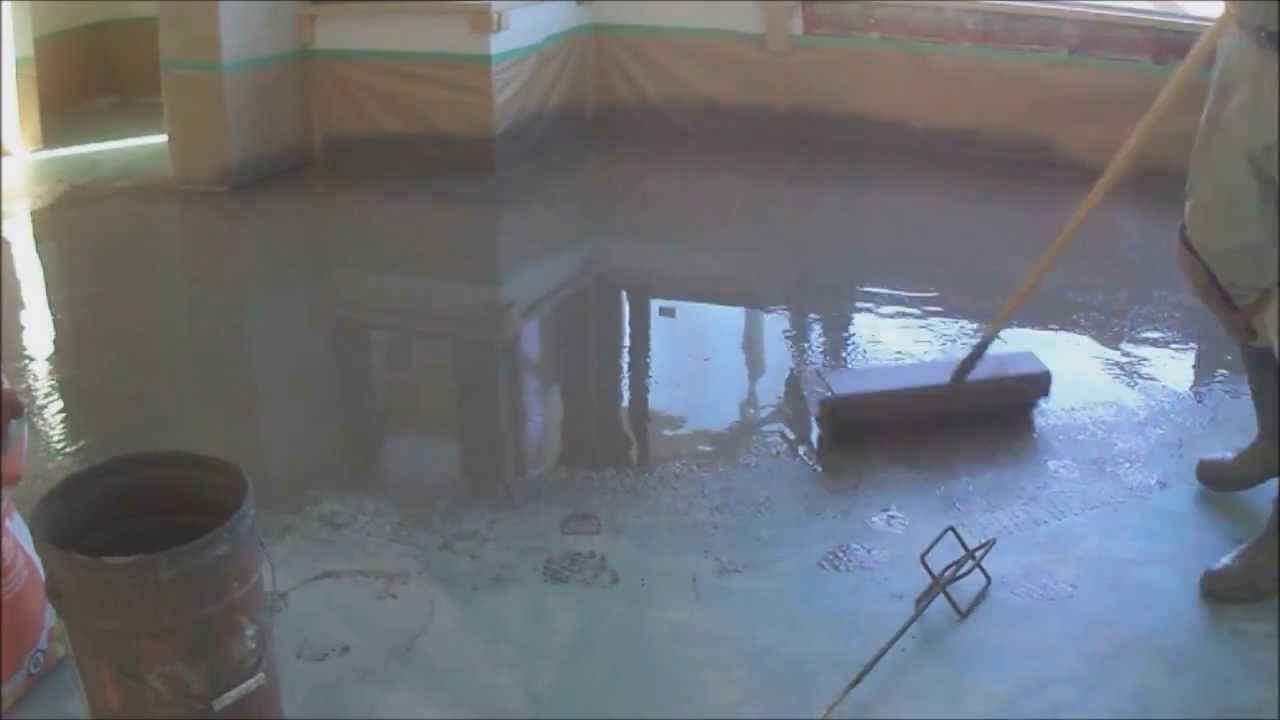
leveling concrete basement floor before laying laminate

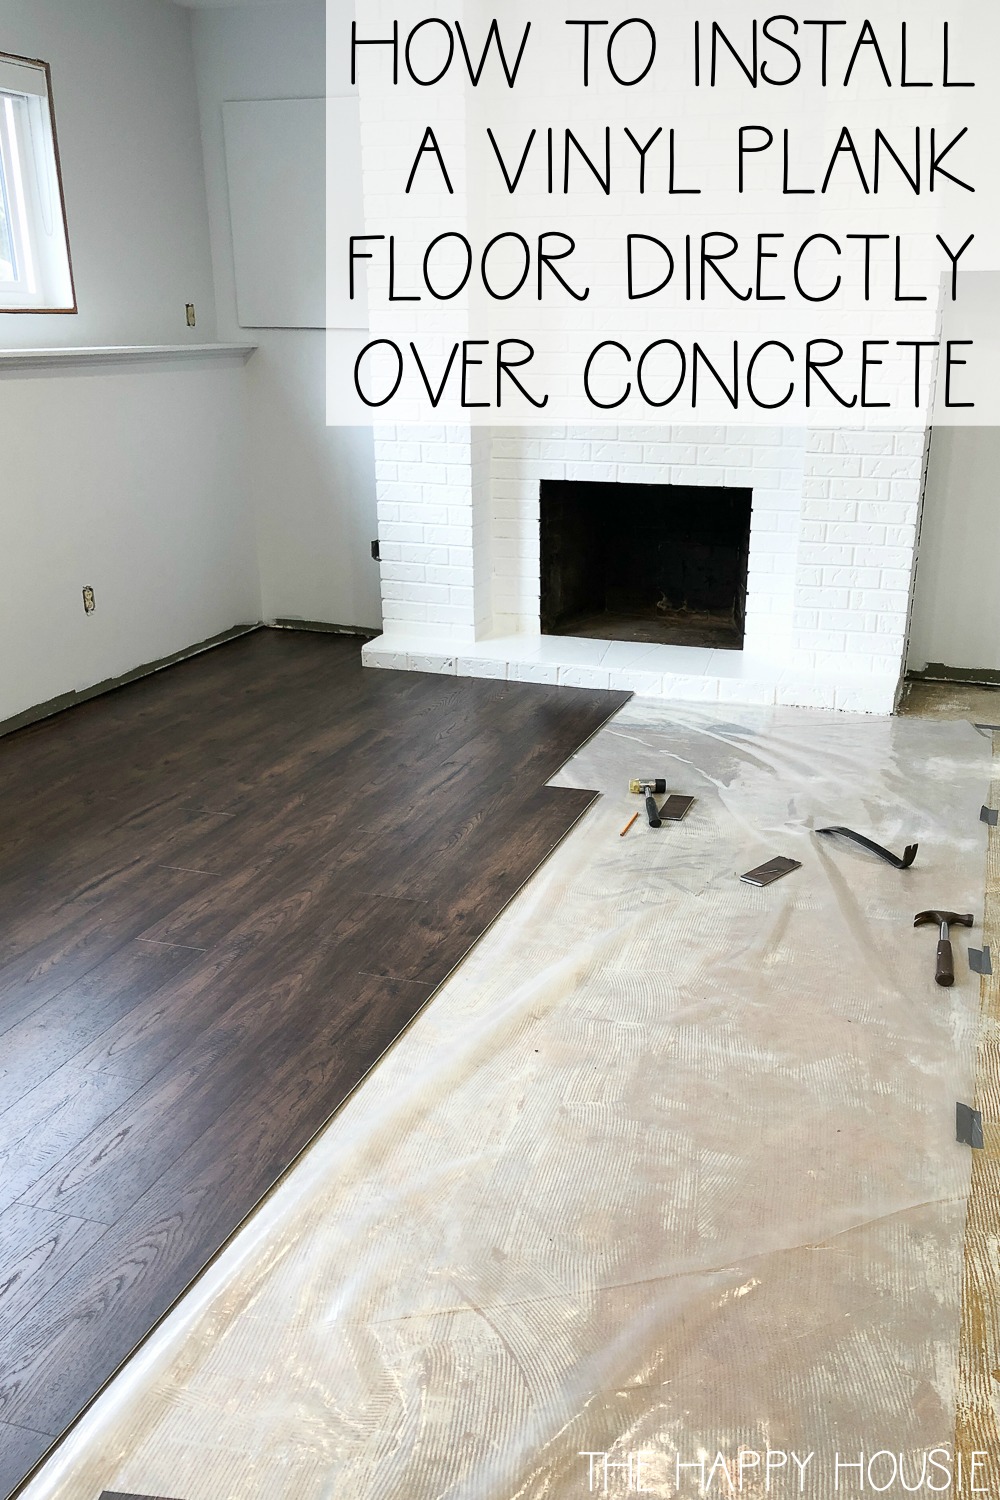
How to Install Vinyl Plank over Concrete (ORC Week 4/5) The
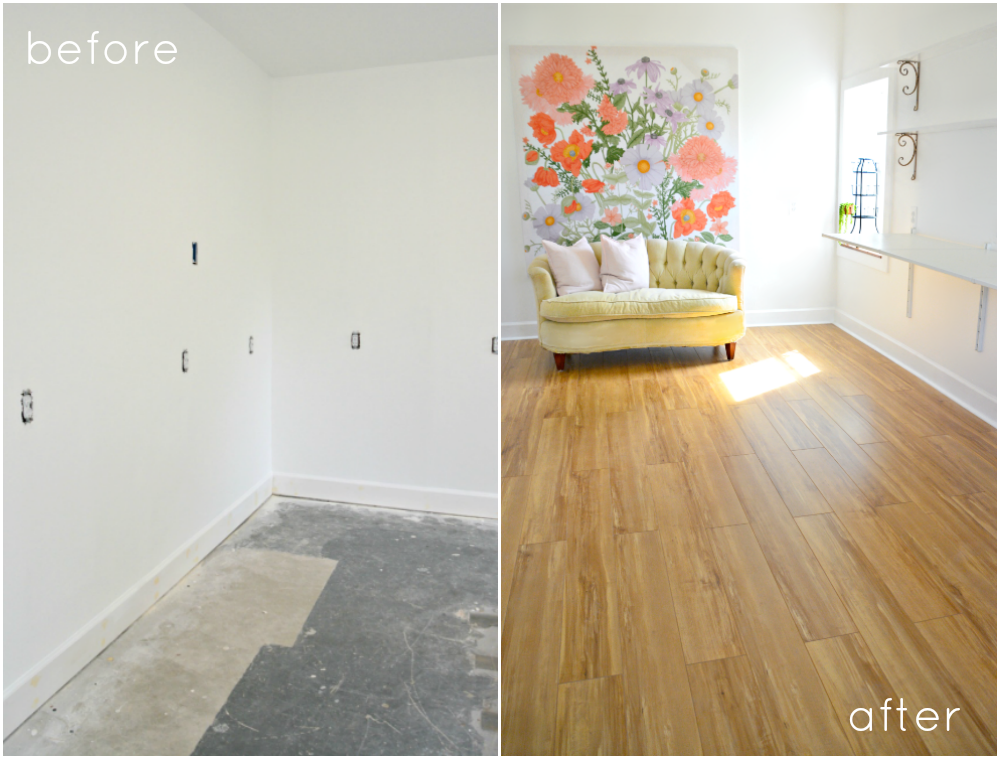
How To Install Laminate Flooring Over Concrete
How to Install Laminate Flooring Over Concrete Slab Hunker

Related Posts: