Why Choose Marble for Your Flooring?
If you’re considering a flooring upgrade and want a material that screams luxury and sophistication, marble should be at the top of your list. Marble has been a popular flooring choice for centuries, and it’s easy to see why. But beyond its aesthetic appeal, there are several practical reasons why you might want to opt for marble in your home. Let me walk you through some of the main reasons why marble could be the perfect flooring choice for you.
- Timeless Elegance
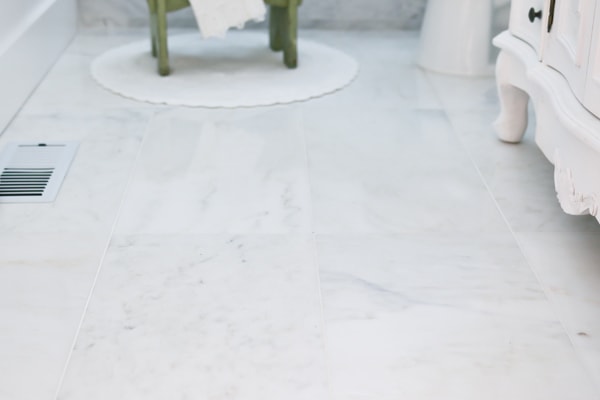
Marble is synonymous with classic beauty. Its natural veining patterns and diverse color options can fit into almost any design style, from traditional to contemporary. I remember walking into homes with marble flooring and being instantly struck by how luxurious the space felt. - Durability
One of the things that initially drew me to marble was its durability. When properly sealed and maintained, marble can last a lifetime. It’s a strong material that can withstand heavy foot traffic, which makes it perfect for busy areas like the kitchen or hallway. - Heat Resistance
Marble remains cool to the touch, even in warm climates. This makes it an excellent choice for homes in hotter regions or for anyone who enjoys the feel of cool, refreshing floors beneath their feet. I’ve found this particularly beneficial in the summer months when I want to escape the heat. - Increases Property Value
Installing marble floors is a surefire way to increase the value of your home. It’s considered a premium material, and potential buyers are often willing to pay extra for a home with marble flooring. This makes it a great investment in the long run. - Versatility in Design
One of the best things about marble is its versatility. It comes in a wide range of colors, patterns, and finishes. Whether you’re going for a sleek, modern look or a more rustic, traditional feel, there’s a marble option to suit your style. When I was selecting marble for my space, I was amazed by the variety available. - Natural Light Enhancement
Marble has a unique ability to reflect light, which can make rooms appear brighter and more spacious. In my own home, the marble floor has enhanced the overall lighting, creating a brighter and more inviting atmosphere in every room.

Essential Tools and Materials for Installing Marble Tile
Before you start your marble tile project, it’s important to gather all the right tools and materials. Installing marble requires precision, and using the correct equipment will make the entire process much smoother. I’ve learned the hard way that cutting corners on materials can lead to headaches down the road. Here’s what you’ll need to get started.
Marble Tiles
You can’t start without your marble tiles. I recommend selecting the size, pattern, and color that best fits your design plan. Make sure to purchase extra tiles in case of breakage or mistakes during installation.
Tile Saw with Diamond Blade
Marble is a dense, hard stone, so a regular tile cutter won’t do. You’ll need a wet saw with a diamond blade specifically designed to cut marble without chipping. This was one tool I couldn’t skimp on when I did my installation.
Tile Spacers
Tile spacers are essential for ensuring consistent gaps between each marble tile, which will make your grout lines even. I always opt for durable, reusable spacers that come in different sizes depending on your preference.
Thin-Set Mortar
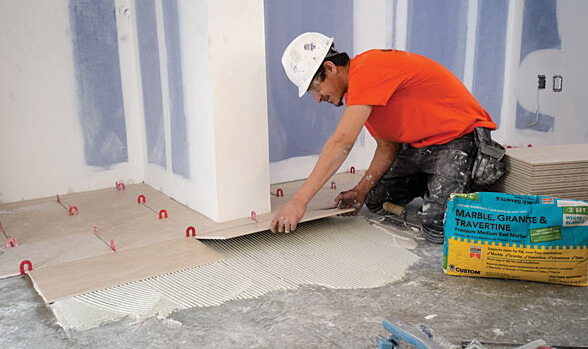
To adhere the marble tiles to the subfloor, you’ll need thin-set mortar. Make sure you buy the right type for marble, as some mortars can stain or damage the stone. Always follow the manufacturer’s instructions when mixing and applying.
Notched Trowel
A notched trowel is essential for applying the thin set evenly. The size of the notches will depend on the size of your tiles, but I’ve found that a 1/4-inch or 1/2-inch trowel works well for most marble installations.
Grout and Sealer
Once your tiles are laid, you’ll need to fill the gaps with grout and protect your marble with a high-quality sealer. Choosing a grout color that complements your marble is key for a seamless look. Don’t forget to reapply the sealer every year or so to maintain the finish.
Preparing the Subfloor: The Foundation for a Perfect Installation
Before you even think about laying down your marble tiles, you need to focus on the subfloor. I’ve made the mistake of rushing through this step, only to deal with uneven tiles later. Proper subfloor preparation is crucial for a smooth, durable finish, so let’s walk through the key steps.
Clean the Subfloor Thoroughly
Whether you’re working with a concrete or wooden subfloor, it must be completely clean. Dust, debris, or even small cracks can lead to uneven tiles or cause the adhesive not to bond properly. I always vacuum and sweep thoroughly before moving on.
Ensure the Subfloor is Level
Marble tiles are not forgiving when it comes to an uneven subfloor. Any dips or humps in the floor will show once the tiles are laid. I recommend using a leveling compound to even out any imperfections. This step made a huge difference in the quality of my installation.
Apply a Waterproof Membrane
Marble is porous, which means moisture can seep through and damage the tiles if your subfloor isn’t protected. Using a waterproof membrane is particularly important in areas like bathrooms or kitchens where spills are common. It gave me peace of mind knowing my floor was protected from potential water damage.
Install a Cement Backer Board
If you’re working with a wooden subfloor, it’s a good idea to install a cement backer board. This provides extra stability and helps prevent the tiles from cracking over time. I always use screws to attach the board securely to the subfloor, ensuring a solid foundation.
Check for Proper Adhesion
Before laying any marble tiles, make sure that your thin-set mortar will adhere properly to the subfloor. Perform a quick test by applying a small amount and ensuring it sticks well. This is especially important if your subfloor is particularly smooth.
Mark the Layout Lines
Once your subfloor is clean, level, and protected, use a chalk line to mark layout lines for your tiles. This will help guide you as you lay each tile, ensuring a symmetrical and visually appealing design. This was a step I found incredibly useful to avoid ending up with awkwardly cut tiles around the edges.
Laying Out the Marble Tiles: Tips for Achieving a Symmetrical Look
Now comes the fun part—laying the tiles. This is where your planning and preparation pay off. Achieving a symmetrical look takes some precision, but it’s well worth the effort when you see the final result. Here are the steps I followed to make sure my layout was spot on.
Start with a Dry Layout
Before you start adhering the tiles with thin-set mortar, do a dry layout. This means laying out the tiles on the floor without adhesive to ensure you’re happy with the pattern and alignment. I always do this to visualize how the final layout will look.
Work from the Center Outward
I’ve found that starting from the center of the room and working outward gives the most symmetrical result. Measure the center point of the room and place your first tile there. This way, you’ll have equal cuts on the tiles along the edges of the room, creating a balanced look.
Use Tile Spacers for Even Gaps
Tile spacers are a must if you want even grout lines. Place spacers between each tile to maintain uniform gaps. I usually go with 1/8-inch or 1/4-inch spacers, depending on the size of the room and the size of the tiles.
Check for Levelness Regularly
As you lay each tile, it’s important to check for levelness. Marble tiles can be heavy, and sometimes they can sink into the thin-set unevenly. I keep a leveling tool on hand to check as I go, ensuring a smooth finish.
Cut Tiles as Needed
In most installations, you’ll need to cut some tiles to fit around the edges or obstacles. A wet saw with a diamond blade is your best friend here. I’ve found that making precise cuts makes a huge difference in the overall look of the floor.
Double-Check Your Pattern
Once you’re happy with the dry layout and have your tiles cut and ready, take a step back and make sure everything looks symmetrical. This is your last chance to make adjustments before you start adhering them with mortar. It’s worth taking the extra time to get this right.
How to Properly Cut Marble Tiles: A Step-by-Step Guide
Cutting marble tiles can seem intimidating, but with the right tools and techniques, it’s actually quite manageable. I was nervous the first time I had to cut marble, but once I got the hang of it, it became one of my favorite parts of the installation process. Here’s how I do it, step-by-step.
Gather the Right Tools
Cutting marble requires a wet saw with a diamond blade, safety goggles, and gloves. The diamond blade is essential for making clean cuts without chipping the marble. I always wear goggles and gloves for safety, as marble can send small shards flying when cut.
Mark Your Cut Lines
Before you make any cuts, measure and mark the tile where you need to cut. Use a pencil or a washable marker to draw a straight line where the cut will be. I double-check my measurements to ensure accuracy, as even a small mistake can throw off the whole layout.
Set Up the Wet Saw
Fill the wet saw’s water reservoir and make sure the diamond blade is properly installed. The water helps cool the blade and reduces dust, which is essential when cutting stone like marble. I always ensure the saw is on a flat, stable surface before starting.
Make the Cut Slowly and Steadily
When it’s time to cut, guide the marble tile through the wet saw slowly and steadily. Rushing the cut can result in chipped edges or an uneven finish. I’ve found that letting the blade do the work, without forcing the tile, produces the best results.
Smooth the Edges
After cutting, the edges of the tile may be a bit rough. Use a tile file or sanding block to smooth out the edges for a professional finish. I always take my time with this step to ensure the edges are smooth and safe to handle.
Test Fit Before Installation
Once you’ve cut your tile, do a test fit to make sure it fits perfectly in the space you’ve designated. If the fit is off, now’s the time to make any necessary adjustments before applying the mortar. It’s always better to be cautious and get it right.
Grouting and Sealing Your Marble Floor: Ensuring Durability and Shine
After all the hard work of laying the marble tiles, grouting and sealing are the final steps that bring everything together. This is where your floor goes from a work-in-progress to a finished masterpiece. Here’s how I approach this crucial phase.
Choose the Right Grout Color
The color of your grout can dramatically affect the look of your marble floor. I like to choose a grout color that complements the natural veins in the marble, creating a cohesive look. Whether you want a contrasting grout or something that blends in, take your time to choose the right shade.
Mix the Grout Properly
Mixing grout is simple but requires care. Follow the instructions on the package to achieve the right consistency. I always aim for a thick, peanut butter-like consistency that will easily fill the gaps between tiles without being too runny.
Apply Grout in Small Sections
I’ve learned from experience that it’s best to apply grout in small sections, working it into the gaps with a rubber float. This ensures that the grout fills every crevice without drying out before you’ve had a chance to smooth it over.
Wipe Off Excess Grout
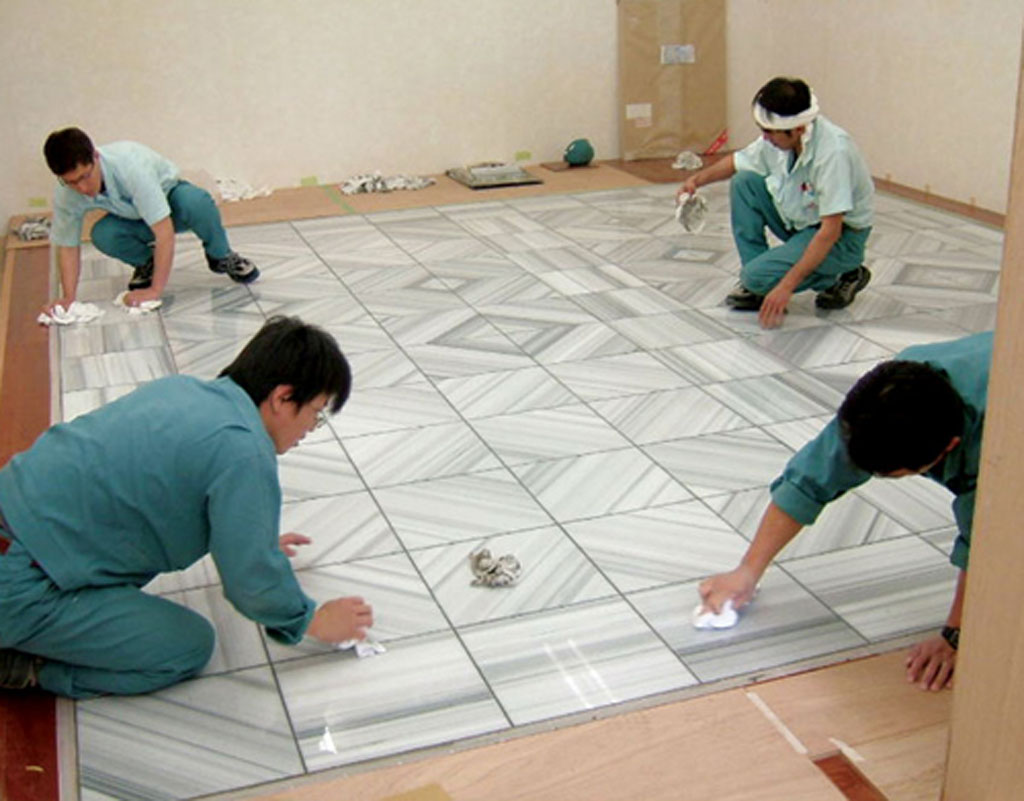
Once you’ve filled the gaps, use a damp sponge to wipe off any excess grout from the surface of the tiles. Be sure to wring out the sponge regularly to avoid smearing grout over the tiles. I always go over the area a few times to make sure it’s completely clean.
Allow the Grout to Cure
After applying the grout, it’s important to let it cure for at least 24 hours. During this time, avoid walking on the floor or placing any heavy objects on it. Trust me, waiting for the grout to fully set is worth it for the long-lasting results.
Seal the Marble
Once the grout has cured, apply a high-quality sealer to protect both the grout and the marble. Marble is porous, so sealing it will prevent stains and water damage. I usually apply two coats of sealer, allowing each one to dry fully before adding the next.
Common Mistakes to Avoid When Installing Marble Floor Tile
Even with the best intentions, mistakes can happen during a marble tile installation. Trust me, I’ve made a few myself! To help you avoid some of the common pitfalls, here’s a list of mistakes that can be easily avoided with a bit of preparation and caution.
Skipping Subfloor Preparation
One of the biggest mistakes I see people make is skipping the proper subfloor prep. Whether it’s uneven surfaces or moisture issues, not preparing the subfloor properly will lead to long-term problems like cracking or uneven tiles.
Using the Wrong Adhesive
Marble requires a special type of adhesive, and using the wrong one can result in stains or poor adhesion. Always use a thin-set mortar that’s compatible with marble. I once used the wrong adhesive, and it caused discoloration on some of my tiles—an expensive lesson learned!
Not Allowing for Tile Expansion
Marble tiles expand and contract with temperature changes, so it’s important to leave a small gap around the perimeter of the room for this movement. I didn’t leave enough space during one of my first installations, and it caused tiles to crack over time.
Rushing the Grouting Process
It’s easy to get impatient and rush through the grouting process, but doing so can lead to uneven grout lines or excess grout stuck on the tile surface. I always recommend taking your time and cleaning the tiles thoroughly as you go.
Failing to Seal the Marble
Marble is a porous material, and if it’s not sealed, it can easily stain or become damaged by water. I made the mistake of skipping this step once, and my tiles became discolored within months. Always seal your marble to protect your investment.
Walking on the Floor Too Soon
After you’ve laid your tiles and applied the grout, it’s important to let everything fully cure before walking on the floor. I’ve been guilty of stepping on my floor too soon, and it caused the tiles to shift slightly, which was a hassle to fix. Be patient and give the floor the time it needs to set properly.
Tips & Articles – Natural Stone Online
Related Posts:


