The Benefits of Interlocking Rubber Floor Tiles
When choosing flooring for your basement, interlocking rubber floor tiles offer numerous advantages that make them an excellent option for homeowners. Here are some key benefits to consider:
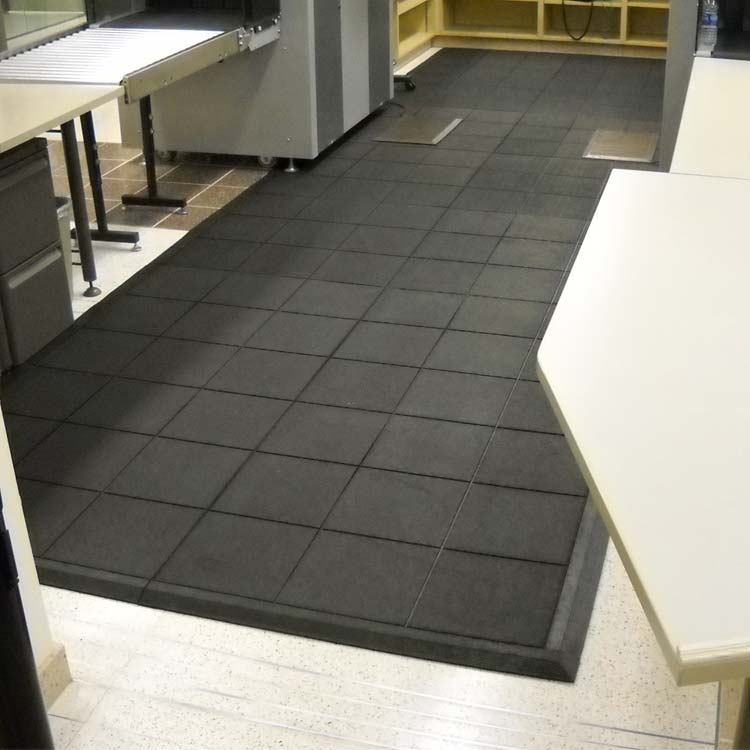
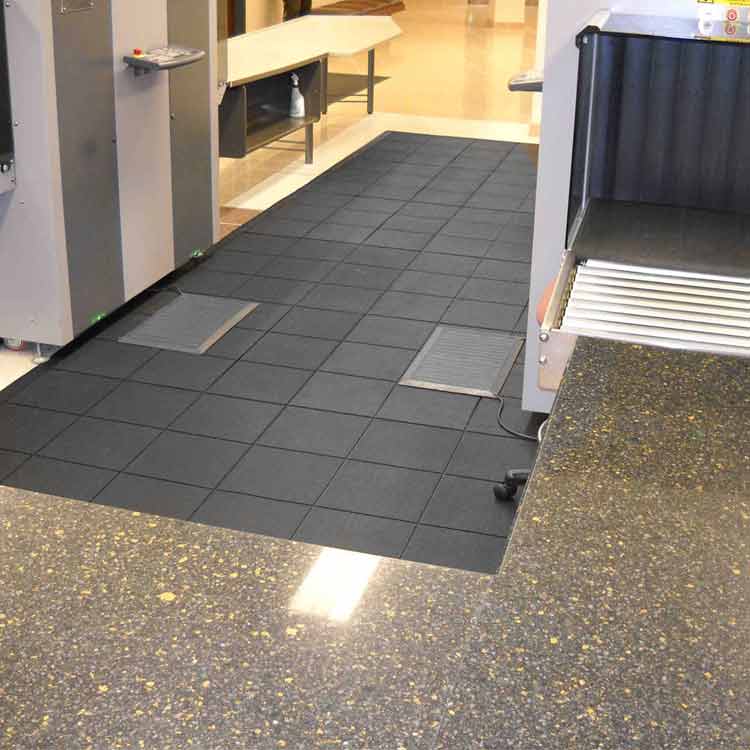
- Durability: Interlocking rubber floor tiles are incredibly durable and able to withstand heavy foot traffic, furniture, and equipment without showing signs of wear and tear. This durability makes them ideal for high-traffic areas like basements, where they can stand up to the rigors of daily use.
- Water Resistance: Basements are prone to moisture issues, but interlocking rubber tiles are inherently water-resistant, making them an excellent choice for this environment. Unlike traditional flooring materials like carpet or hardwood, rubber tiles won’t warp, swell, or develop mold when exposed to moisture.
- Comfort: Rubber flooring provides a cushioned surface that offers comfort underfoot, making it ideal for areas where you’ll be spending extended periods standing or walking. This added comfort can reduce fatigue and strain on your feet, legs, and back, especially important in basements that serve as playrooms, home gyms, or recreational areas.
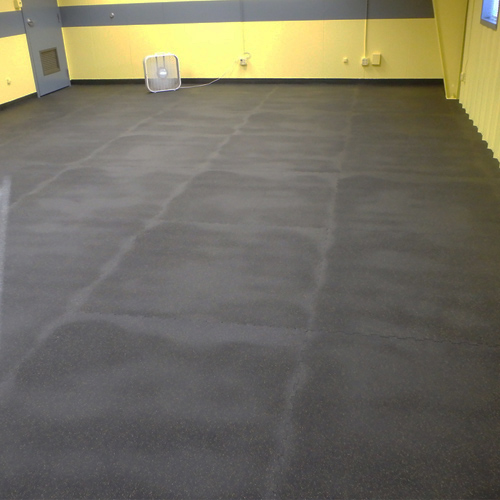
- Sound Absorption: Basements can often suffer from echoing and noise transmission from above or adjacent rooms. Interlocking rubber tiles help absorb sound, reducing noise levels and creating a quieter, more enjoyable living space. This feature is particularly beneficial for homeowners looking to create a home theater or music room in their basement.
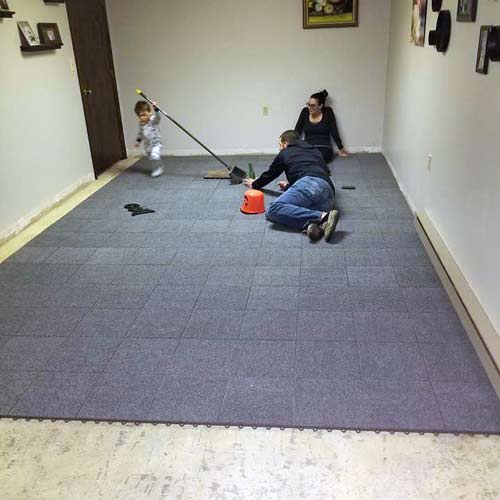
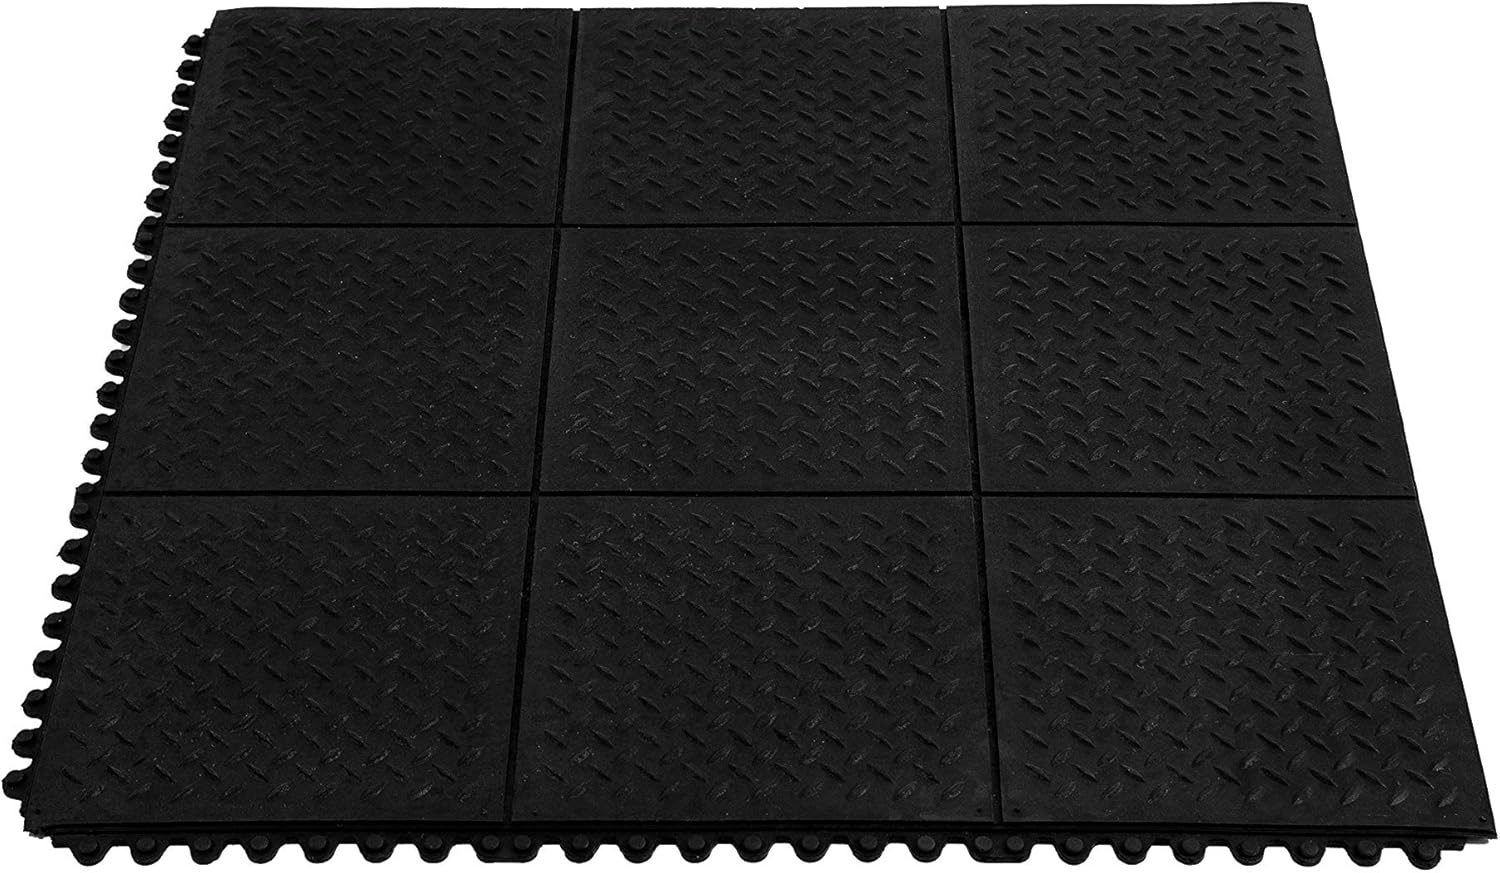
- Easy Installation: Interlocking rubber floor tiles are designed for simple installation, typically requiring no adhesives or special tools. The interlocking mechanism allows the tiles to snap together easily, resulting in a seamless and professional-looking finish. This makes them a great option for DIY enthusiasts or those looking to save on installation costs.
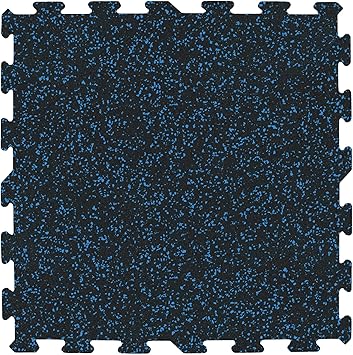
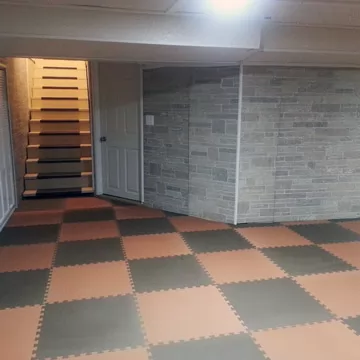
- Versatility: Rubber tiles come in a variety of colors, patterns, and textures, allowing you to customize the look of your basement to suit your style and preferences. Whether you prefer a sleek, modern aesthetic or a more traditional look, there’s a rubber tile option to fit your design vision.
Installation Tips and Considerations for Basement Flooring
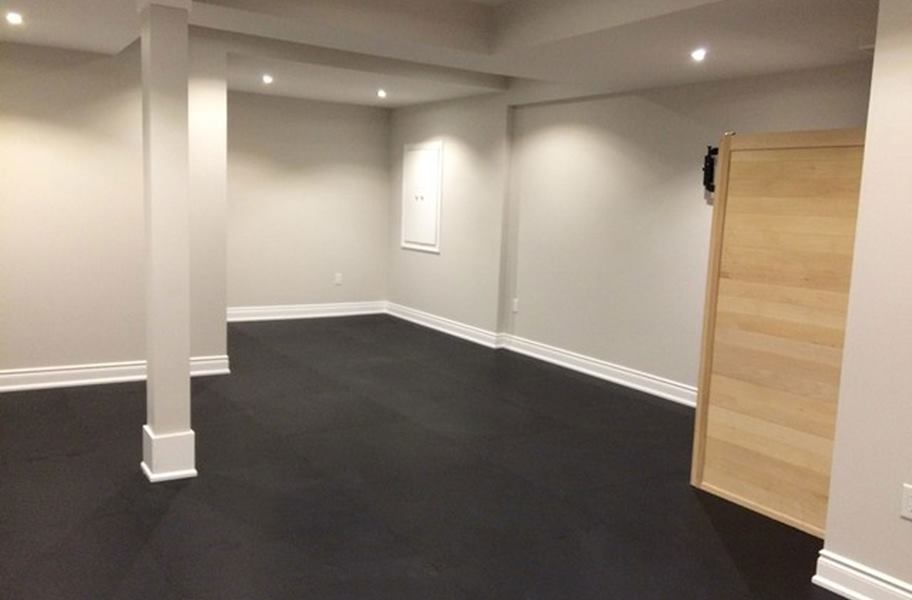
Installing interlocking rubber floor tiles in your basement can transform the space into a functional and stylish area that adds value to your home. Here are some tips and considerations to keep in mind when installing rubber flooring in your basement:
Prepare the Subfloor: Before installing rubber tiles, it’s essential to ensure that the subfloor is clean, dry, and level. Remove any existing flooring materials and repair any cracks or uneven areas. A smooth and stable subfloor will ensure proper installation and a professional-looking finish.
Moisture Barrier: While rubber tiles are water-resistant, it’s still essential to install a moisture barrier, especially in basements prone to dampness or water intrusion. Lay down a waterproof membrane or vapor barrier to prevent moisture from seeping through the subfloor and causing damage to the rubber tiles.
Acclimate the Tiles: Allow the rubber tiles to acclimate to the temperature and humidity of the basement before installation. This helps prevent warping or expansion of the tiles after they’re installed. Leave the tiles in the basement for at least 24-48 hours before beginning the installation process.
Plan the Layout: Carefully plan the layout of the rubber tiles to ensure a seamless and professional-looking finish. Start by determining the center of the room and work outward, leaving space around the perimeter for expansion. Use a chalk line or straightedge to create guidelines for laying the tiles evenly.
Interlocking Installation: Interlocking rubber tiles are designed to fit together like puzzle pieces, making installation quick and easy. Start in one corner of the room and work your way across, snapping the tiles together firmly to create a tight seal. Use a rubber mallet or hammer to gently tap the tiles into place if needed.
Trimming and Finishing: Once all the full tiles are installed, you may need to trim the edges to fit around corners, walls, or obstacles. Use a utility knife or sharp scissors to cut the tiles to size, ensuring a snug fit. Install transition strips or edge trim to create a clean and polished look along the perimeter of the room.

Maintenance and Cleaning Tips
After investing in interlocking rubber floor tiles for your basement, it’s essential to establish a routine maintenance and cleaning regimen to keep them looking their best for years to come. Here are some tips for maintaining and cleaning your rubber flooring:
Regular Sweeping or Vacuuming: Keep your rubber floor tiles clean and free of debris by sweeping or vacuuming them regularly. Use a soft-bristle broom or a vacuum with a brush attachment to remove dirt, dust, and loose particles from the surface of the tiles.
Mop with Mild Detergent: For deeper cleaning, mop the rubber tiles with a solution of mild detergent and warm water. Avoid using harsh chemicals or abrasive cleaners, as they can damage the surface of the tiles. Dip a mop or sponge into the cleaning solution and wring out excess water before mopping the floor.
Spot Cleaning: For spills or stains, clean the affected area immediately with a damp cloth or sponge. Blot the spill gently to avoid spreading it further, then clean the area with a mild detergent solution. Rinse the area with clean water and dry it thoroughly to prevent water damage to the tiles.
Avoid Standing Water: While rubber tiles are water-resistant, standing water can still seep into the seams and edges, causing damage over time. Wipe up spills promptly and avoid leaving wet items or puddles of water on the floor. Use mats or rugs in areas prone to moisture to provide extra protection for the flooring.
Protective Coating: Consider applying a protective coating or sealant to your rubber floor tiles to enhance their durability and resistance to stains and scratches. Choose a product specifically designed for rubber flooring and follow the manufacturer’s instructions for application.
Regular Maintenance: Inspect your rubber floor tiles regularly for signs of wear, damage, or deterioration. Replace any damaged or worn tiles as needed to maintain the integrity of the flooring. With proper care and maintenance, your interlocking rubber floor tiles can provide years of reliable performance and aesthetic appeal in your basement space.

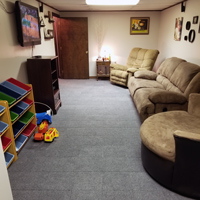
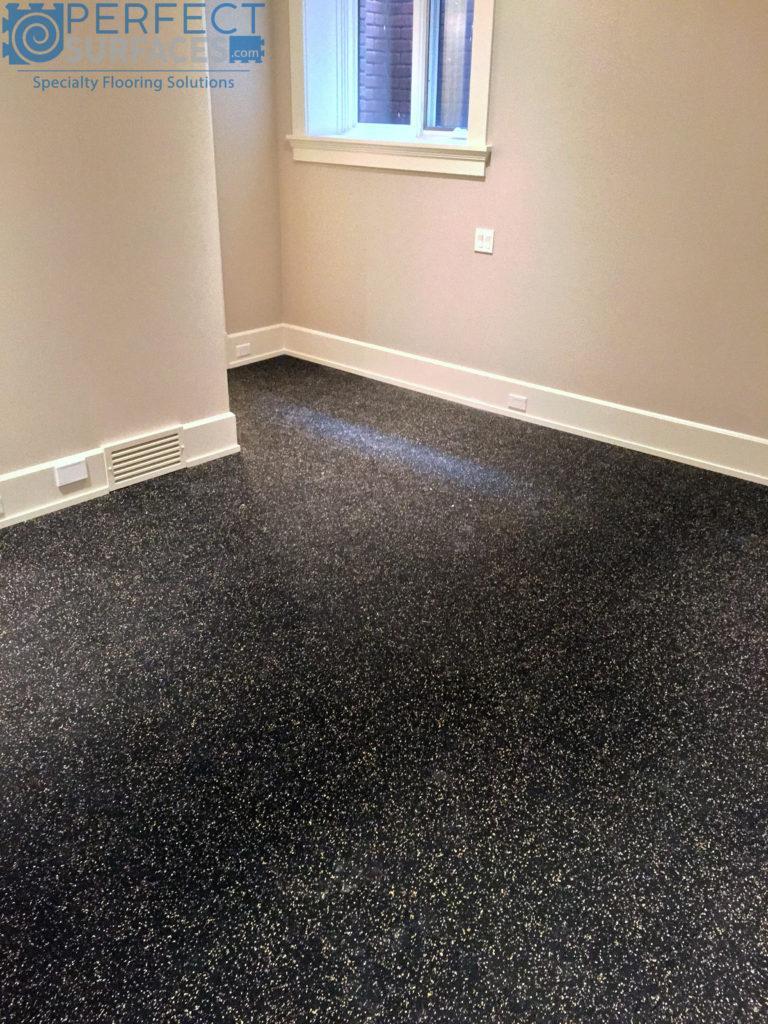
Enhancing Basement Spaces with Rubber Tile Flooring
Rubber tile flooring offers versatility and style, making it an excellent choice for enhancing the design and aesthetics of your basement space. Here are some design tips and ideas for incorporating rubber tile flooring into your basement:
Color Selection: Rubber tiles come in a wide range of colors, allowing you to create a custom look that complements your basement decor. Choose a neutral color palette for a timeless and versatile look, or opt for bold, vibrant colors to make a statement and add personality to the space.
Pattern Play: Get creative with patterns by mixing and matching different rubber tile designs. Create visual interest and depth by alternating between solid-colored tiles and those with patterns or textures. Consider geometric patterns, faux wood grain, or stone-inspired designs to add character and dimension to your basement floor.
Borders and Accents: Use contrasting colors or patterns to create borders or accent areas within the floor layout. Frame sections of the floor with a different color or pattern to define specific zones, such as a seating area, game zone, or workout space. This technique adds visual appeal and helps organize the space.
Incorporate Graphics: Take your design to the next level by incorporating graphics or custom logos into the rubber tile flooring. Personalize the space with images, symbols, or text that reflect your interests, hobbies, or family identity. This adds a unique touch and makes the basement feel truly one-of-a-kind.
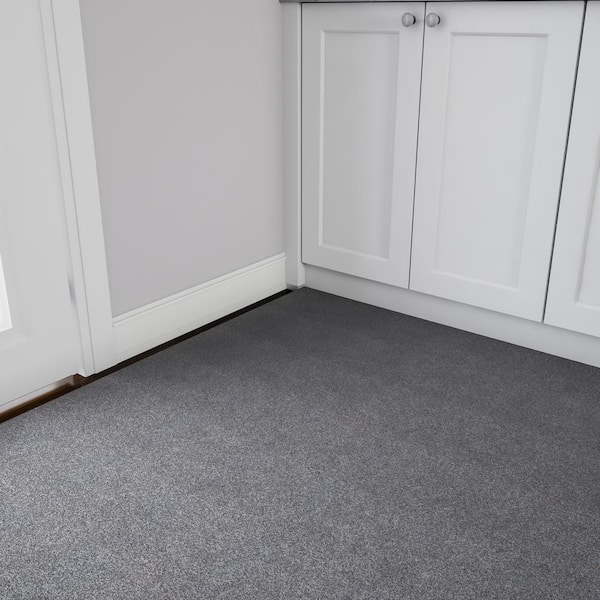
Mix with Other Materials: Combine rubber tile flooring with other materials like carpet, laminate, or vinyl plank to create visual contrast and add texture to the space. Use rubber tiles in high-traffic areas or areas prone to moisture, and softer materials in lounging or recreational areas for added comfort.
Create a Theme: Build your basement design around a central theme or concept and use rubber tile flooring to enhance the overall aesthetic. Whether you’re going for an industrial look, a retro vibe, or a cozy rustic feel, rubber tiles can be customized to suit any design theme and tie the space together.
Layer with Area Rugs: Soften the look and feel of your rubber tile flooring by layering with area rugs or mats. Choose rugs in complementary colors and patterns to add warmth, texture, and visual interest to the space. Area rugs also provide additional comfort underfoot in seating or lounging areas.
Cost Analysis and Comparison
Before making a decision on flooring for your basement, it’s essential to consider the cost and compare different options to determine the best fit for your budget and needs. Here’s a breakdown of the cost analysis and comparison for interlocking rubber flooring:
Initial Cost: Interlocking rubber floor tiles typically have a higher upfront cost compared to traditional flooring materials like carpet, vinyl, or laminate. However, it’s essential to consider the long-term value and durability of rubber tiles, which can outweigh the initial investment.
Installation Expenses: While rubber tiles are designed for easy DIY installation, professional installation may be required for larger or more complex basement spaces. Factor in the cost of installation, including labor and materials, when budgeting for your flooring project.
Longevity and Durability: One of the significant advantages of interlocking rubber flooring is its durability and longevity. Rubber tiles are resistant to wear, stains, and moisture, making them a cost-effective option in the long run. You’ll save money on repairs and replacement costs over time compared to less durable flooring materials.
Maintenance Costs: Rubber flooring requires minimal maintenance compared to other flooring options, which can save you time and money in the long term. Routine sweeping, mopping, and occasional spot cleaning are all that’s needed to keep rubber tiles looking their best, reducing the need for costly professional cleaning services.
Resale Value: While rubber flooring may not appeal to all buyers, it can add value to your home by enhancing the functionality and aesthetics of the basement space. A well-maintained rubber floor can be a selling point for potential buyers, increasing the overall value and marketability of your home.
Comparison with Other Flooring Options: Consider the pros and cons of interlocking rubber flooring compared to other basement flooring options, such as carpet, vinyl, laminate, or ceramic tile. Evaluate factors like durability, water resistance, comfort, and design flexibility to determine which option best meets your needs and budget.
Rubber Flooring for Basements Will Breathe New Life into Any Cellar
Basement Floor & Tiles: Interlocking Rubber, Carpet & Foam
IncStores 5/8 Inch Thick Evolution Rubber Interlocking Floor Tiles Flexible Rubber Floor Tiles for a Stronger and Safer Basement, Home Gym, Shed, or
IncStores 6mm Thick Energy Rubber Interlocking Floor Tiles Large Recycled Rubber Floor Tiles for a Stronger and Safer Basement, Home Gym, Shed, or
GatorLOC – Interlocking Tiles Perfect Surfaces Shop
Rubber Flooring for Basements vs. Foam and Plastic Tiles: Best Options
24 in. x 24 in. Gray Foam Mat Interlocking FloorTiles w/ EVA Foam
Interlocking Recycled Rubber Floor
Related Posts: