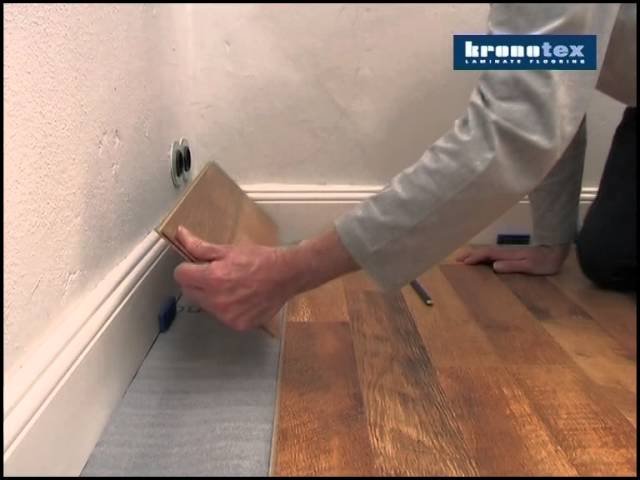
Using this method should help prevent the block from becoming damaged. Then so was born the personal label laminate. Since laminate is very sensitive to humidity, areas which have a significant humidity range are not the very best as a result of the laminate contracting and expanding because of the temperature and humidity. It is uncommon to come across an installer that can do it all.Eliminate all spacers from the wall space and install the molding or maybe baseboard to be able to hide the expansion gap.
Images about Kronotex Laminate Flooring Installation
Kronotex Laminate Flooring Installation
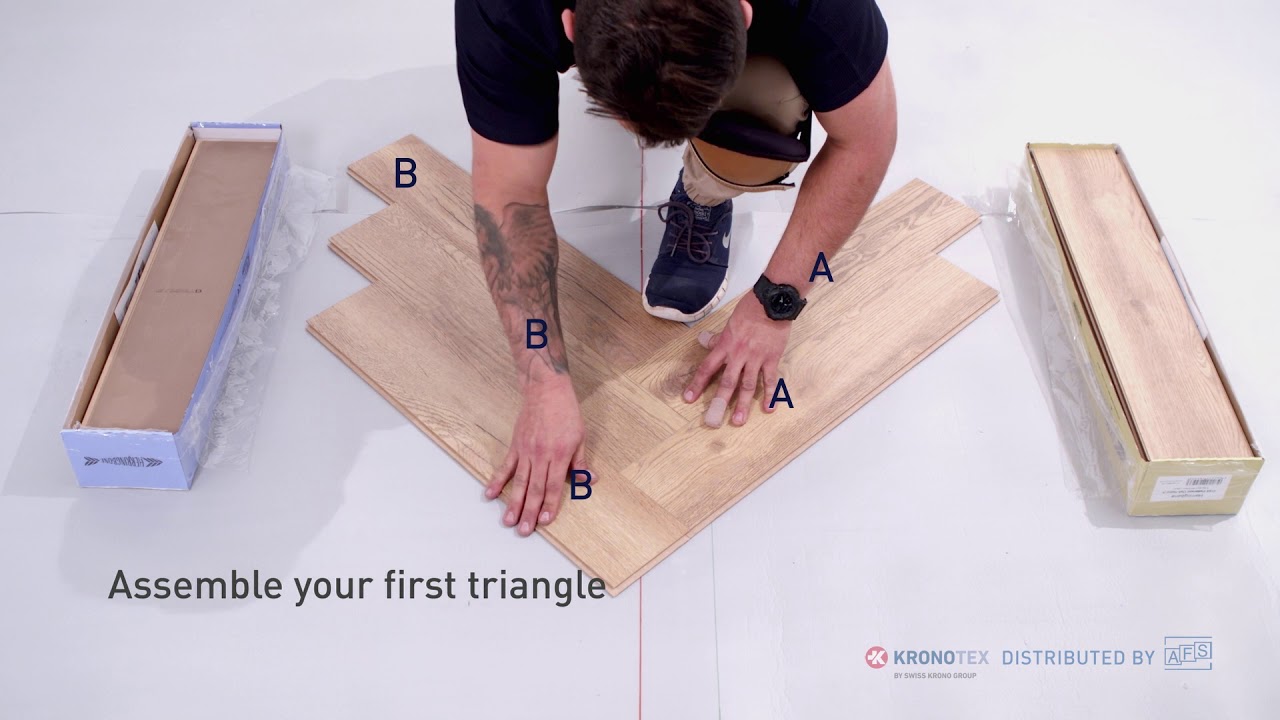
That's the explanation why you install it in a frame rather than securing it on the floor board. Position it down alongside the laminate, and next continue tapping the block until it fits like a glove. Everyone really wants to have a polished and beautiful looking floor that is shining. All you need to have for installing your laminate flooring usually comes with simple directions on the box its going to help make your work a piece of cake.
Kronotex Germany HDF Easy installation – YouTube
The technique of laying laminate flooring has grown alongside the technical achievements with the specific floor boards themselves, and is a perfectly achievable task for even the most humble DIY enthusiast. Make sure that you look over the warranties of yours rather carefully however, as a few warranties may not cover floor positioning in the kitchen as well as bathroom.
Laminate u2013 What is it? KRONOTEX Laminate Flooring Guide

Guarantee of quality KRONOTEX Laminate Flooring Guide

Laminate u2013 What is it? KRONOTEX Laminate Flooring Guide

Laminate u2013 What is it? KRONOTEX Laminate Flooring Guide

Kronotex Laminate Flooring – Direct Source Flooring
How to Install KRONOTEX Laminate Flooring Amazon Hardwood

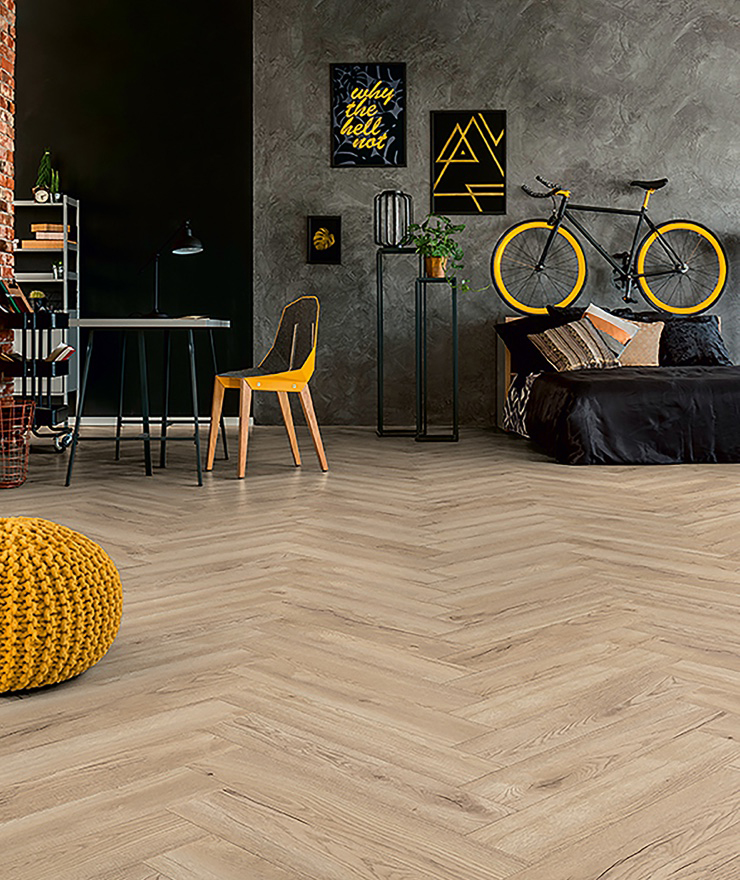
Herringbone swisskrono.com
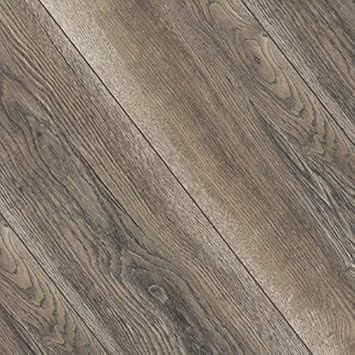
Kronotex Amazone Harbour Oak Grey 10mm Laminate Flooring X

Kronotex Robusto Villa Harbour Oak Grey D3572 / L1047 / M1204
flooring

Kronotex Amazone Prestige Oak Light Laminate – Jupiter, Florida
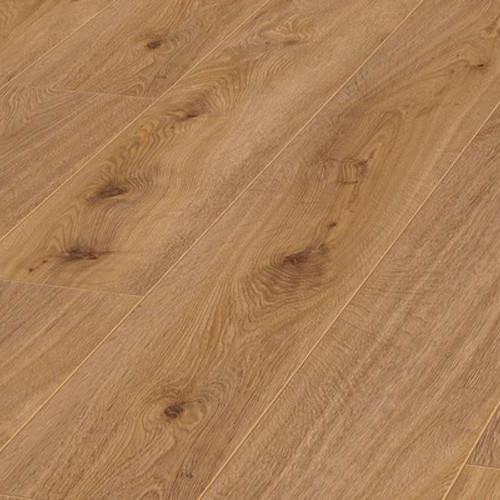
Kronotex Swiss Krono Reclaimed Rustic Oak 12-mm Thick Water Resistant Wood Plank 6.06-in W x 50.7-in L Laminate Flooring (17.07-sq ft)

Related Posts:
- 12mm White Oak Laminate Flooring
- Walnut Laminate Flooring
- Bamboo Laminate Flooring
- Laminate Flooring Trim
- High Gloss Laminate Flooring
- Dark Oak Laminate Flooring
- Dark Wood Laminate Flooring
- Laminate Flooring Color Ideas
- Victorian Laminate Flooring
- Wood Laminate Flooring Bathroom
Kronotex Laminate Flooring Installation: A Comprehensive Guide
Laminate flooring is a popular choice for homeowners looking to renovate their living space on a budget. One of the most sought-after brands is Kronotex, which offers a range of easy to install and hard-wearing laminate flooring options. Whether you are renovating your home or office, Kronotex laminate flooring provides an elegant, practical solution. Here, we provide a comprehensive guide to Kronotex laminate flooring installation, from the different types available to choosing the best installation method for your space.
Types of Kronotex Laminate Flooring
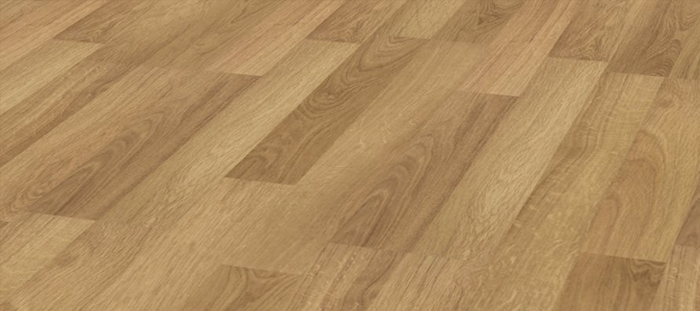
Kronotex offers a wide range of laminate flooring styles and textures, from classic oak and walnut to modern grey and beige. The company also offers different thicknesses, depending on the type of room you are installing it in. For example, thicker planks are better suited for high-traffic areas such as hallways and kitchens, while thinner planks are ideal for bedrooms and other low-traffic areas.
Kronotex also offers different types of gluing systems – click-lock or glueless installation – to make the installation process easier and faster. Click-lock systems require no adhesive, as the planks simply snap together like pieces of a puzzle. Glueless systems require adhesive to be applied along the tongue and groove of each plank, as well as along the perimeter of the room.
Tools Needed for Installation
Before beginning your Kronotex laminate flooring installation, it’s important to make sure you have all the necessary tools and materials. These include:
• Tape measure
• Underlayment
• Pencil
• Tapping block
• Hammer
• Saw (optional)
• Adhesive (if using glueless system)
• Spacers
• Putty knife or chisel (optional)
• Safety glasses
• Respirator (optional)
• Vacuum cleaner (optional)
To ensure a successful installation, it’s important to gather all these tools beforehand.
Preparation
The first step in any successful Kronotex laminate flooring installation is preparing the subfloor. This means removing any carpets, rugs, furniture, moldings and door thresholds that may be in the way. It’s also important to check that the subfloor is level and free of debris before beginning the installation process. If there are any gaps or cracks in the subfloor, these should be filled with a cementitious leveling compound before proceeding. Once the subfloor is prepared, you can begin laying the underlayment. This will help reduce noise and provide extra cushioning for your new laminate flooring.
Installation Process
Once you have gathered all your tools and materials and prepared your subfloor, you can begin the Kronotex laminate flooring installation process. The first step is to lay out each plank in its proper sequence, starting in the corner farthest from the door. This will help ensure that each plank fits perfectly together without any gaps or overlaps once installed. Using a tapping block and hammer, you can gently tap each plank into place until it clicks into place with its neighbor. If you are using an adhesive system, you will need to apply adhesive along the tongue and groove of each plank as well as along the perimeter of the room before tapping them into place. Depending on your chosen style and thickness, you may need additional tools such as a saw or putty knife when installing Kronotex laminate flooring in tight corners or around door frames or other obstacles. Once all planks are laid down correctly and securely in place, you can use spacers around the perimeter to ensure an even gap between planks and walls. Finally, clean up any excess adhesive with a damp cloth before allowing 24 hours for it to dry completely.
FAQs About Kronotex Laminate Flooring Installation:
Q: How long does it take to install Kronotex laminate floor