One benefit of this particular type of flooring is it gives you a more natural look to each house. Floorboard wholesalers give hardwood flooring at less costly rates and are more dependable stocked. To date, you’ll find two basic types of hardwood flooring, solid wood plus engineered wood.
Images about Laying Hardwood Floors Diagonally
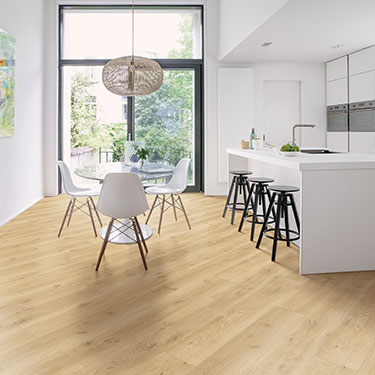
Laying Hardwood Floors Diagonally

This article zeroes in on several of the problems as well as answers that you might have to deal with concerning your dog and your hardwood floor. Engineered floors is pre-coated which makes it even more resistant to scratches and provides for greater longevity.
What is the best direction to install my floor?
Hardwood flooring is very simple to clean and can’t accumulate a huge amount of dirt and debris that other flooring treatments appear to hide. Hardwood has grown to be a lot more popular compared to floor tile in residential renovations with new, engineered hardwood floors manufacturing steps that lengthen the usage of woods into the cooking area, bathroom and basement.
5 Tips for Installing Diagonal Flooring u2013 Just Business Tips

If you go through the entire warranty and many of the exclusions it genuinely gives the client the impression that there is actually no manufacturer’s warranty at all.

These issues could be remedied by your local hardwood floor remedy professionals.

Diagonal wood planks. Wood floor design, Wood look tile floor

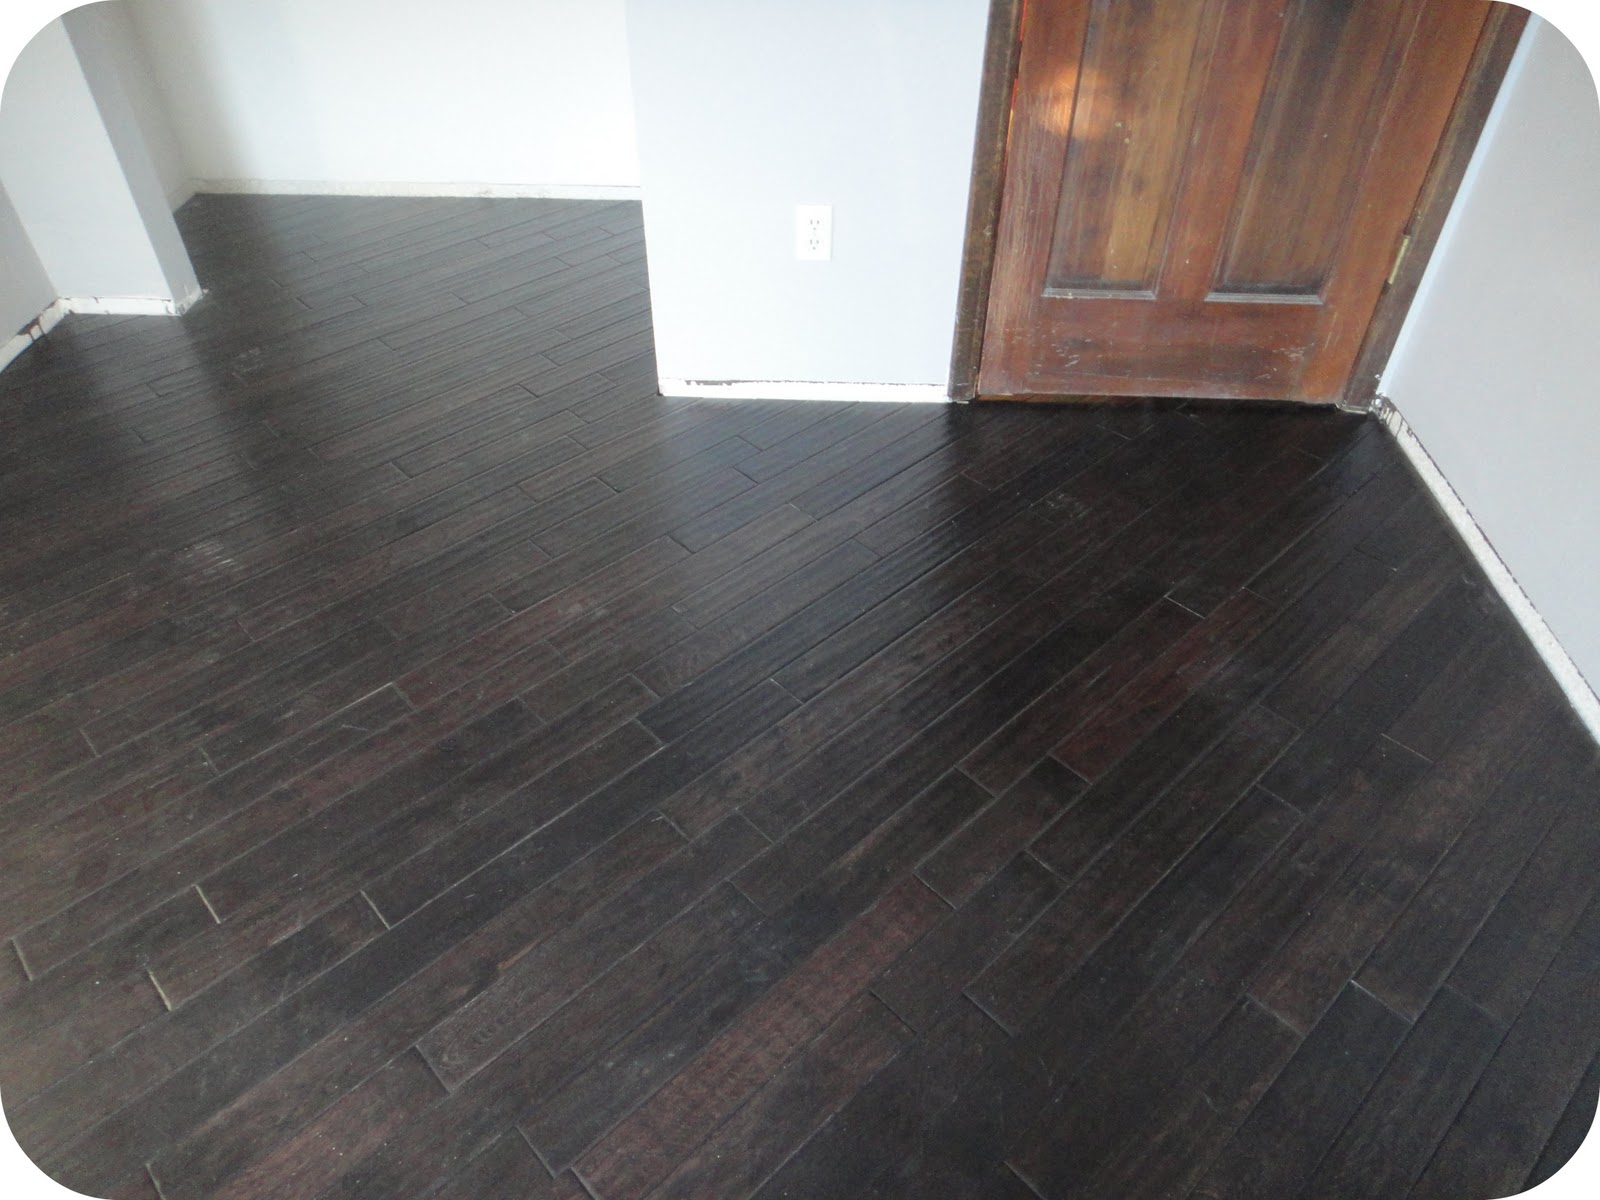
the ambitious procrastinator: Diagonal Hardwood Flooring Part II
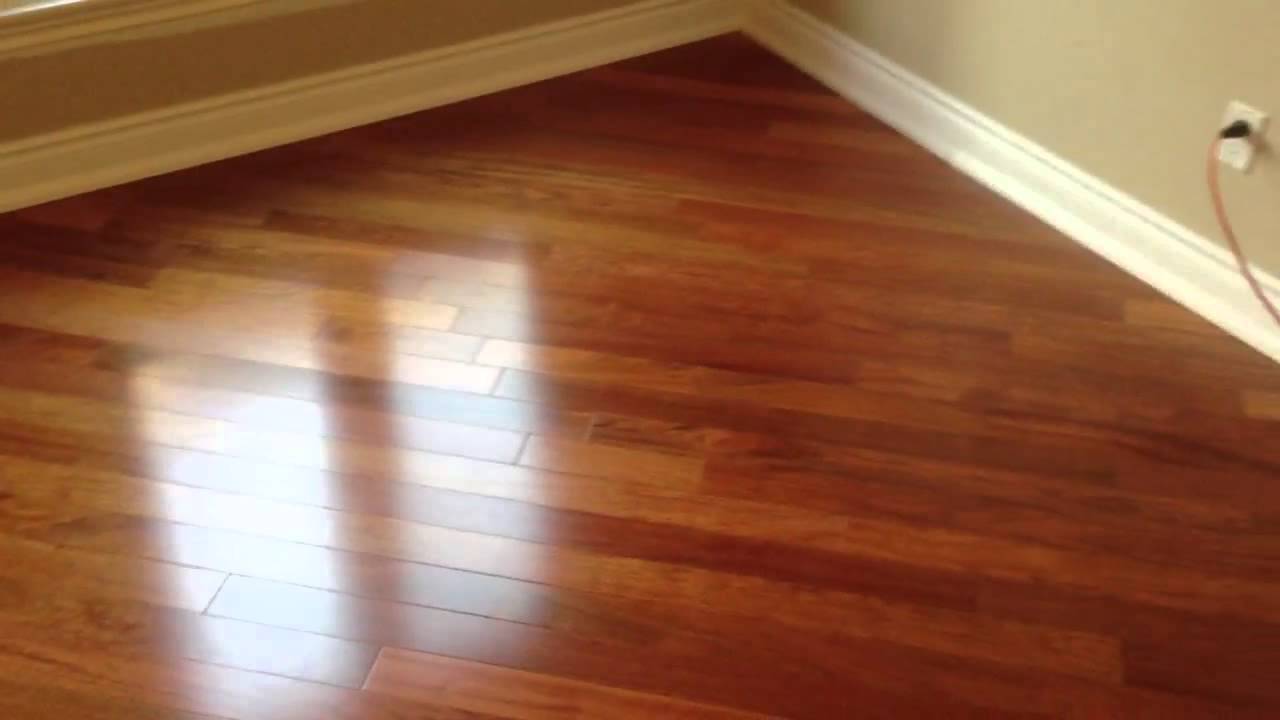
Which Direction To Lay Your Hardwood Flooring RiteRug Flooring

Floorama Flooring: Natural Jatoba Hardwood Flooring Installed at 45 degrees – Toronto
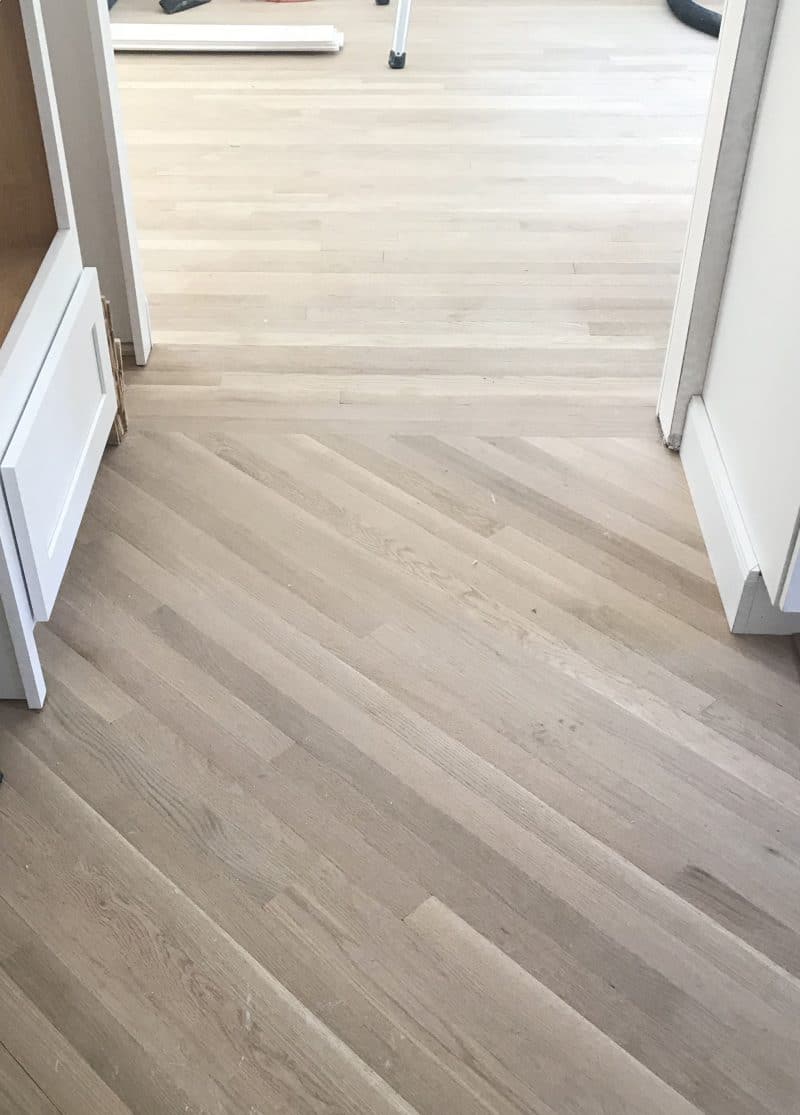
Kitchen Progress Weeks Five u0026 Six Floor u0026 Cabinet Installation
Hardwood Flooring Layout – Which Direction. Diagonal?

The 7 most common wood flooring patterns Living room wood floor

time lapse Laying laminate diagonal
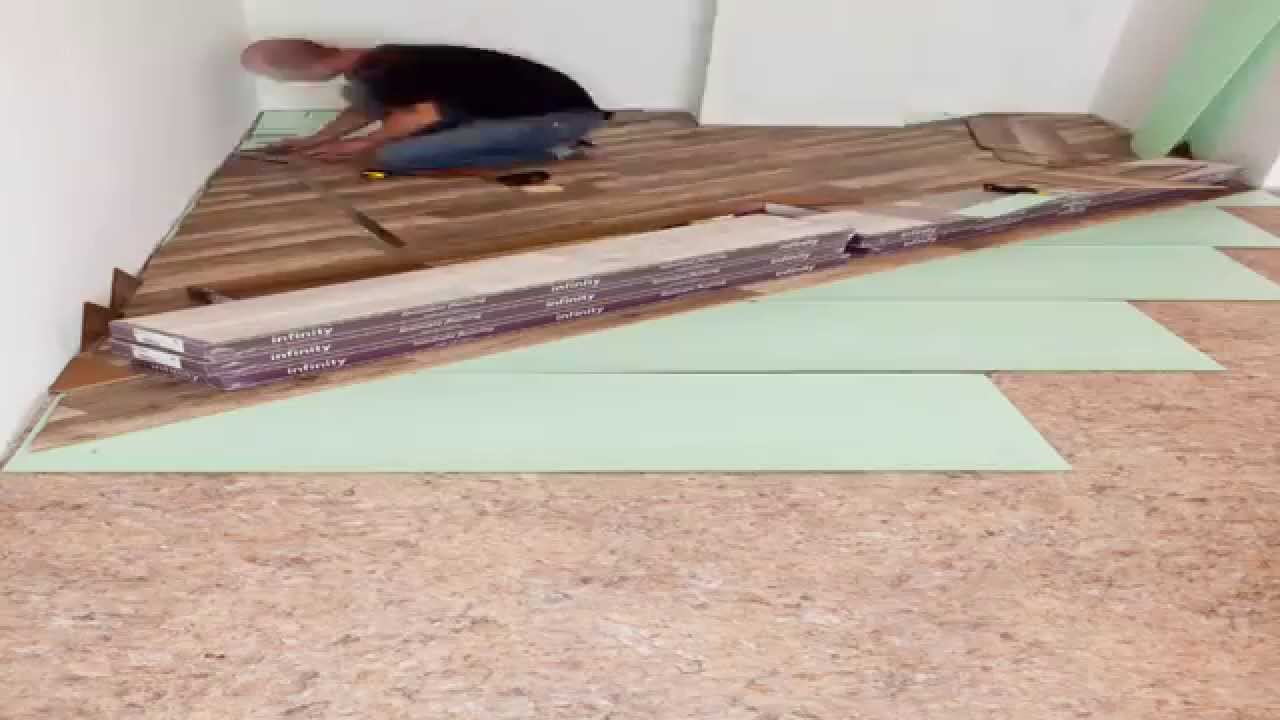
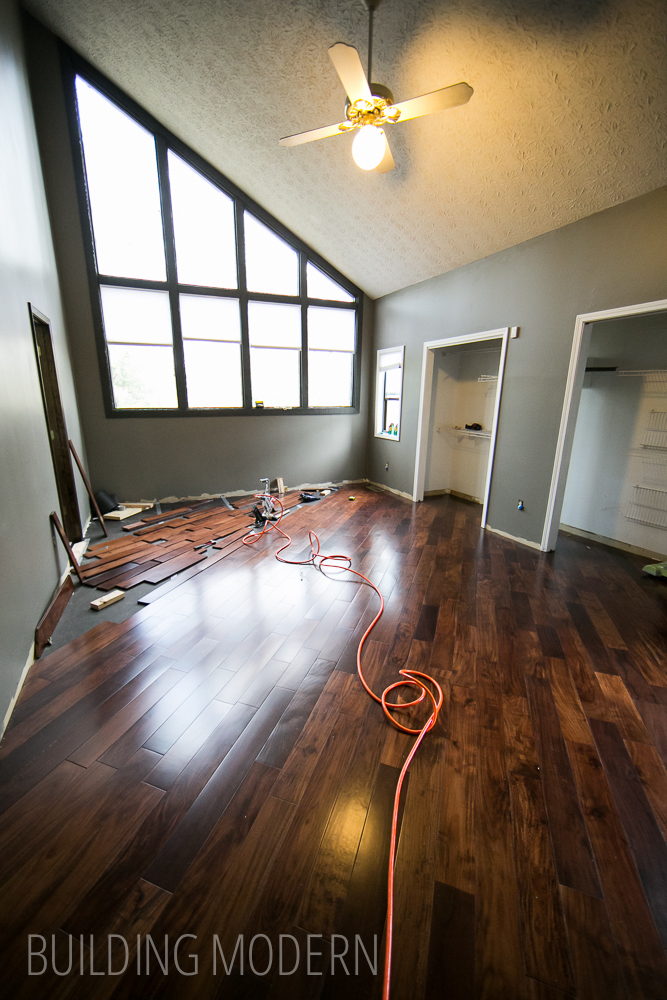
Installing hardwood floors in our master bedroom Part 2
Related Posts:
- Hardwood Floors In Bedroom
- Hand Scraped Hardwood Flooring
- Birch Hardwood Flooring
- Walnut Hardwood Flooring Ideas
- Cherry Hardwood Flooring
- Hand Scraped Hardwood Floors
- White Hardwood Flooring
- Hardwood Floor Care
- Walnut Hardwood Flooring Kitchen
- Floating Hardwood Floors
Laying Hardwood Floors Diagonally: A Comprehensive Guide
Installing hardwood flooring is a great way to upgrade any room in your home, but the traditional parallel installation can be mundane and expected. For a unique look, you can lay hardwood floors diagonally, creating an eye-catching pattern that stands out. This type of installation requires more time and skill than its traditional counterpart, but the results are worth it. In this guide, we’ll cover the basics of installing hardwood floors diagonally and help you make the most of this stylish installation.
Preparation
Before you start laying hardwood floors diagonally, it’s important to prepare the room properly. Start by removing any existing flooring, furniture, and trim. You should also check for any uneven surfaces or imperfections in the subfloor. If there are any bumps or dips in the subfloor, you’ll need to level them out before proceeding.
Once the subfloor is prepped, you’ll need to measure the room and determine how many boards you’ll need. It’s important to leave a small gap around the edges of the room to allow for expansion and contraction of the wood. You’ll also need to determine which direction the boards should be laid in. Generally speaking, it’s best to lay them in the direction of the longest wall in the room.
Layout
Once you’ve determined the layout of your hardwood floors, it’s time to start laying them out. Start by placing two straight boards along two adjacent walls and connecting them with a chalk line. This will give you a starting point for laying out your diagonal pattern. From there, use a framing square or triangle to ensure that each board is set at a 45-degree angle from the adjacent boards. As you work, use a level to make sure each board is level with the one beside it and use spacers to ensure uniform gaps between each board.
Installation
When all of your boards are laid out correctly, it’s time to start installing them. Start by nailing down each board at its ends and then fill in the center with nails or screws spaced roughly 8 inches apart. Make sure that each nail is driven into solid wood and not just into glue or filler material. Once all of your boards are installed, you can fill any remaining gaps with wood putty or caulk.
Finishing Touches
Once all of your boards are installed, it’s time to finish them off with a few final touches. Start by sanding down any rough edges or imperfections on your boards and then apply a coat of sealant or finish to protect and waterproof them. If desired, you can also add trim around doorways or other openings to give your floors a polished look.
FAQs
Q: What tools do I need to lay hardwood floors diagonally?
A: You’ll need a framing square or triangle, measuring tape, level, hammer, nails/screws, wood putty/caulk, sandpaper and sealant/finish for this project.
Q: Is diagonal hardwood flooring difficult to install?
A: Installing hardwood floors diagonally does require more time and skill than traditional installations, but with patience and attention to detail, anyone can do it!
Q: Can I install diagonal hardwood floors over existing flooring?
A: Generally speaking, no – you should always start with a clean subfloor before installing new flooring. However, if your existing flooring is in good condition and completely level, it might be possible to install directly over top of it. It’s best to consult a professional before attempting this type of installation.
Q: How much space do I need to leave between my boards?
A: When laying hardwood floors diagonally, it’s important to leave a gap between each board for expansion and contraction of the wood. As a general rule of thumb, you should leave at least 1/4 inch between each board for proper expansion space.
Conclusion
Laying hardwood