The very reality that it endures so much to be marble is a contributing point that it is a very durable material. Glazed marble gets a clear glow on the floor. Marble may be worn in any place of your home, not just in the bathroom as well as kitchen. Wondering where marble comes as a result of? Marble is formed from warmed limestone which then crystallizes within the earth’s crust. It looks like a truly white movie with smudges all over the gorgeous marble floor of yours.
Images about Marble Floor Restoration Process
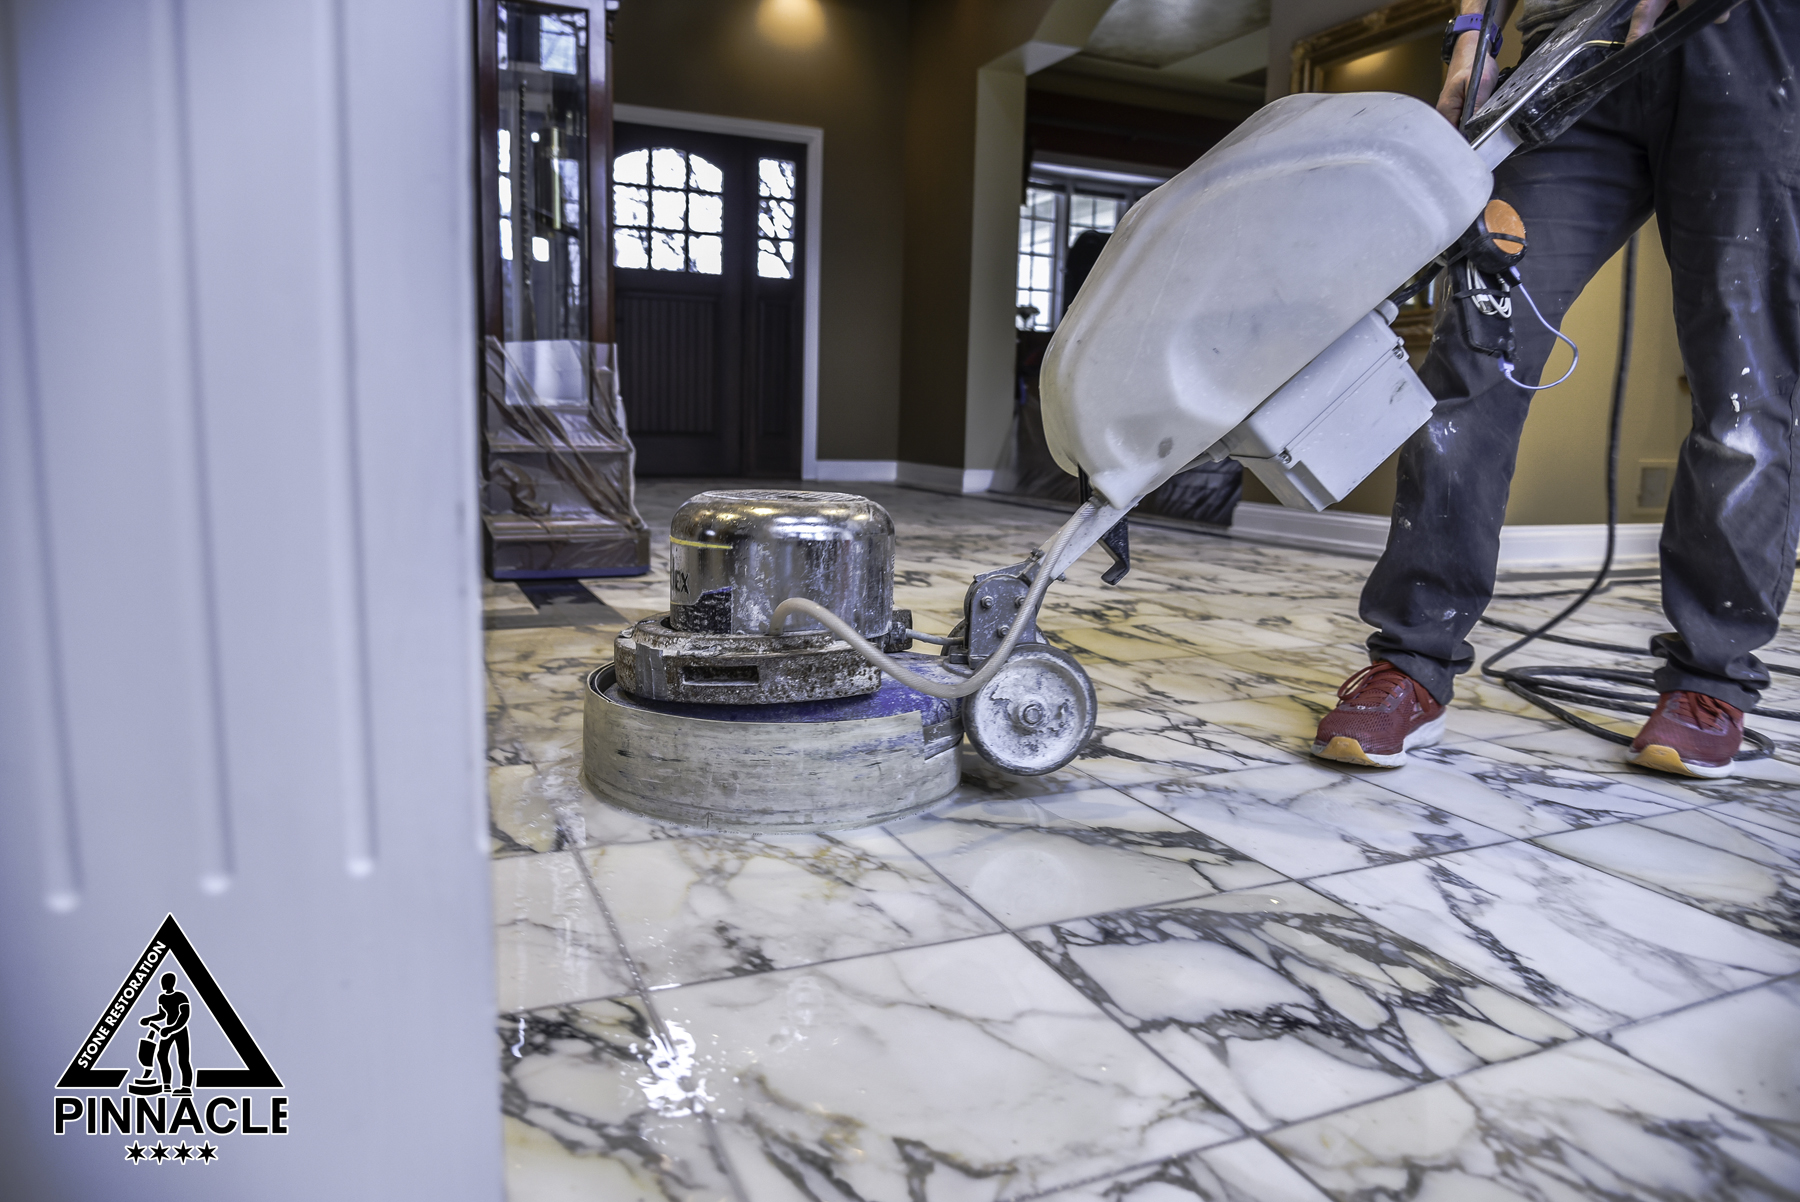
Marble Floor Restoration Process

The popularity of granite and marble stone is derived from its natural beauty as well as brilliant luster. Once done you have to permit it to air dry. Many of these things can and can stain the marble of yours, therefore it’s a good idea to keep such things away from the marble floor of yours when possible. Along with the durability of its is its ability to sustain stress.
Chicago Stone Polishing: Outstanding Restoration Process Give

Test a tiny area to be sure it is diluted correctly first to check for almost any reactions. All you will need is a non-treated and clean dust mop in addition to some professional cleaning products made specifically for marble. For those who must avoid irritants like dust to keep their allergies at bay marble flooring is perfect. Your marble floors are going to be downright level and there’ll be no significant scratch or even stain.
EASY KIT FOR POLISHING MARBLE FLOORS: SUPERSHINE u0026 SPONGELUX
MARBLE FLOOR REFINISHING AND MARBLE CLEANING u0026 SEALING
Marble polishing – How to polish marble – Dedalo Stone
7 Easy Ways to Polish Marble Floors

Marble Polishing Santa Barbara – Santa Barbara Stone Masters

How to Polish Marble Floor? All you need to know! – Wipeout
Re-installation or restoration of marble tile floor. What to choose?
How to Polish Marble: 14 Steps (with Pictures) – wikiHow Life

4 Steps of Marble Floor Restoration (Get a Free Estimate)
Marble Polishing u0026 Floor Tile Cleaning Traverine Floor Crack

10 mistakes to avoid when polishing your marble floor

Marble Floor Factory Finish Restored – Set In Stone Restoration
Related Posts:
- Marble Flooring Border
- Home Marble Floor Design
- Beige Marble Flooring
- Black White Marble Floor
- White Carrara Marble Floor
- Marble Floor Design Ideas
- How To Clean White Marble Floors
- Marble Floor Entrance
- Yellow Marble Floor Tiles
- Luxury Marble Flooring Design
– Use references and sources to make the article more credible.
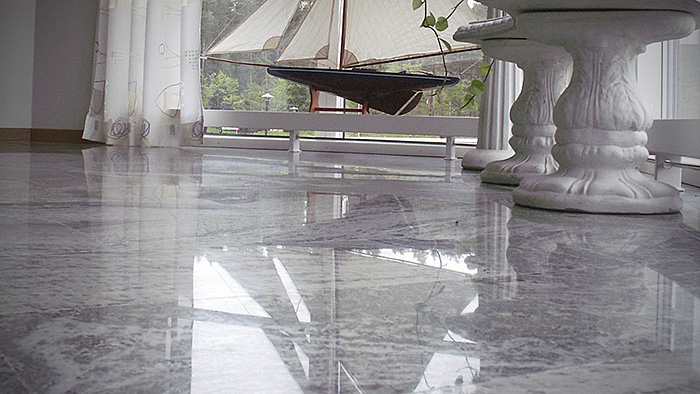
Marble Floor Restoration Process: An In-depth Guide
Marble floors are stunningly beautiful, adding a luxurious look and feel to any home. But over time, these surfaces can become damaged and need to be restored. Restoring marble floors is a delicate process that requires the right tools, techniques, and materials to ensure the best outcome. This guide will take you through the entire marble floor restoration process, from the assessment of damage to the selection of finishing products.
Assessing Damage
The first step in any restoration project is to assess the damage and decide what needs to be done. With marble floors in particular, there are a few different types of damage that can occur. These include scratches, etching (surface corrosion), staining, and discoloration. Scratches and etching can often be addressed with a polishing or honing process, while staining and discoloration require more intensive methods such as cleaning and sealing.
Preparing the Floor
Once the damage has been assessed, it’s time to prepare the floor for restoration. This includes removing any dirt, debris, or other contaminants from the surface of the marble. This is typically done with a vacuum cleaner and/or a pH-neutral cleaner specifically designed for marble surfaces. It’s important to use the right type of cleaner, as using a cleaner with too high of an alkalinity or acidity can cause further damage to the marble.
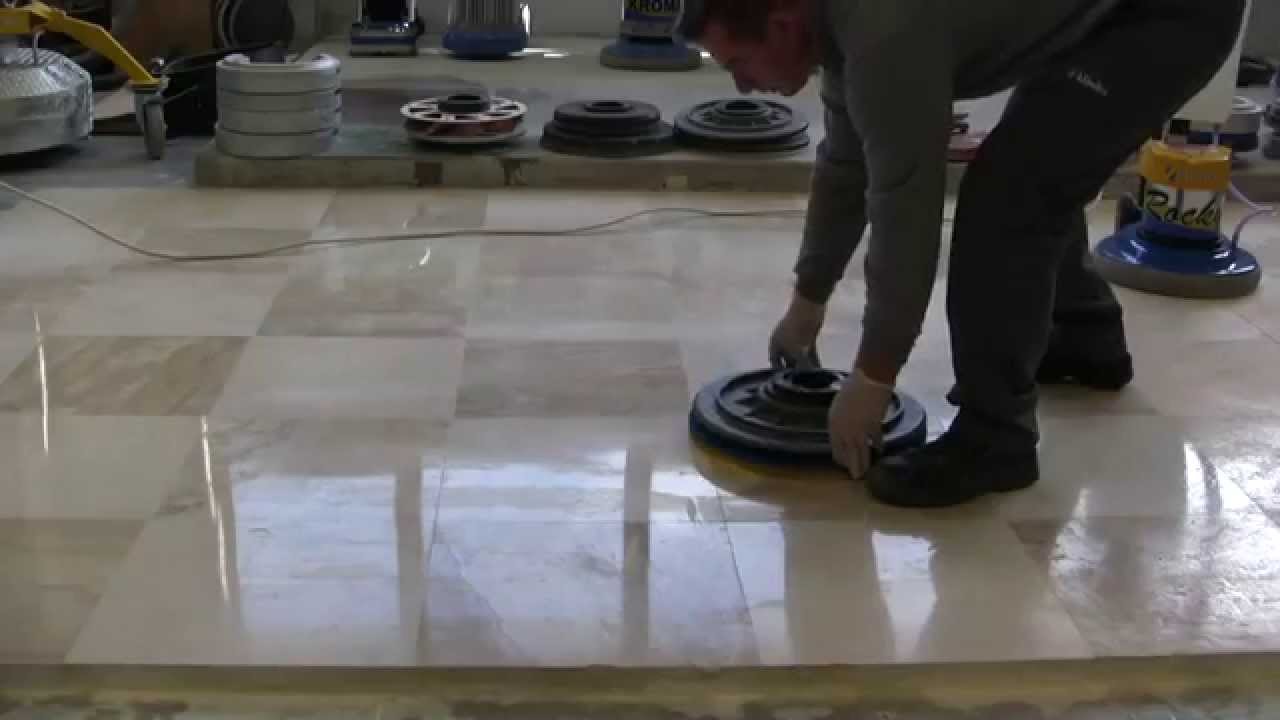
Honing and Polishing
The next step is honing and polishing the surface of the marble. Honing is a process that uses abrasive materials such as diamond pads to remove shallow scratches and etching from the surface of the marble. It can also help restore the shine that has been lost due to wear and tear over time. Polishing is similar but uses finer abrasives that can restore a high-gloss finish on the marble surface. Both honing and polishing are typically done with an orbital sander or handheld rotary tool.
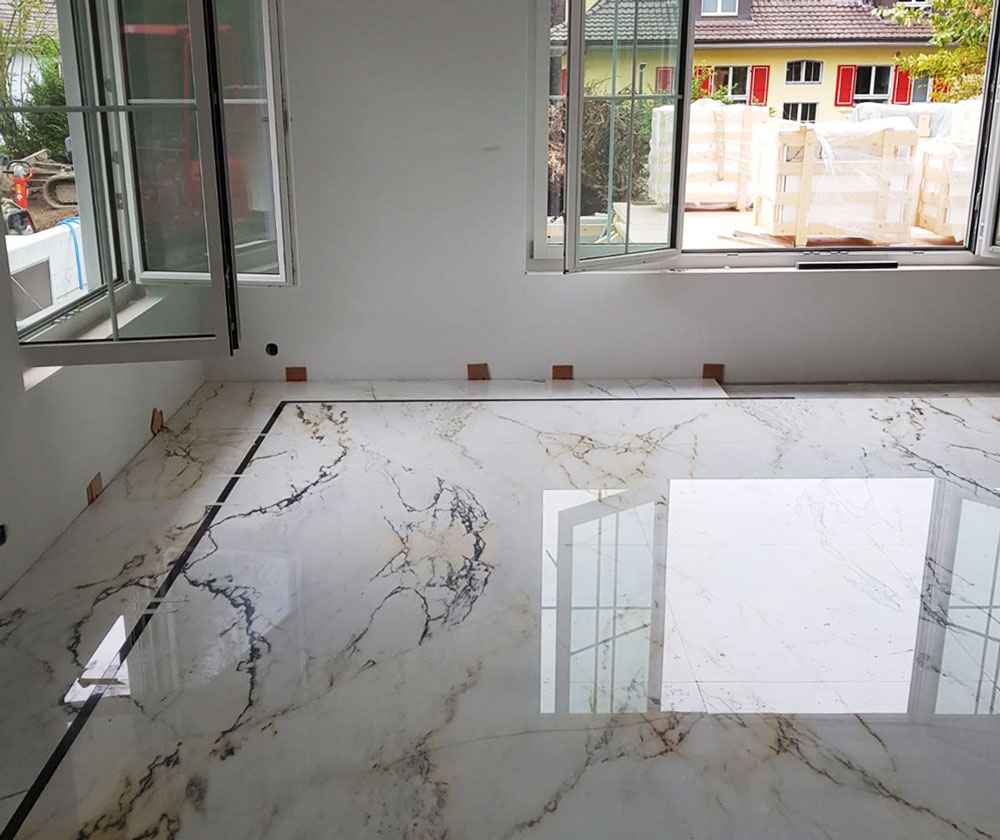
Cleaning and Sealing
For more severe cases of staining or discoloration, it may be necessary to clean and seal the marble surface. Cleaning involves using a pH-neutral cleaner and a soft scrub brush or cloth to gently remove any dirt or debris from the surface of the marble. Sealing helps protect the surface from further damage by creating an invisible barrier between it and potential contaminants such as dirt and spills. The type of sealer used is important; one that is designed specifically for natural stone is best for marble surfaces.
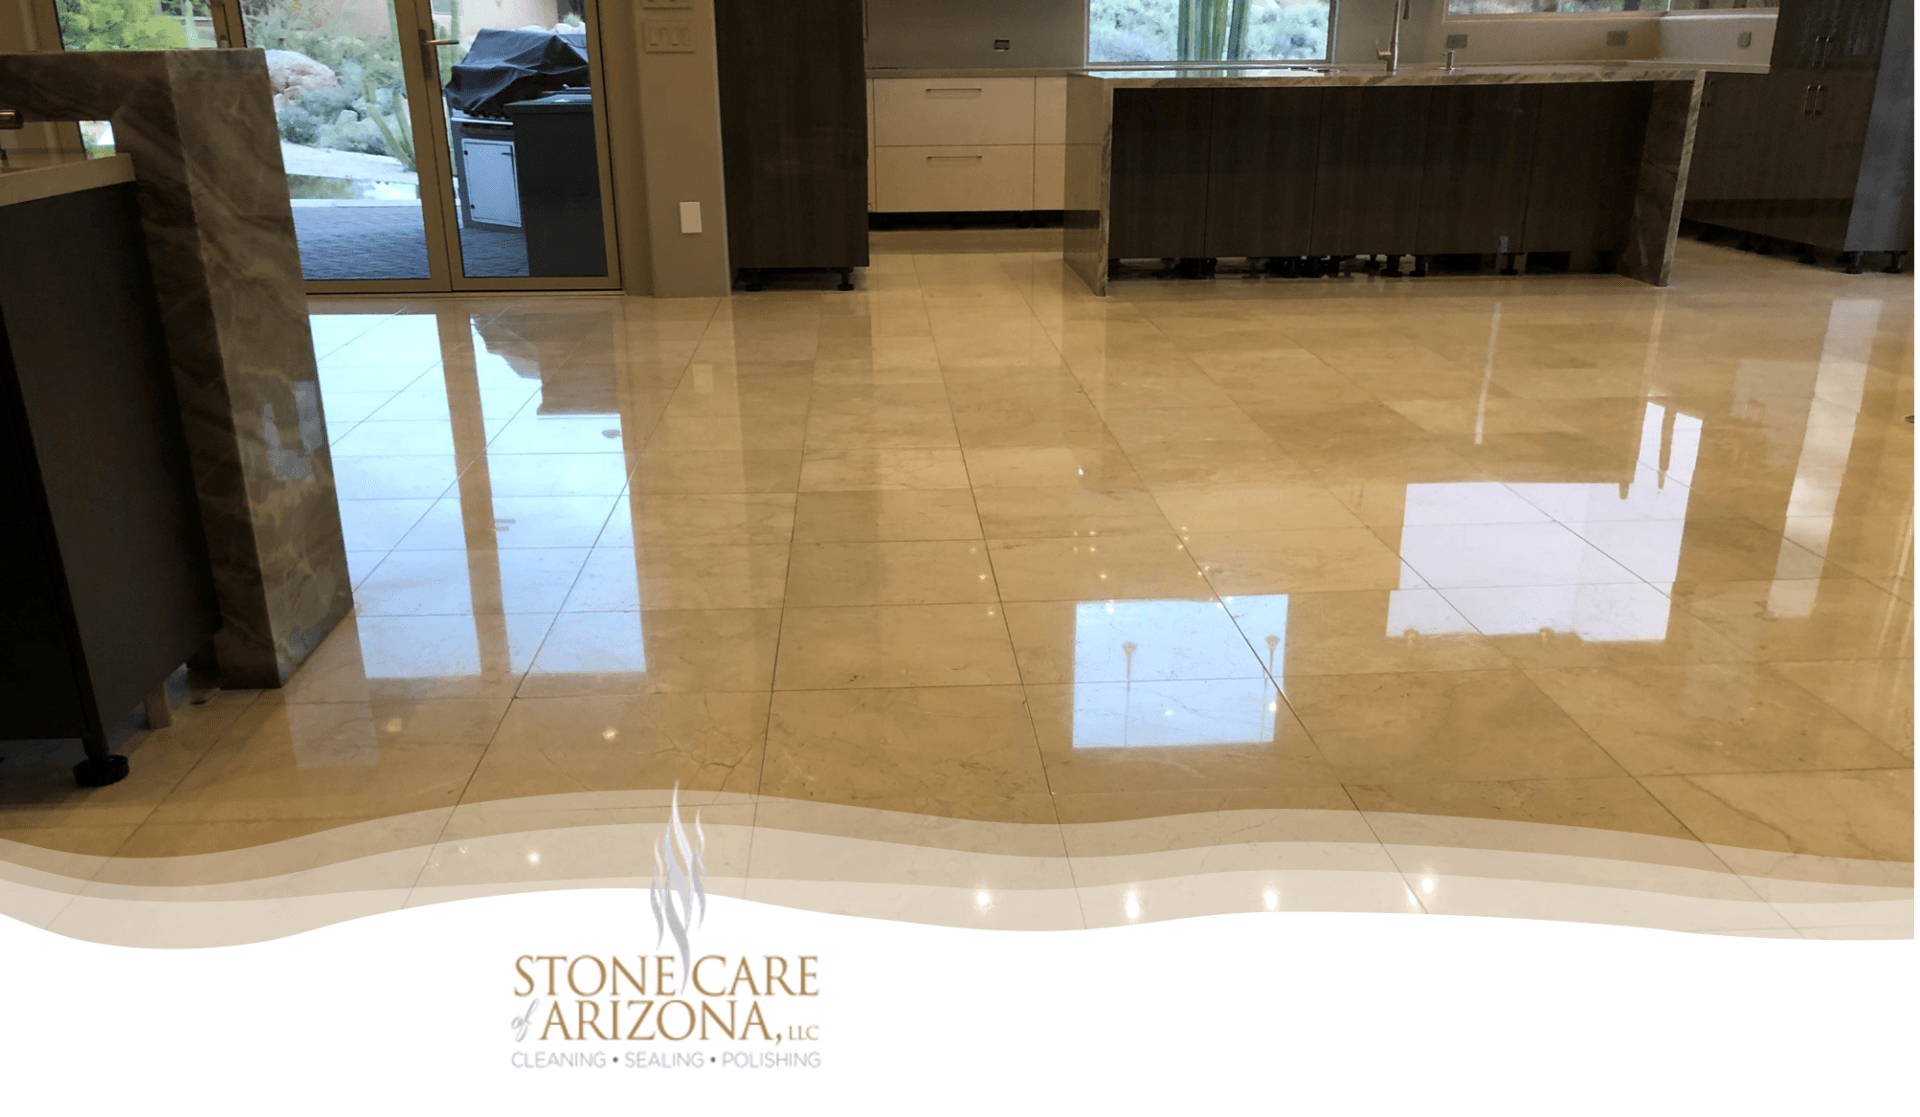
Finishing Touches
Once all of the above steps have been completed, it’s time for some finishing touches that will give your marble floor a fresh new look. Depending on your preference, this could include adding a wax coating for added protection or even installing a new mosaic tile design to give the floor some extra character.
FAQs
Q: What type of cleaners are best for marble floors?
A: It’s important to use pH-neutral cleaners specifically designed for natural stone surfaces when cleaning marble floors. This will help ensure that no further damage is done to the surface due to using an alkaline or acidic cleaner.
Q: What type of sealer should I use for my marble floor?
A: The best type of sealer for marble floors is one that is specifically designed for natural stone surfaces. This will help create an invisible barrier between your floor and potential contaminants such as dirt and spills, helping protect it from further damage.
Q: How often should I seal my marble floor?
A: You should reseal your marble floor every 1-2 years depending on how much traffic it receives on a regular basis. This will help keep it looking its best by protecting it from dirt and spills while also helping reduce staining or discoloration over time.