Pros and Cons of Painting Hardwood Floors
When you want to breathe new life into your hardwood floors, painting them can be a transformative option. It’s a way to add color, vibrancy, and personal flair to your space, but weighing the benefits and drawbacks before taking the plunge is essential. I’ve experienced the highs and lows of this process, and here are some insights to help you decide if painting your hardwood floors is the right choice for your home.
- Adds a Unique Design Element: One of the most appealing aspects of painting hardwood floors is the ability to customize your space. Whether you opt for solid colors, intricate patterns, or stenciled designs, painted floors allow you to create a look that truly reflects your style. Unlike traditional stained wood, paint offers endless possibilities in terms of color and creativity, making it perfect for those who want a unique aesthetic.
- Cost-Effective Solution: Painting is often more budget-friendly than refinishing or replacing hardwood floors. If your floors are scratched, dull, or discolored, a fresh coat of paint can hide imperfections and give your space a polished look. You can save a significant amount of money by skipping the costly refinishing process, especially if you’re willing to take on the project yourself.
- Potential for Durability Issues: While painted floors can look stunning, they do require regular maintenance. Over time, foot traffic can cause paint to chip, wear down, or fade, especially in high-traffic areas. This means you might need to touch up your floors periodically to keep them looking their best. Hardwood floors that are painted can lose their natural resilience, as the protective layer of polyurethane is replaced by paint.
- The permanence of the Look: Once you paint your hardwood floors, reversing the process is not easy. Sanding down the paint and refinishing the floors back to their natural wood can be time-consuming and expensive. If you’re someone who enjoys changing your décor frequently, this might not be the best option. Consider how long you’re willing to commit to the painted look before making a decision.
- Aesthetic Trade-offs: One of the biggest trade-offs with painted floors is losing the natural beauty of the wood grain. If you love the warmth and texture that natural hardwood brings, you might find that paint diminishes some of that charm. However, this can also be seen as an advantage for those seeking a modern, minimalist look where the focus is more on color than texture.
- Increased Susceptibility to Damage: Painted floors, especially those in lighter colors, can show dirt, scuffs, and scratches more readily than stained hardwood. While regular cleaning can keep them looking fresh, it’s important to be aware of the increased maintenance involved in keeping painted floors pristine. Consider the amount of wear and tear your floors will endure before deciding to paint.
Best Paint Types and Finishes for Hardwood Floors
When it comes to painting hardwood floors, choosing the right type of paint and finish is essential for both durability and appearance. Through trial and error, I’ve learned which products hold up best in the long run and which finishes offer the desired look. Here’s a rundown of the top options for painting hardwood floors.
Acrylic Paint
Acrylic latex paint is one of the most popular options for hardwood floors. It’s water-based, easy to clean up, and offers great durability. I love that acrylic paints are low in volatile organic compounds (VOCs), making them a more environmentally friendly choice. This type of paint also tends to dry quickly, which is a bonus when you’re working on a large surface.
Oil-Based Paint
Oil-based paints are another solid option for hardwood floors. They provide a smooth, durable finish that holds up well under heavy foot traffic. The downside is that oil-based paints take longer to dry and have a higher level of VOCs, which can contribute to a stronger odor during the painting process. If you’re after a super-smooth, glassy finish, oil-based paint might be the way to go, but be prepared for more extended drying times.
Floor and Porch Enamel
Specially formulated for floors, porches, and floor enamels is designed to handle the wear and tear of foot traffic. These paints are durable, resistant to chipping, and provide a tough, long-lasting finish. I’ve found that floor enamels tend to be a bit more expensive than standard paints, but they’re well worth the investment for the durability they offer.
Epoxy Paint
For a heavy-duty option, epoxy floor paint can’t be beaten. This paint is incredibly durable and can handle the kind of abuse hardwood floors in high-traffic areas endure. It’s often used for garage floors because of its resilience, but it can also be applied in indoor spaces if you’re looking for an industrial-strength finish. Epoxy paint does come with its challenges, though—it’s harder to work with and requires more prep, but the results are long-lasting.
Satin vs. Gloss Finishes
Once you’ve chosen your paint type, selecting the right finish is the next step. Satin finishes offer a subtle sheen that’s more forgiving when it comes to showing imperfections. Gloss finishes, on the other hand, provide a high-shine look that can make your floors stand out but might reveal more wear and tear over time. I gravitate towards satin finishes for their balance of durability and style.
Polyurethane Topcoat
No matter what type of paint you use, applying a protective polyurethane topcoat is essential. This layer will help protect your painted floors from scratches, moisture, and daily wear. Water-based polyurethanes are great for maintaining a clear finish without yellowing over time, while oil-based polyurethanes provide a more robust, amber-toned finish. I always recommend applying at least two coats for optimal protection.

Step-by-Step Guide to Painting Hardwood Floors
Painting hardwood floors might seem like a daunting task, but with the right preparation and materials, it can be a rewarding DIY project. Having gone through this process myself, I’ve learned a few key steps that will help you achieve a flawless finish. Here’s a step-by-step guide to painting your hardwood floors from start to finish.
Clear the Space
Before you even think about cracking open a paint can, you need to clear the room completely. This includes removing all furniture, rugs, and anything else that could get in the way. You’ll also want to take down any wall hangings or fixtures that could get dusty during sanding. Trust me, having an empty room makes the job so much easier.
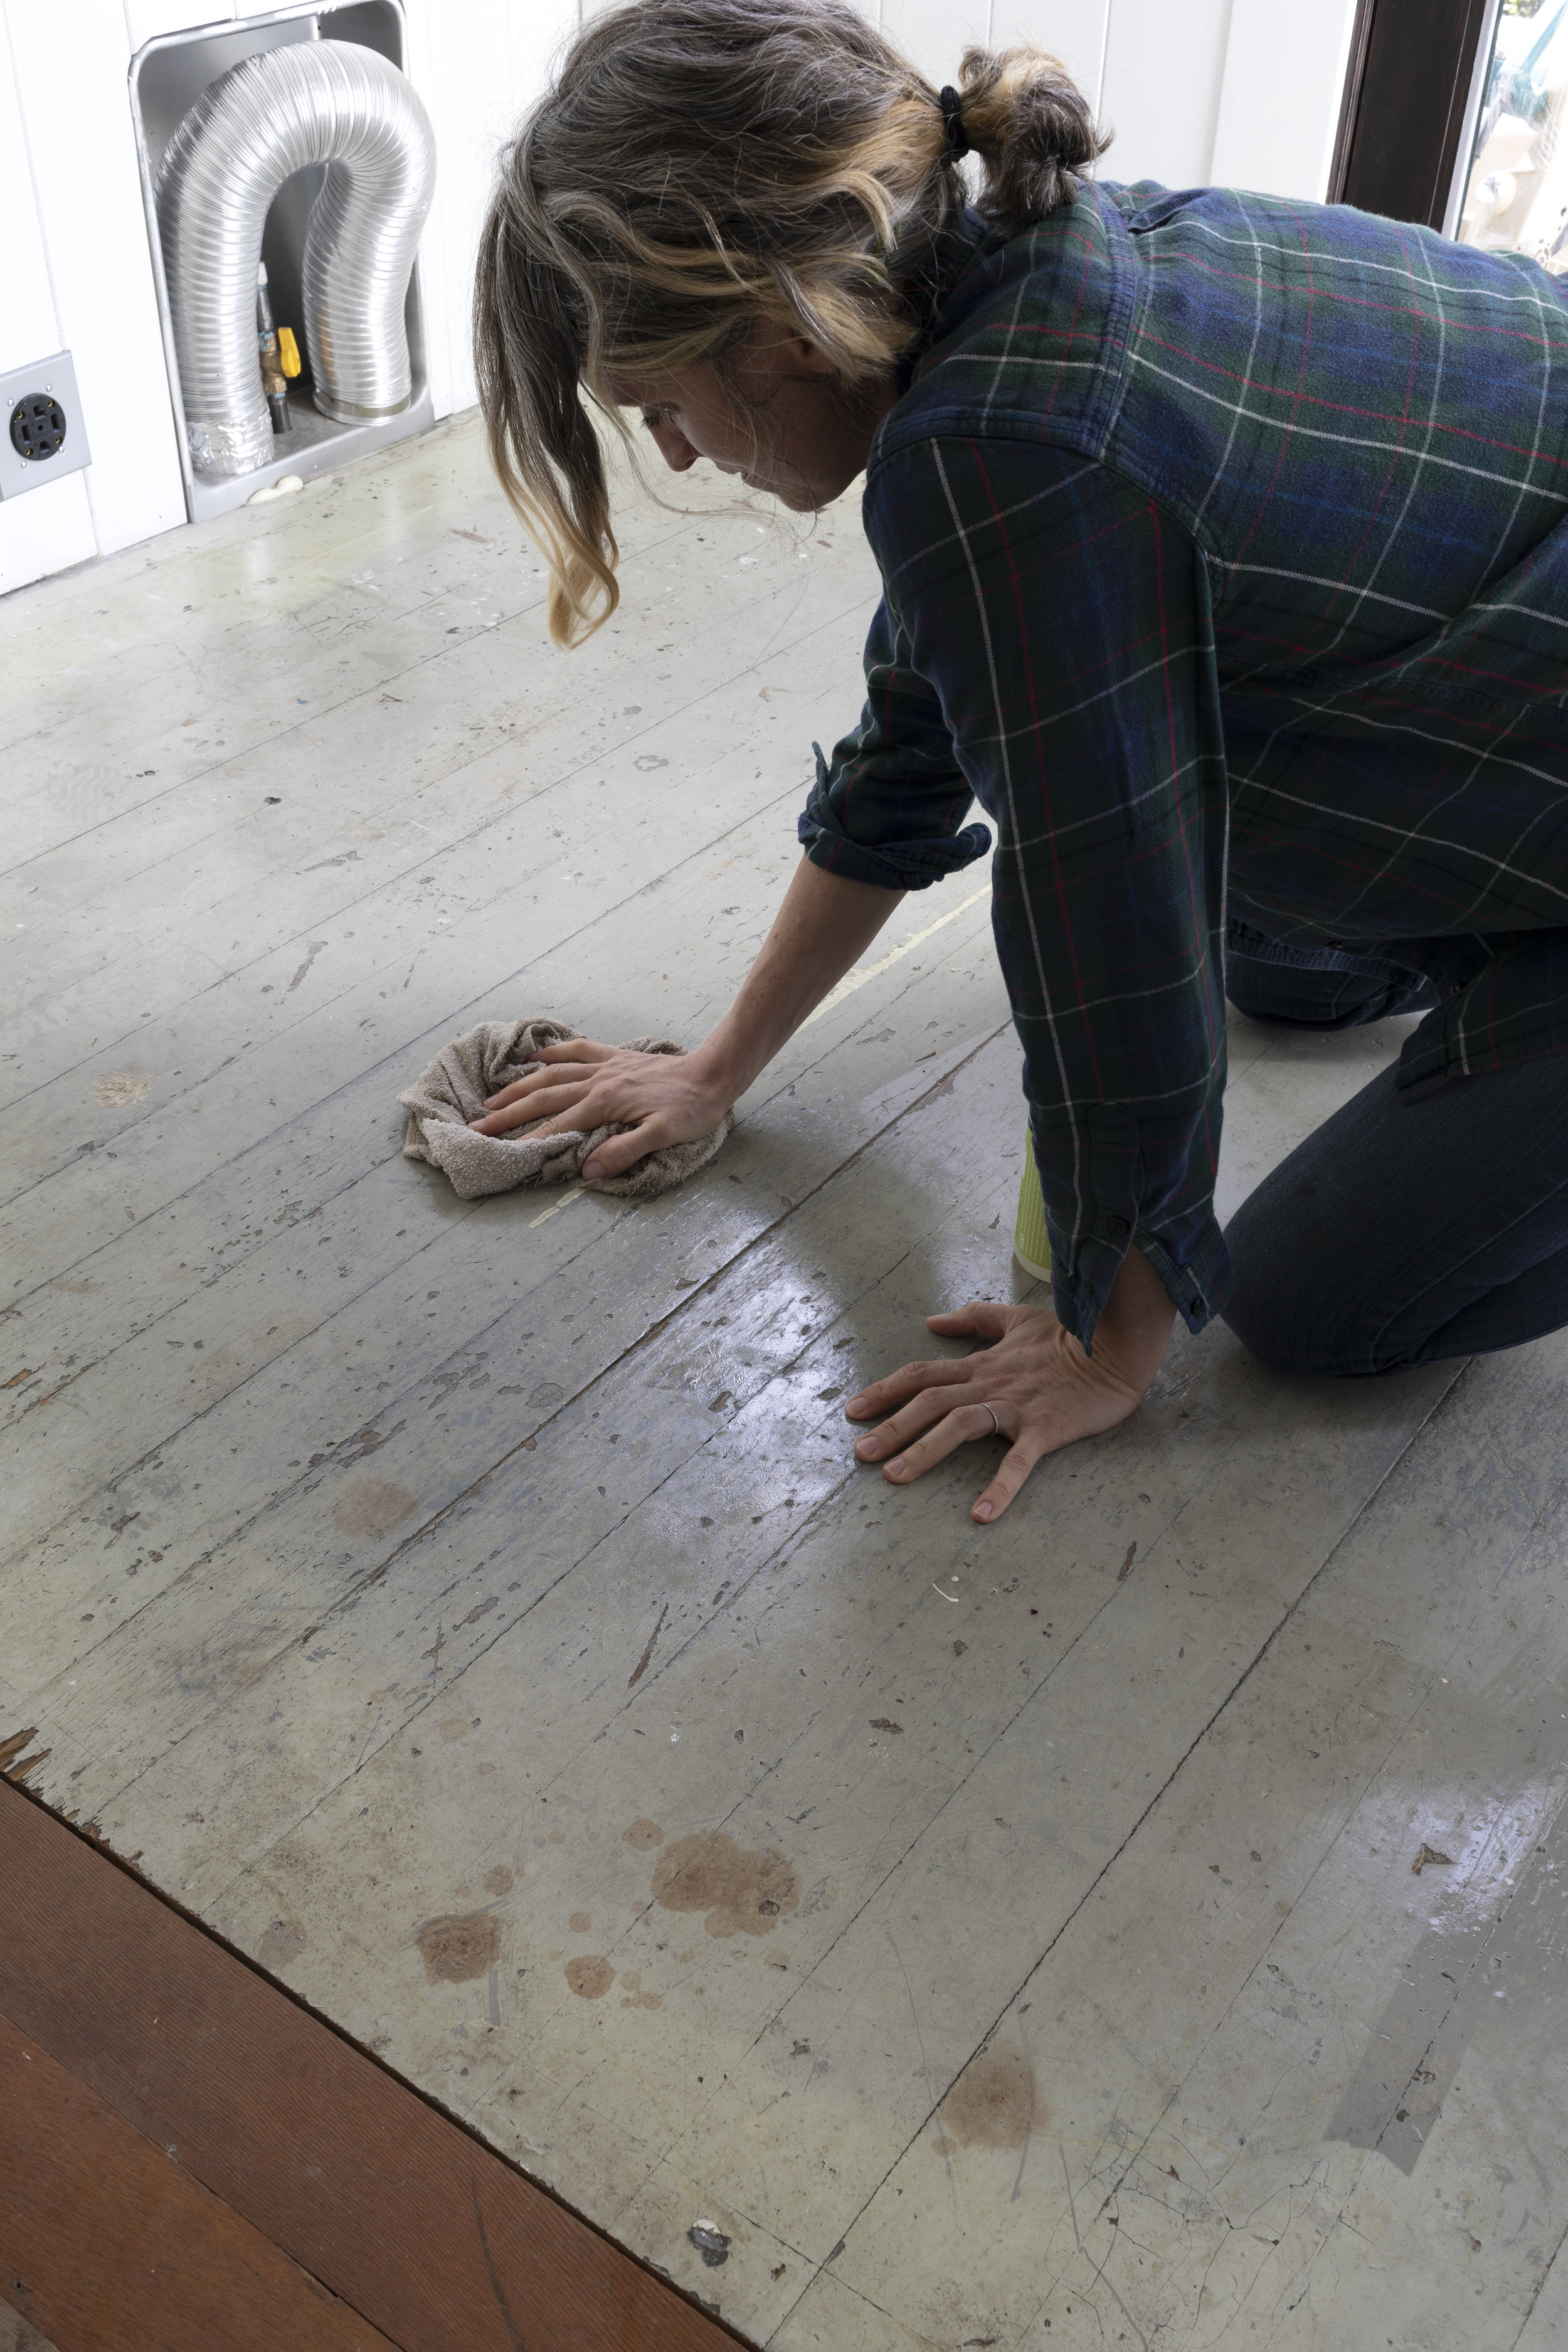
Clean and Sand the Floors
Prepping the floor is the most crucial step in the painting process. Start by thoroughly cleaning the hardwood to remove any dirt, dust, or debris. Once clean, use a floor sander to sand down the surface. The goal is to rough up the finish so that the paint adheres better. If your floors are already painted or have a glossy finish, sanding is non-negotiable. After sanding, vacuum up the dust and wipe down the floors with a damp cloth.
Apply a Primer
Priming is essential when painting hardwood floors because it ensures that the paint will stick properly. I recommend using a primer that’s specifically designed for wood surfaces. Apply a thin, even coat and allow it to dry completely before moving on to the next step. Don’t rush this part—giving the primer time to set will make a big difference in how well your paint adheres.
Paint the Floors
Now comes the fun part: painting! Start by cutting in the edges of the room with a brush, then use a roller to apply the paint to the rest of the floor. I’ve found that working in small sections helps maintain a consistent finish. Be sure to follow the grain of the wood as you paint. Depending on the paint color and the current state of your floors, you might need two or even three coats. Let each coat dry completely before applying the next.
Sand Between Coats
For the smoothest possible finish, lightly sand the floor between each coat of paint. This step is especially important if the paint feels rough to the touch after it dries. Use a fine-grit sandpaper and gently go over the surface. Wipe away the dust with a damp cloth before applying the next coat of paint. Sanding between coats ensures that your final product is smooth and professional-looking.
Seal the Floors
Once the final coat of paint is dry, it’s time to seal the floors with a polyurethane topcoat. This step is crucial for protecting your paint job from scuffs, scratches, and general wear and tear. I recommend applying at least two coats of polyurethane, allowing each coat to dry completely before moving on to the next. After sealing, let the floors cure for several days before moving furniture back into the room.
Color Choices for Painted Hardwood Floors
Choosing the perfect color for painted hardwood floors is one of the most exciting parts of the process. The right hue can completely transform a room, setting the tone for your entire décor. Over the years, I’ve experimented with a range of colors, from classic neutrals to bold, daring statements. Here’s a look at some of the best options for painted hardwood floors.
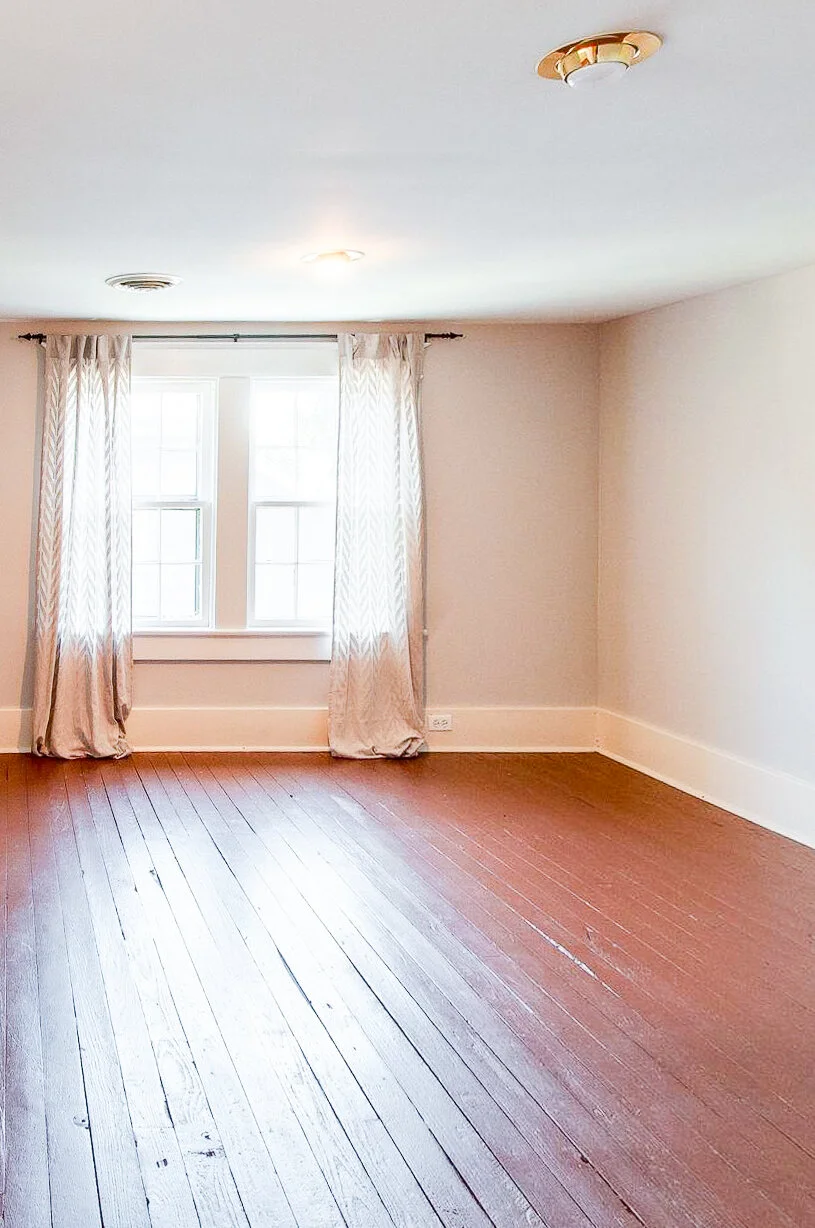
Classic White
White painted floors are timeless and can instantly brighten up a space. I’ve found that white floors work particularly well in smaller rooms, as they make the space feel larger and more open. Whether you go for a crisp, modern white or a softer, off-white shade, this color choice is perfect for those who love a clean, minimalist aesthetic. Keep in mind, though, that white floors can show dirt and scuffs more easily, so regular maintenance is a must.
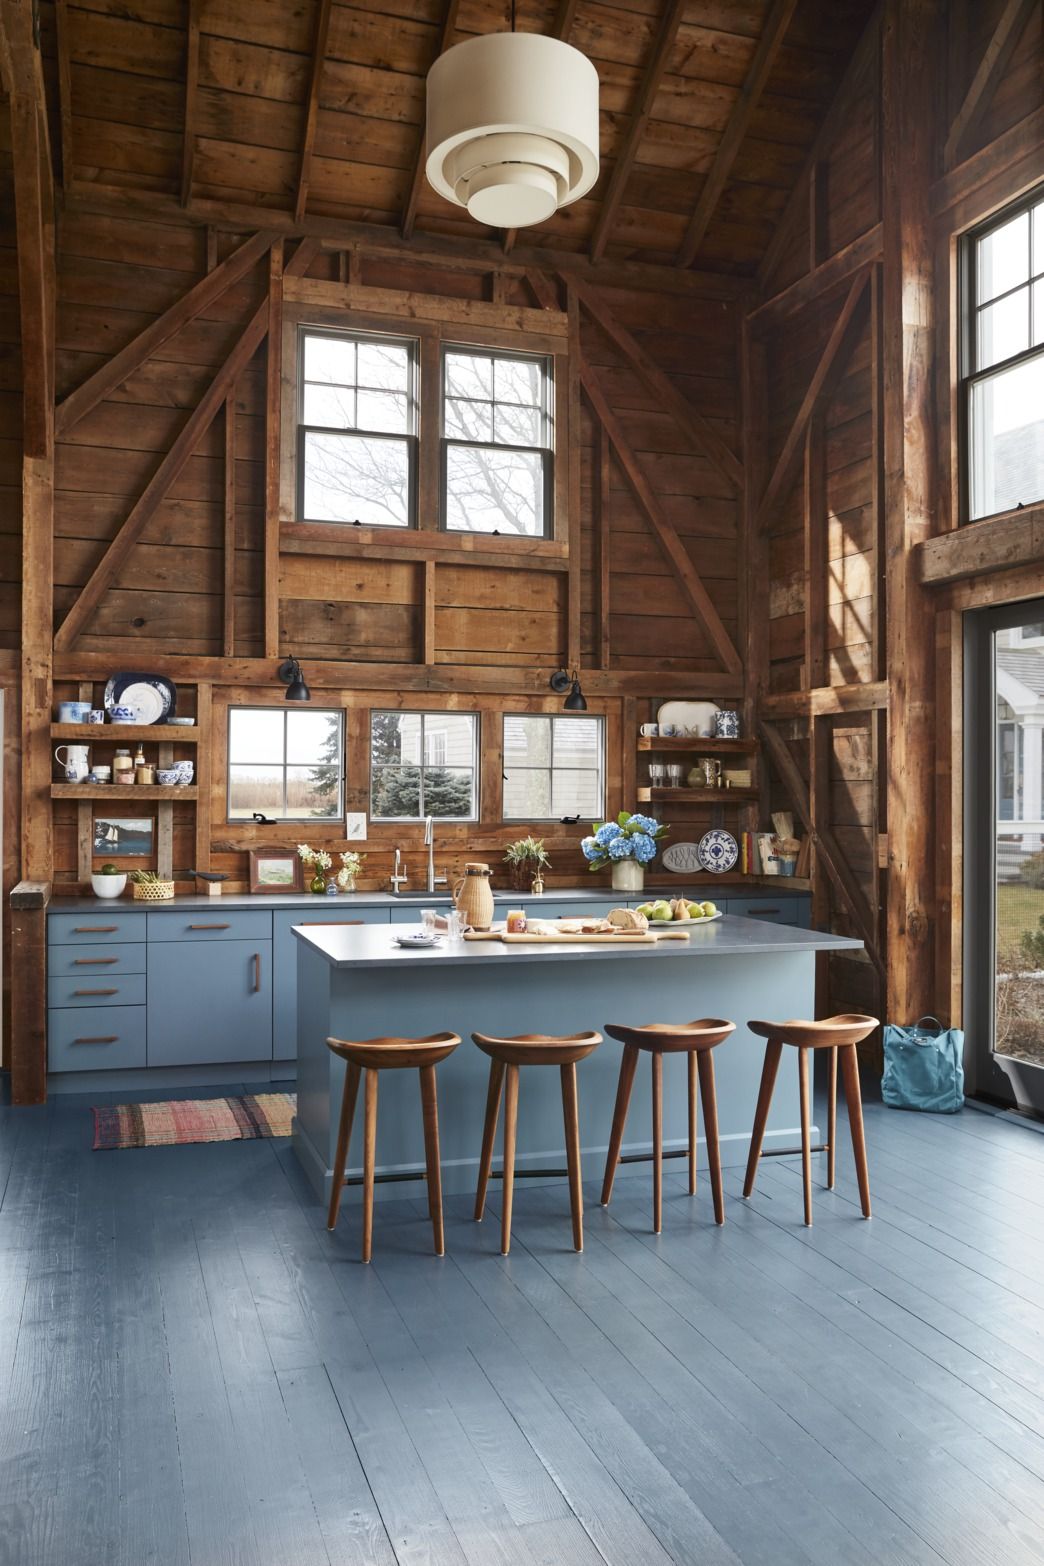
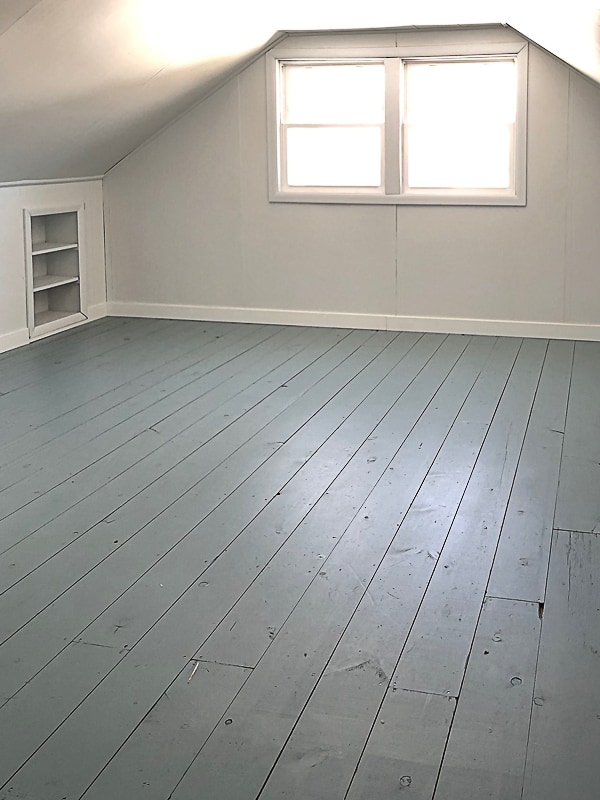
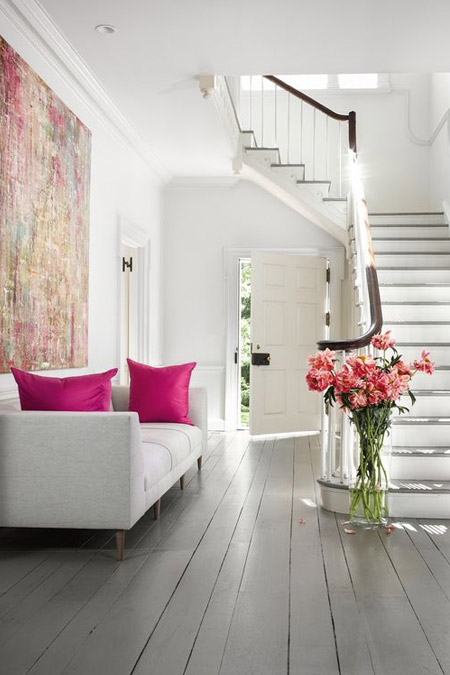
Neutral Grays
Gray is a versatile color that pairs beautifully with both modern and traditional design styles. Light gray tones can give your floors a contemporary look, while darker grays add depth and sophistication. I love using gray in spaces that need a bit of grounding but don’t want to go as dark as black. Gray floors are also great for hiding dirt, making them a practical choice for high-traffic areas.
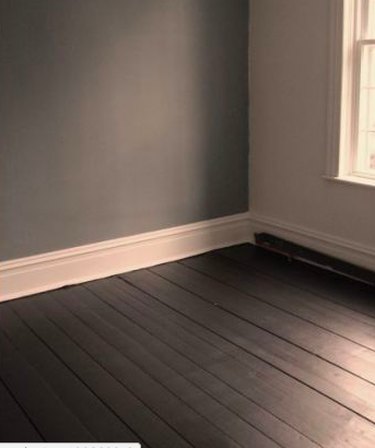
Bold Black
For a dramatic statement, black painted floors are unbeatable. Black floors can add a sense of luxury and elegance to a space, particularly when paired with light walls and décor. One thing I’ve learned about black floors is that they can show dust and scratches more readily, so you’ll need to stay on top of cleaning. However, the bold, high-contrast look is worth the extra effort if you want to make a strong impact.
Navy Blue
If you want to add some color to your floors without going too wild, navy blue is a great option. This deep, rich shade adds a touch of sophistication and pairs well with a variety of color schemes. I’ve used navy floors in bedrooms and offices, where the color adds a calming yet bold element to the space. It’s a fantastic alternative to black for those who want something unique but still understated.
Earthy Greens and Browns
For a natural, earthy look, consider painting your hardwood floors in shades of green or brown. These colors can bring a sense of warmth and coziness to your space, making them perfect for living rooms, dining rooms, or even kitchens. I particularly love how olive green or warm brown floors complement wood furniture and natural elements, creating a harmonious, nature-inspired vibe.
Bright, Bold Colors
If you’re feeling adventurous, why not go for something bold like a bright red, teal, or mustard yellow? I’ve seen homes with colorful floors that are bursting with personality, and they never fail to impress. Bright colors work especially well in otherwise neutral spaces, adding a playful pop that makes the room feel lively and energetic. Just be sure that your bold color choice complements the rest of your décor for a cohesive look.

How to Maintain and Protect Painted Hardwood Floors for Longevity
After all the time and effort you’ve put into painting your hardwood floors, you’ll want to ensure they stay in top condition for as long as possible. I’ve learned that proper maintenance is key to preserving both the appearance and durability of painted floors. Here are some tried-and-true tips for maintaining and protecting your floors for the long haul.
Regular Cleaning
Keeping your painted floors clean is the most basic form of maintenance. Dust, dirt, and debris can act like sandpaper on painted surfaces, causing the paint to wear down over time. I recommend sweeping or vacuuming your floors regularly to prevent scratches. For deeper cleaning, a damp mop with a mild, pH-neutral cleaner works wonders. Just be sure to avoid harsh chemicals that can strip the paint or damage the protective topcoat.
Use Furniture Pads
One of the easiest ways to protect your painted floors is by placing felt pads under the legs of your furniture. I’ve found that chairs and tables are the biggest culprits when it comes to scratching floors, so adding these pads can prevent a lot of unnecessary wear and tear. They’re inexpensive, easy to apply, and make a big difference in keeping your floors scratch-free.
Limit Sun Exposure
Direct sunlight can cause painted floors to fade or discolor over time. If you have large windows that allow sunlight to pour in, consider using rugs or curtains to protect your floors. I’ve seen firsthand how UV rays can take a toll on paint, especially in rooms that get a lot of sun. You might also consider applying a UV-resistant topcoat for added protection.
Touch-Up Paint as Needed
No matter how careful you are, some wear and tear on painted floors is inevitable. Luckily, touching up chipped or worn areas is relatively easy. I always keep a small amount of leftover paint on hand for quick touch-ups. Just clean the area thoroughly, sand lightly if necessary, and apply a fresh coat of paint. Be sure to finish with a layer of polyurethane to match the surrounding area.
Reapply Protective Coating Periodically
Over time, the protective polyurethane topcoat will start to wear down, especially in high-traffic areas. Reapplying the topcoat every few years can extend the life of your painted floors and keep them looking fresh. I’ve found that this is a much easier process than completely repainting the floors, and it helps maintain their durability.
Avoid Heavy Abrasion
When it comes to maintaining painted floors, it’s best to avoid using abrasive cleaning tools or harsh chemicals. Scrub brushes, steel wool, and abrasive pads can damage the paint, so stick to soft cloths or microfiber mops for cleaning. If you do encounter a tough stain, test any cleaning product on a small, inconspicuous area first to make sure it doesn’t damage the paint.

DIY vs. Professional: Should You Paint Your Hardwood Floors Yourself?
Deciding whether to paint your hardwood floors yourself or hire a professional is a significant consideration. Having tackled this project on my own, I can share some of the pros and cons of both options. Whether you’re a DIY enthusiast or prefer to leave it to the pros, here’s what you need to know.
Cost Considerations
One of the biggest advantages of DIY is the cost savings. Hiring a professional can be expensive, especially if your project involves a large area or intricate designs. By doing the work yourself, you can save a significant amount of money on labor costs. That being said, there are costs involved in purchasing paint, primer, tools, and other materials, so be sure to budget accordingly.
Skill Level
Painting hardwood floors isn’t the most challenging DIY project, but it does require a certain level of skill and patience. If you’re comfortable with basic DIY tasks like sanding, priming, and painting, you can likely handle this project on your own. However, if you’re new to DIY or feel unsure about your ability to achieve a professional-looking finish, it might be worth hiring an expert to ensure the job is done right.
Time Commitment
Painting hardwood floors is a time-consuming process. From prepping the floors to applying multiple coats of paint and polyurethane, the project can take several days or even weeks, depending on the size of the area. If you’re short on time or need the room back in use quickly, hiring a professional can save you a lot of hassle. I’ve learned that DIY projects often take longer than anticipated, so be prepared for a time commitment if you go the DIY route.
Professional Quality
While DIY can be rewarding, it’s hard to beat the quality and precision that a professional can offer. If you’re looking for a flawless finish, particularly with more intricate designs or patterns, a professional painter has the experience and tools to deliver high-quality results. I’ve seen DIY projects turn out beautifully, but I’ve also seen instances where the finished product didn’t meet expectations due to lack of experience.
Control Over the Project
One of the benefits of DIY is that you have complete control over every aspect of the project. From selecting the exact paint color to determining how many coats to apply, you’re in charge of the entire process. I love the creative freedom that comes with DIY, but if you’d rather trust an expert to make these decisions, hiring a professional might be the better option for you.
Long-Term Maintenance
Whether you choose to DIY or hire a professional, it’s important to consider the long-term maintenance of painted floors. Even professionally painted floors will require upkeep, so make sure you’re prepared to invest time in maintaining the finish over the years. If you’re willing to take on some of the maintenance yourself, DIY might be a more appealing option, but if you prefer to leave all aspects of the project to the pros, hiring help is the way to go.
Common Mistakes to Avoid
Skipping Proper Prep
Rushing through the prep work can lead to a poor finish. Always clean, sand, and prime your floors thoroughly before applying paint.
Using the Wrong Paint
Not all paints are suitable for hardwood floors. Choose a durable, high-quality floor paint that can withstand foot traffic and wear.
Skipping the Topcoat
A protective topcoat is essential for sealing the paint and protecting it from damage. Skipping this step can lead to chipping and peeling.
Not Allowing Enough Drying Time
It’s tempting to rush the process, but be patient and allow each coat of paint and topcoat to dry fully before applying the next.
Ignoring Maintenance
Even after painting, your floors will require regular cleaning and upkeep to maintain their appearance and durability.
Choosing Colors Without Considering Lighting
The color of your painted floors will look different depending on the lighting in your space. Always test your paint choices in different lighting conditions before committing.
How long does it take to paint hardwood floors?
The entire process of painting hardwood floors can take several days to a week, depending on the size of the area and how many coats of paint and topcoat you apply. Be sure to account for the drying time between each coat to avoid rushing the process.
Can I paint over already painted hardwood floors?
Yes, you can paint over previously painted floors, but you’ll need to sand the surface lightly to remove any gloss and create a surface that the new paint can adhere to. Don’t forget to clean the floors thoroughly before repainting.
What type of paint should I use on hardwood floors?
It’s best to use a paint specifically designed for floors, such as enamel or acrylic floor paint. These types of paint are formulated to withstand foot traffic and are more durable than standard wall paint.
Do I need to sand my hardwood floors before painting them?
Yes, sanding is an important step in preparing your floors for paint. Sanding helps remove any existing finishes and creates a smooth surface that the paint can adhere to. Be sure to clean up all dust and debris before moving on to priming and painting.
How do I prevent my painted hardwood floors from chipping?
To prevent chipping, it’s essential to apply a durable topcoat after painting. Regular maintenance, such as sweeping and avoiding harsh chemicals, will also help protect the finish. Consider reapplying the topcoat periodically to maintain the floor’s durability.
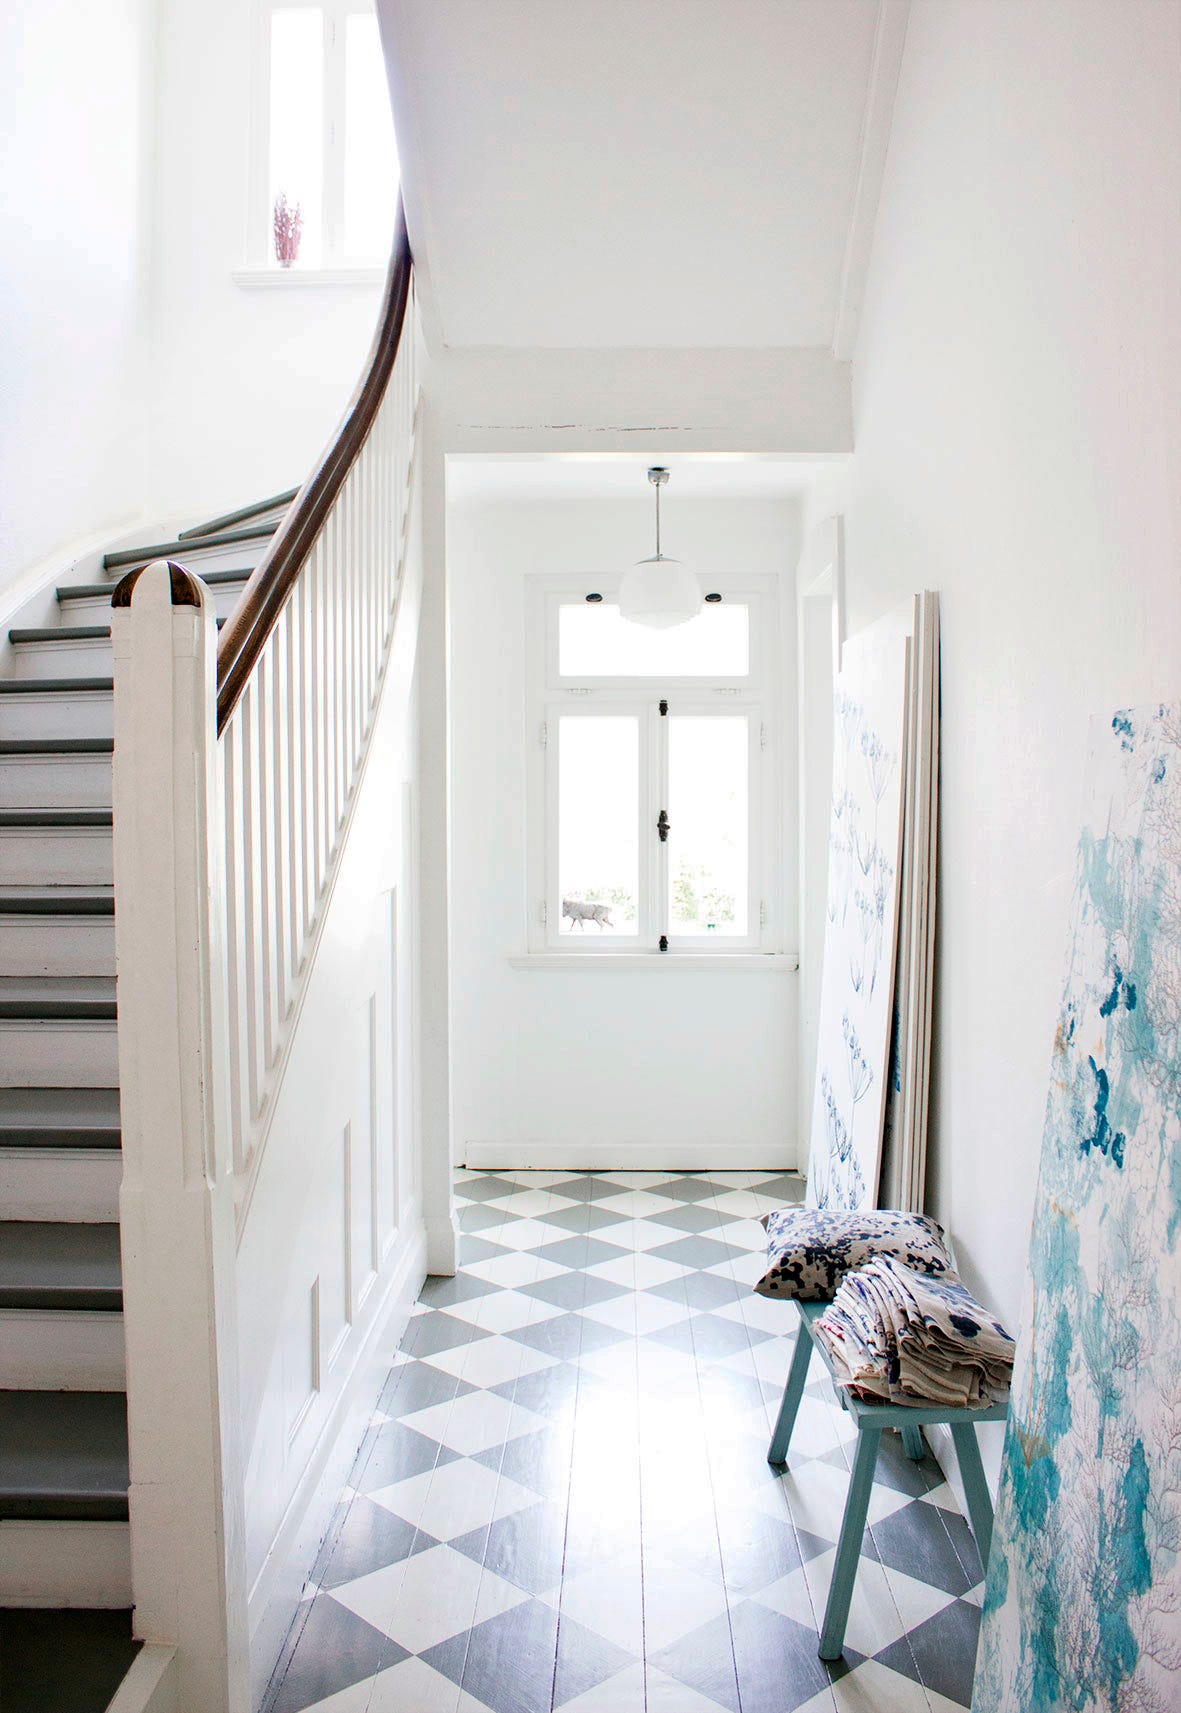
Can I add patterns or designs to my painted hardwood floors?
Absolutely! Painted patterns and designs can add a lot of personality to your floors. You can use stencils, geometric designs, or even create faux rugs for a unique look. Just be sure to plan your design carefully and take your time with the application to achieve the best results.
Painting Hardwood Floors Sale
Painting an Antique Wood Floor

Related Posts: