Preparing Your Basement Floor for Painting
When I decided to paint my unfinished basement floor, I quickly realized that the key to a successful project lies in thorough preparation. Simply slapping on a coat of paint might seem tempting, but taking the time to properly prep the surface makes all the difference in the final result. Here’s how I approached getting my basement floor ready for paint.
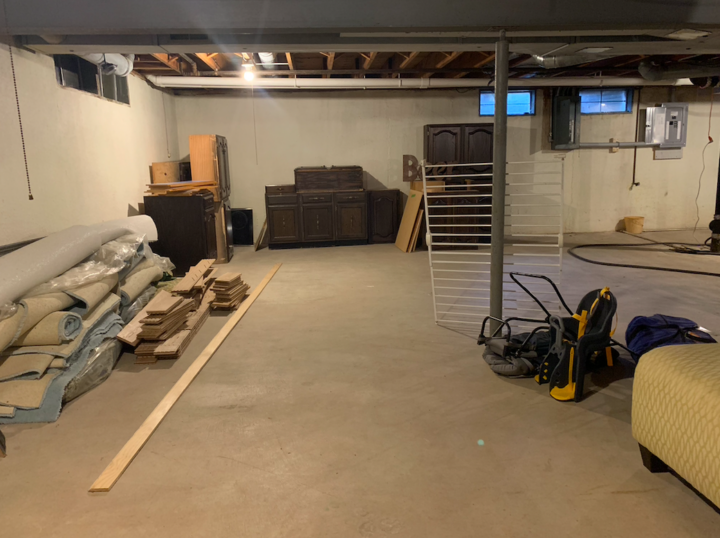
- Clearing the Space: The first step was to clear out the entire basement. I moved all the furniture, storage boxes, and any other items out of the way. This gave me a clean slate to work with and ensured that nothing would get in the way during the painting process. It also allowed me to assess the floor’s condition without any distractions.
- Cleaning the Floor: Next, I gave the floor a thorough cleaning. I started by sweeping up any loose dirt and debris. Then, I mopped the floor with a mixture of water and mild detergent. This step is crucial because any dirt or grease left on the floor can prevent the paint from adhering properly. I made sure to let the floor dry completely before moving on to the next step.
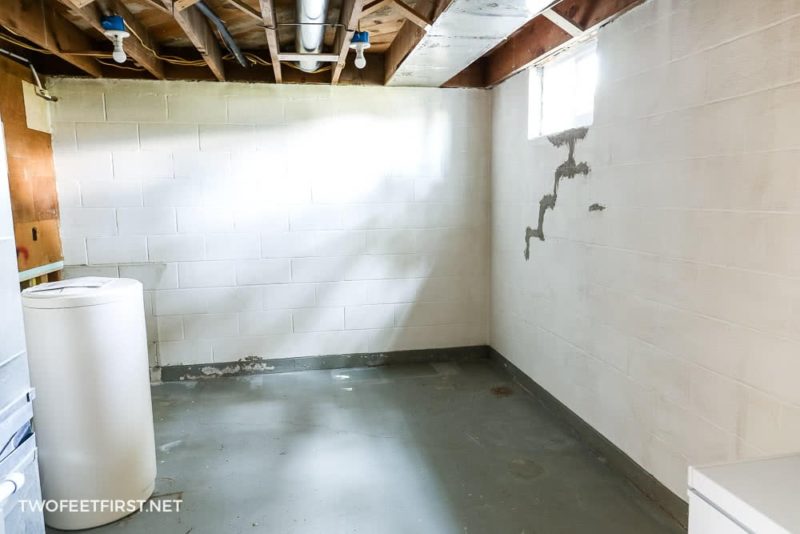
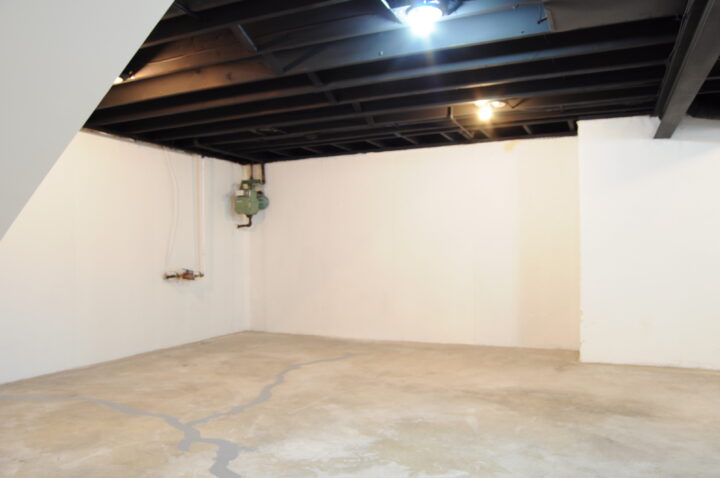
- Repairing Cracks and Holes: As I inspected the floor, I noticed a few cracks and small holes that needed attention. I used a concrete patching compound to fill in these imperfections. It’s important to smooth out the patched areas with a putty knife to ensure a level surface. After allowing the compound to dry, I sanded it down to blend it seamlessly with the rest of the floor.
- Etching the Concrete: To help the paint adhere better, I decided to etch the concrete. I used a concrete etching solution, which I applied with a brush and let sit for the recommended time. This process opens up the pores of the concrete, allowing the paint to grip the surface more effectively. After etching, I rinsed the floor thoroughly and let it dry overnight.
- Dealing with Moisture Issues: Since basements can be prone to moisture, I checked for any signs of dampness on the floor. A simple way to do this is by taping a piece of plastic to the floor and leaving it for 24 hours. If there’s moisture under the plastic, it’s crucial to address it before painting. Fortunately, my basement floor was dry, but if it hadn’t been, I would have needed to apply a moisture barrier.
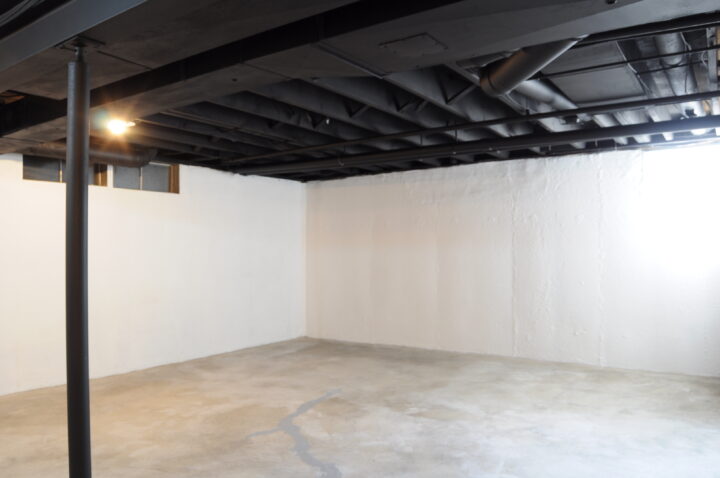
- Final Inspection: Before moving on to painting, I did a final inspection of the floor. I checked for any missed spots or debris that might have settled overnight. Once I was satisfied that the floor was completely clean and smooth, I knew it was ready for the next step: choosing the right paint.
Choosing the Right Paint for Your Basement Floor
With my basement floor prepped and ready, the next step was choosing the right paint. This decision is more important than you might think, as the type of paint you choose will determine how well it holds up over time and how it looks. Here’s how I went about selecting the best paint for my project.
Understanding Your Options: The first thing I did was research the different types of paint available for concrete floors. There are a few options, including epoxy paint, acrylic latex paint, and concrete stain. Each has its pros and cons. Epoxy paint is highly durable and resistant to chemicals, making it ideal for high-traffic areas. Acrylic latex paint is easier to apply and comes in a wide range of colors, but it may not be as tough as epoxy. Concrete stain, on the other hand, penetrates the surface and gives a more natural look, but it doesn’t offer as much protection.
Considering Durability: Durability was a top priority for me since the basement floor would see a lot of use. After weighing my options, I decided that epoxy paint was the best choice. It’s known for its toughness and resistance to wear and tear, which is exactly what I needed. The fact that it also resists water and stains was a huge bonus, especially in a basement setting.
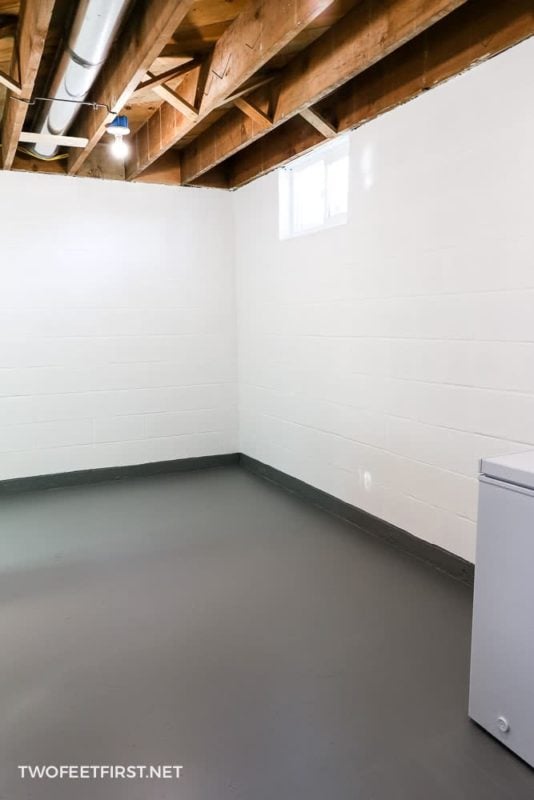
Color Selection: Next, I had to choose a color. This was the fun part! I wanted a color that would brighten up the basement and make it feel more inviting. I opted for a light gray, which is neutral enough to go with any future decor changes but still adds a bit of style to the space. Epoxy paint comes in a variety of colors, so finding one that suited my taste was easy.
Checking for Compatibility: Before purchasing the paint, I made sure it was compatible with my basement floor. Some paints are formulated for specific types of concrete or surfaces that have already been sealed. I read the product labels carefully and even consulted with a professional at the paint store to ensure I was making the right choice. It’s important to use paint that’s designed for unfinished concrete floors to avoid peeling or chipping down the road.
Purchasing the Necessary Supplies: In addition to the paint, I needed a few other supplies to get the job done. I picked up a high-quality primer, which is essential for ensuring the paint adheres properly. I also bought paint rollers with long handles for easy application, as well as brushes for cutting in around the edges. Don’t forget painter’s tape to protect the walls and any fixtures.
Planning for Application: Finally, I planned out the application process. I made sure to buy enough paint to cover the entire floor with at least two coats, which is recommended for durability. I also scheduled the painting for a time when I could leave the basement undisturbed for a few days to allow the paint to cure properly. With all the materials in hand, I was ready to tackle the next step: dealing with moisture and sealing the floor.
Dealing with Moisture and Sealing the Floor
Before I could start painting, I had to address the issue of moisture, which can be a common problem in basements. Painting over a damp floor is a recipe for disaster, as it can lead to peeling and bubbling down the line. Here’s how I made sure my basement floor was properly sealed and ready for paint.
Identifying Moisture Problems
The first thing I did was check for any existing moisture problems. As I mentioned earlier, I used the plastic sheet test to see if there was any condensation on the floor. While my initial test showed the floor was dry, I wanted to be extra cautious. I also checked the walls and any other areas where moisture might seep in, such as around windows or the foundation.
Applying a Moisture Barrier
To protect the floor from future moisture issues, I decided to apply a moisture barrier. This step is crucial, especially if you live in an area with a high water table or if your basement has a history of dampness. I chose a moisture-blocking primer specifically designed for concrete floors. Applying it was straightforward, and I followed the manufacturer’s instructions carefully, ensuring an even coat across the entire floor.
Sealing Cracks and Joints
Moisture can also enter through cracks and joints, so I took extra care to seal these areas. I used a concrete sealer to fill in any small cracks that I might have missed earlier. For the larger joints, I applied a flexible sealant that could expand and contract with the temperature changes. This step gave me peace of mind, knowing that my floor was well-protected.
Allowing Proper Drying Time
After applying the moisture barrier, I allowed plenty of time for it to dry. Rushing this process can lead to problems later on, so I made sure to follow the recommended drying time on the product label. For most moisture barriers, this can be anywhere from 24 to 48 hours. It’s important to ensure the floor is completely dry before moving on to the next steps.
Testing for Moisture Again
Once the moisture barrier was dry, I decided to test for moisture one last time. I used the same plastic sheet method to check for any signs of dampness. Luckily, the floor remained dry, confirming that the moisture barrier was doing its job. This extra step might seem unnecessary, but it’s better to be safe than sorry when it comes to basement floors.
Getting Ready to Prime
With the moisture issue taken care of, I felt confident moving on to the next phase: applying a primer. The primer would not only help the paint adhere better but also add an extra layer of protection against moisture. With everything sealed and dry, I knew my basement floor was ready for a fresh coat of paint.
Applying a Primer for Better Paint Adhesion
Now that my basement floor was clean, sealed, and moisture-free, the next step was to apply a primer. Primer is a crucial part of the process because it creates a smooth, even surface for the paint to adhere to. Here’s how I went about priming my basement floor.
Choosing the Right Primer
The first step was selecting the right primer for the job. Since I was working with an unfinished concrete floor, I chose a primer specifically designed for concrete surfaces. These primers are formulated to bond well with the porous surface of concrete, ensuring that the paint sticks properly. I made sure to choose a high-quality primer that would complement the epoxy paint I had selected.
Prepping the Floor
Before applying the primer, I gave the floor one last sweep to remove any dust or debris that might have settled. I also used painter’s tape to protect the walls and any fixtures that I didn’t want to get a primer on. It’s important to take the time to prep the area thoroughly to avoid any mishaps during the application.
Applying the Primer
With everything prepped, it was time to start priming. I used a paint roller with an extension handle, which made it easy to cover large areas quickly. Starting in one corner of the room, I worked my way across the floor in even strokes. I was careful not to apply too much primer at once, as this can lead to puddling and uneven coverage. Instead, I applied it in thin, even coats, ensuring that the entire floor was covered.
Cutting In Around Edges
For the edges and corners where the roller couldn’t reach, I used a brush to cut in. This part requires a bit of patience, but it’s essential for getting a clean, professional-looking finish. I took my time to make sure that the primer was applied evenly around the edges, paying extra attention to any tricky spots like around the base of the stairs or near doorways.
Allowing the Primer to Dry
Once the primer was applied, I let it dry completely. The drying time can vary depending on the product, but most concrete primers need at least 24 hours to cure properly. I made sure to keep the basement well-ventilated during this time to help speed up the drying process. It’s crucial to let the primer dry fully before moving on to painting, as applying paint too soon can lead to peeling and other issues.
Inspecting the Primer Coat
After the primer had dried, I inspected the floor to make sure everything looked good. I checked for any missed spots or areas where the primer might have pooled. If I had noticed any issues, I would have touched them up before moving on. Fortunately, the primer had gone on smoothly, and the floor was ready for the next step: painting.
Painting Techniques for a Smooth and Durable Finish
With the primer fully cured, it was finally time to start painting. This is where all the preparation pays off, as a well-prepped floor makes the painting process so much easier. Here’s how I tackled painting my basement floor to achieve a smooth and durable finish.
Starting with the First Coat
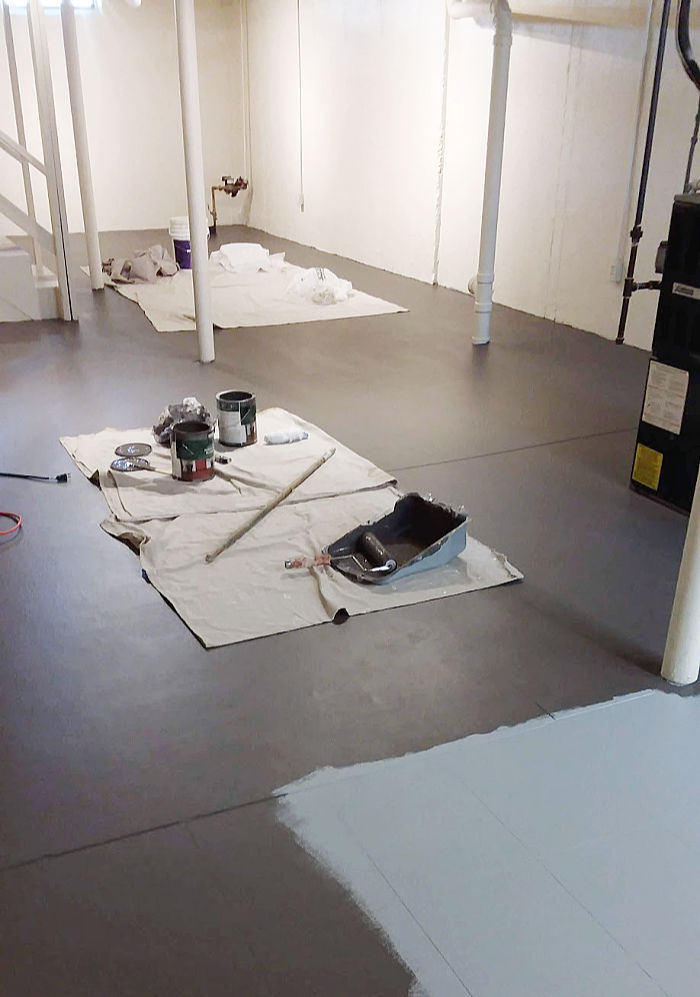
I began by applying the first coat of epoxy paint. Using a roller with a long handle, I started in one corner of the room and worked my way across the floor in even, overlapping strokes. The key here is to apply the paint in thin coats rather than trying to cover everything in one go. This helps prevent puddling and ensures that the paint adheres properly. I found that working in small sections made it easier to manage the application and maintain a wet edge, which is important for avoiding visible lines between sections.
Cutting In Around Edges
Just like with the primer, I used a brush to cut in around the edges and any areas that the roller couldn’t reach. This step requires a bit of patience, but it’s essential for getting a professional-looking finish. I made sure to apply the paint evenly and avoid leaving any brush marks. It’s also important to be consistent with the amount of paint on the brush to ensure a uniform finish around the edges.
Letting the First Coat Dry
After applying the first coat, I let it dry completely. The drying time can vary depending on the paint, but epoxy typically needs at least 24 hours to cure. I made sure to keep the basement well-ventilated during this time to help the paint dry faster and to minimize any fumes. It’s crucial to allow the first coat to dry fully before applying a second coat, as this helps build up the durability of the finish.
Applying a Second Coat
Once the first coat was dry, I applied a second coat of paint. This second coat is what brings out the color and adds extra durability to the floor. I used the same technique as before, working in thin, even layers and making sure to maintain a wet edge. The second coat also helped to cover any thin spots from the first coat and gave the floor a more uniform appearance.
Adding a Clear Topcoat
For added protection, I decided to apply a clear topcoat over the paint. This step is optional, but it can help extend the life of the paint and give the floor a glossy finish. I used a clear epoxy topcoat, which is designed to work with the epoxy paint I had chosen. Applying the topcoat was similar to applying the paint, and I made sure to follow the manufacturer’s instructions for the best results.
Final Curing and Care
After applying the topcoat, I allowed the floor to cure for several days before moving anything back into the basement. This curing time is essential for ensuring that the paint and topcoat harden properly and become resistant to wear and tear. I also made sure to avoid walking on the floor during this time to prevent any accidental scuffs or damage. Once the floor was fully cured, I was thrilled with the smooth, durable finish that I had achieved.
Adding Decorative Touches: Patterns and Colors
After painting the floor, I realized that I could take it a step further by adding some decorative touches. While a solid color looks great, I wanted to make the space truly unique by incorporating patterns and colors. Here’s how I added some flair to my painted basement floor.
Choosing a Pattern or Design
The first step was deciding on a pattern or design. There are so many options to choose from, including geometric patterns, stenciled designs, and even faux finishes that mimic the look of stone or tile. I wanted something that would add visual interest without overwhelming the space, so I opted for a simple checkerboard pattern in two complementary colors. This classic design adds a touch of elegance while still being easy to achieve.
Planning the Layout
Before diving in, I took some time to plan out the layout of the pattern. I measured the floor and marked out where the squares would go, making sure they were evenly spaced and aligned. This step is crucial for ensuring that the pattern looks professional and cohesive. I used painter’s tape to mark off the areas that I wanted to keep in the original color and to create clean, crisp lines for the new color.
Applying the Secondary Color
With the layout planned, I started applying the secondary color to the floor. I used a small roller and a brush for the edges, carefully filling in the squares that I had marked off. It’s important to use a steady hand and take your time with this step to avoid any bleeding under the tape. I applied two coats of the secondary color, letting each coat dry completely before removing the tape.
Creating Additional Details
To add even more interest, I decided to incorporate a border around the perimeter of the room. I used a different color for the border, which helped to frame the space and tie the design together. I applied the border using the same technique as the pattern, carefully measuring and taping off the area before painting. This extra detail gave the floor a finished, polished look that elevated the overall design.
Protecting the Design
After all the paint had dried, I applied a clear topcoat over the entire floor to protect the design. This step is especially important when adding decorative elements, as it helps to seal the paint and prevent any wear or fading over time. I used a clear epoxy topcoat, which not only protects the paint but also adds a beautiful shine to the floor.
Enjoying the Finished Look
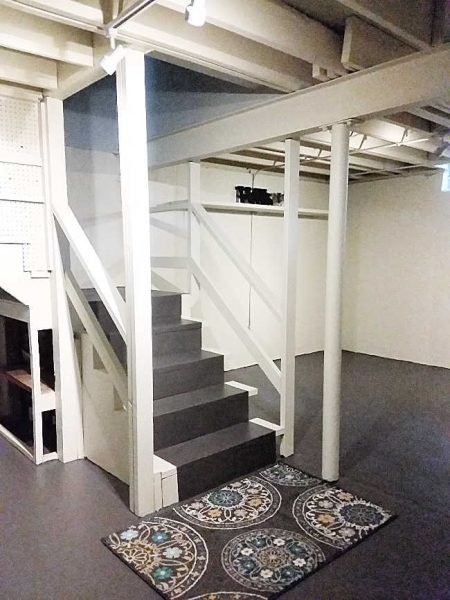
Once everything was dry and cured, I was thrilled with how the floor turned out. The pattern added a custom touch that made the basement feel more like a finished, intentional space rather than just an unfinished utility area. The colors and design brought new life to the room and made it a place where I actually enjoy spending time. Plus, knowing that I did it all myself made it even more satisfying.
Maintaining Your Painted Basement Floor for Longevity
After putting so much effort into painting my basement floor, I wanted to make sure it would last for years to come. Proper maintenance is key to keeping the floor looking great and ensuring its durability. Here’s how I take care of my painted basement floor to keep it in top condition.
Regular Cleaning
The first and most important step in maintaining the floor is regular cleaning. I make it a habit to sweep the floor frequently to remove any dirt, dust, or debris that could scratch the surface. For deeper cleaning, I use a damp mop with a mild detergent. It’s important to avoid harsh chemicals or abrasive cleaners, as they can damage the paint and the topcoat. Keeping the floor clean not only preserves its appearance but also helps prevent any buildup that could cause wear over time.
Preventing Scratches and Scuffs
To prevent scratches and scuffs, I placed felt pads under any furniture that sits on the floor. This simple step helps protect the floor from damage when moving furniture around. I’m also careful to lift rather than drag heavy objects across the floor. If I notice any scuffs, I use a soft cloth and a bit of soapy water to gently buff them out. Taking these precautions helps keep the floor looking smooth and flawless.
Addressing Spills and Stains
Accidents happen, and when they do, it’s important to address spills and stains right away. I keep a soft cloth or paper towel on hand to quickly wipe up any liquids that might spill on the floor. For tougher stains, a gentle scrub with a soft-bristle brush usually does the trick. I avoid using harsh chemicals, as they can damage the paint. By cleaning up spills promptly, I prevent them from soaking into the paint and causing permanent stains.
Reapplying the Topcoat
Over time, the topcoat can start to wear down, especially in high-traffic areas. To keep the floor protected, I plan to reapply a fresh layer of clear topcoat every couple of years. This not only helps maintain the floor’s shine but also provides an extra layer of protection against wear and tear. I make sure to follow the manufacturer’s instructions for applying the topcoat and allow it to cure properly before resuming the use of the basement.
Inspecting for Damage
Regular inspections are crucial for catching any potential issues before they become major problems. I check the floor periodically for any signs of peeling, bubbling, or other damage. If I spot any issues, I address them promptly to prevent further damage. Small repairs can usually be done with a touch-up of paint or a quick application of sealant, which helps extend the life of the floor.
Maintaining Proper Ventilation
Good ventilation in the basement helps to control humidity and temperature, both of which can affect the longevity of the paint. I make sure the basement is well-ventilated to reduce moisture levels and prevent any mold or mildew growth. Proper ventilation also helps the floor dry out quickly if it gets wet, which is important for maintaining the integrity of the paint.
Renovations: Painting the Basement Floor Concrete basement walls
Basement Floor Paint Colors – Designing Idea
How To Paint An Unfinished Basement – Home Decor Bliss
How to Paint Concrete Basement Floors Using Epoxyshield – Building
Tips for a Painted Vinyl Basement Floor
Basement Concrete Floor Painting
home improvement Alarm Clock Wars Painting basement floors
Related Posts:
