Another reason behind vinyl wood flooring being a wonderful addition for the home of yours is because it is resilient and durable extremely. Nonetheless, this backing adhesive makes it difficult to get rid of the vinyl tiles. Frequent flooring suppliers might not give you big discounts but, many times, they assure you of good quality products and also a great selection of vinyl flooring.
Images about Pour Leveling Compound On Existing Vinyl Floor
Pour Leveling Compound On Existing Vinyl Floor

You have the option of using loose-fitting vinyl tiles or even planks. Not only the durability and affordability is the major reason but probably it’s a wide selection to select from. In case you are intending to renovate your room within a limited budget, subsequently vinyl flooring is meant designed for you. When its time for a make over of the home of yours, spending budget is an factor that impacts the decision making.
Self-Leveling Concrete Can Save Both Time and Money – Concrete Decor

With regards to installing vinyl flooring, any skilled DIY person should have the ability to do the job without much fuss or hassle. This can cut back on the denting as well as damage that the couch causes to the floor of yours. Vinyl is resilient & enduring; it can serve you far longer than other flooring types. Also, they’ll offer tricks and tips to keeping vinyl flooring.
Self-Leveling Underlayment: No More Mysteries DIYTileGuy
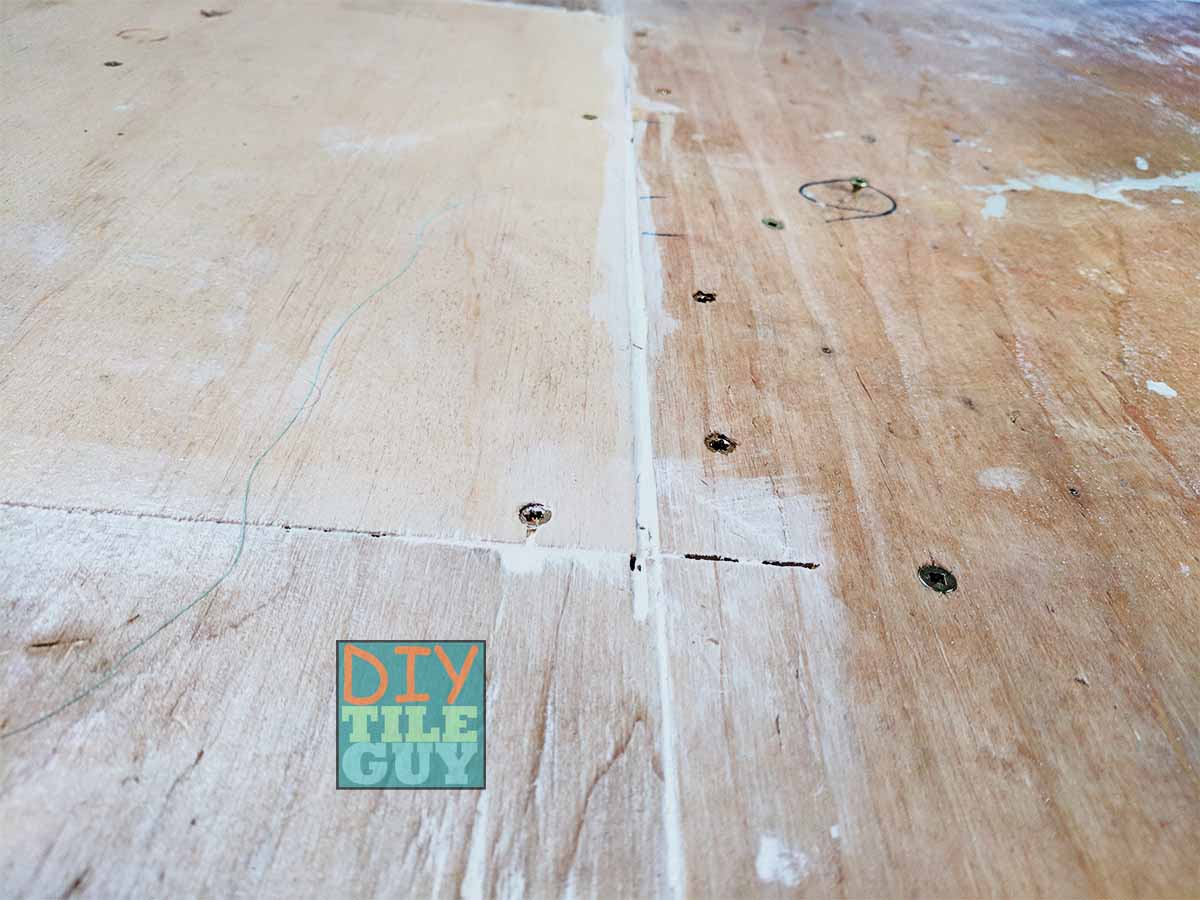
How to use floor leveler to fill low spots before laying new flooring

Self-Leveling Underlayment: No More Mysteries DIYTileGuy

Self-leveling concrete – Wikipedia

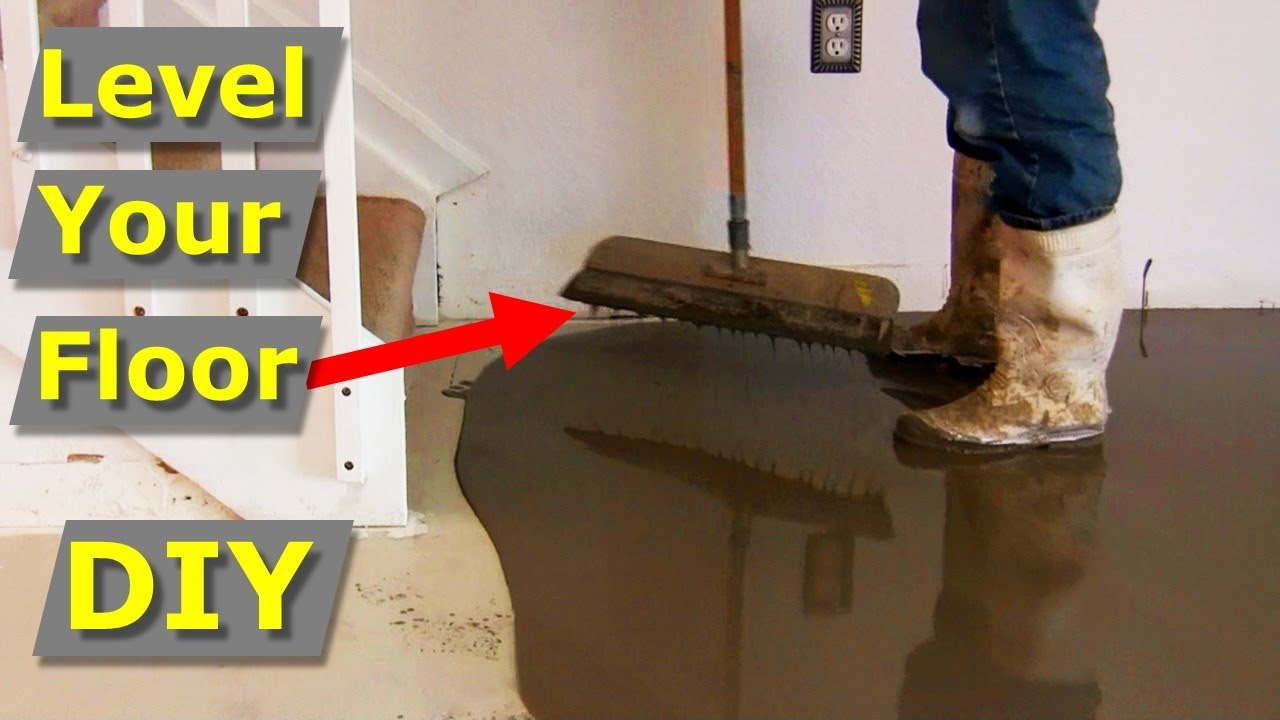
How to Level an Uneven Subfloor
/laying-laminate-flooring-184950459-5c75f714c9e77c0001f57b1c.jpg)
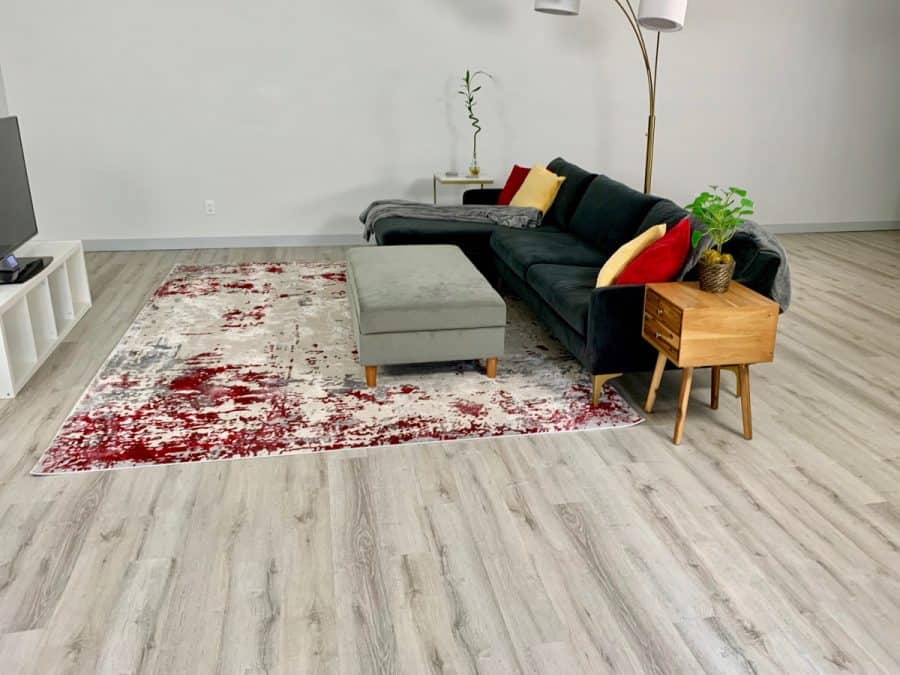
How to Level a Concrete Floor: For Vinyl Plank – Artsy Pretty Plants
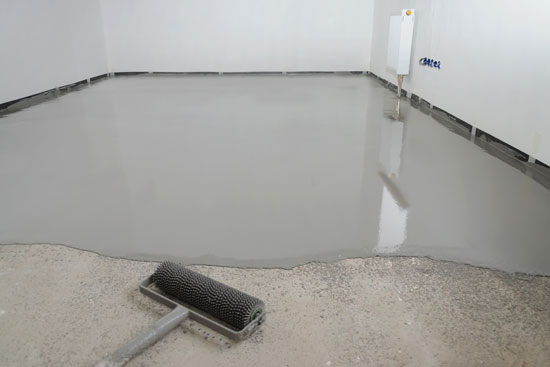
How to Self Level Concrete Floors Like Pros – Self Leveler
Self-Leveling Concrete: Preparing for Installation [Tips]
THE EXPANDING ROLE OF SELF-LEVELING OVERLAYS IN DECORATIVE
How to Level a Floor with a Self Leveling Compound

How to Level a Concrete Floor: For Vinyl Plank – Artsy Pretty Plants

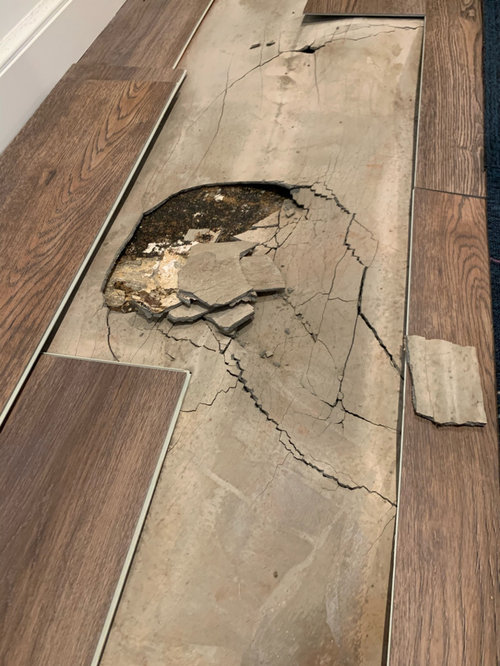
LVP buckling and leveling cement under it cracking
Related Posts:
- How To Repair Vinyl Flooring Scratches
- Copper Vinyl Flooring
- Vinyl Flooring In Bathroom
- Commercial Vinyl Flooring
- Luxury Vinyl Flooring Bedroom
- Herringbone Vinyl Floor Tiles
- Vinyl Flooring That Looks Like Wood
- Vinyl Flooring For Basement
- Toilet Vinyl Flooring
- Rustic Vinyl Flooring
Pouring Leveling Compound On Existing Vinyl Floor: A Comprehensive Guide
Installing a new vinyl floor is a great way to update your home or office and create a fresh, modern look. However, before you can begin installing the new floor, it is important to prepare the existing floor. This process involves pouring a leveling compound on the existing vinyl floor to ensure that the new floor is level and secure.
In this guide, we’ll provide you with all the information you need to know about pouring a leveling compound on an existing vinyl floor. We’ll cover the materials and tools needed, how to prepare the surface of the existing floor, how to apply the leveling compound, and more. Let’s get started!
Materials and Tools Required
Before you can begin pouring the leveling compound on your existing vinyl floor, you’ll need to gather up a few materials and tools. The materials you’ll need include:
– Leveling Compound
– Trowel
– Notched Trowel
– Squeegee
– Bucket
– Masking Tape
– Plastic Sheeting
– Water
– Vacuum Cleaner
– Sponge
– Paint Tray
– Painter’s Tape
– Paint Roller
The tools you’ll need include:
– Tape Measure
– Putty Knife
– Utility Knife
– Paintbrush
– Sandpaper or Fine Grinder
– Hammer
– Nail Set or Punch Set
Now that you have all your materials and tools, let’s move on to preparing the existing vinyl floor for the leveling compound.
Preparing The Existing Vinyl Floor For Leveling Compound
The first step in preparing your existing vinyl floor for the leveling compound is to remove any baseboards or trim pieces that are in place. Use a hammer and nail set or punch set to carefully remove any nails or screws that may be present. Then, use a utility knife to cut away any adhesive that may be holding the trim pieces in place. Once removed, vacuum up any debris that may remain on the floor.
Next, you’ll need to inspect the existing vinyl floor for any cracks or damage. If any cracks or damage is found, use a putty knife or fine grinder to fill in any gaps or repair any damage. Once complete, use a damp sponge to wipe away any dust or debris that may remain on the surface of the floor.
Once you have prepared the existing vinyl floor for the leveling compound, it is time to apply the compound itself.
Applying The Leveling Compound On The Existing Vinyl Floor
To begin applying the leveling compound on your existing vinyl floor, start by laying down plastic sheeting around the perimeter of the room. This will help contain any excess compound that may spill during application. Next, measure out your desired area with a tape measure and use masking tape to mark off where you will be pouring the leveling compound.
Now it is time to mix up your leveling compound according to its instructions. Pour water into a bucket and slowly add in the dry leveling compound while stirring with a trowel until it forms a thick paste. Once mixed together, use a notched trowel to spread out the mixture onto your marked off area. Start at one corner of your marked off area and spread outward in small sections until your entire marked off area has been covered with leveling compound. Finally, use a squeegee or paint roller to smooth out any bumps or ridges in the leveled compound before allowing it to dry completely.
Frequently Asked Questions (FAQs) Q: How long does it take for leveling compound to dry? A: It typically takes