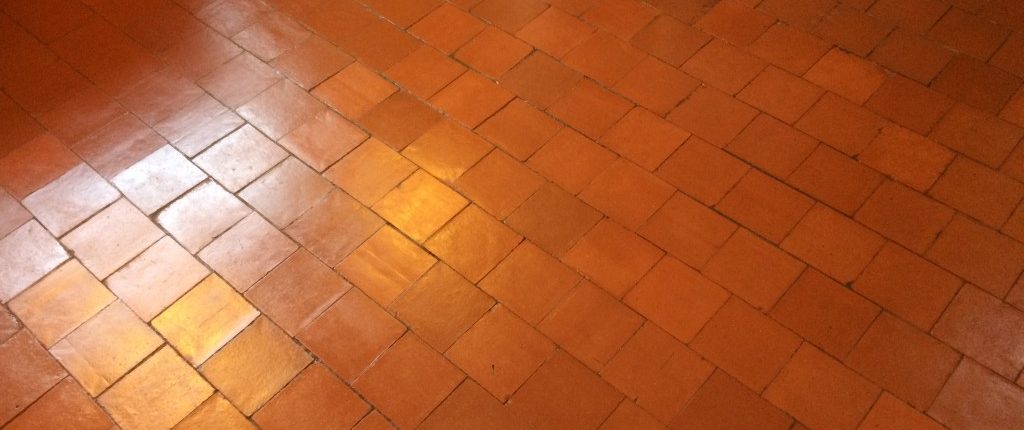
Understanding Quarry Tile
Quarry tile is a durable and versatile flooring option that has been used for centuries. Its unique characteristics and rich history make it a popular choice for both residential and commercial spaces. Let’s talk about the origins of quarry tile, its distinct features, and why it remains a timeless flooring solution.
- Origins of Quarry Tile: Quarry tile has its roots in ancient civilizations, where it was first used in Mediterranean regions. Historically, it was made by shaping clay into tiles and firing them at high temperatures. The name “quarry” comes from the traditional method of quarrying the clay from natural sources. These tiles were then used in various applications, including flooring, due to their durability and resistance to wear and tear.
- Distinct Features of Quarry Tile: Quarry tile is known for its robustness and ability to withstand heavy foot traffic, making it ideal for high-traffic areas. It is made from natural clay, which gives it a unique earthy appearance and a wide range of color options. Quarry tiles are also resistant to stains, water, and chemicals, making them suitable for areas prone to spills and moisture.
- Versatility of Quarry Tile: One of the key advantages of quarry tile is its versatility. It can be used in a variety of settings, including kitchens, bathrooms, entryways, and outdoor spaces. Quarry tiles can be installed in different patterns, such as straight, diagonal, or herringbone, allowing for creative and customized designs.
- Maintenance and Care: While quarry tile is durable, it still requires regular maintenance to preserve its beauty and longevity. Sweeping or vacuuming the floor regularly helps remove dirt and debris, preventing them from scratching the surface. Additionally, periodic mopping with a pH-neutral cleaner will help maintain the tile’s appearance and prevent the buildup of stains.
- Modern Applications of Quarry Tile: In recent years, quarry tile has experienced a resurgence in popularity due to its timeless aesthetic and durability. It is commonly used in commercial spaces such as restaurants, hotels, and public buildings. Additionally, homeowners are increasingly opting for quarry tile in their kitchens, bathrooms, and outdoor areas for its classic charm and long-lasting performance.
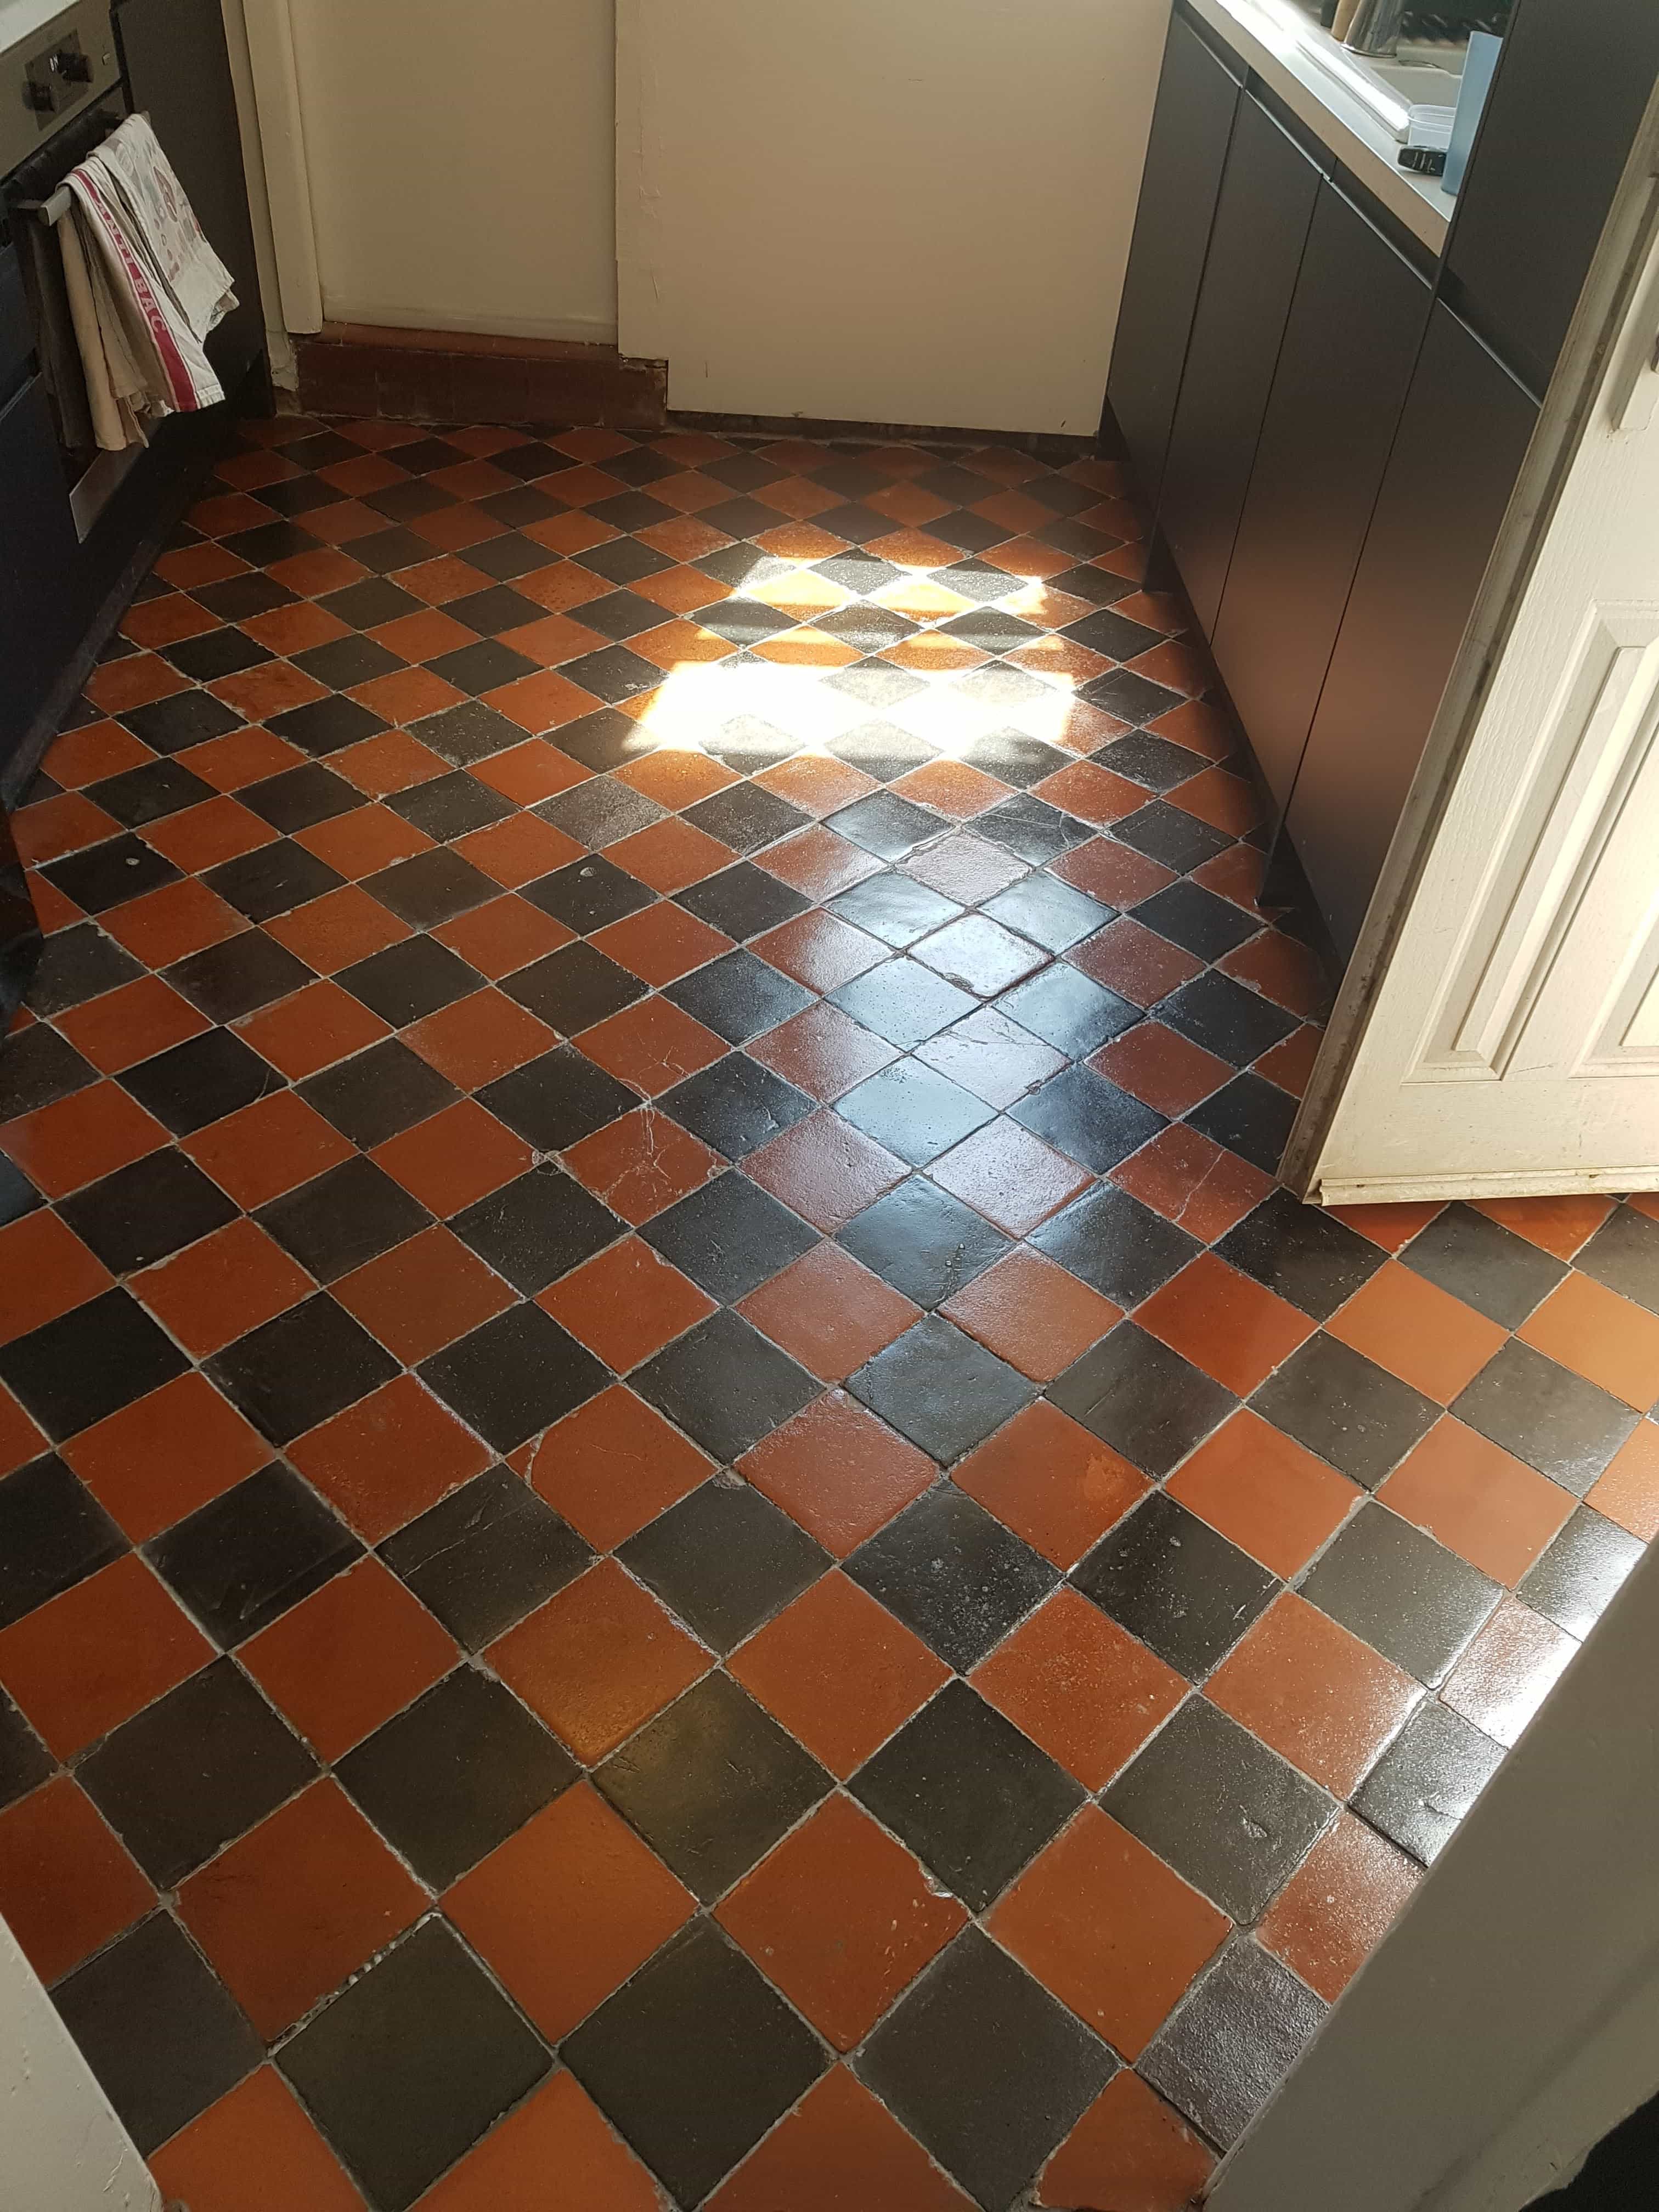
How to Determine if Your Quarry Tile Floor Needs Restoration
Over time, quarry tile floors can show signs of wear and tear, requiring restoration to bring back their original beauty. We will guide you through the process of assessing the condition of your quarry tile floor and determining if restoration is necessary. By understanding the signs of damage, you can take proactive steps to preserve and rejuvenate your quarry tile flooring.
Inspecting the Surface: Begin by thoroughly examining your quarry tile floor. Look for any cracks, chips, or missing tiles. Pay attention to areas with heavy foot traffic, as they are more prone to damage. Additionally, check for any discoloration, stains, or deep scratches that may require restoration.
Testing the Tile’s Durability: Quarry tiles are known for their durability, but years of use can weaken and erode the surface. Test the tiles by gently tapping them with a small hammer or a hard object. If you hear a hollow sound or notice any movement, it indicates that the tiles may be loose or damaged and need restoration.
Assessing the Grout Lines: Inspect the grout lines between the tiles. Over time, grout can deteriorate, crack, or become discolored. If you notice signs of grout damage, such as crumbling or discoloration, it is an indication that your quarry tile floor needs restoration.
Evaluating the Overall Appearance: Consider the overall appearance of your quarry tile floor. Faded colors, a dull finish, or a lackluster appearance can indicate that the tiles need cleaning, polishing, or sealing. If the floor looks worn, aged, or unattractive, restoration can help revive its beauty.
Consulting a Professional: If you are unsure about the condition of your quarry tile floor or how to proceed with restoration, it is advisable to consult a professional. An experienced tile restoration specialist will assess the floor, provide expert advice, and recommend the best course of action to restore and enhance the appearance of your quarry tile floor.
Step-by-Step Guide to Pre-Restoration Surface Preparation
Before restoring your quarry tile floor, proper cleaning and surface preparation are essential to ensure a successful restoration process. We will provide a step-by-step guide to help you clean and prepare your quarry tile floor for restoration. By following these steps, you can achieve optimal results and ensure that your restored floor looks its best.
Clearing the Area: Start by removing any furniture, rugs, or other objects from the area you will be working on. This will allow you to have a clear workspace and prevent any obstacles during the cleaning and preparation process.
Sweeping or Vacuuming: Using a broom or vacuum cleaner, thoroughly sweep or vacuum the entire floor to remove loose dirt, dust, and debris. Pay close attention to corners, edges, and grout lines, as these areas tend to accumulate more dirt.
Preparing the Cleaning Solution: Next, prepare a cleaning solution suitable for quarry tile floors. Mix a mild detergent or a pH-neutral cleaner with warm water according to the manufacturer’s instructions. Avoid using harsh chemicals or acidic cleaners, as they can damage the tiles.
Mopping the Floor: Dip a mop or a sponge into the cleaning solution and wring out any excess liquid. Begin mopping the floor, starting from one corner and working your way across the entire surface. Pay extra attention to heavily soiled areas or stains, using gentle scrubbing motions if necessary.
Rinse and Dry: Once you have thoroughly mopped the floor, rinse it with clean water to remove any residue from the cleaning solution. Use a clean mop or sponge dampened with water to rinse the floor. After rinsing, use clean towels or a mop to dry the surface completely.
Surface Preparation: After the floor is clean and dry, inspect the surface for any remaining stains, scratches, or imperfections that may require additional attention. If necessary, use appropriate techniques or products to address these issues before proceeding with the restoration process.
Techniques and Products for Removing Stains, Scratches, and Damage
Restoring quarry tile floors involves addressing various types of damage, including stains, scratches, and other imperfections. We will explore different techniques and products that can be used to restore quarry tiles. By understanding these restoration methods, you can effectively remove stains, repair scratches, and rejuvenate your quarry tile floor.
Removing Stains: Stains can detract from the beauty of your quarry tile floor. To address stains, start by identifying the type of stain you are dealing with. Common stains on quarry tiles include oil, grease, food, and water-based stains. Depending on the type of stain, you can use specific stain removal techniques or products. For instance, oil-based stains can be treated with an absorbent material like baking soda or a commercial degreaser.
Repairing Scratches: Scratches on quarry tiles can be unsightly and compromise the floor’s appearance. For minor scratches, you can try using fine-grit sandpaper to gently buff the affected area. Be sure to follow the tile’s natural grain and test the sandpaper on a small, inconspicuous area first. For deeper scratches, you may need to use a tile repair kit that matches the color and texture of your quarry tiles.
Addressing Chipped Tiles: If you have any chipped tiles, you can replace them with new ones to restore the floor’s integrity. Start by carefully removing the damaged tile using a chisel. Clean the area thoroughly and apply tile adhesive to secure the new tile in place. Once the adhesive dries, grout the area to ensure a seamless finish.
Rejuvenating the Surface: Over time, quarry tiles can lose their luster and appear dull. To restore the surface’s shine, you can use a tile restorer or a polishing compound specifically designed for quarry tiles. Apply the product according to the manufacturer’s instructions, using a clean cloth or a buffing machine to bring back the tile’s natural sheen.
Sealing the Tiles: After the restoration process is complete, it is essential to seal your quarry tile floor to protect it from future damage. Choose a high-quality sealer that is suitable for quarry tiles and apply it according to the manufacturer’s instructions. Sealing will help prevent stains, water damage, and wear, ensuring your quarry tile floor remains beautiful and resilient for years to come.
Applying Sealants and Finishes for a Beautiful and Long-Lasting Quarry Tile Floor
After restoring your quarry tile floor, it is important to apply sealants and finishes to protect the surface and enhance its appearance. We will discuss the importance of finishing and protecting your quarry tile floor and provide a step-by-step guide to help you apply sealants and finishes effectively.
Benefits of Sealants and Finishes: Sealants and finishes play a crucial role in maintaining the beauty and longevity of your quarry tile floor. They act as a protective barrier, guarding against stains, moisture, and everyday wear and tear. Additionally, sealants and finishes can enhance the color and sheen of your tiles, giving your floor a polished and professional look.
Choosing the Right Sealant: Before applying a sealant, it is important to choose the right product for your quarry tiles. Look for a sealant specifically designed for porous surfaces like quarry tile. Consider factors such as durability, ease of application, and compatibility with the type of quarry tile you have. Read the manufacturer’s instructions carefully to ensure you select the most suitable sealant for your floor.
Preparing the Surface: Before applying the sealant, ensure that your quarry tile floor is clean and completely dry. Thoroughly remove any dust, debris, or cleaning residue. This will ensure that the sealant adheres properly to the surface and provides optimal protection.
Applying the Sealant: Using a clean brush or roller, apply the sealant evenly across the entire surface of the quarry tile floor. Work in small sections to ensure thorough coverage. Follow the manufacturer’s instructions regarding the number of coats and drying times. Allow the sealant to dry completely before proceeding to the next step.
Applying the Finish: Once the sealant has dried, you can apply a finish to further enhance the appearance of your quarry tile floor. Finishes come in various types, such as matte, satin, or glossy, allowing you to achieve the desired sheen. Apply the finish in the same manner as the sealant, ensuring even coverage and following the manufacturer’s instructions for drying times between coats.
Curing and Maintenance: After applying the finish, allow it to cure according to the manufacturer’s instructions. This ensures that the sealant and finish bond effectively with the tiles, providing maximum protection and longevity. Once cured, maintain your quarry tile floor by regularly cleaning it with a pH-neutral cleaner and avoiding harsh chemicals or abrasive cleaning tools.
By applying sealants and finishes to your quarry tile floor, you can protect it from stains, moisture, and wear, while also enhancing its appearance. Proper finishing and protection will ensure that your quarry tile floor retains its beauty and durability for many years to come.
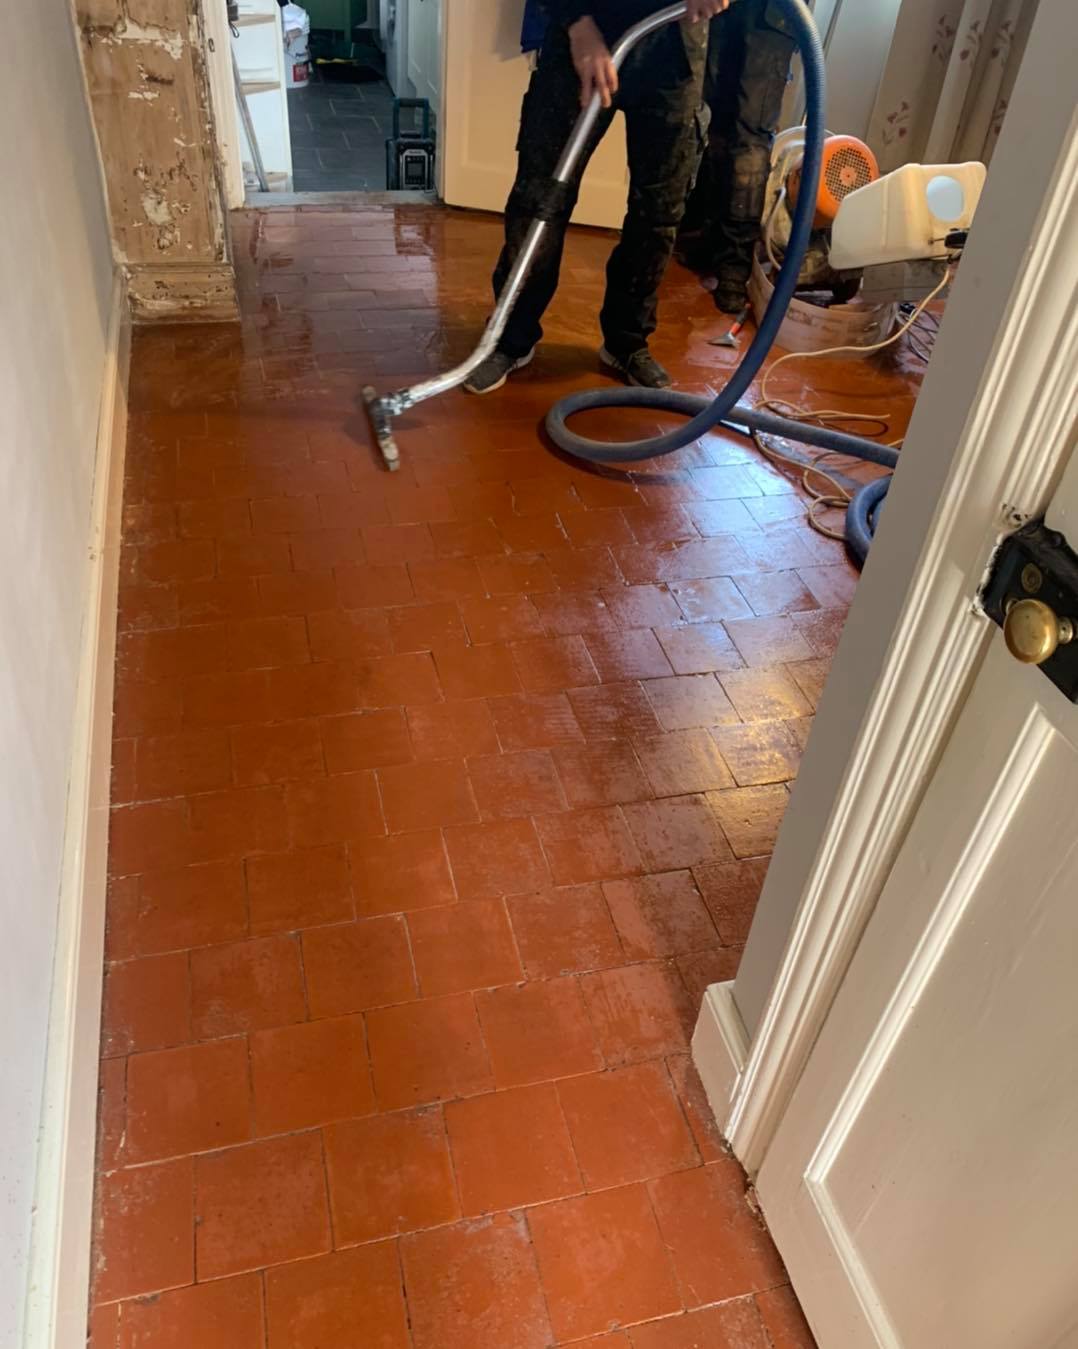
Quarry tiled floor restoration The Floor Restoration Company
Cleaning Quarry Tiles l How to Clean Quarry Tiles in Your Home
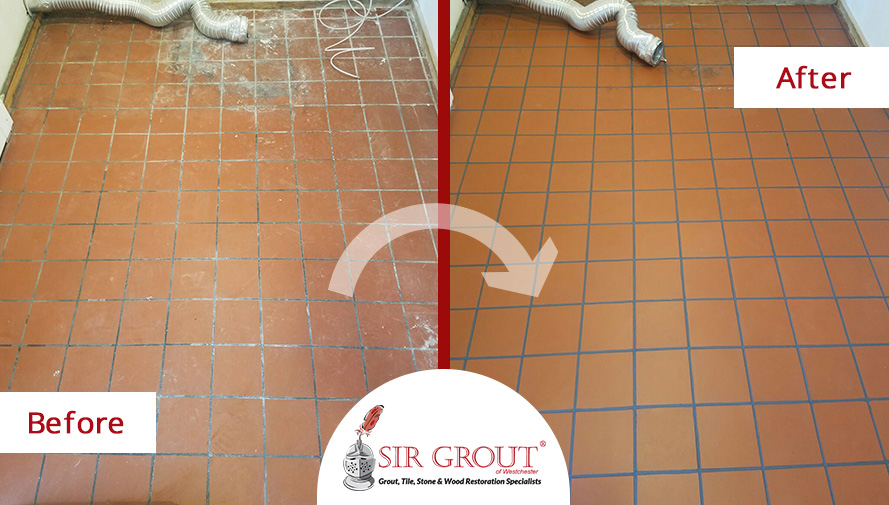
What a Transformation! See What a Tile Cleaning Service Did for
Amazing 100 Year Old Quarry Tile Restoration How To Clean Quarry Tiles
Removing Tar from Quarry Tiles in Rugby – Warwickshire Tile Doctor
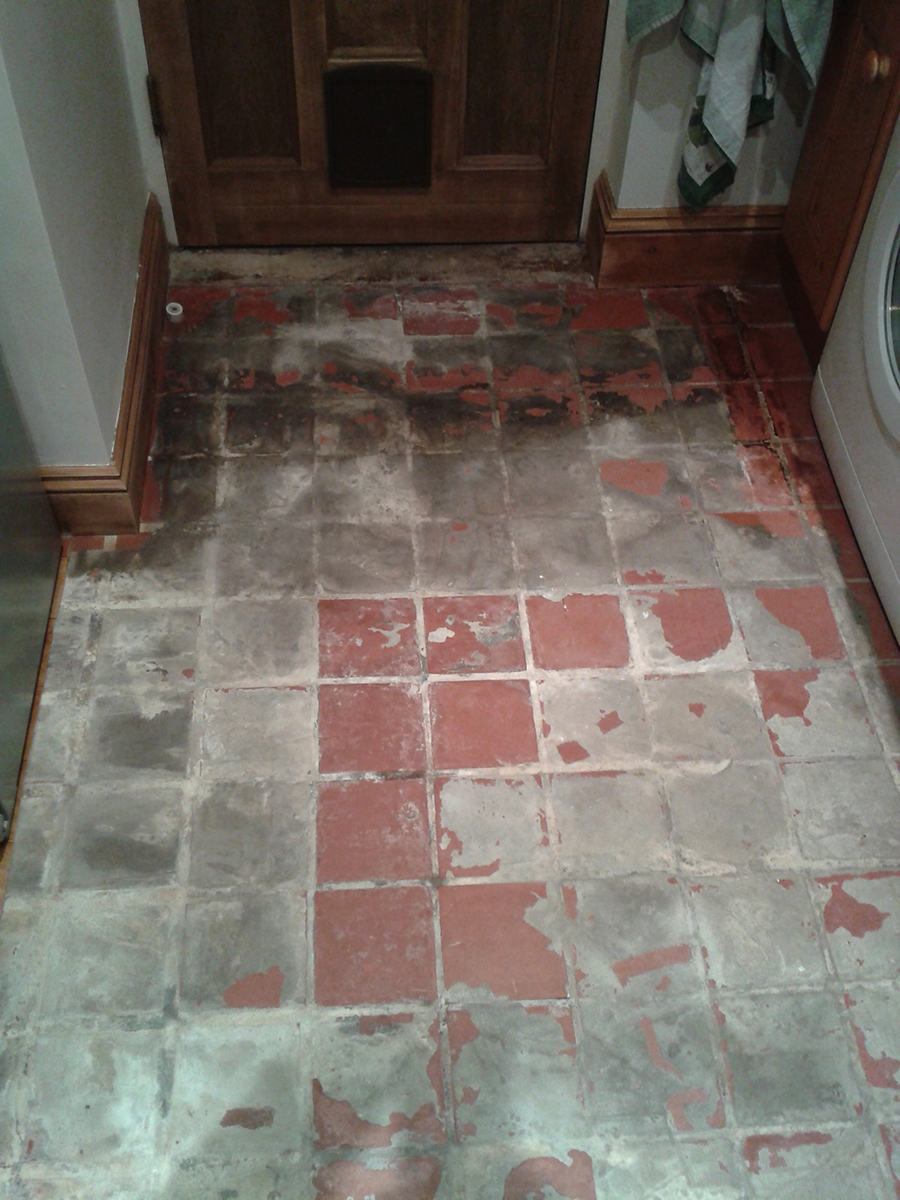
Restoring a Quarry Tiled Kitchen Floor Hidden under Lino in
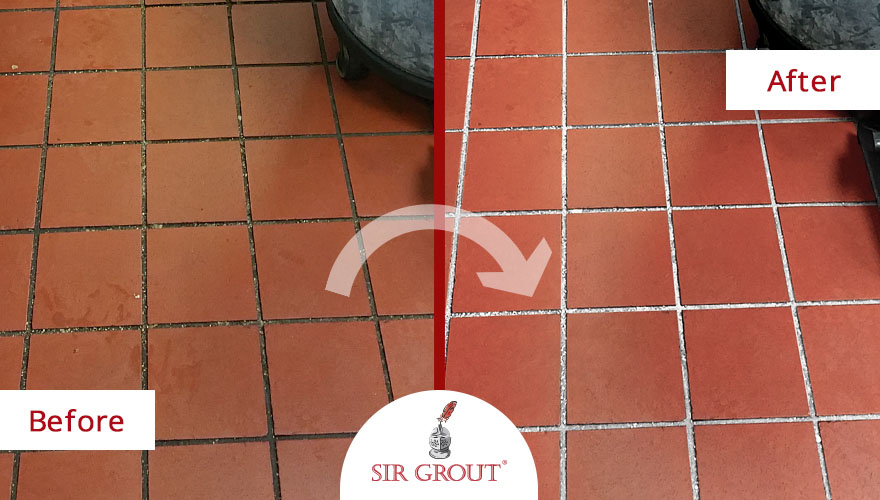
Commercial Kitchen Quarry Tile Cleaning u0026 Sealing
Edwardian Quarry Tiled Hallway Restored in Market Harbourough
Quarry Tile Cleaning Service Birmingham Tile u0026 Stone Medic
Related Posts:


