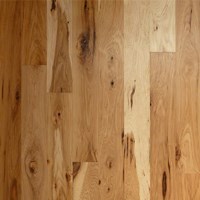
Raw Hardwood Floors: Understanding the Basics
When it comes to flooring options, raw hardwood floors stand out for their timeless appeal and natural beauty. But what exactly are raw hardwood floors? Understanding the basics of this flooring option is crucial before deciding on your home. Let me break down what raw hardwood floors are, how they differ from pre-finished hardwood, and why they might be the perfect choice for your space.
- Definition and Characteristics: Raw hardwood floors, often referred to as unfinished hardwood, are exactly what they sound like—wood flooring that hasn’t been pre-finished in a factory. This means the wood planks are sanded and finished on-site after installation. The allure of raw hardwood lies in its natural, unaltered state, allowing for a truly custom finish. The wood is untreated, giving you full control over the stain and finish you choose, whether you want a matte look, a glossy finish, or something in between.
- Differences from Pre-finished Hardwood: The primary difference between raw hardwood and pre-finished hardwood lies in the finishing process. Pre-finished hardwood comes with a factory-applied finish, meaning the planks are ready to be installed and don’t require additional sanding or finishing. On the other hand, raw hardwood is installed first and then sanded, stained, and finished on-site. This gives raw hardwood an edge when it comes to customization, but it also requires more time and labor during installation.
- Advantages of Raw Hardwood: One of the biggest advantages of raw hardwood floors is the ability to achieve a seamless look. Since the flooring is sanded after installation, it creates a smooth, uniform surface without the bevels that are often present in pre-finished planks. This makes raw hardwood an excellent choice for those who want a clean, continuous look in their flooring. Additionally, because the finish is applied on-site, it can be customized to match your exact preferences.
- Considerations Before Choosing Raw Hardwood: While raw hardwood floors offer many benefits, they also come with a few considerations. The installation process is more involved, requiring skilled labor and more time. Additionally, because the finish is applied on-site, there is a period where the floors cannot be walked on until the finish is fully cured. This can be a drawback for those looking for a quick installation process.
- The Cost Factor: Raw hardwood floors can sometimes be more expensive than pre-finished options, not necessarily because of the material cost, but due to the labor involved in installation and finishing. However, many homeowners find the investment worthwhile for the customized look and feel that raw hardwood floors provide. It’s essential to consider both your budget and your long-term vision for your home when deciding between raw and pre-finished hardwood.
- Sustainability and Eco-Friendliness: For those concerned about the environmental impact, raw hardwood floors can be a more sustainable choice. Many manufacturers offer raw hardwood from responsibly managed forests, and since the finish is applied on-site, you have control over the type of finish used, allowing for more eco-friendly options. This makes raw hardwood an appealing choice for those looking to create a green home environment.

Types of Raw Hardwood: Exploring Different Species and Grades
Choosing the right type of raw hardwood for your floors involves more than just picking a color. The species and grade of the wood play a significant role in the overall look, durability, and feel of your floors. Let me guide you through the most popular hardwood species and their characteristics, as well as the different grades available to help you make an informed decision.
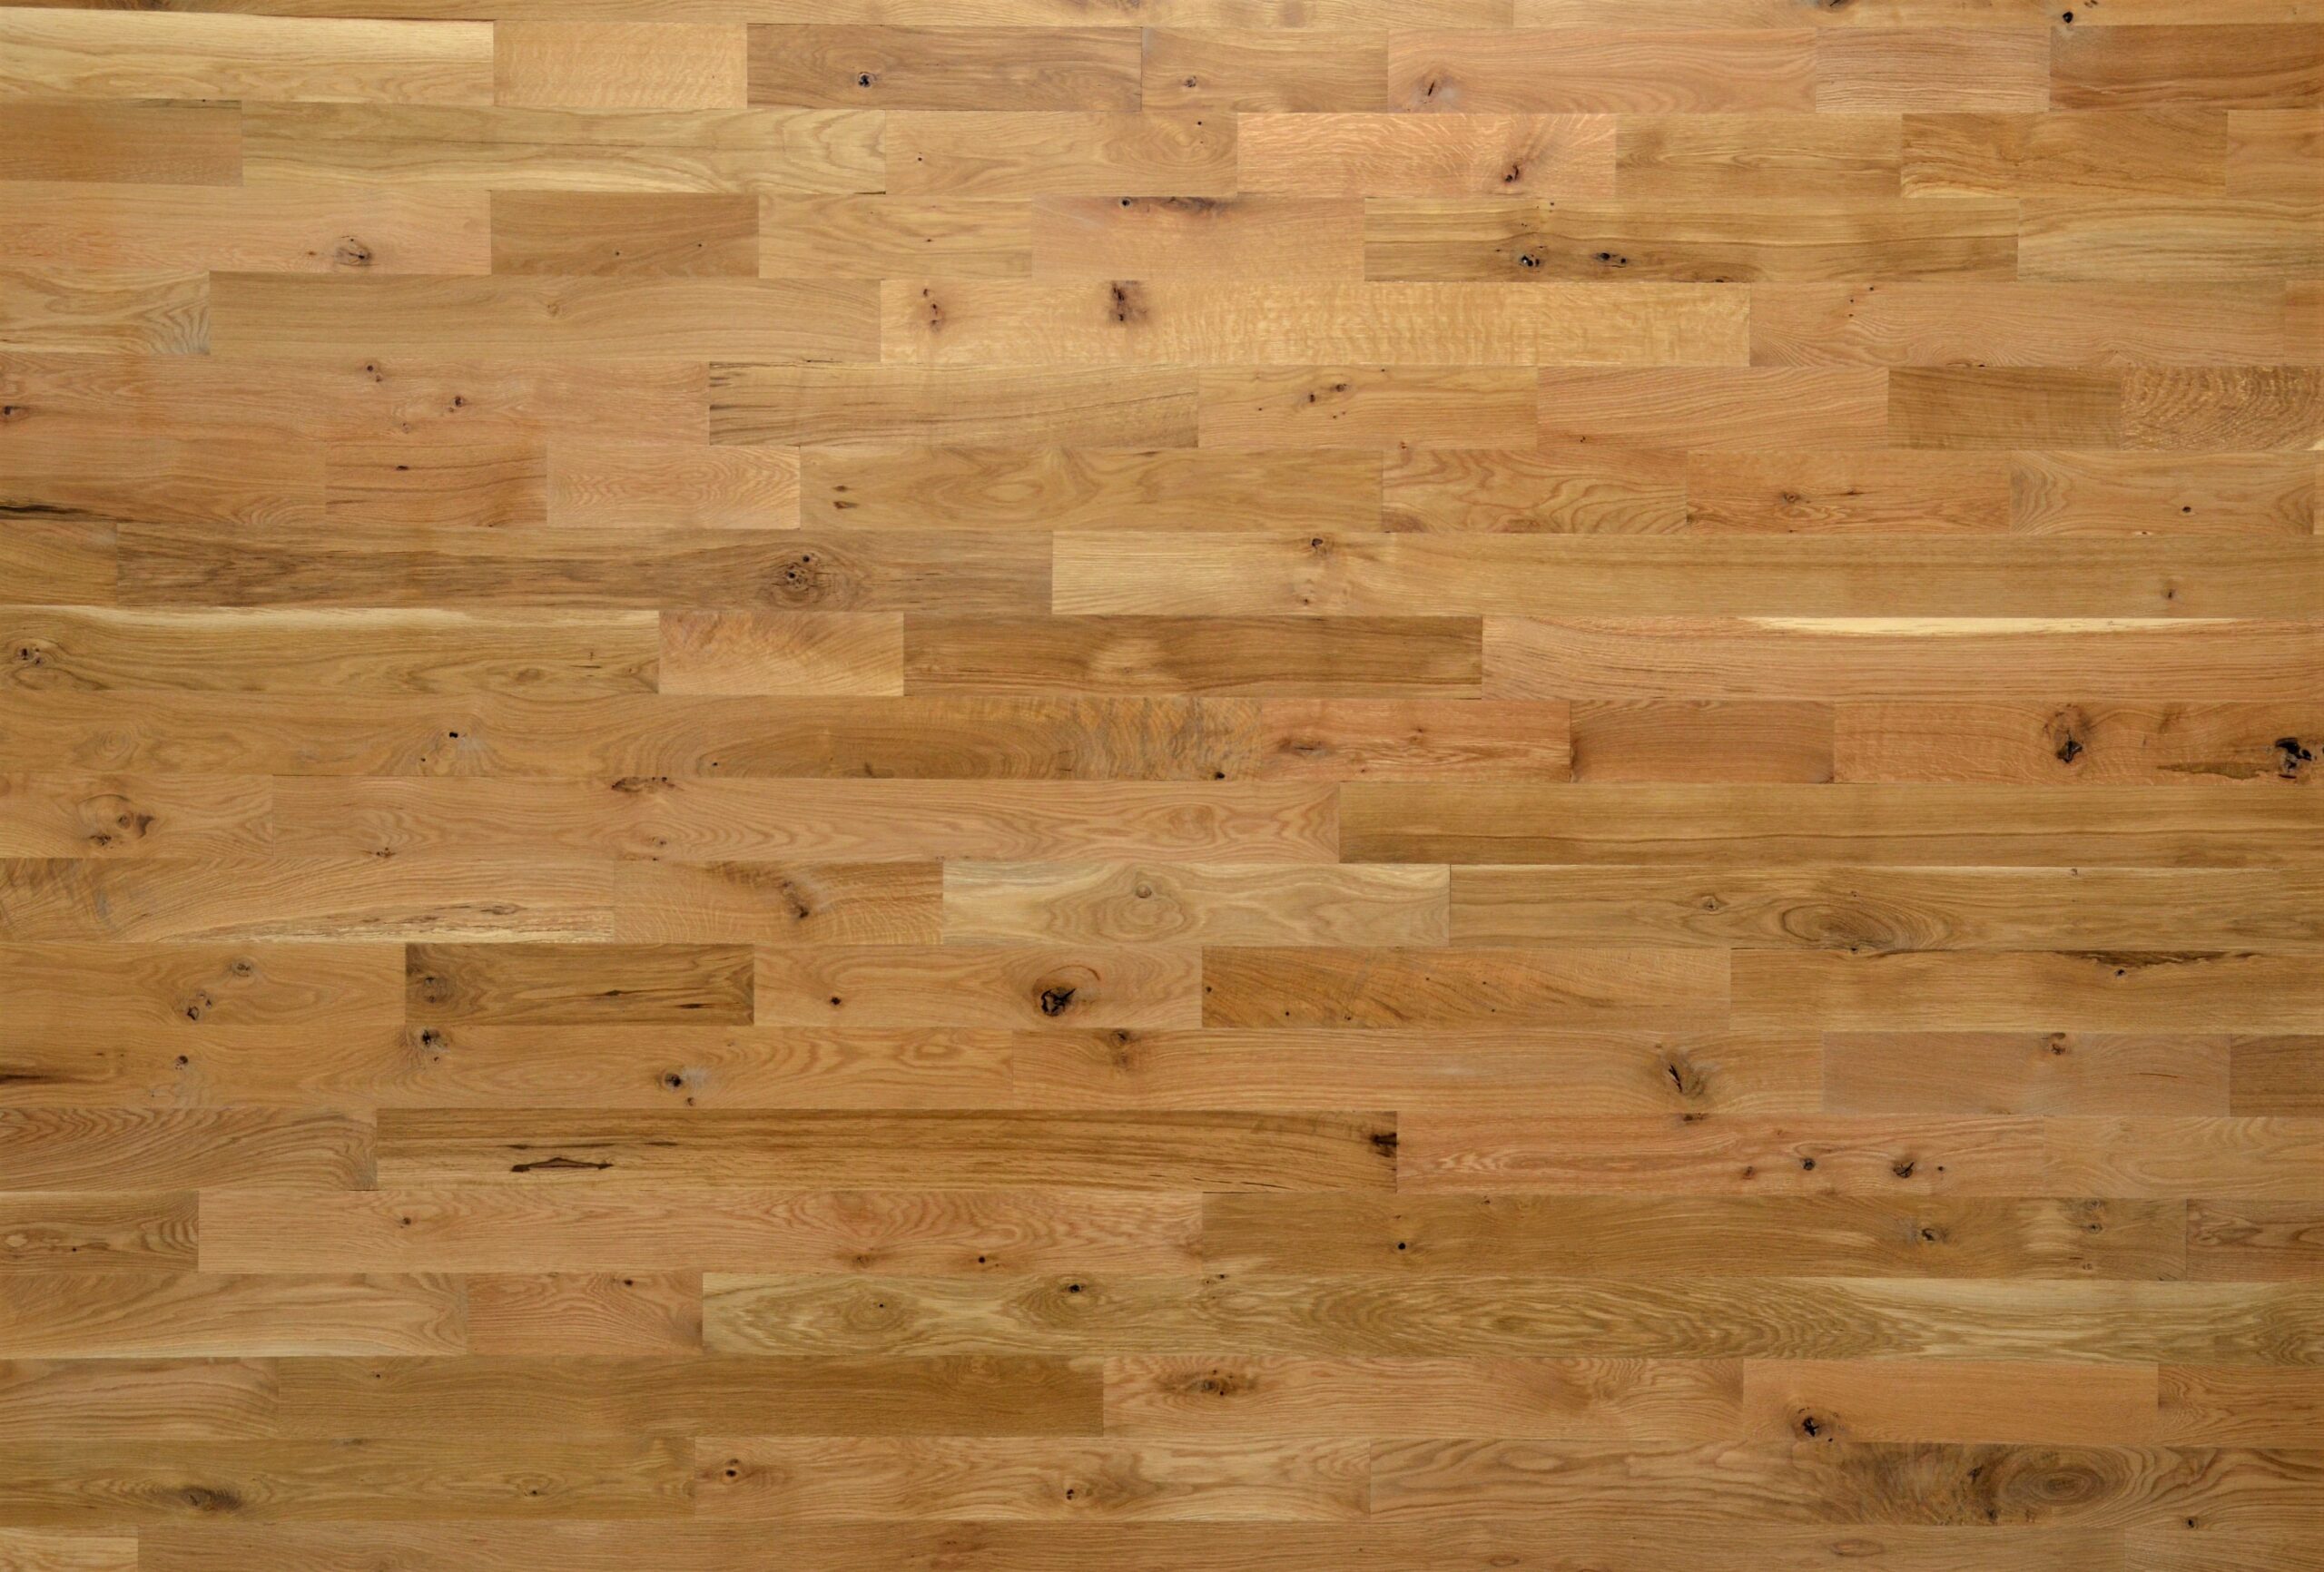
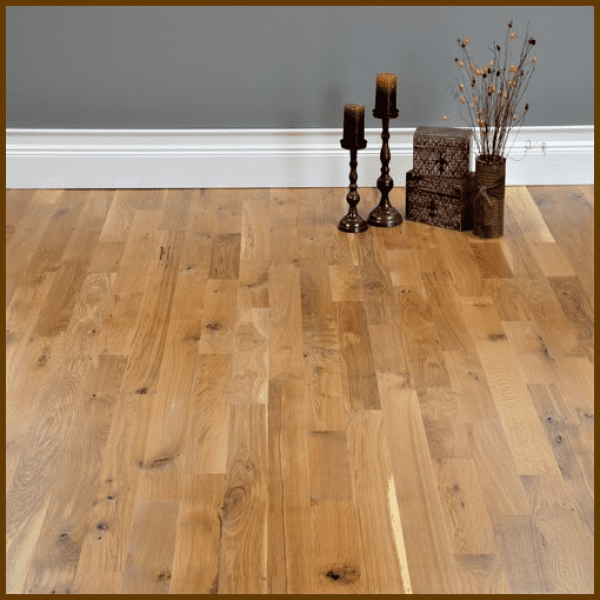
Oak: The Classic Choice: Oak is one of the most popular choices for hardwood flooring, and for good reason. Both red oak and white oak offer a balance of durability, workability, and aesthetic appeal. Red oak has a warm, reddish tone with a prominent grain pattern, making it a classic choice for traditional homes. White oak, on the other hand, has a more subtle grain and a cooler, neutral color, making it versatile for both modern and classic interiors.
Maple: Smooth and Subtle: Maple is another favorite for those who prefer a smoother, less prominent grain pattern. The wood’s natural color ranges from creamy white to light brown, providing a neutral canvas that works well with a variety of finishes. Maple is known for its hardness and durability, making it a great option for high-traffic areas. Its subtle grain makes it an ideal choice for homeowners looking for a clean, minimalist look.
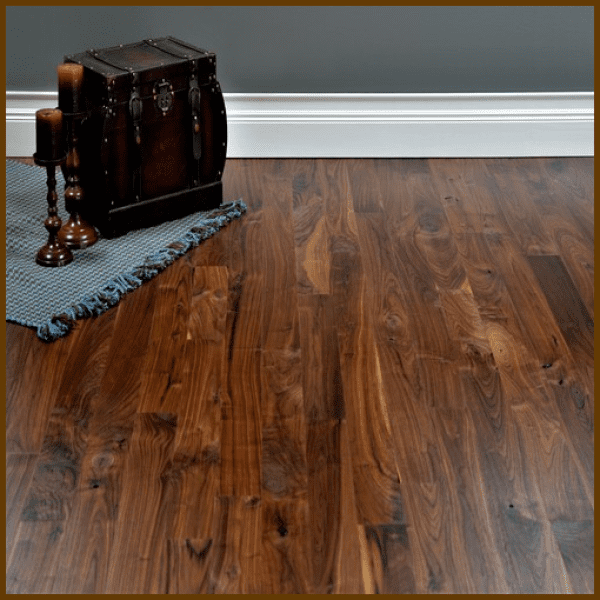
Walnut: Rich and Luxurious: For those looking for something a bit more luxurious, walnut is an excellent option. With its rich, dark color and straight grain, walnut floors add warmth and elegance to any space. It’s slightly softer than oak and maple, which means it might show wear more quickly in high-traffic areas, but its beauty and unique character make it a worthwhile choice for rooms where you want to make a statement.
Cherry: Warm and Inviting: Cherry wood is known for its rich, warm tones that deepen with age. It has a smooth, fine grain that gives floors a refined, polished look. Cherry is softer than oak and maple, so it may not be the best choice for homes with pets or heavy foot traffic. However, its natural aging process, where the wood darkens over time, adds a unique charm that many homeowners find irresistible.
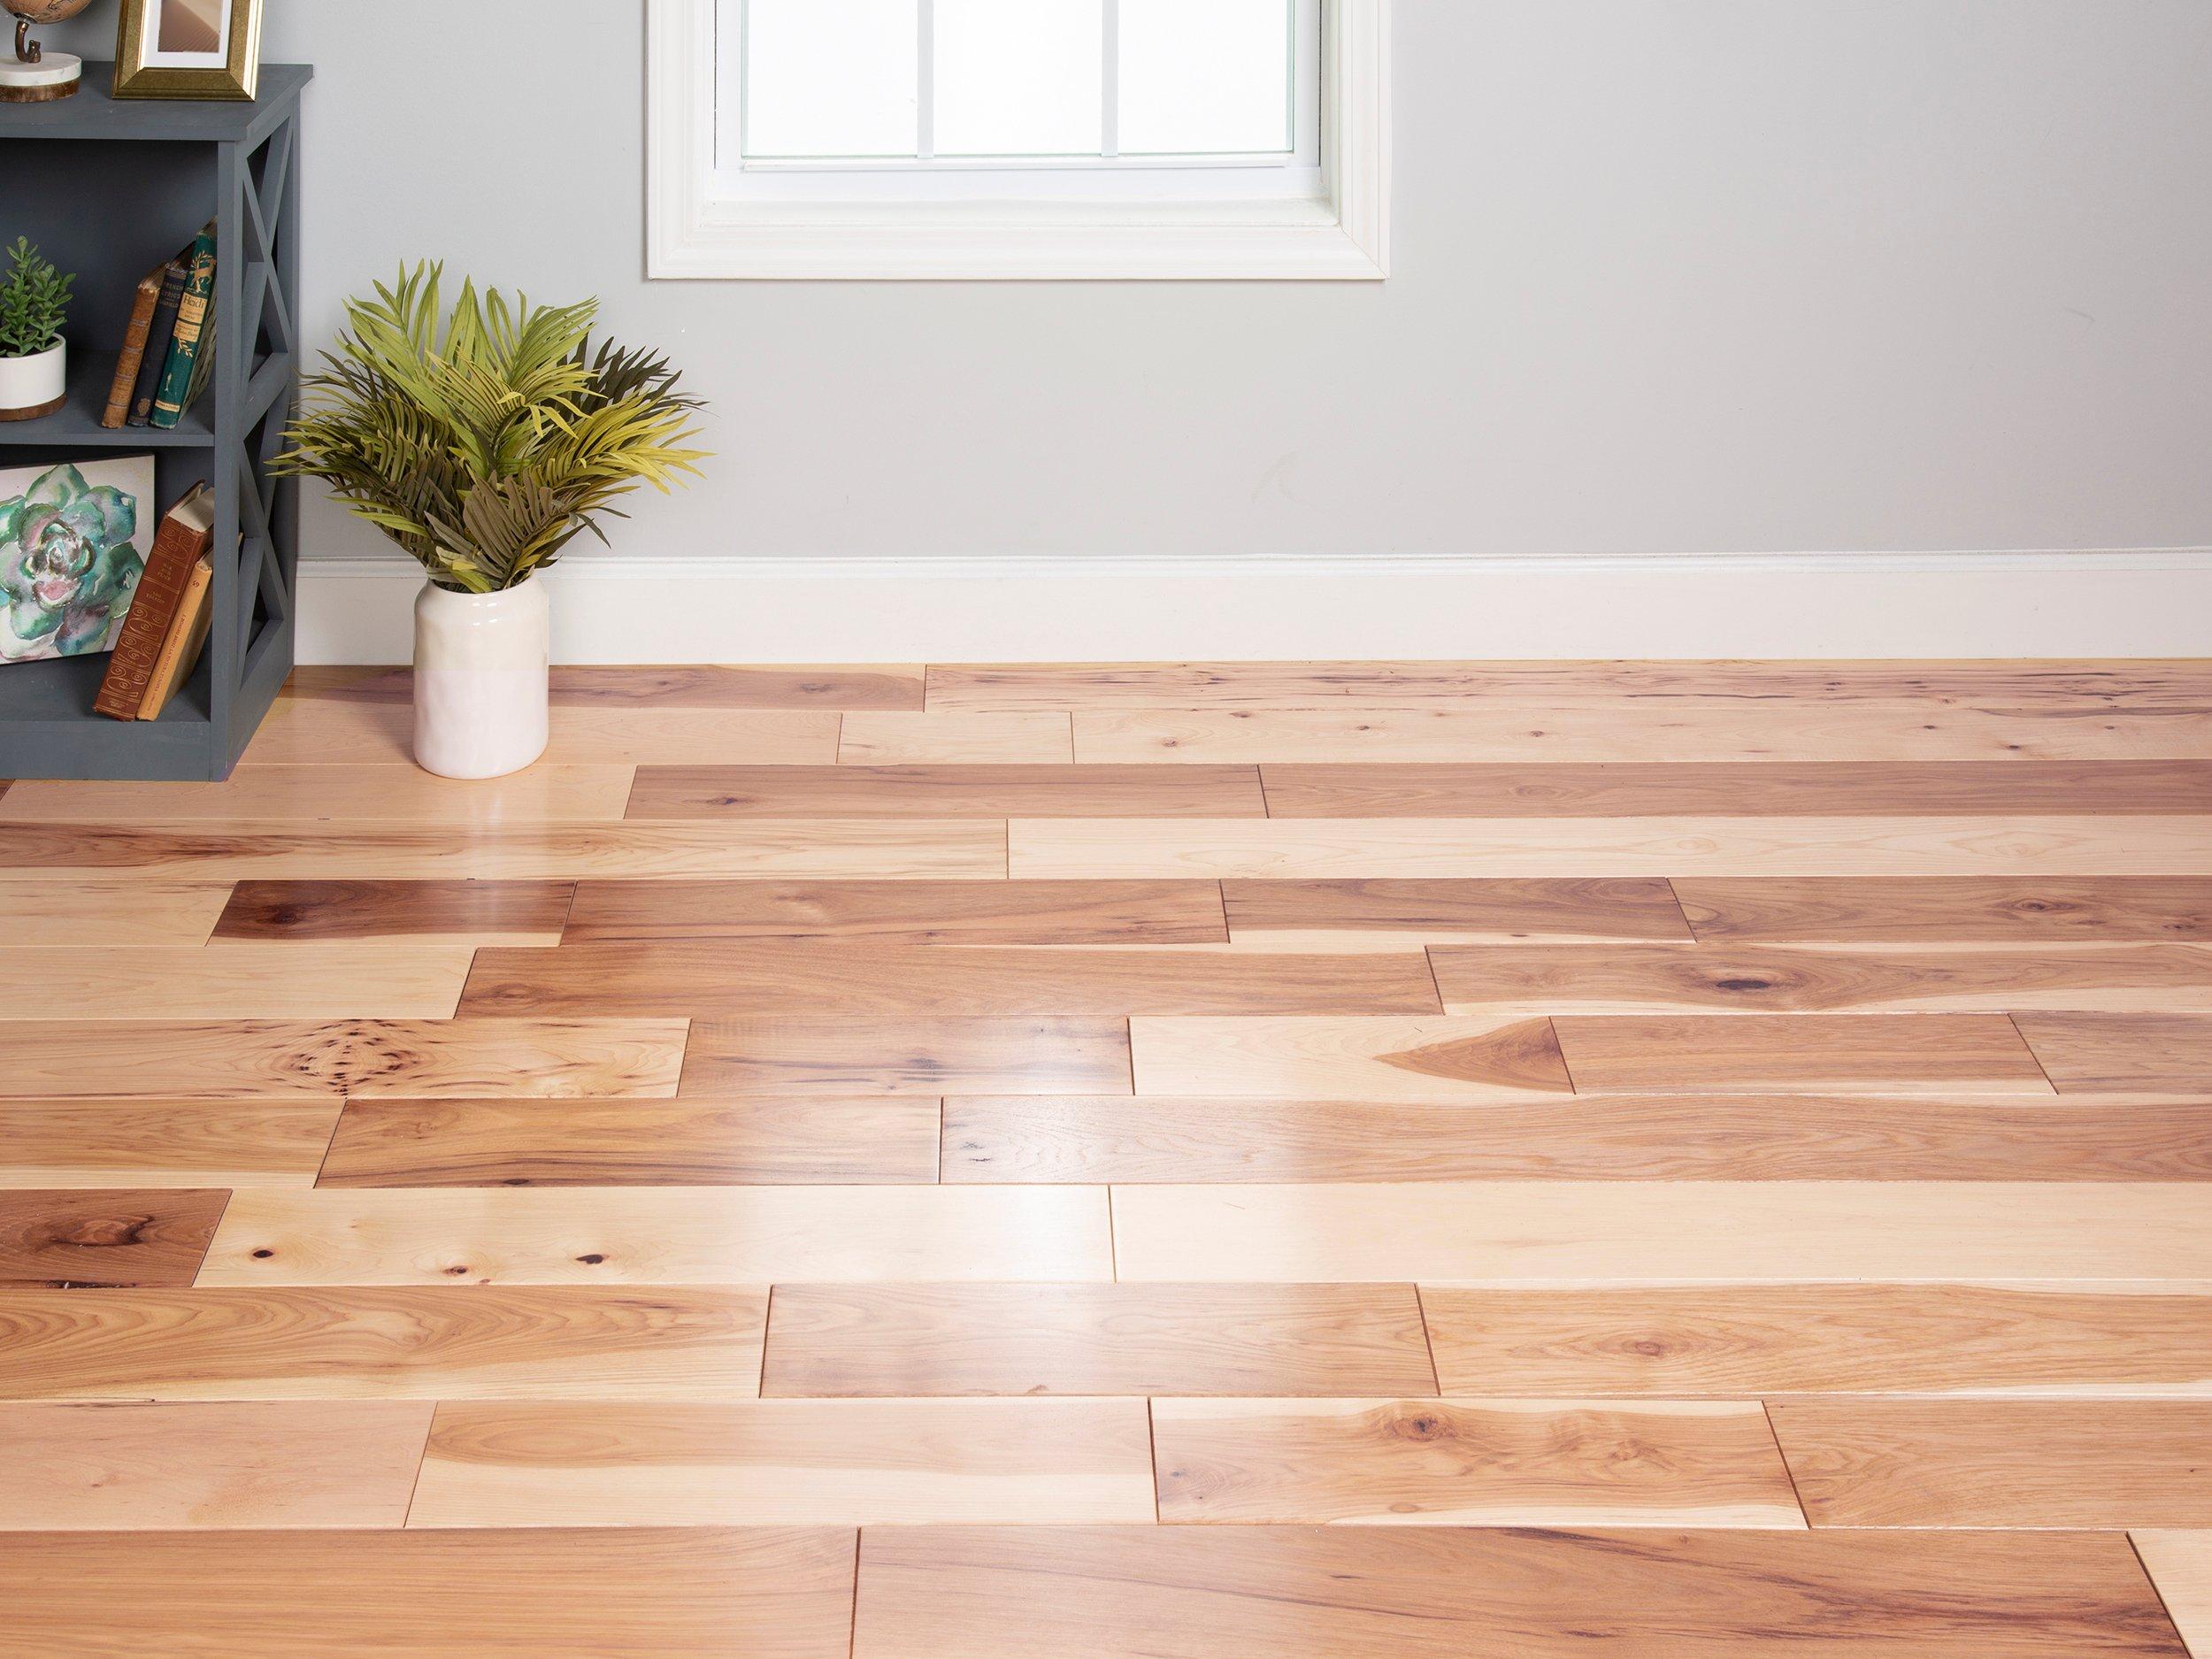
Hickory: Rustic and Durable: If you’re looking for a wood species that can stand up to wear and tear, hickory is an excellent choice. It’s one of the hardest domestic woods, making it incredibly durable. Hickory’s grain is more pronounced and varied, giving it a rustic, textured appearance that works well in country-style homes or spaces where you want to emphasize a natural, organic feel.
Understanding Wood Grades: In addition to species, wood is also categorized by grade, which refers to the wood’s appearance. Clear grade wood has the most uniform appearance with minimal knots and color variation, while select grade may have more natural character, such as small knots or color changes. Common or rustic grades have the most variation and character, with more prominent knots, grain patterns, and color differences. The grade you choose will affect the overall look and feel of your floors, so it’s important to consider what level of natural variation you prefer.
Benefits of Choosing Raw Hardwood Floors for Your Home
Opting for raw hardwood floors brings a myriad of benefits that go beyond aesthetics. While the natural beauty of raw wood is undeniably appealing, the advantages extend to durability, customization, and even the long-term value of your home. Let’s see why raw hardwood floors might be the perfect choice for your home and how they can elevate both your living space and your lifestyle.
Customization and Flexibility: One of the standout benefits of raw hardwood floors is the ability to fully customize the finish. Unlike pre-finished hardwood, where the finish is factory-applied, raw hardwood gives you the freedom to choose the exact stain and finish that suits your taste. Whether you’re aiming for a glossy, high-end look or a matte, rustic feel, the options are virtually endless. This level of customization ensures that your floors will be a perfect fit for your home’s design.
Durability and Longevity: Raw hardwood floors are known for their durability and ability to withstand the test of time. The on-site finishing process involves multiple layers of finish that protect the wood from wear and tear. Additionally, raw hardwood can be sanded and refinished several times over its lifetime, which means your floors can look brand new even after decades of use. This makes raw hardwood an excellent investment for those looking for flooring that will last a lifetime.
Enhanced Aesthetic Appeal: The seamless, uniform look of raw hardwood floors is another major benefit. Since the planks are sanded and finished on-site, there are no visible bevels or gaps between the boards, resulting in a smooth, continuous surface. This creates a more polished and cohesive look, enhancing the overall aesthetic of your home. Whether you’re going for a traditional, modern, or eclectic style, raw hardwood floors can elevate the design of any room.
Increased Home Value: Installing raw hardwood floors is not just a design choice; it’s also an investment in your home’s value. Hardwood floors are highly sought after by homebuyers, and having custom-finished, high-quality floors can significantly increase your property’s market value. This is especially true with raw hardwood, where the level of craftsmanship and customization adds an extra layer of appeal to potential buyers.
Better Air Quality: For those concerned about indoor air quality, raw hardwood floors are a great choice. Unlike carpet, which can trap dust, allergens, and pet dander, hardwood floors are easy to clean and don’t harbor these irritants. Additionally, by choosing a low-VOC finish, you can further reduce the number of harmful chemicals released into your home’s air, creating a healthier living environment.
Eco-Friendly Options: Raw hardwood floors can be an eco-friendly choice, especially if you opt for wood from sustainably managed forests. Many manufacturers offer raw hardwood that is certified by organizations like the Forest Stewardship Council (FSC), ensuring that the wood was harvested responsibly. Additionally, since the finish is applied on-site, you can choose eco-friendly, low-VOC finishes that have less impact on the environment.
Installation Process: Preparing and Laying Raw Hardwood Floors
Installing raw hardwood floors is a more involved process compared to pre-finished options, but the results are well worth the effort. The installation process requires careful preparation and skilled labor to ensure that the floors are properly laid and finished. Let me walk you through the key steps involved in installing raw hardwood floors, from preparing the subfloor to the final finishing touches.
Subfloor Preparation: The first step in installing raw hardwood floors is to prepare the subfloor. This involves ensuring that the subfloor is clean, dry, and level. Any imperfections in the subfloor can affect the installation and the final appearance of the hardwood floors, so it’s important to take the time to address any issues before proceeding. This might involve sanding down high spots, filling in low spots, and removing any debris that could interfere with the installation.
Acclimating the Wood: Raw hardwood needs to acclimate to the environment where it will be installed before it can be laid. This means allowing the wood to sit in the room for several days to adjust to the temperature and humidity levels. This step is crucial to prevent the wood from expanding or contracting after installation, which could lead to gaps or buckling. I always recommend following the manufacturer’s guidelines for acclimation time to ensure the best results.
Laying the Planks: Once the subfloor is prepared and the wood has acclimated, it’s time to start laying the planks. This process involves carefully measuring and cutting the planks to fit the space, starting from the longest wall and working your way across the room. The planks are typically nailed or stapled to the subfloor, with care taken to ensure that the boards are aligned and spaced evenly. This step requires precision and attention to detail, as any mistakes can affect the overall look of the floors.
Sanding the Floors: After the planks are laid, the next step is to sand the floors. Sanding is a critical part of the installation process for raw hardwood, as it smooths out any imperfections and prepares the wood for finishing. Depending on the condition of the wood and the desired finish, multiple rounds of sanding with progressively finer grits of sandpaper may be necessary. This step also helps to create a uniform surface that will absorb the finish evenly.
Applying the Finish: With the floors sanded and smooth, it’s time to apply the finish. The type of finish you choose will depend on the look you want to achieve and the level of protection you need for your floors. Common options include oil-based polyurethane, water-based polyurethane, and penetrating oils, each offering different levels of durability and sheen. The finish is usually applied in multiple coats, with drying time between each coat, to ensure a durable and long-lasting surface.
Final Touches and Curing: Once the final coat of finish is applied, the floors need time to cure before they can be used. This can take anywhere from a few days to a few weeks, depending on the type of finish used. During this time, it’s important to keep foot traffic to a minimum and avoid placing furniture on the floors until the finish is fully cured. The result is a beautifully finished floor that enhances the look and feel of your home.
Finishing Options: How to Seal and Protect Raw Hardwood
The finish you choose for your raw hardwood floors can make a big difference in both the appearance and durability of your floors. With so many options available, it can be challenging to decide which finish is best for your space. Let’s explore the different finishing options for raw hardwood floors, from traditional choices to more modern, eco-friendly alternatives.
Oil-Based Polyurethane: Oil-based polyurethane is one of the most popular choices for finishing hardwood floors. It provides a durable, long-lasting finish that enhances the natural beauty of the wood. Oil-based polyurethane tends to have a warm, amber hue, which can deepen over time. It also offers excellent protection against scratches and wear, making it a great choice for high-traffic areas. However, it does have a longer drying time and a stronger odor during application.
Water-Based Polyurethane: Water-based polyurethane is a more modern alternative to oil-based finishes. It provides a clear, non-yellowing finish that maintains the wood’s natural color. Water-based polyurethane dries faster and has less odor than oil-based options, making it a more convenient choice for homeowners. While it’s not quite as durable as oil-based polyurethane, it’s still a good option for most residential applications, particularly in homes where a lighter, more natural look is desired.
Penetrating Oil Finishes: Penetrating oil finishes, such as tung oil or linseed oil, are a more traditional option for finishing hardwood floors. These finishes soak into the wood, enhancing its natural grain and color while providing a matte, natural-looking finish. Penetrating oils are less durable than polyurethane, so they require more frequent reapplication to maintain their appearance. However, they are easier to repair and touch up, making them a good choice for those who prefer a more hands-on approach to maintenance.
Hardwax Oil Finishes: Hardwax oils combine the benefits of penetrating oils with the durability of a surface finish. These finishes penetrate the wood while also leaving a protective layer on the surface. Hardwax oil finishes provide a natural, matte appearance and are available in a variety of shades to enhance the wood’s color. They are more resistant to stains and wear than traditional oil finishes, but they still require regular maintenance to keep the floors looking their best.
Acid-Cured Finishes: Acid-cured finishes, also known as Swedish finishes, are one of the most durable options available for hardwood floors. These finishes are extremely hard and resistant to scratches, stains, and moisture. They also dry quickly, making them a convenient choice for busy households. However, acid-cured finishes have a strong odor and require professional application, as they are more difficult to work with than other types of finishes.
Eco-Friendly Finishing Options: For those looking to minimize their environmental impact, there are several eco-friendly finishing options available. Low-VOC and zero-VOC polyurethane finishes reduce the number of harmful chemicals released into the air during application. Additionally, natural oils and waxes, such as tung oil, linseed oil, and beeswax, are biodegradable and non-toxic, making them a great choice for green homes. These finishes provide a natural, matte appearance, though they may require more frequent maintenance than synthetic finishes.
Maintenance and Care for Raw Hardwood Floors
Maintaining raw hardwood floors requires a bit of effort, but with the right care, they can last for decades and continue to look beautiful. Proper maintenance not only preserves the appearance of your floors but also extends their lifespan. Below are some essential tips for keeping your raw hardwood floors in top condition, from daily cleaning to long-term care strategies.
Regular Cleaning Routine: The key to maintaining raw hardwood floors is a consistent cleaning routine. Dust and dirt can act like sandpaper on the surface of your floors, causing scratches and wear over time. To prevent this, it’s important to sweep or vacuum your floors regularly to remove debris. I recommend using a soft-bristle broom or a vacuum with a hardwood floor attachment to avoid scratching the surface. Additionally, placing doormats at entryways can help reduce the amount of dirt that gets tracked onto your floors.
Dealing with Spills and Stains: Accidents happen, and when they do, it’s important to address spills and stains immediately to prevent damage to your floors. For liquid spills, use a dry or slightly damp cloth to wipe up the spill as soon as possible. Avoid using excessive water, as moisture can cause the wood to warp or stain. For more stubborn stains, a gentle hardwood floor cleaner can be used, but be sure to test it in an inconspicuous area first to ensure it doesn’t damage the finish.
Preventing Scratches and Dents: To keep your raw hardwood floors looking their best, it’s important to take steps to prevent scratches and dents. One of the easiest ways to do this is by placing felt pads on the bottom of furniture legs to prevent them from scratching the floor. When moving furniture, always lift it instead of dragging it across the floor. Additionally, try to keep pet nails trimmed to avoid scratches, and consider using rugs or runners in high-traffic areas to protect the wood.
Refinishing and Recoating: Over time, even the best-maintained hardwood floors will start to show signs of wear. When this happens, refinishing the floors can restore their original beauty. The frequency of refinishing will depend on the amount of traffic your floors receive, but it’s generally recommended every 7-10 years. This process involves sanding down the top layer of the wood and applying a new finish. For minor wear and tear, a simple recoat may be sufficient, which involves applying a fresh coat of finish without sanding.
Controlling Humidity Levels: Wood is a natural material that expands and contracts with changes in humidity. To prevent your raw hardwood floors from warping, cupping, or gapping, it’s important to maintain a consistent indoor humidity level. Ideally, indoor humidity should be kept between 30-50%. In areas with high humidity, using a dehumidifier can help control moisture levels, while in dry climates, a humidifier can prevent the wood from drying out and shrinking.
Seasonal Maintenance Tips: Seasonal changes can have a big impact on your hardwood floors. During the winter months, when indoor heating is in use, the air tends to be drier, which can cause the wood to shrink and create gaps between the planks. To combat this, consider using a humidifier to add moisture to the air. In the summer, when humidity levels are higher, be sure to use air conditioning or a dehumidifier to keep the air dry. Additionally, it’s a good idea to check your floors for any signs of damage or wear at the change of each season and address any issues promptly.
Common Challenges and Solutions for Raw Hardwood Flooring
While raw hardwood floors are a beautiful and durable choice, they do come with their own set of challenges. From dealing with moisture issues to addressing scratches and dents, understanding these common problems and their solutions can help you maintain your floors and keep them looking their best. Here are some of the most common challenges faced by homeowners with raw hardwood floors and offer practical solutions for each.
Moisture and Humidity Issues: One of the biggest challenges with hardwood floors is dealing with moisture and humidity. Wood is a natural material that expands and contracts with changes in humidity, which can lead to warping, cupping, or gapping. To prevent these issues, it’s important to control the humidity levels in your home. Using a dehumidifier in the summer and a humidifier in the winter can help maintain a consistent indoor environment. Additionally, be sure to clean up any spills immediately and avoid using excessive water when cleaning your floors.
Scratches and Dents: Scratches and dents are an inevitable part of having hardwood floors, especially in high-traffic areas. While it’s impossible to prevent all damage, there are steps you can take to minimize it. Placing rugs or runners in high-traffic areas, using felt pads on furniture legs, and keeping pet nails trimmed can all help protect your floors. For minor scratches, a touch-up marker or wood filler can be used to conceal the damage. For more significant damage, refinishing the floors may be necessary.
Discoloration and Fading: Over time, exposure to sunlight can cause hardwood floors to fade or change color. This is especially true for species like cherry and walnut, which are more susceptible to UV damage. To prevent this, consider using window treatments to block direct sunlight, or rearrange furniture and rugs periodically to prevent uneven fading. If your floors have already faded, sanding and refinishing them can restore their original color.
Gapping Between Planks: Gapping between planks is a common issue in areas with fluctuating humidity levels. When the air is dry, the wood can shrink, creating gaps between the boards. In most cases, these gaps will close up on their own when the humidity level increases. However, if the gaps are significant or persistent, it may be necessary to address the issue by adding humidity to the air or filling the gaps with wood filler.
Cupping and Warping: Cupping occurs when the edges of a wood plank are higher than the center, creating a concave shape. This is usually caused by excessive moisture on the underside of the floor. Warping, on the other hand, occurs when the entire plank bends or twists. Both of these issues can be prevented by controlling moisture levels in your home and ensuring that your floors are properly sealed. If you notice cupping or warping, it’s important to address the underlying moisture issue before refinishing the floors.
Noise and Squeaking: Squeaky floors can be annoying, but they are usually a sign that the floorboards are moving slightly when walked on. This can be caused by loose nails, gaps between the subfloor and the hardwood, or changes in humidity. To fix squeaky floors, you can try applying a lubricant to the area or driving a nail or screw into the subfloor to secure the boards. In some cases, adding additional nails or screws may be necessary to eliminate the noise.
Common Grade Unfinished Solid Hardwood Flooring
Unfinished Red Oak #3 – 2 1/4″ Solid Hardwood Flooring
Solid Hardwood Flooring Oak
Unfinished Solid Hickory Wood Floors Priced Cheap
Unfinished Red Oak #3 – 2 1/4″ Solid Hardwood Flooring
Related Posts:

