Luxury flooring may be cleaned easily. Their resistance to stain as well as moisture makes them a great selection for installing in such areas as the downstairs room, kitchen or perhaps the bathroom. Excessive water can finish the seams and cracks, which may kill glue bonds which hold the vinyl ceramic tiles to the starting flooring. Plus, you are able to paint all of the lines that your sports require on them with no worries.
Images about Replacing Vinyl Flooring In Bathroom
Replacing Vinyl Flooring In Bathroom
Luxury vinyl is turning out to be a favorite method for people. Weighed against other flooring types, vinyl leads the package in terms of savings. You might additionally choose to go natural with luxury vinyl flooring that's got the lushness as well as freshness of costly natural stone. It's offered in 18-inch or 12-inch squares with peel-and-stick adhesive to securely connect it on the floor. It absorbs sound.
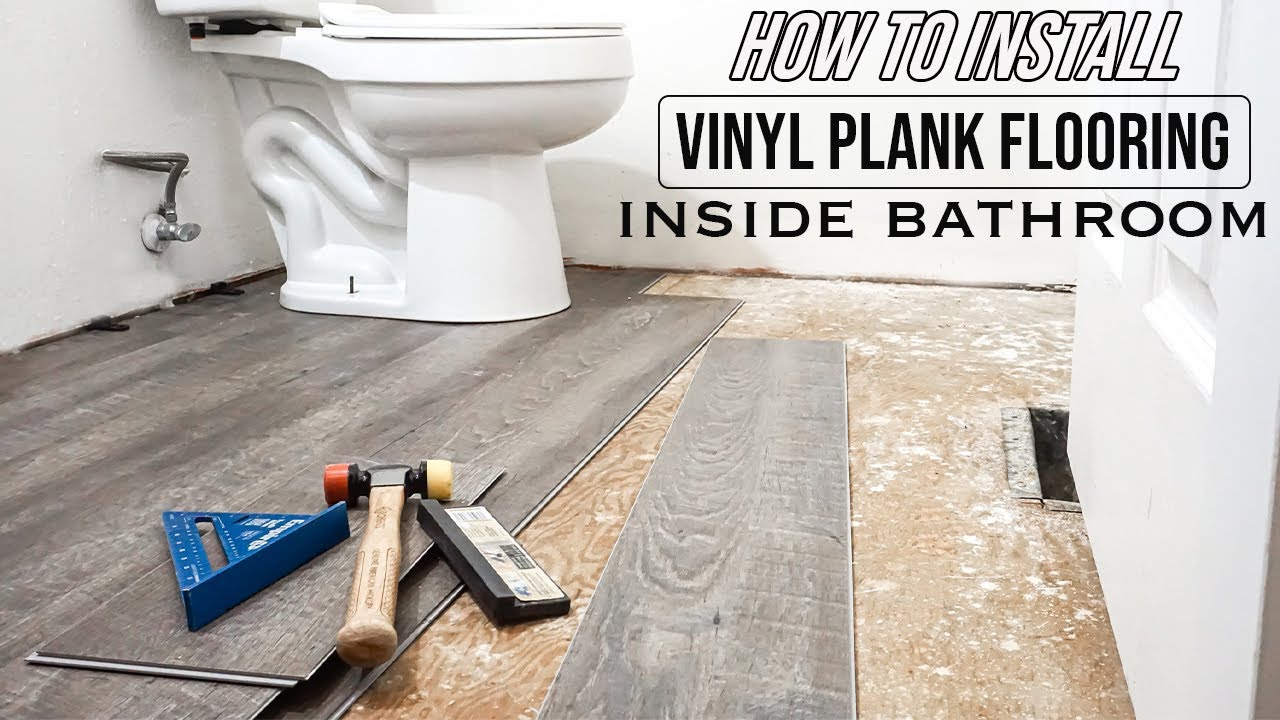
How to Install Vinyl Plank Flooring in a Bathroom FixThisBuildThat
Vinyl floor tiles don't need waxing. Rather than wasting the money of yours on cheap, DIY vinyl that is going to end up quickly destroyed, have a seasoned install sheet vinyl for the flooring of yours. The moisture may cause the floor to discolor or swell. Not merely will it help out with that spending budget, it will still maintain the amazing look of a well chosen floor. It's easy to set up, as well as to clean and maintain.
How to Install Vinyl Plank Flooring // Allure ISOCORE Vinyl Tile Installation Tutorial
How to Install Vinyl Flooring in a Sheet (DIY) Family Handyman
How to Install Vinyl Plank Flooring Into a Bathroom
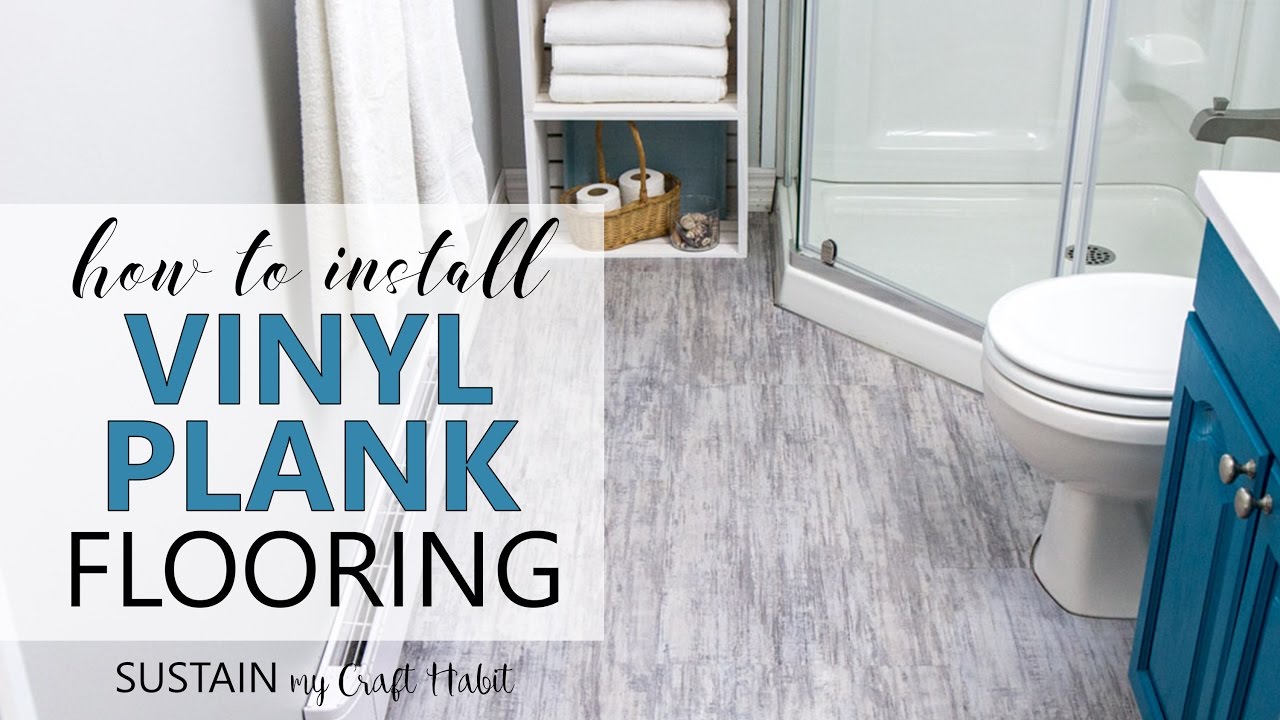
Installing Vinyl Plank Flooring: Lifeproof Waterproof Rigid Core
7 Benefits of Installing Vinyl Flooring in a Bathroom – Zothex

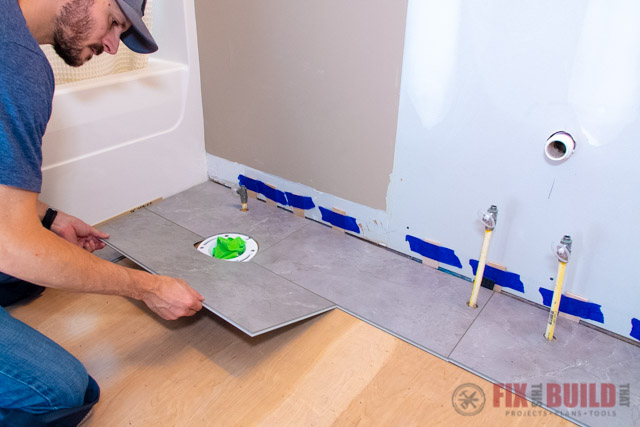
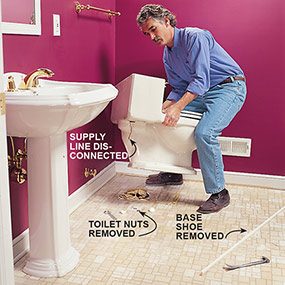
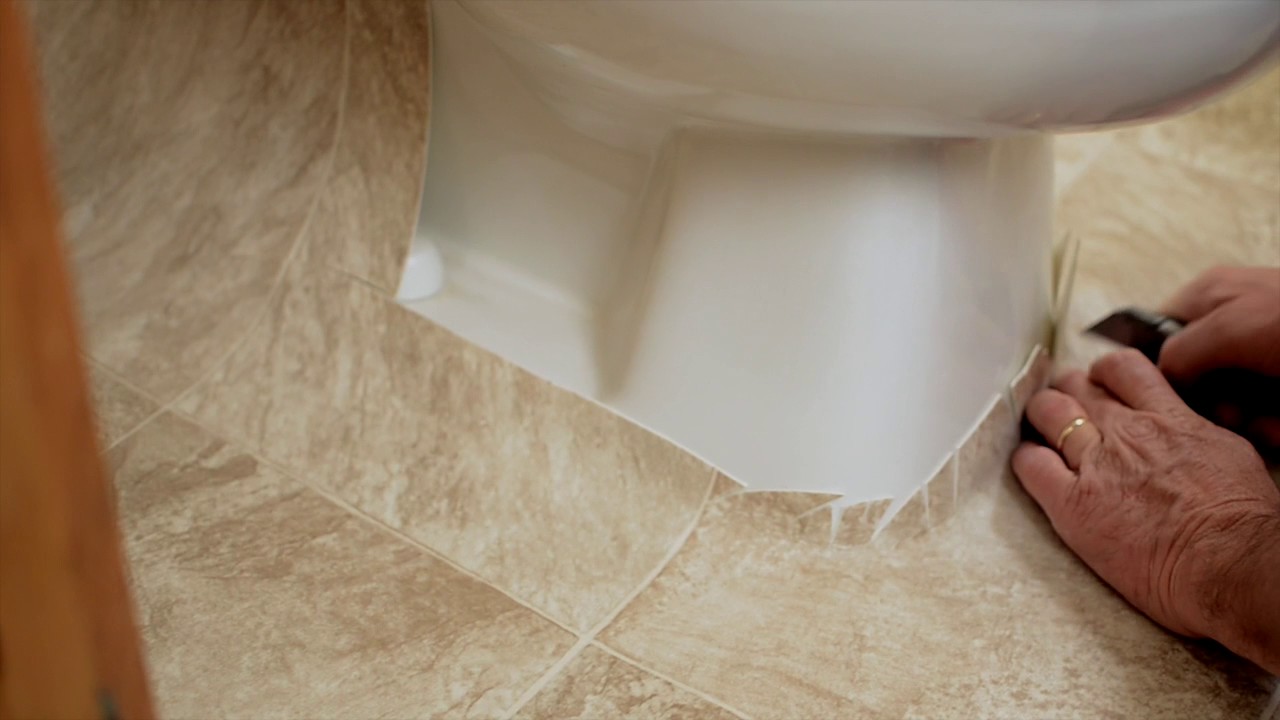
How to Install Sheet Vinyl Around a Toilet
How to lay vinyl floor in a bathroom Dove Cottage
Installing Vinyl Plank Flooring: Lifeproof Waterproof Rigid Core

How To Install Vinyl Flooring In A Bathroom
How to Install Vinyl Plank Flooring
DOs and DONu0027Ts for Installing Vinyl Plank Floors in the Bathroom
How to lay sheet vinyl flooring
Related Posts:
- How To Repair Vinyl Flooring Scratches
- Copper Vinyl Flooring
- Vinyl Flooring In Bathroom
- Commercial Vinyl Flooring
- Luxury Vinyl Flooring Bedroom
- Herringbone Vinyl Floor Tiles
- Vinyl Flooring That Looks Like Wood
- Vinyl Flooring For Basement
- Toilet Vinyl Flooring
- Rustic Vinyl Flooring
Replacing Vinyl Flooring In Bathroom
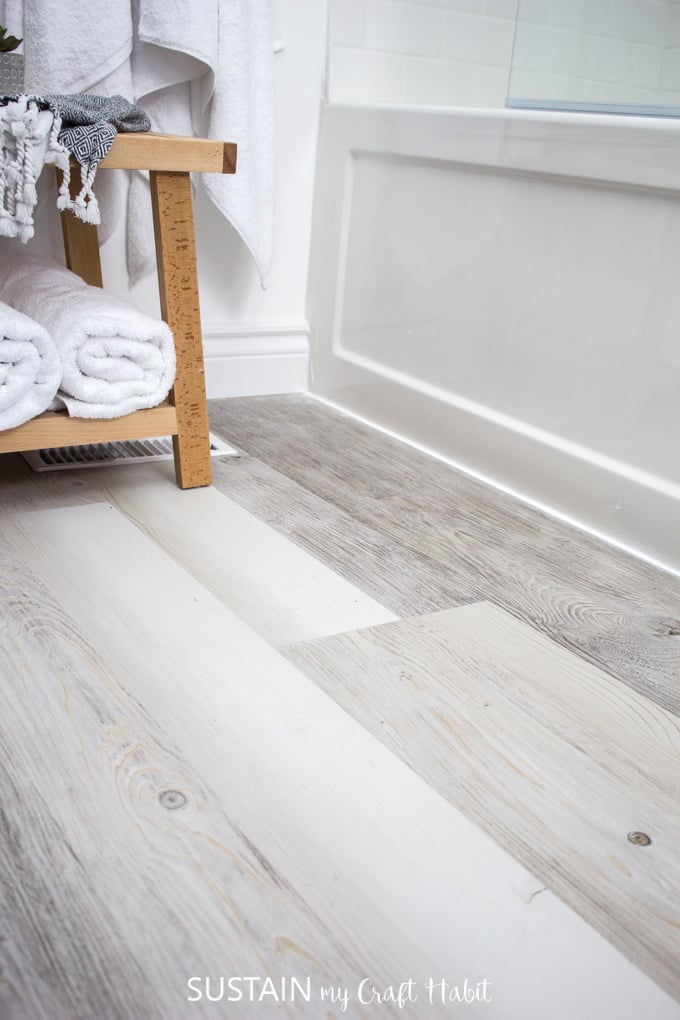
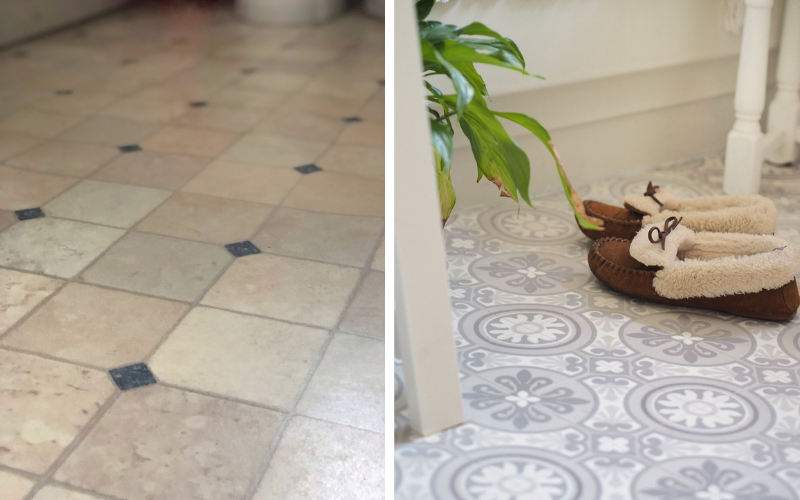
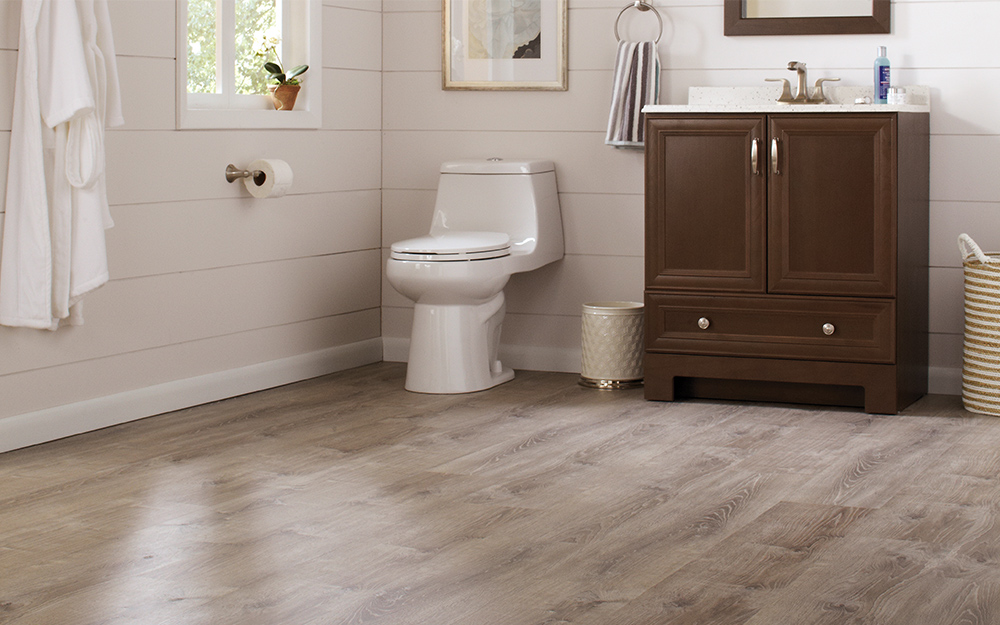
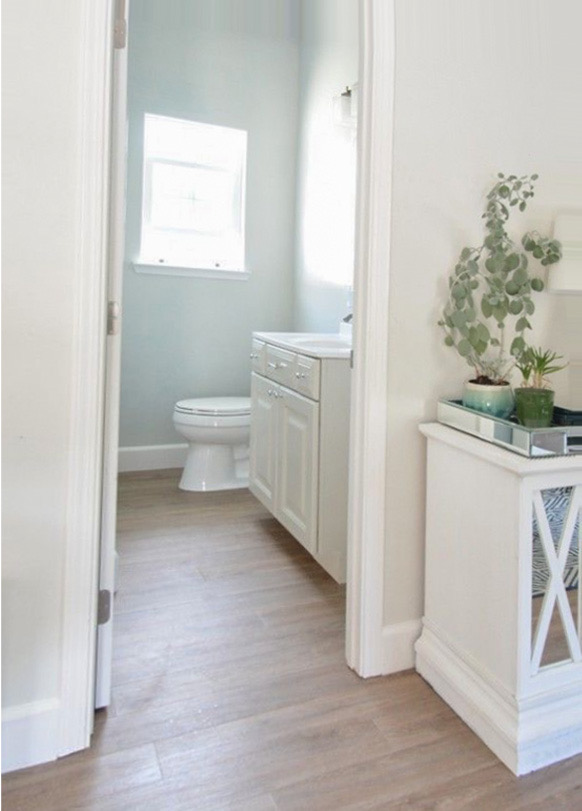
When it comes to bathrooms, the floor is one of the most important elements. Not only does it serve as a decorative feature, but it also provides protection from water and other debris by acting as a barrier between the subfloor and the bathroom contents. Vinyl flooring is a popular choice for bathrooms due to its affordability, ease of installation, and waterproof properties. However, over time, vinyl flooring can become worn or damaged, requiring replacement. Replacing bathroom vinyl flooring is a project that most homeowners can do themselves with the right tools and some patience.
Materials Needed
Before starting the project, you will need to make sure you have all of the necessary materials on hand. These include:
– Vinyl flooring
– Underlayment
– Tape measure
– Utility knife
– Chalk line
– Trowel
– Floor adhesive
– Floor roller
– Grout
– Grout sealer
– Sponge mop
– Bucket
– Rag or cloth
– Safety glasses
– Protective gloves
Preparing the Space
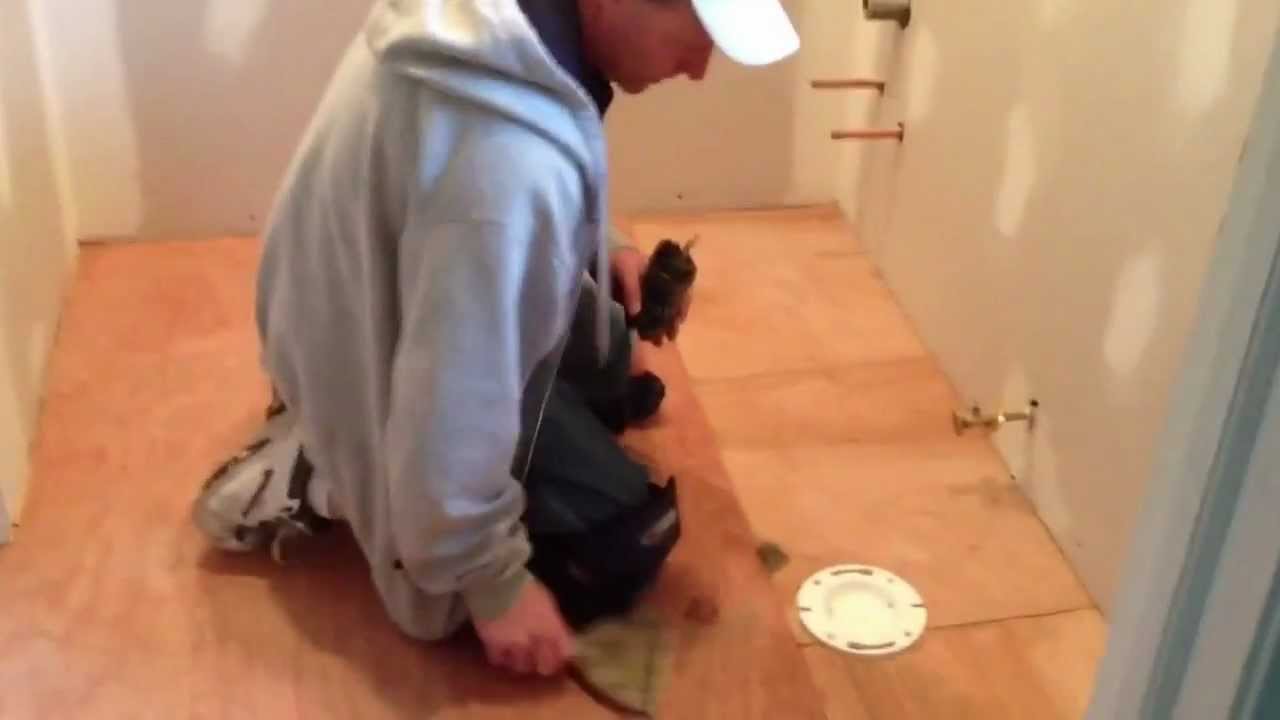
The first step in replacing vinyl flooring in the bathroom is to prepare the space. This involves removing any existing flooring and cleaning the subfloor. Using a utility knife, carefully cut along the edges of the vinyl flooring to remove it from the subfloor. Once all of the old vinyl has been removed, vacuum up any dust and debris from the subfloor. This will help ensure that the new flooring will be able to adhere properly.
Installing Underlayment
After the space has been prepped, it’s time to install the underlayment. This is an important step as it provides extra cushioning and insulation between the subfloor and the new flooring. It also helps reduce noise when walking on the new floor. To install the underlayment, roll it out across the entire area that you plan to cover with vinyl flooring, making sure that there are no wrinkles or bumps. Secure it in place with tape or glue, depending on what type of underlayment you are using.
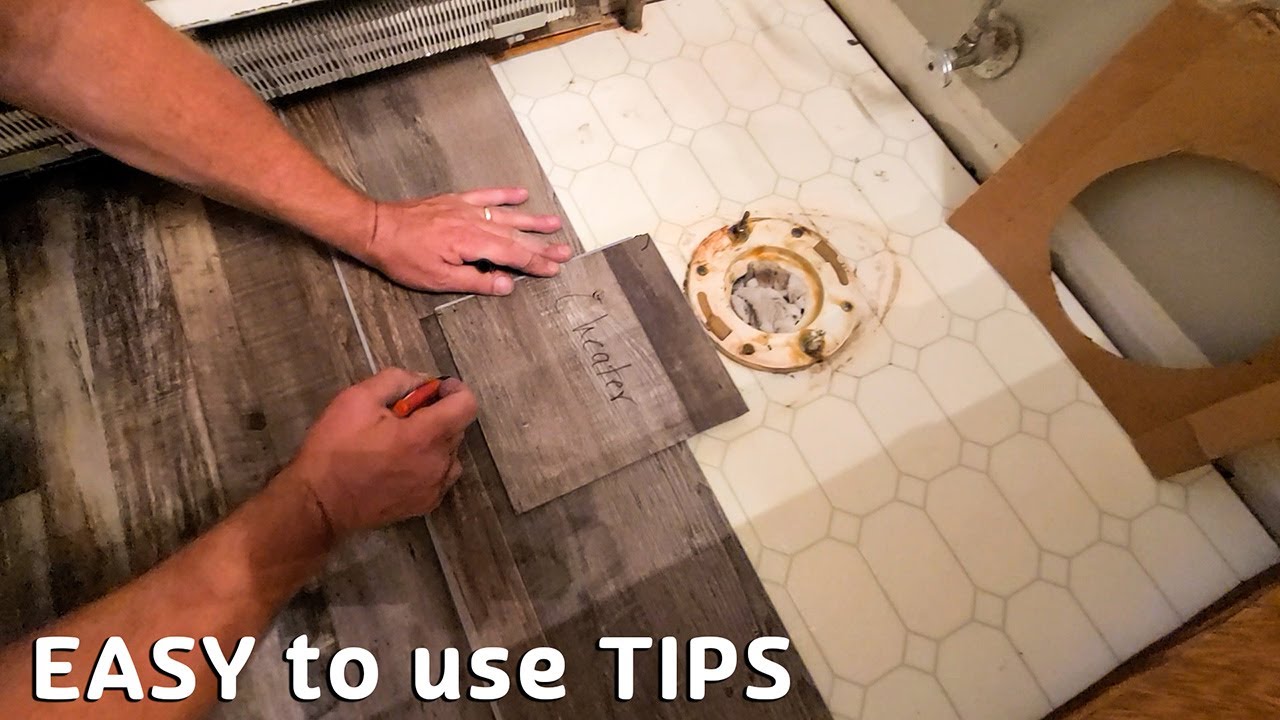
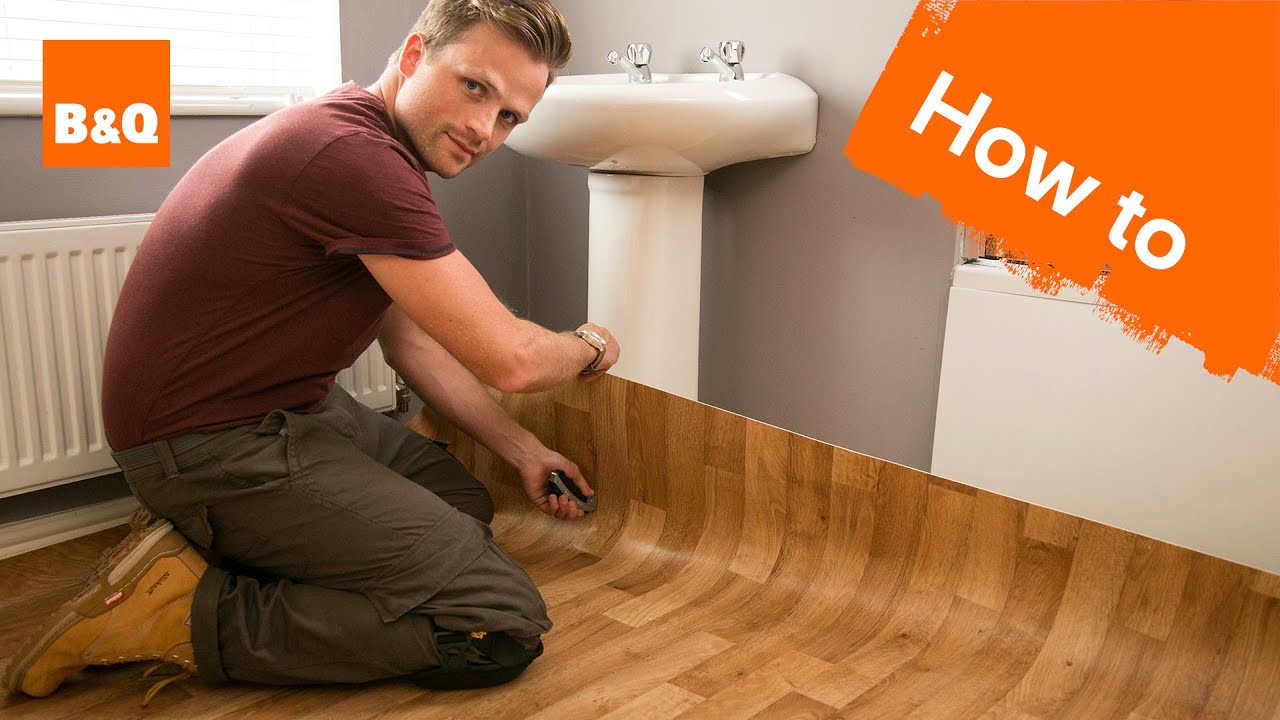
Measuring and Cutting Vinyl Flooring
Once the underlayment has been installed, you can begin measuring and cutting your vinyl flooring to fit the space. Measure each wall and make sure to leave a small gap (about 1/4 inch) between each piece of vinyl tile. This allows for expansion and contraction due to temperature changes. Once all of your pieces are measured and cut, you can start laying them out in their final position to make sure everything fits correctly before applying any adhesive. If you need to make further adjustments, now is the time to do so before applying any adhesive.
Applying Adhesive and Rolling Out Vinyl Flooring
Once everything is laid out in its final position, it’s time to apply adhesive to each piece of vinyl tile before rolling them out onto the subfloor. Be sure to follow all manufacturer instructions when applying adhesive as some types require more time than others before they can be rolled out onto the subfloor. Once all of your pieces have been rolled out onto the subfloor, use a heavy roller or press them down with your hands to ensure that they adhere firmly to the subfloor. Allow 24 hours for the adhesive to cure before proceeding to grouting.
Grouting Vinyl Flooring
The next step in replacing bathroom vinyl flooring is grouting. This helps seal off any gaps between tiles and ensures that water doesn’t get underneath them where it can cause damage over time. Start by mixing up your grout according to manufacturer instructions and then spread a thin layer over each tile with a trowel or putty knife. Wipe away any excess grout with a damp cloth and allow 24 hours for it to dry completely before proceeding to sealing.
Sealing Vinyl Flooring
Once your grout has had