Are you tired of dull and worn-out floors? Do you want to give your space a fresh and stylish look? Look no further than the Rust-Oleum Epoxy Floor Kit! This article will explore the incredible benefits of using the Rust-Oleum Epoxy Floor Kit to transform your floors. From its easy application process to its durability and versatility, this floor coating solution will surely give your space a complete makeover.
Introduction to Rust-Oleum Epoxy Floor Kit
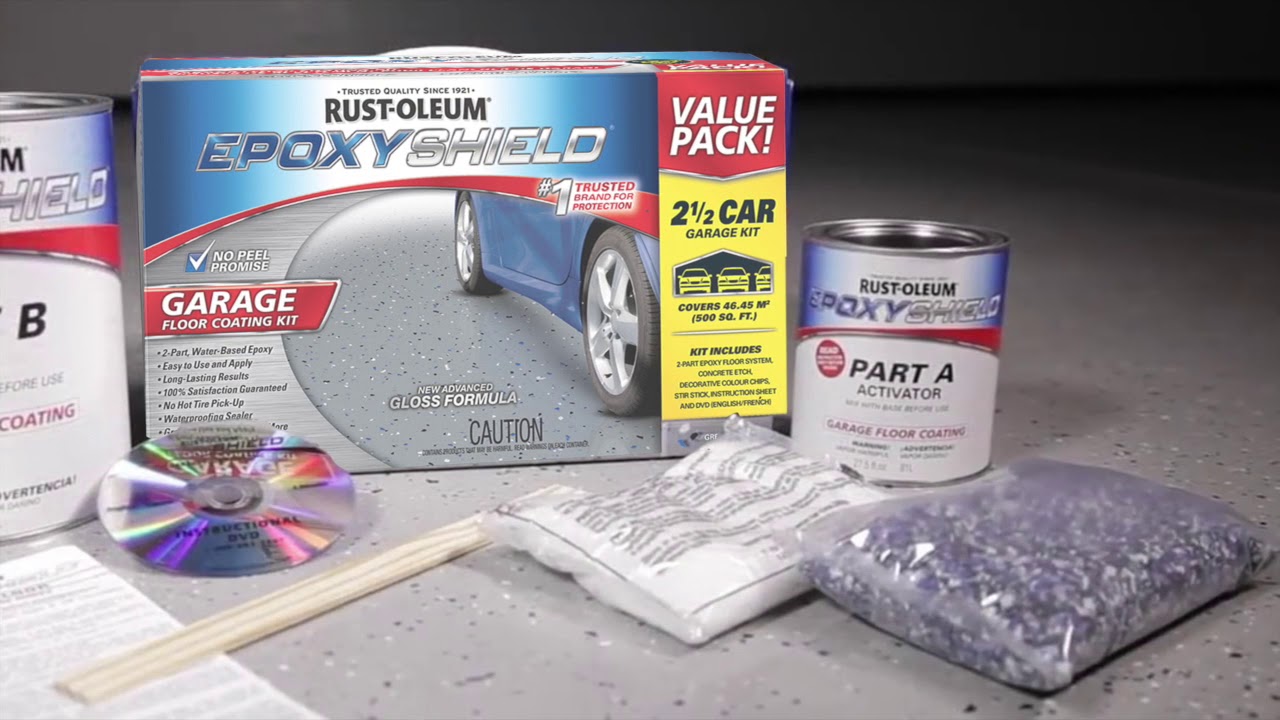
The Rust-Oleum Epoxy Floor Kit is a comprehensive flooring solution designed to provide your floors with a high-performance and visually appealing finish. Whether it’s your garage, basement, workshop, or any other concrete surface, this epoxy floor kit is specifically formulated to deliver exceptional results.
The Benefits of Using Rust-Oleum Epoxy Floor Kit
Easy Application Process for a DIY Makeover: One of the key advantages of the Rust-Oleum Epoxy Floor Kit is its user-friendly application process. You don’t need to be a professional to achieve professional-looking results. The kit includes detailed instructions and all the necessary components, including an epoxy base coat, activator, decorative flakes, and a top coat. With a little preparation and following the instructions, you can easily transform your floors.
Durable and Long-Lasting Flooring Solution: The Rust-Oleum Epoxy Floor Kit provides a durable, long-lasting coating that can withstand heavy use and daily wear and tear. The epoxy creates a strong, resilient surface that resists impacts, stains, chemicals, and abrasions. It forms a protective layer over your existing concrete, extending its lifespan and reducing the need for frequent repairs or replacements.
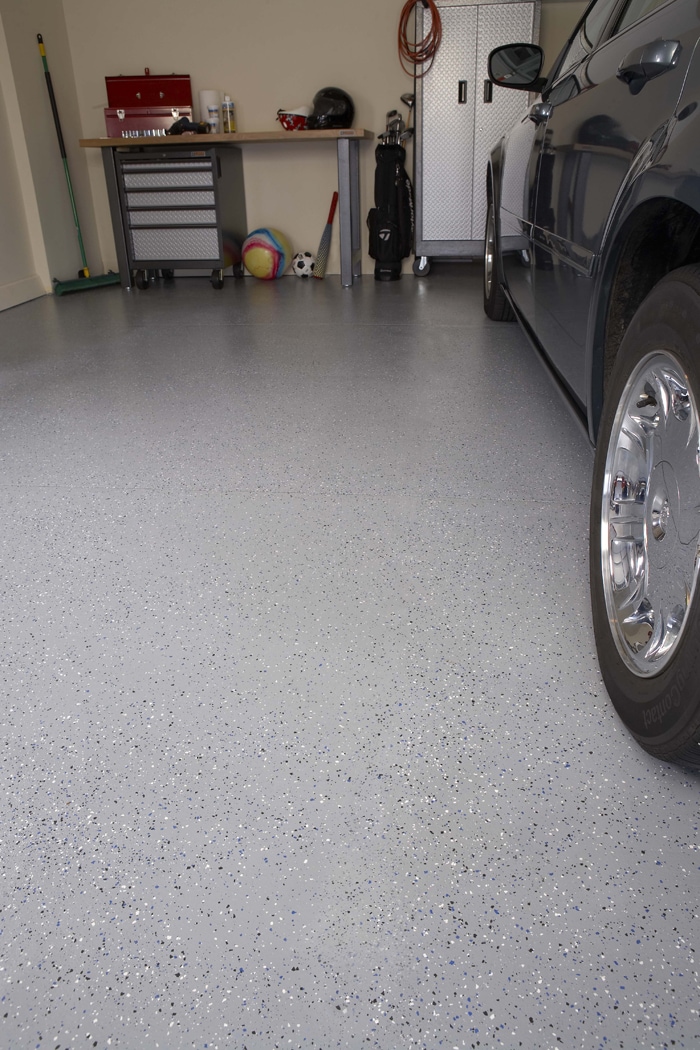
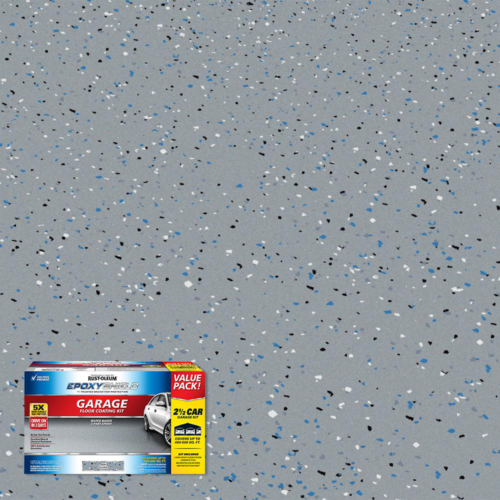
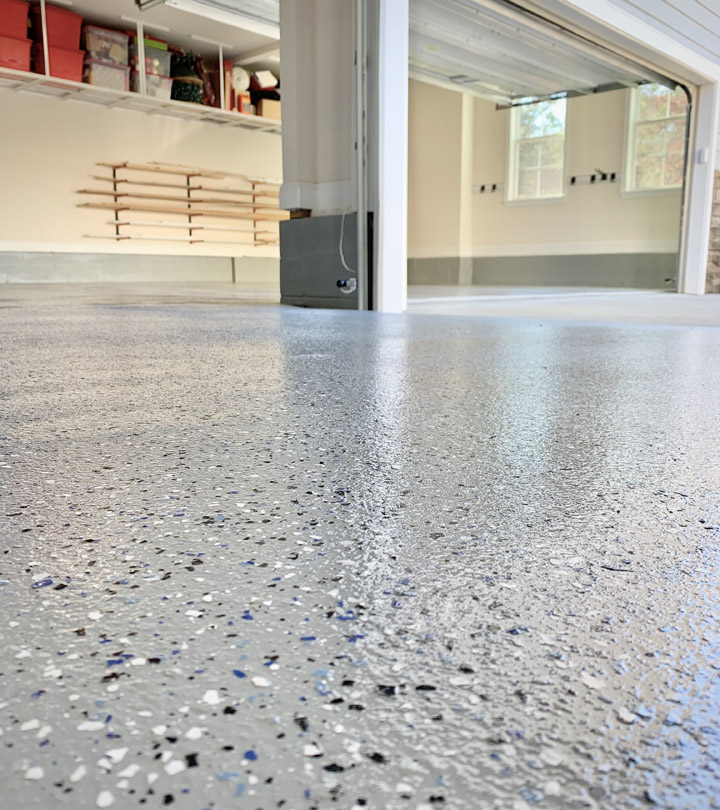
Versatility and Customization Options: With the Rust-Oleum Epoxy Floor Kit, you can customize your floors according to your preferences. The kit offers a variety of decorative flakes that can be sprinkled onto the wet epoxy, adding texture, depth, and a unique aesthetic to your floors. Whether you prefer a subtle speckled effect or a bold and vibrant appearance, the Rust-Oleum Epoxy Floor Kit allows you to create a personalized and customized look.
Easy Application Process for a DIY Makeover
The Rust-Oleum Epoxy Floor Kit is designed with the DIY enthusiast in mind. Follow these steps for a successful application:
- Surface Preparation: Before applying the epoxy floor coating, ensure that the surface is clean, dry, and free of any grease, oil, or contaminants. Repair any cracks or imperfections in the concrete and allow it to cure fully.
- Mixing the Epoxy: Thoroughly mix the epoxy base coat and the activator according to the instructions provided. Use a drill with a mixing attachment for the best results. Follow the recommended mixing ratios and thoroughly blend the components to activate the epoxy.
- Application: Start by cutting in the edges of the floor using a brush or roller. Then, use a roller to apply the epoxy coating to the larger areas. Work in small sections to ensure even coverage. If desired, sprinkle the decorative flakes onto the wet epoxy to add texture and visual interest.
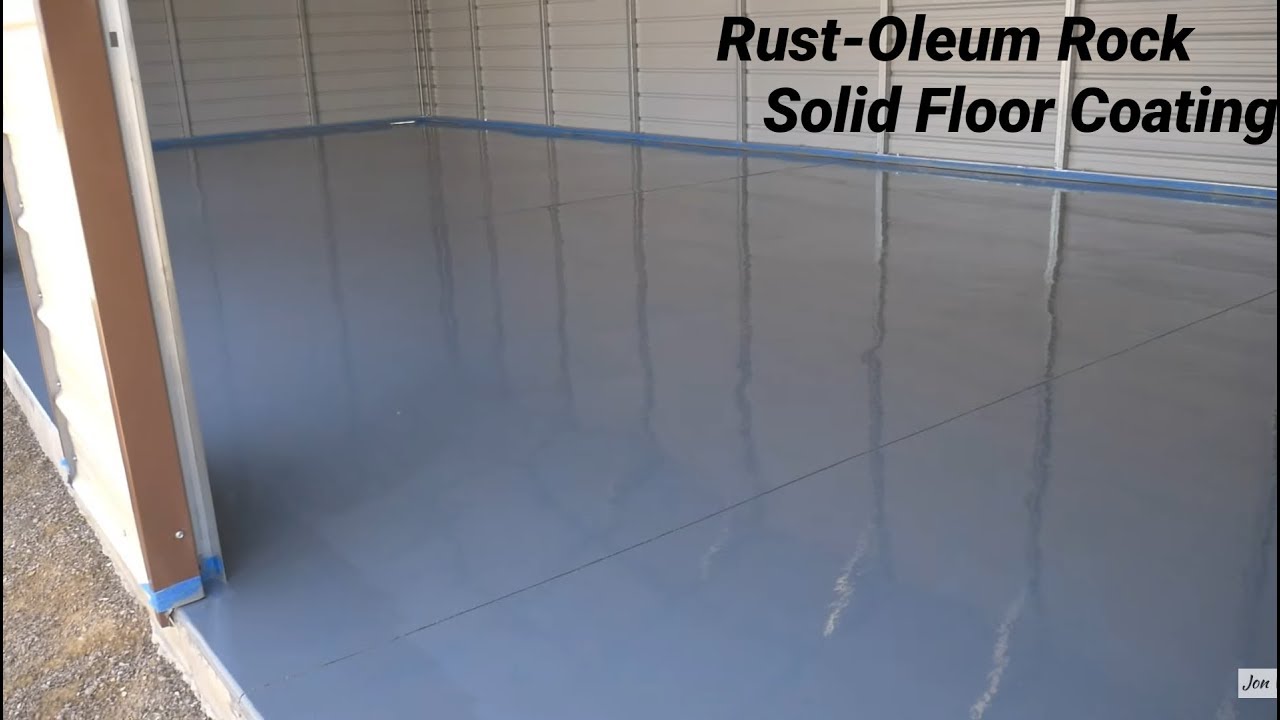
- Curing and Topcoat: Allow the epoxy to cure for the recommended time specified by the manufacturer. Once cured, apply the topcoat to seal and protect the epoxy. The topcoat provides added durability and enhances the glossy finish of the floor.
Durable and Long-Lasting Flooring Solution
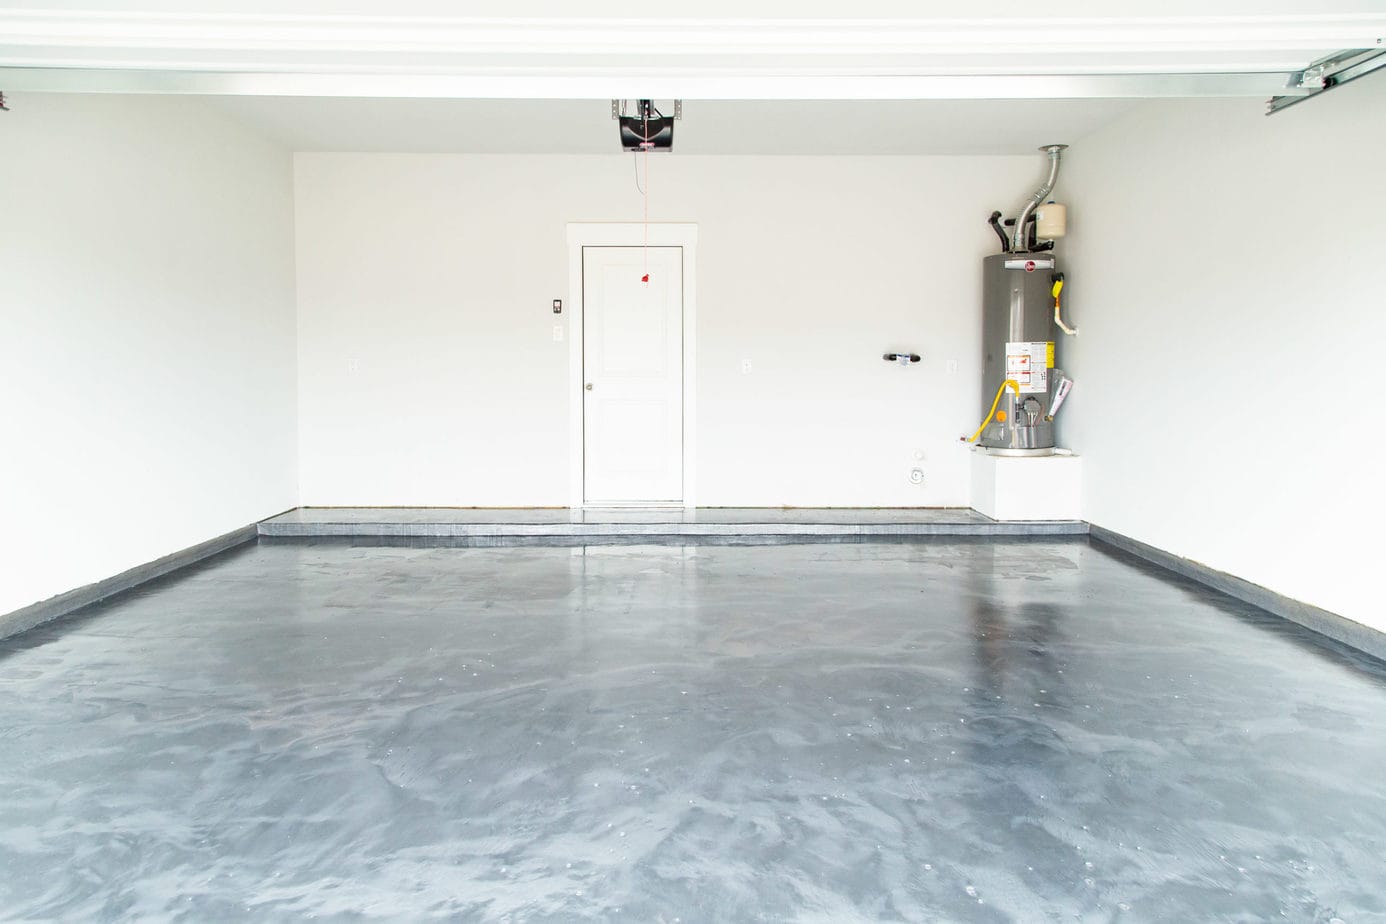
When it comes to durability, the Rust-Oleum Epoxy Floor Kit surpasses expectations. Its strong and resilient nature makes it ideal for high-traffic areas, such as garages, workshops, and commercial spaces. The epoxy coating acts as a barrier, protecting the underlying concrete from damage caused by heavy objects, chemicals, and daily use. Say goodbye to chipped, cracked, or stained floors and enjoy a long-lasting and attractive flooring solution.
Versatility and Customization Options
One of the standout features of the Rust-Oleum Epoxy Floor Kit is its versatility and customization options. Whether you want a sleek and modern look or a vibrant and eye-catching design, this epoxy floor coating allows you to achieve your desired aesthetic. The decorative flakes come in various colors and sizes, allowing you to create a floor that reflects your personal style and complements your space.
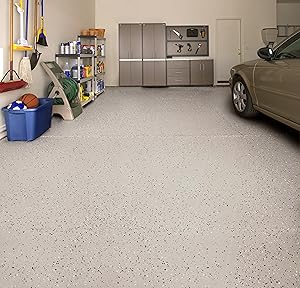
Enhance the Aesthetics of Your Space
The Rust-Oleum Epoxy Floor Kit provides functional benefits and enhances your space’s overall aesthetics. Its glossy finish adds a touch of sophistication and elegance to any room. Whether transforming your garage into a stylish man cave or giving your basement a fresh and inviting ambiance, this epoxy floor coating elevates the visual appeal of your space.
If you want to transform your floors and give your space a complete makeover, the Rust-Oleum Epoxy Floor Kit is the answer. With its easy application process, durability, versatility, and customization options, this affordable floor coating solution offers a range of benefits that can enhance the aesthetics and functionality of your floors. Say goodbye to worn-out and lackluster surfaces and embrace the beauty and durability of the Rust-Oleum Epoxy Floor Kit. Enjoy a space that reflects your style and stands the test of time.
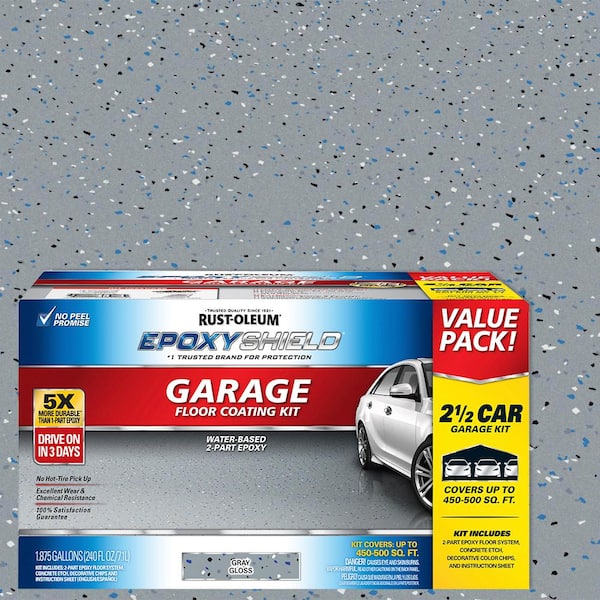
Rust-Oleum EpoxyShield 240 oz. Gray High-Gloss 2.5-Car Garage
Rust Oleum Epoxy Shield Protect Gray Garage Floor Coating Kit High Gloss 2.5 Car eBay
EPOXYSHIELD Garage Floor

How to Use Rust-Oleum® Epoxyshield® Garage Floor Coating Kit to Transform Your Floor
DIY Epoxy Garage Floors
How to Install Rust-Oleum RockSolid Metallic Garage Floor Coating // Part 2

Metallic Garage Floor Makeover Rust-Oleum Creatoru0027s Studio Project

Applying Rustoleum Rock Solid on My New Garage Floor – 50u0027 x 20u0027 Steel Building Setup 1000 Square Ft
RustOleum 251966 Epoxy Floor Coating Kit – Tan Gloss

Rust-Oleum EpoxyShield 240 oz. Gray High-Gloss 2.5-Car Garage

Amazon.com: Rust-Oleum 261845 EpoxyShield Garage Floor Coating , 2
Related Posts:
- Epoxy Flooring Advantages Disadvantages
- Metallic Epoxy Bathroom Floor
- Sherwin Williams Epoxy Floor
- High Gloss Epoxy Flooring
- Epoxy Flooring Interior Design
- Metallic Epoxy Floor Coating
- Epoxy Floor Coating
- Epoxy Kitchen Floor
- Epoxy Basement Floor
- Epoxy Resin Garage Floor
Rustoleum Epoxy Floor Kit: A Comprehensive Guide
The Rustoleum Epoxy Floor Kit is an easy-to-use solution for creating an attractive, durable, low-maintenance floor. This epoxy floor kit provides a professional-looking finish that will last for years and is perfect for garages, workshops, basements, and even commercial spaces. Whether you’re a DIYer or a professional contractor, this kit is the perfect way to create a beautiful and long-lasting floor.
What Does the Rustoleum Epoxy Floor Kit Include?
The Rustoleum Epoxy Floor Kit includes everything you need to create a durable epoxy floor. The kit includes two containers of epoxy, hardener, spreader, roller, gloves, and instructions. The two containers of epoxy are available in either a Clear or Gray finish, so you can choose the finish that best suits your space. The spreader and roller are specifically designed for applying the epoxy evenly and smoothly. Plus, the gloves provide protection from any chemicals that may be present in the epoxy.
How to Prepare for Applying the Epoxy
Before applying the epoxy, you’ll need to properly prepare your floor to ensure the best results. Start by thoroughly cleaning your floor and removing any dirt or debris that may be present on it. You’ll also want to inspect your floor for any cracks or other imperfections that may need to be repaired before applying the epoxy. Once your floor has been properly cleaned and any imperfections have been addressed, it’s time to mix the epoxy.
How to Mix and Apply the Epoxy
Once you’ve prepared your floor and gathered all of your supplies, it’s time to mix the epoxy. The two containers of epoxy included in the kit should be mixed together in equal parts according to the instructions provided in the kit. Once they are mixed together, it’s time to apply the epoxy using either a spreader or roller. Make sure to spread the epoxy evenly across your entire floor so that it is completely covered. Once you’ve finished applying the epoxy, it’s important to allow it dry completely before walking on it or adding furniture back into the room.
FAQs
Q: How long will it take for my epoxy floor to dry?
A: The drying time for your epoxy floor will depend on several factors such as temperature and humidity levels in your space. Generally speaking, it should take between 24-48 hours for your epoxy floor to fully cure and dry completely.
Q: Can I walk on my new epoxy floor right after I apply it?
A: No, it’s important to allow your new epoxy floor to dry completely before walking on it or adding furniture back into the room. Walking on a wet or partially dry epoxy floor can cause damage and impair its durability over time.
Q: Is there anything I need to do to maintain my epoxy floor?
A: Epoxy floors are incredibly low-maintenance and require very little maintenance compared to other types of floors. To keep your epoxy floor looking its best, you’ll want to regularly sweep up dirt and debris from its surface and occasionally mop with a mild cleaning solution if necessary. Additionally, you’ll want to avoid harsh chemical cleaners as they can damage your epoxy floor over time.
Conclusion
The Rustoleum Epoxy Floor Kit is a great way to create a beautiful, durable, low-maintenance floor in any space. From start to finish, this kit provides everything needed for creating an attractive looking floor with minimal effort required. Plus, with its easy-to-follow instructions and simple application process, even DIYers can achieve professional results with this kit. So if you’re looking for an easy way to update any room with an attractive new looking floor, look no further than Rustoleum’s Epoxy Floor Kit!