Understanding the Importance of RV Vinyl Floor Replacement
The flooring in your RV plays a significant role in the overall comfort and aesthetics of your living space. Over time, wear and tear, spills, and general use can take a toll on your RV’s vinyl flooring. When the flooring starts to show signs of damage or becomes outdated, it may be time for a replacement. Here are the importance of RV vinyl floor replacement and how it can enhance your RV experience.
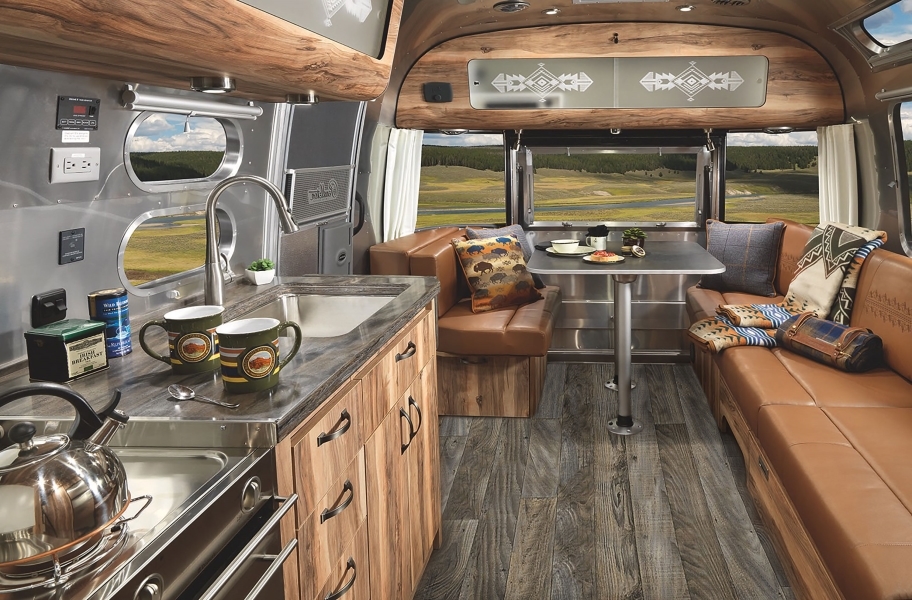
- Improved Aesthetics: One of the primary reasons for RV vinyl floor replacement is to refresh the look of your RV’s interior. New vinyl flooring can instantly transform the appearance of your RV, giving it a fresh and modern look that reflects your style and preferences.
- Enhanced Comfort: Worn-out or damaged vinyl flooring can be uncomfortable to walk on and may even pose safety hazards. By replacing the flooring, you can ensure a comfortable and safe environment inside your RV, providing a more enjoyable travel experience.
- Increased Durability: Vinyl flooring designed specifically for RVs is built to withstand the demands of a mobile lifestyle. By replacing your old vinyl flooring with a new, more durable option, you can ensure that it can handle the rigors of travel and last for many years to come.
- Resale Value: If you plan to sell your RV or upgrade to a new one in the future, replacing the vinyl flooring can significantly increase its resale value. A well-maintained and updated interior, including the flooring, will attract potential buyers and potentially lead to a higher selling price.
- Hygiene and Cleanliness: Over time, vinyl flooring can accumulate dirt, stains, and odors that are difficult to remove. Replacing the flooring allows you to start fresh, promoting better hygiene and cleanliness in your RV. New vinyl flooring is also easier to clean and maintain, making it a more hygienic option for your travels.
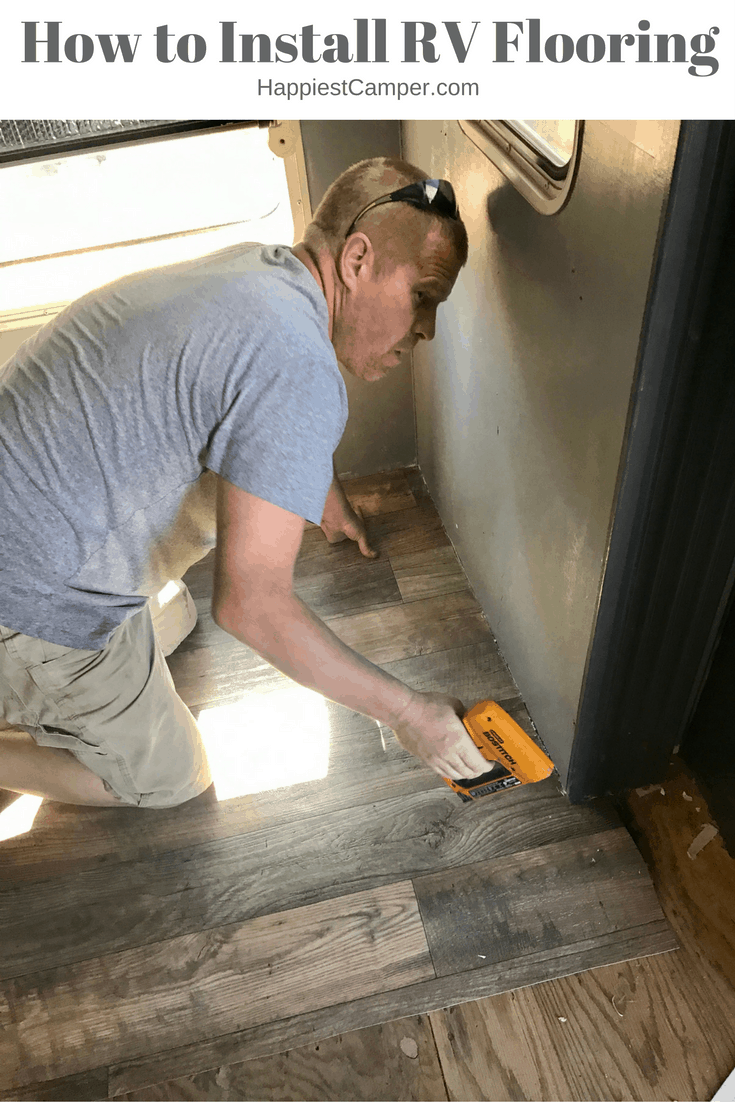
Step-by-Step Guide to RV Vinyl Floor Replacement
Replacing the vinyl flooring in your RV may seem like a daunting task, but with the right approach and tools, it can be a manageable DIY project. Follow these steps for a successful RV vinyl floor replacement:
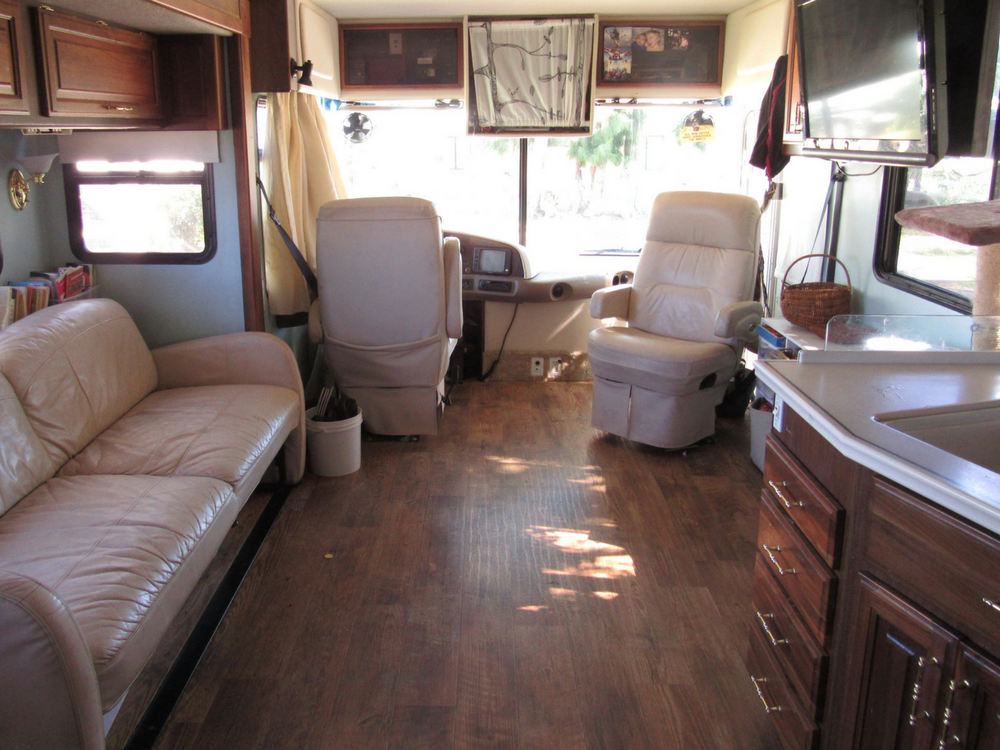
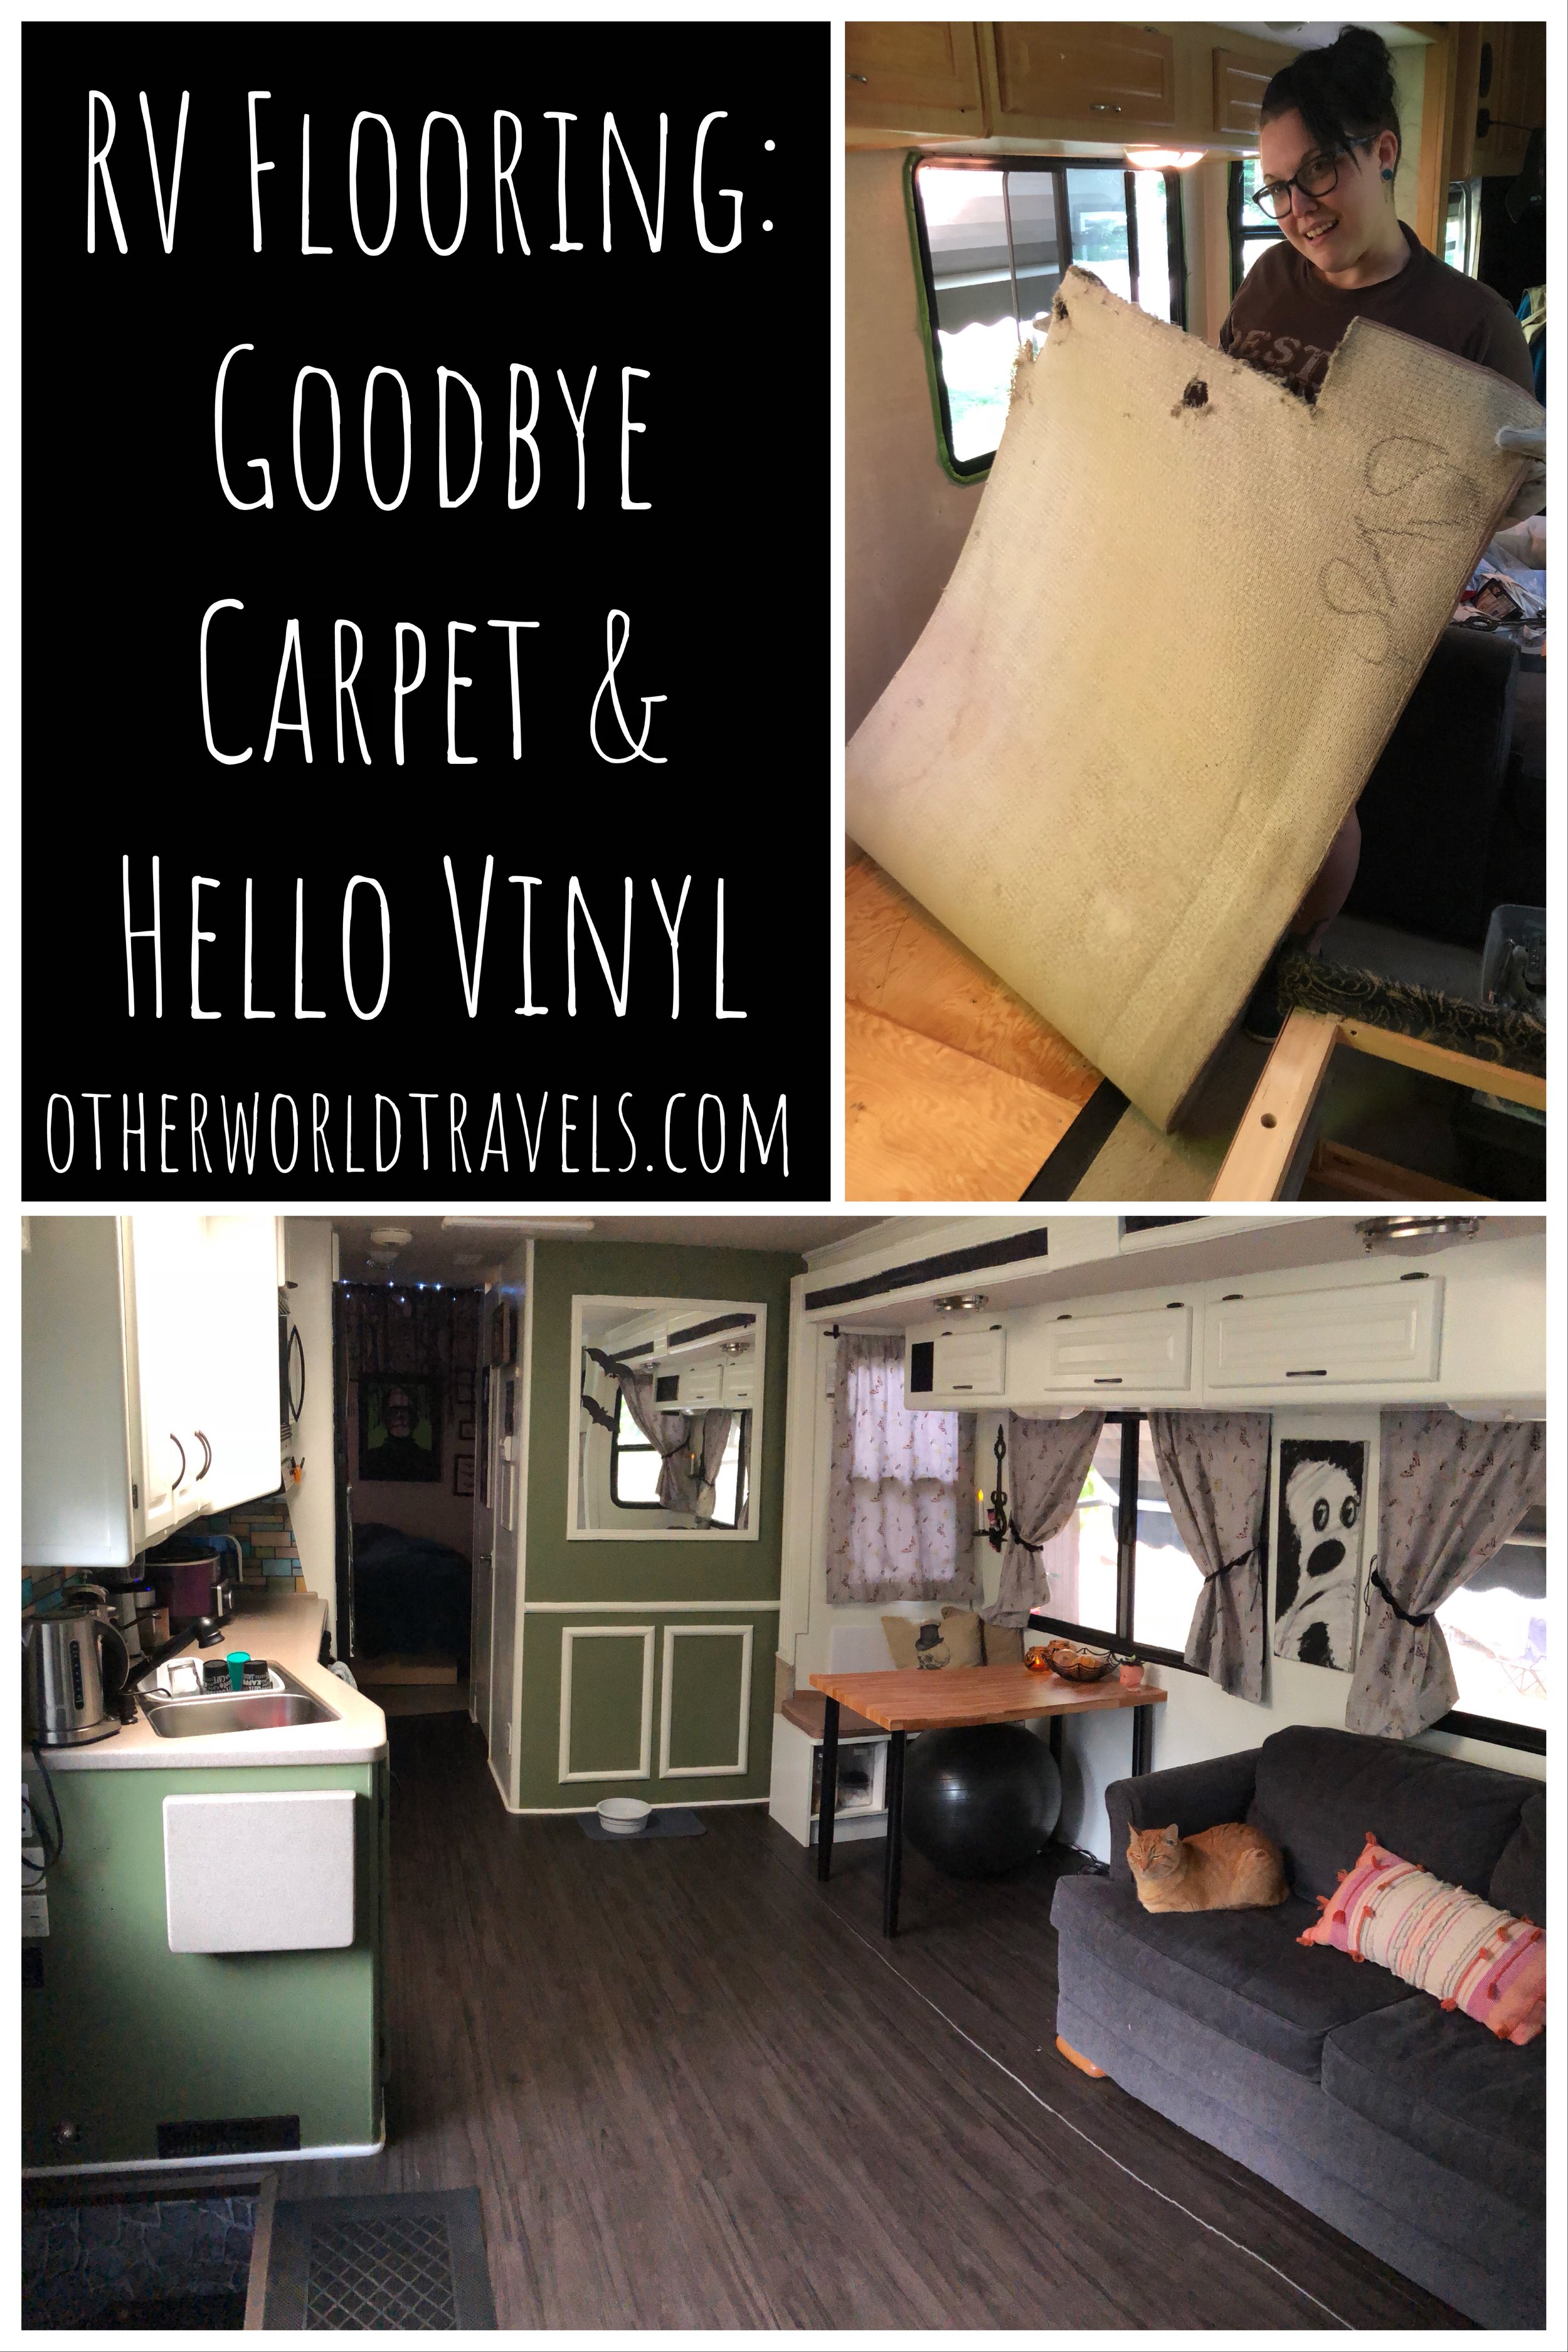
Remove Furniture and Accessories: Clear out your RV and remove any furniture, appliances, or accessories that may hinder the flooring replacement process. This will provide a clear and open space to work with.
Remove the Old Flooring: Carefully remove the old vinyl flooring from your RV. Start from one corner and use a putty knife or scraper to lift and pry the flooring away from the subfloor. Take caution not to damage the subfloor during this process.
Clean and Prep the Subfloor: Thoroughly clean the subfloor, removing any adhesive residue or debris left behind from the old flooring. Ensure the subfloor is smooth, dry, and free from any imperfections before proceeding.
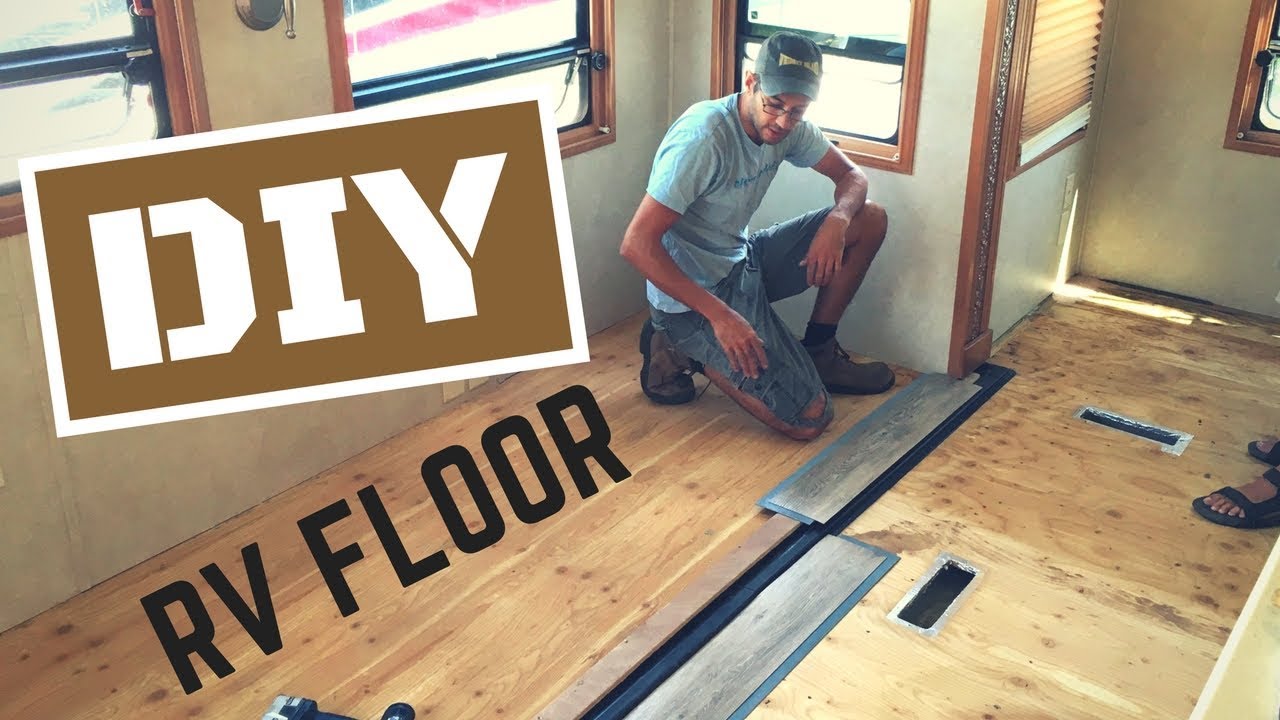
Measure and Cut New Vinyl Flooring: Measure the dimensions of your RV’s interior space and transfer those measurements onto the new vinyl flooring. Use a sharp utility knife or vinyl flooring cutter to cut the new flooring to the appropriate size and shape.
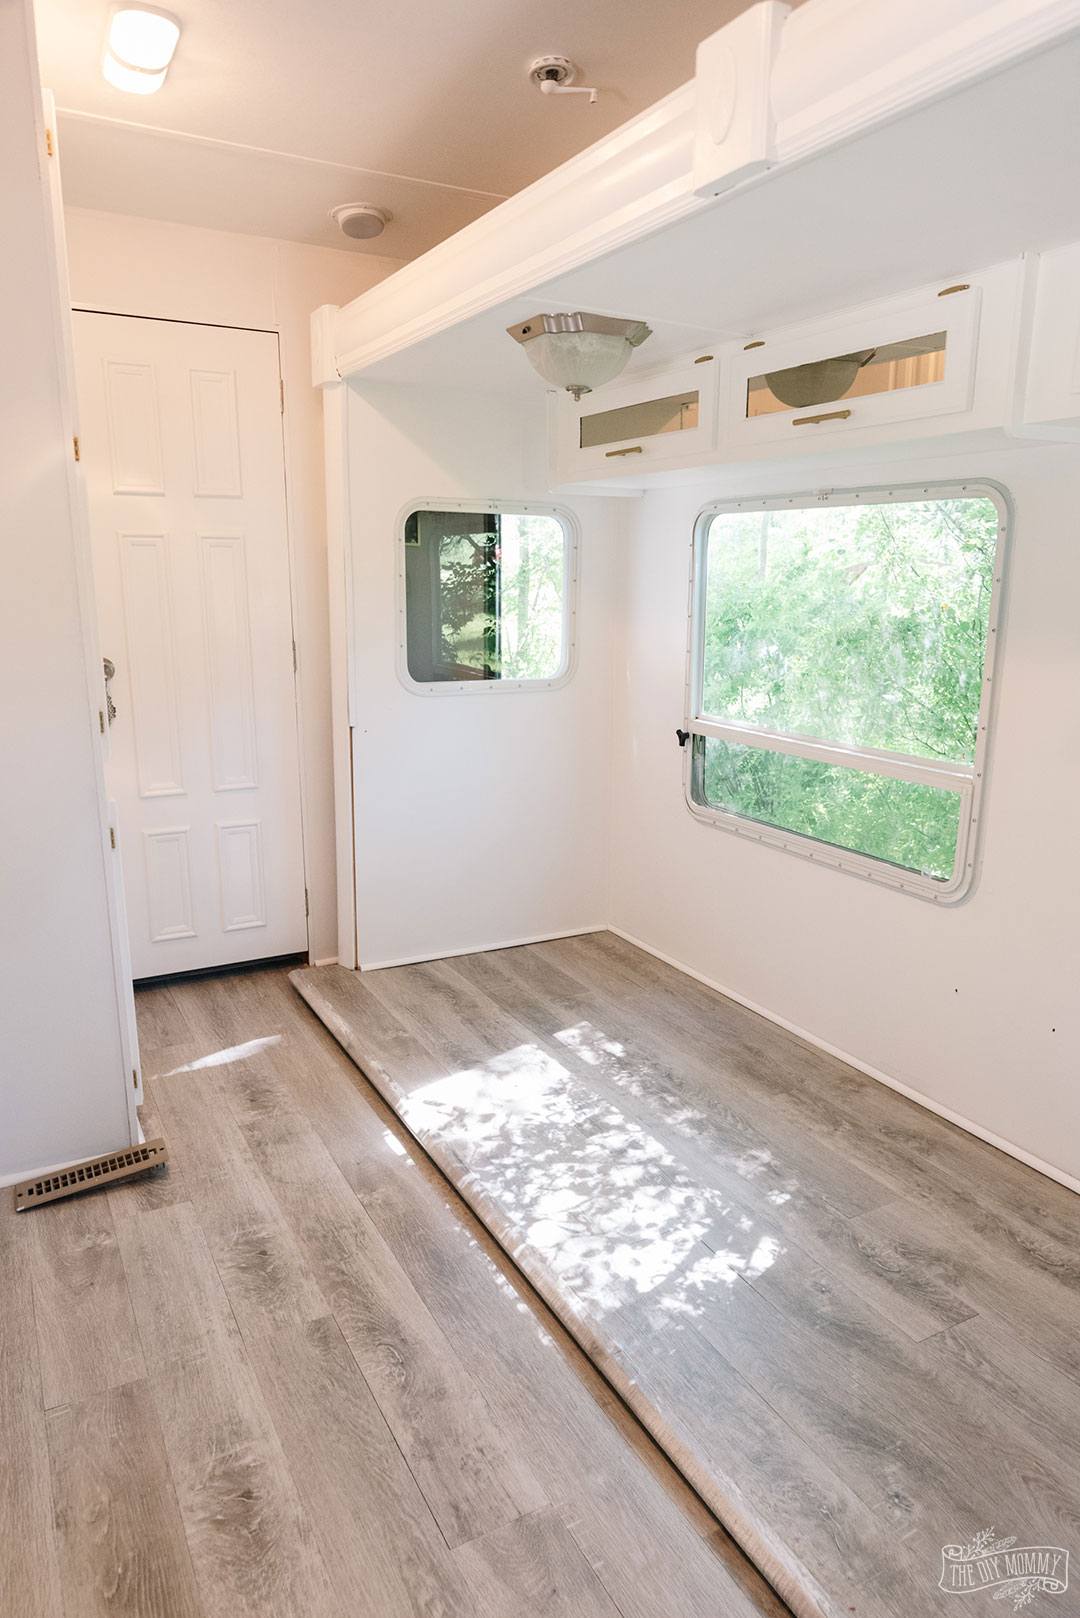
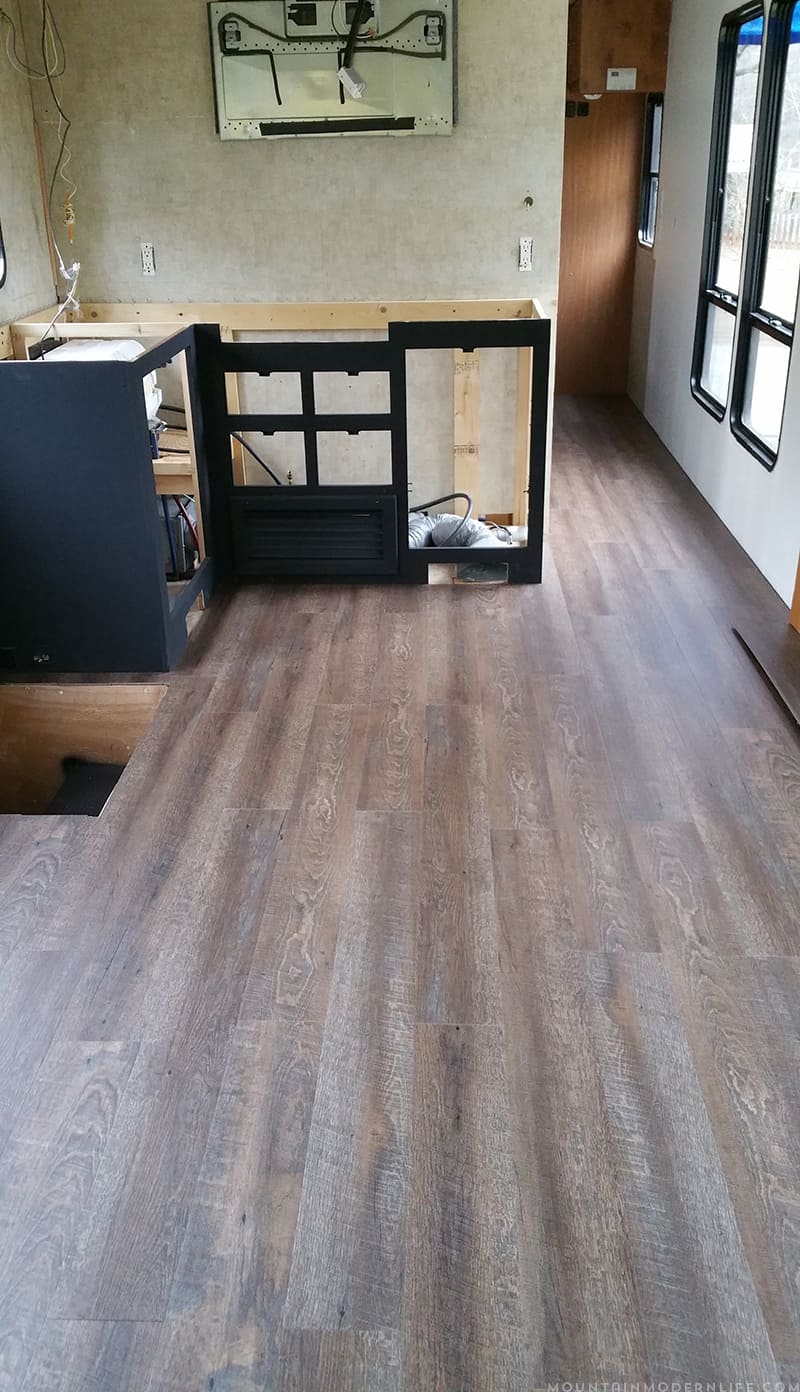
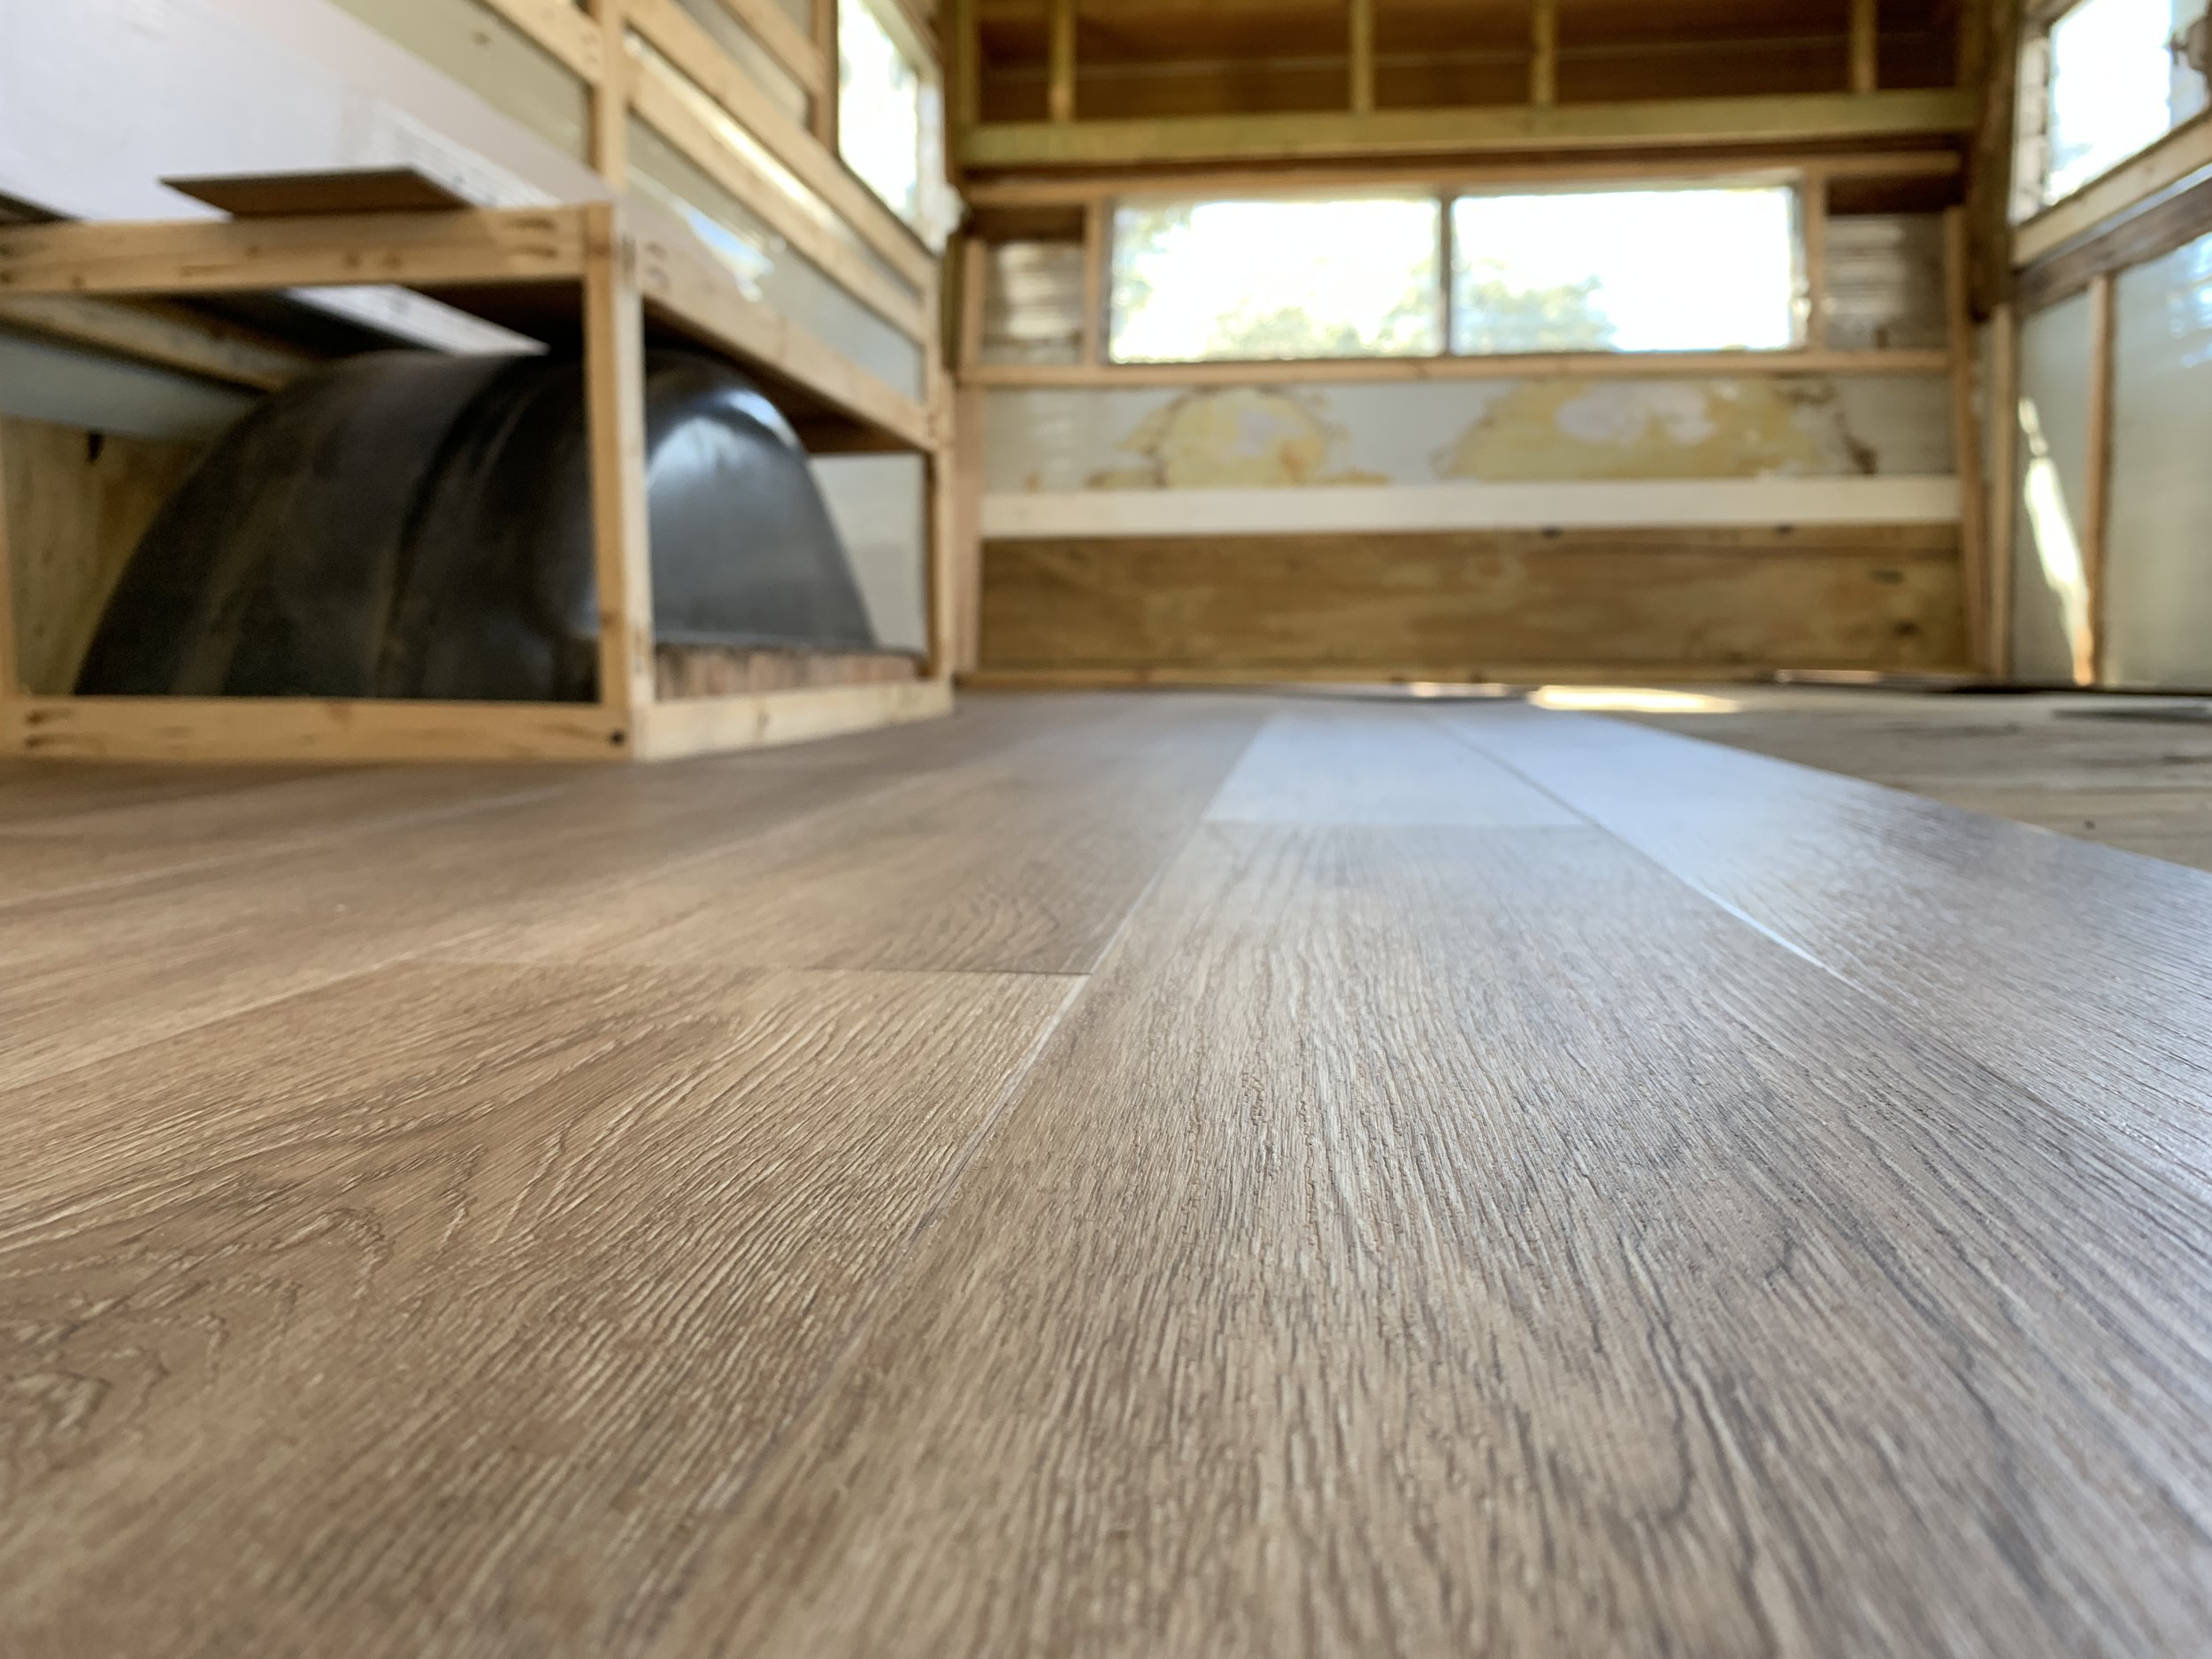
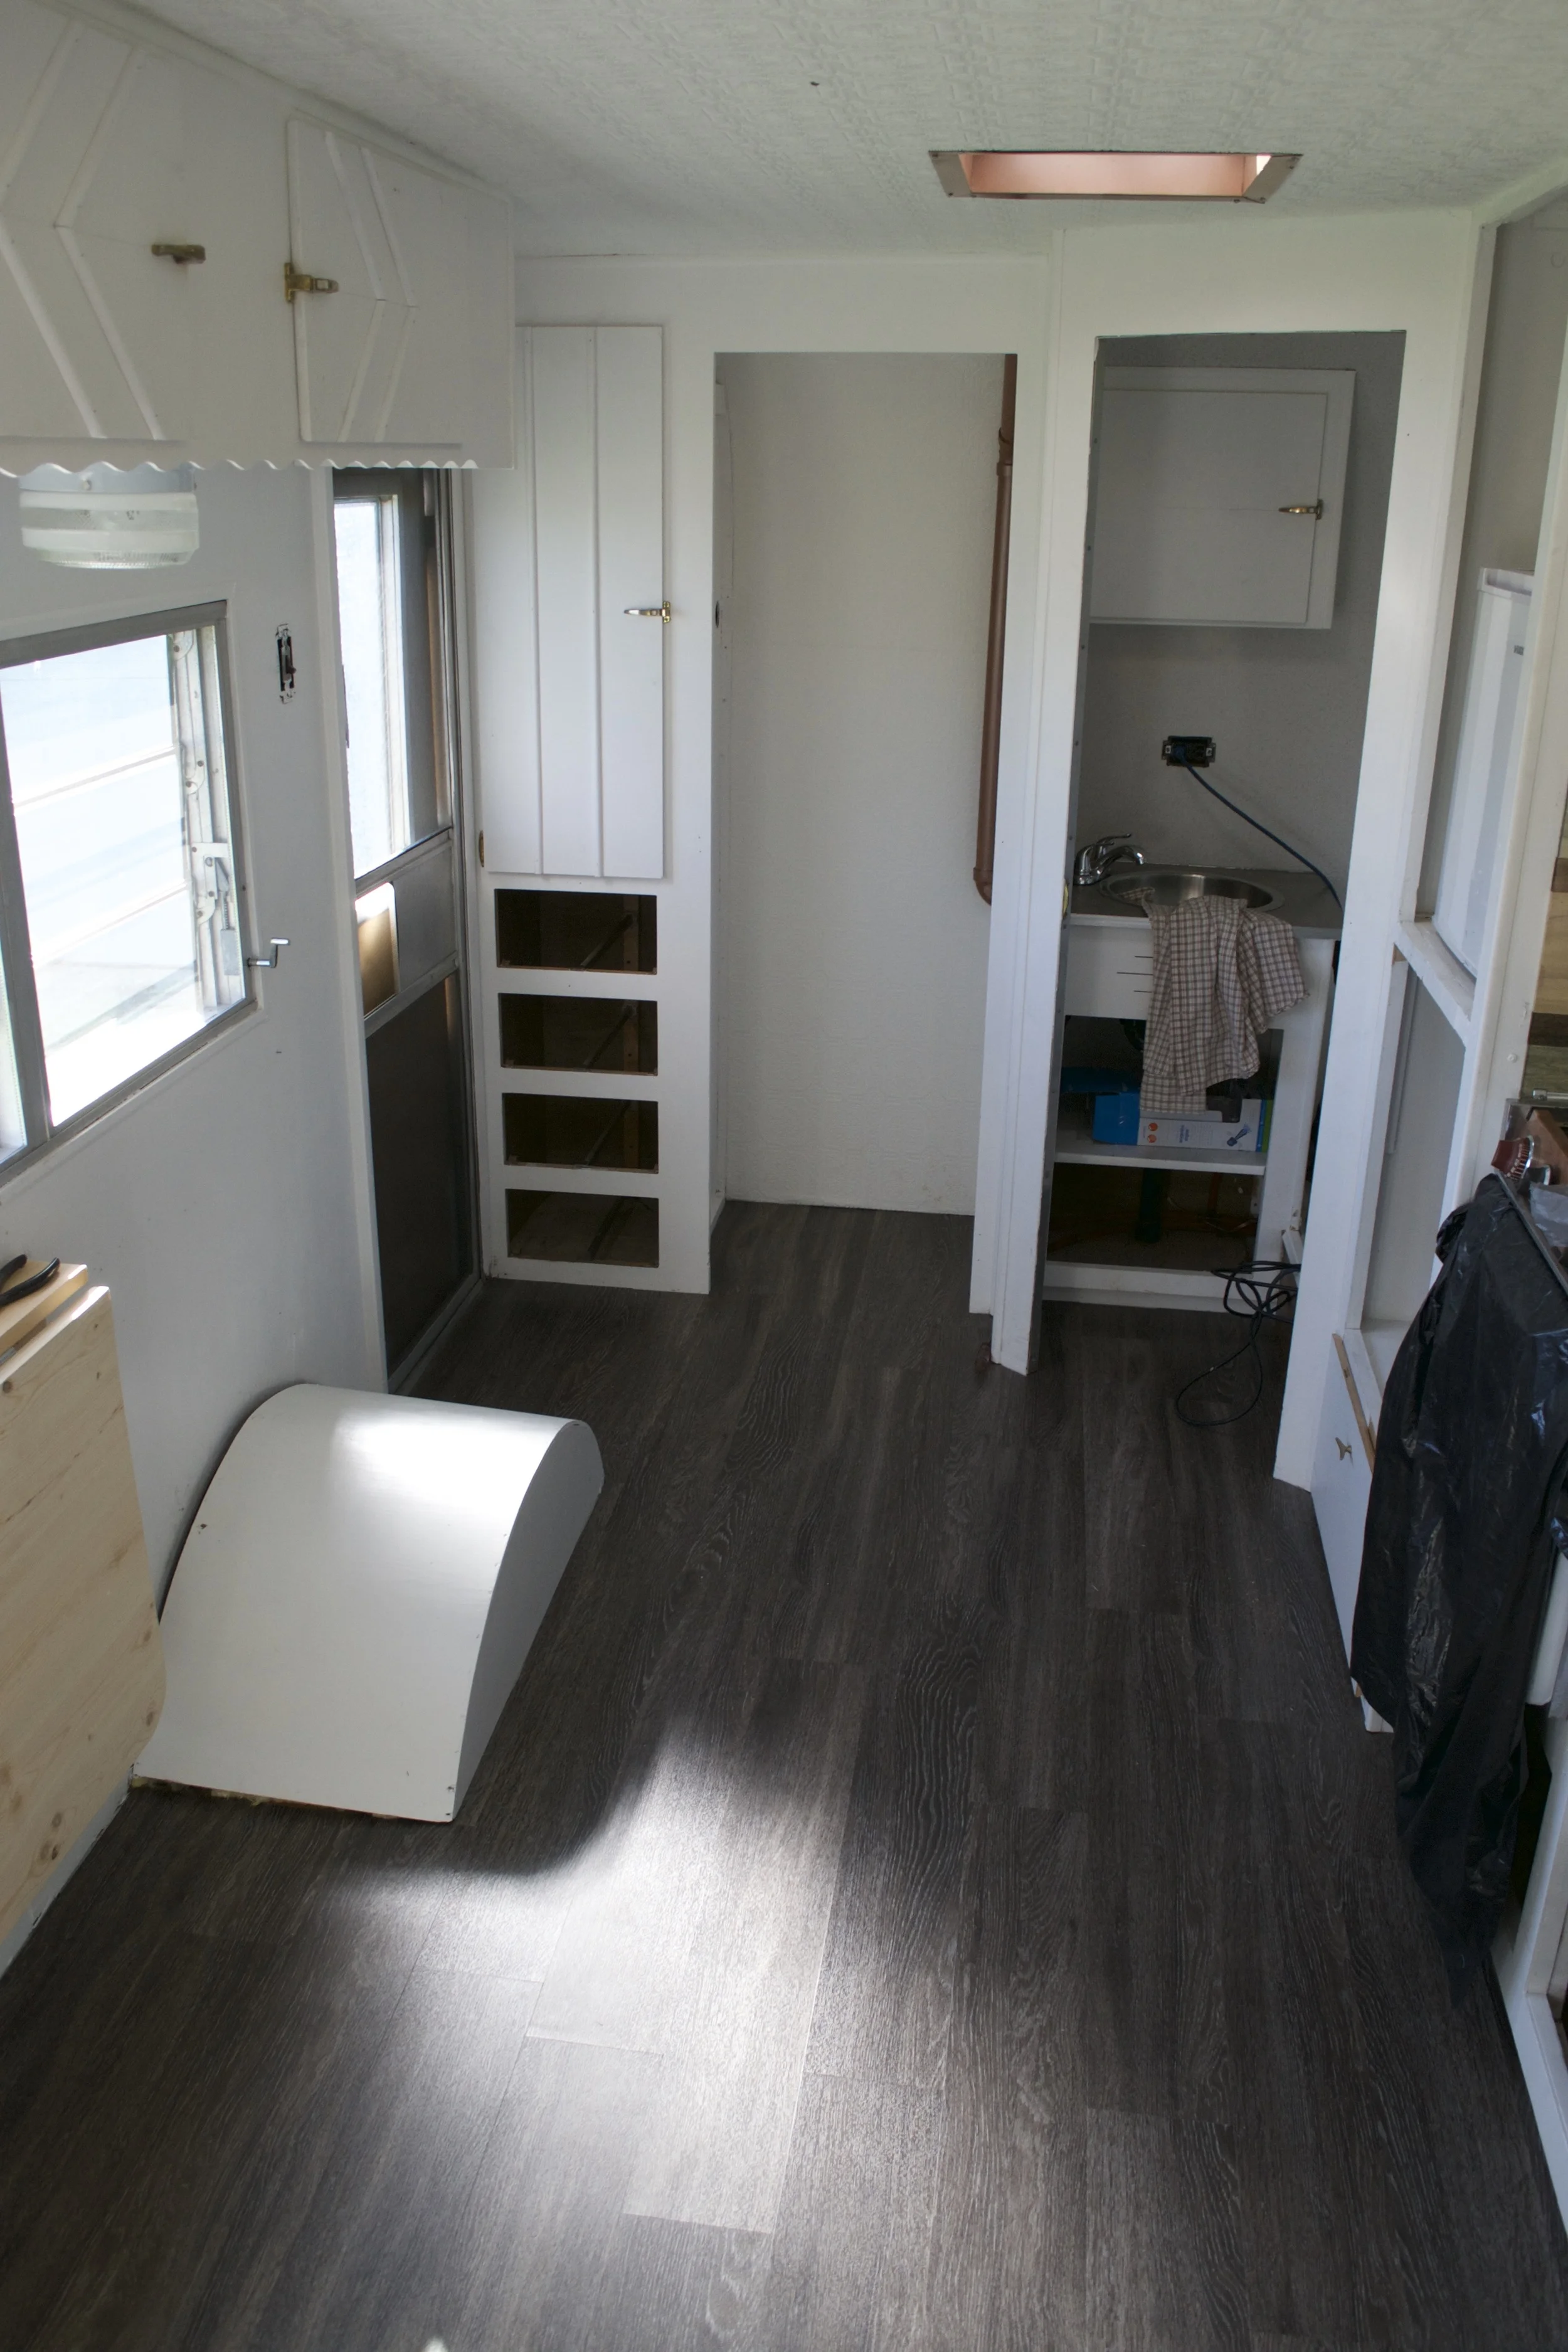
Install the New Flooring: Starting from one end of the RV, carefully lay the cut vinyl flooring onto the subfloor. Smooth out any wrinkles or bubbles as you go, ensuring a tight and secure fit. Use a roller or heavy object to press down and adhere the flooring to the subfloor.
Trim and Finish Edges: Once the vinyl flooring is in place, trim any excess material around the edges using a utility knife or vinyl trim cutter. Install transition strips or moldings to finish off the edges and create a clean and polished look.

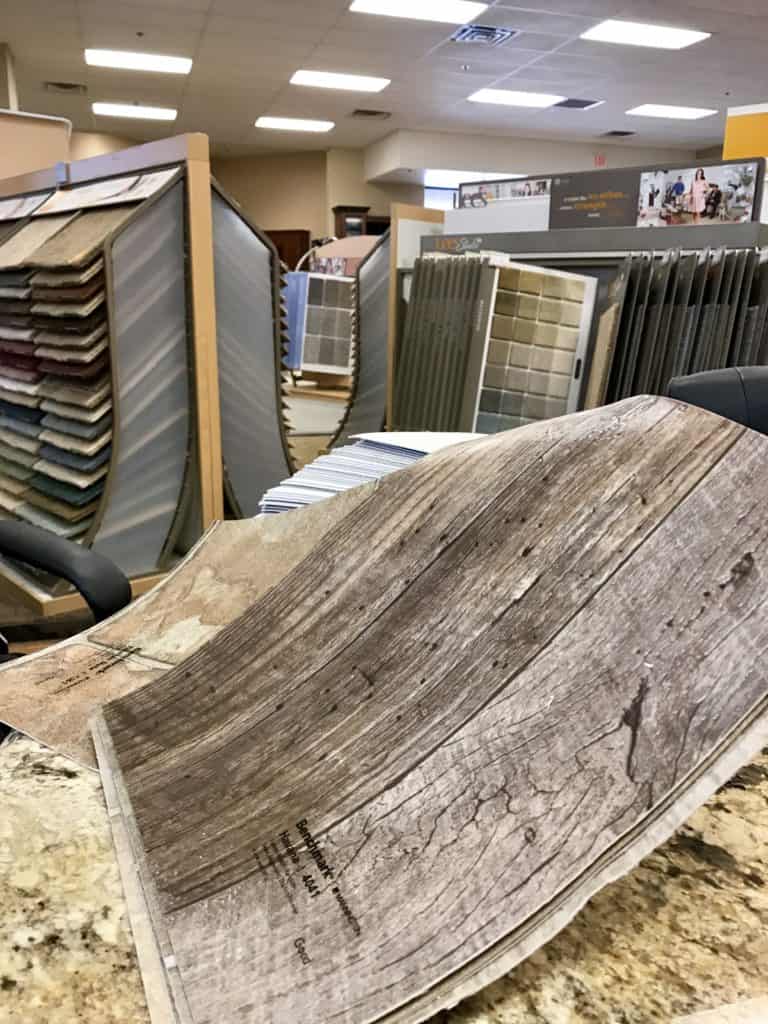
Choosing the Right Vinyl Flooring for Your RV
When it comes to choosing vinyl flooring for your RV, there are several factors to consider. The right vinyl flooring will not only enhance the aesthetics of your RV but also provide durability and ease of maintenance. Here are some key points to keep in mind:
RV-Specific Flooring: Opt for vinyl flooring specifically designed for RVs. RV vinyl flooring is engineered to withstand the unique challenges of mobile living, including temperature fluctuations, vibrations, and moisture.
Thickness and Wear Layer: Consider the thickness of the vinyl flooring and the wear layer. Thicker flooring with a robust wear layer offers better durability and resistance to scratches and stains.
Style and Design: Choose a vinyl flooring style and design that complements your RV’s interior and personal taste. Whether you prefer a wood-look, tile-look, or a more contemporary design, there are plenty of options available to suit your preferences.
Installation Method: Consider the installation method that best suits your needs and abilities. Some vinyl flooring options come with a peel-and-stick adhesive backing, while others may require additional adhesive or professional installation.
Tips and Tricks for a Successful RV Vinyl Floor Replacement
To ensure a successful RV vinyl floor replacement, keep these tips and tricks in mind:
Plan and Measure Carefully: Take accurate measurements of your RV’s interior space and plan the layout of the new vinyl flooring before starting the installation. This will help minimize waste and ensure a smooth installation process.
Allow for Expansion and Contraction: Vinyl flooring can expand and contract with temperature changes, so it’s essential to leave a small gap around the edges to accommodate this movement.
Use Proper Tools and Techniques: Invest in quality tools, such as a sharp utility knife, a vinyl flooring cutter, and a roller, to ensure precise cuts and proper adhesion. Follow the manufacturer’s instructions for installation techniques to achieve the best results.
Consider Underlayment: Depending on the condition of your RV’s subfloor and personal preferences, you may choose to install an underlayment beneath the vinyl flooring. Underlayment can provide additional cushioning, insulation, and noise reduction.
Take Your Time: RV vinyl floor replacement requires attention to detail and patience. Take your time during each step of the process to ensure a professional-looking installation.
Maintenance and Care for Your New RV Vinyl Flooring
To keep your new RV vinyl flooring in pristine condition, follow these maintenance and care tips:
Regular Cleaning: Sweep or vacuum the vinyl flooring regularly to remove dirt, dust, and debris. Use a damp mop with a mild vinyl flooring cleaner to clean any spills or stains.
Avoid Harsh Chemicals: Harsh chemicals, abrasive cleaners, and strong solvents can damage the vinyl flooring. Stick to pH-neutral or vinyl-specific cleaners for routine cleaning.
Wipe Up Spills Promptly: Promptly clean up any spills or liquids to prevent staining or damage to the vinyl flooring. Use a soft cloth or paper towel to absorb the liquid and clean the area with a mild cleaner.
Protect from Sharp Objects: Place rugs or mats in high-traffic areas or areas prone to heavy use to protect the vinyl flooring from scratches or gouges caused by sharp objects or heavy furniture.
Protect from Direct Sunlight: Prolonged exposure to direct sunlight can cause the vinyl flooring to fade or discolor over time. Use blinds, curtains, or UV-protective window film to minimize sunlight exposure in your RV.
By understanding the importance of RV vinyl floor replacement, following a step-by-step guide, choosing the right vinyl flooring, implementing tips and tricks, and practicing proper maintenance and care, you can enjoy beautiful and durable vinyl flooring in your RV. A well-maintained and updated floor will enhance your RV experience and provide a comfortable and stylish home away from home.
RV Flooring: How to Install Step by Step
The Cameo Camper Renovation: Why + How We Installed Vinyl Plank
How to Replace RV Flooring MountainModernLife.com

The Best RV Flooring Ideas In 2024
Reasons to Install Vinyl Plank Flooring in your Trailer or RV
RV Flooring: How to Install Step by Step
RV Flooring: Goodbye Carpet and Hello Vinyl u2014 Otherworld Travels
Related Posts: