Vinyl is shockingly water -resistant. It's really affordable, which is one good reason why you ought to give consideration to buying cheap vinyl flooring for your homes. This particular underlayment offers extra comfort to the feet, therefore making the inexpensive vinyl flooring suitable to any part of the home of yours whether it is the bathroom, cooking area, or even your bedroom.
Images about Skim Coat Over Vinyl Floor
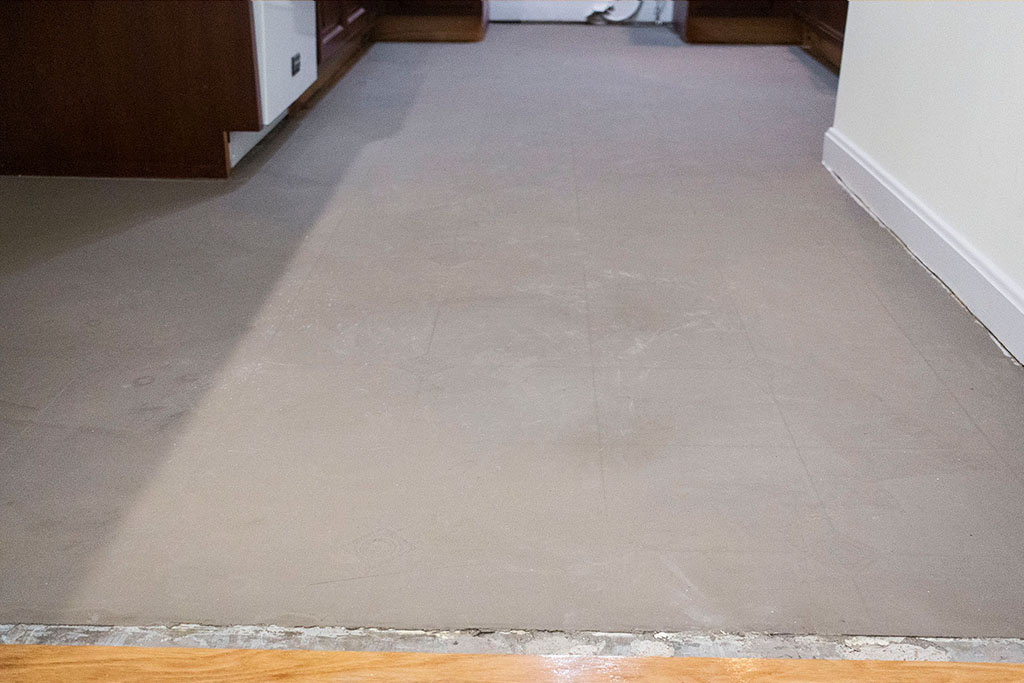
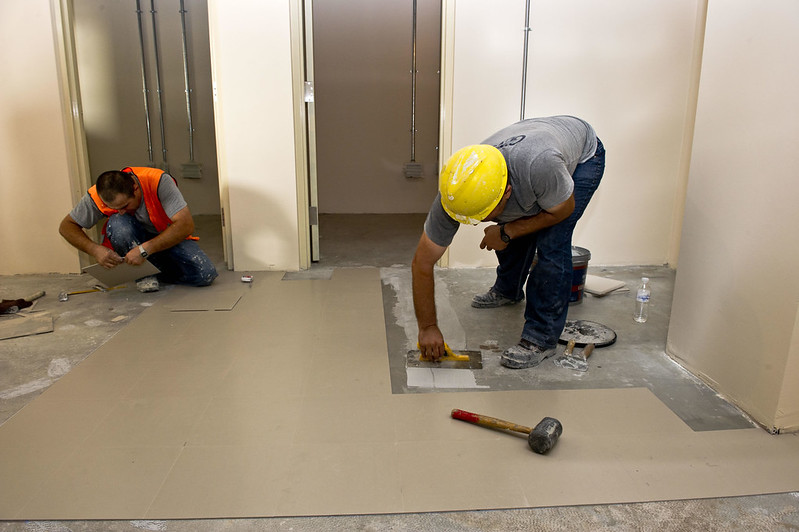
Skim Coat Over Vinyl Floor
Vinyl may be utilized for a foyer, office, kitchen, living room, bathroom, and another room. Pick inlaid vinyl flooring for traffic areas which are heavy like shopping centers, offices and schools. This means it could be fitted over uneven floors and doesn't need a backing material to soak your feet from getting exhausted. It is the next layer of vinyl flooring which causes it to be really fabulous and versatile.
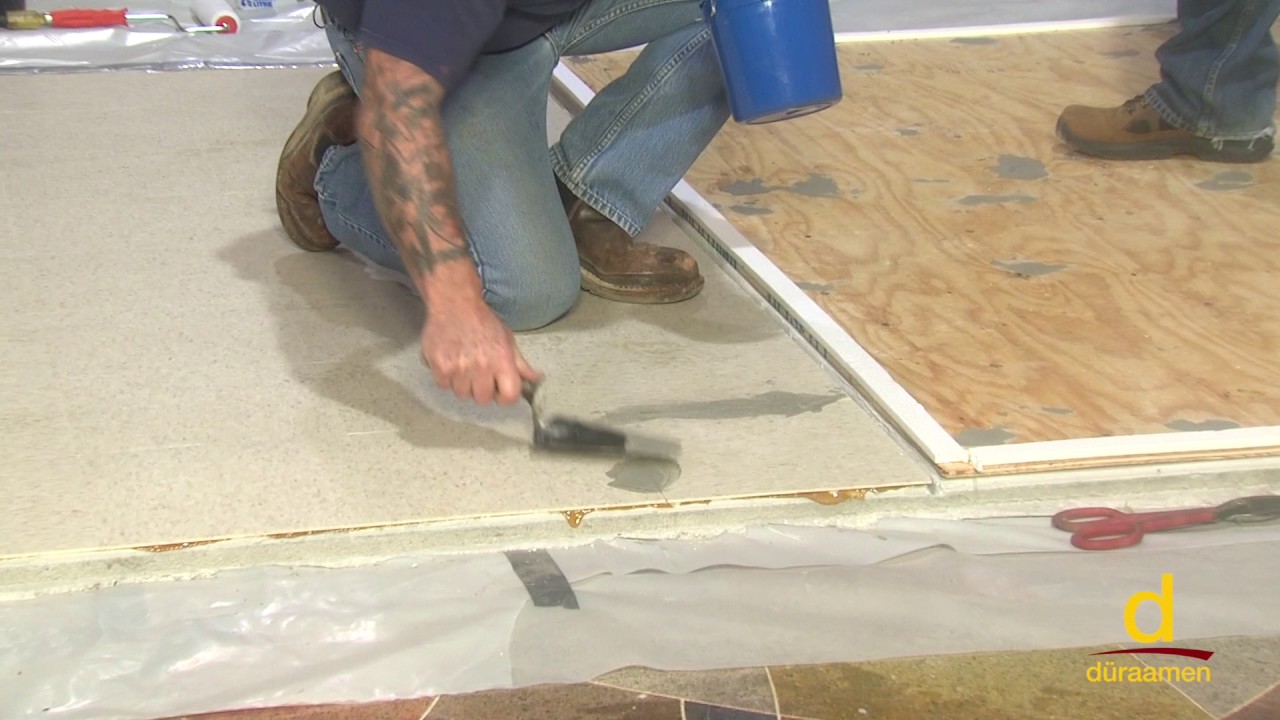
Skim Coating Floor Preparation u2014 Du0026S Flooring

You may likewise have exactly the same pattern installed in the kitchen of yours – an area where few would think about wood for because of the heavy foot traffic as well as strong likelihood of spills and stains. Quite possibly in case you are enticed to cut on costs and just DIY installation of the vinyl sheets/ tiles of yours, be pleased to hear that hiring an expert would be an obviously better option.
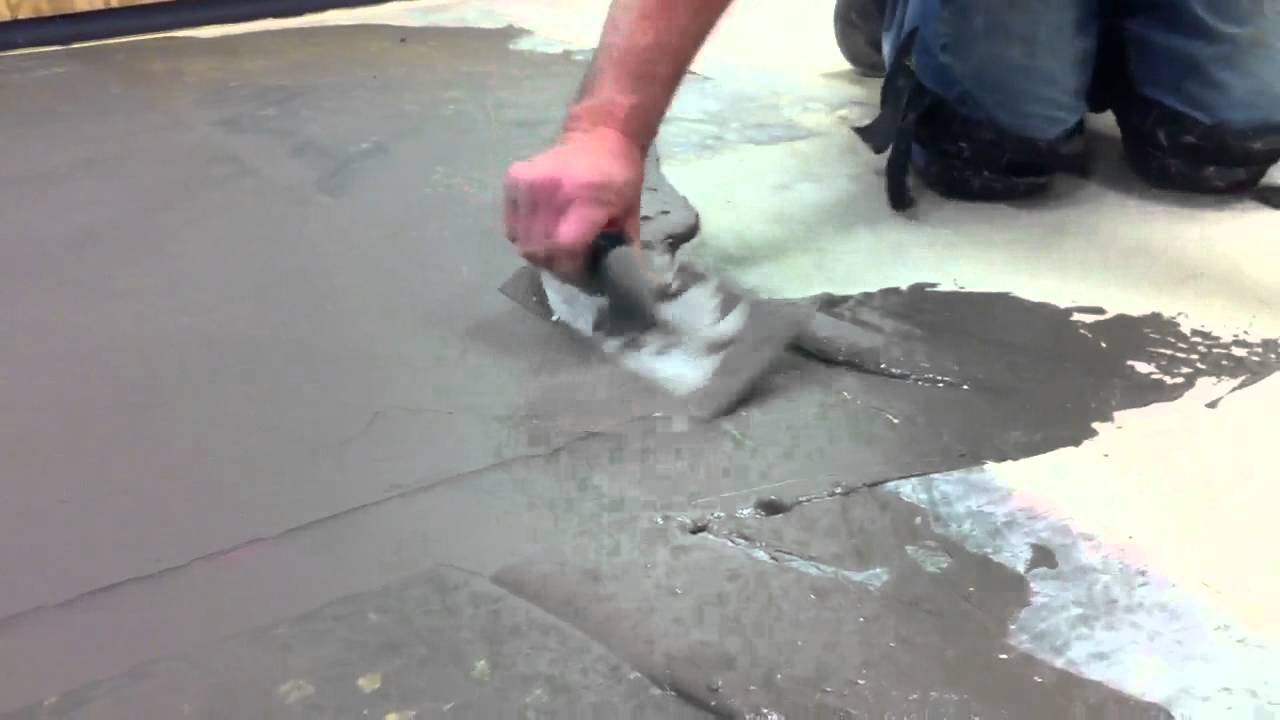
How to skim coat a floor
SKIM COAT Datasheet CTS Cement
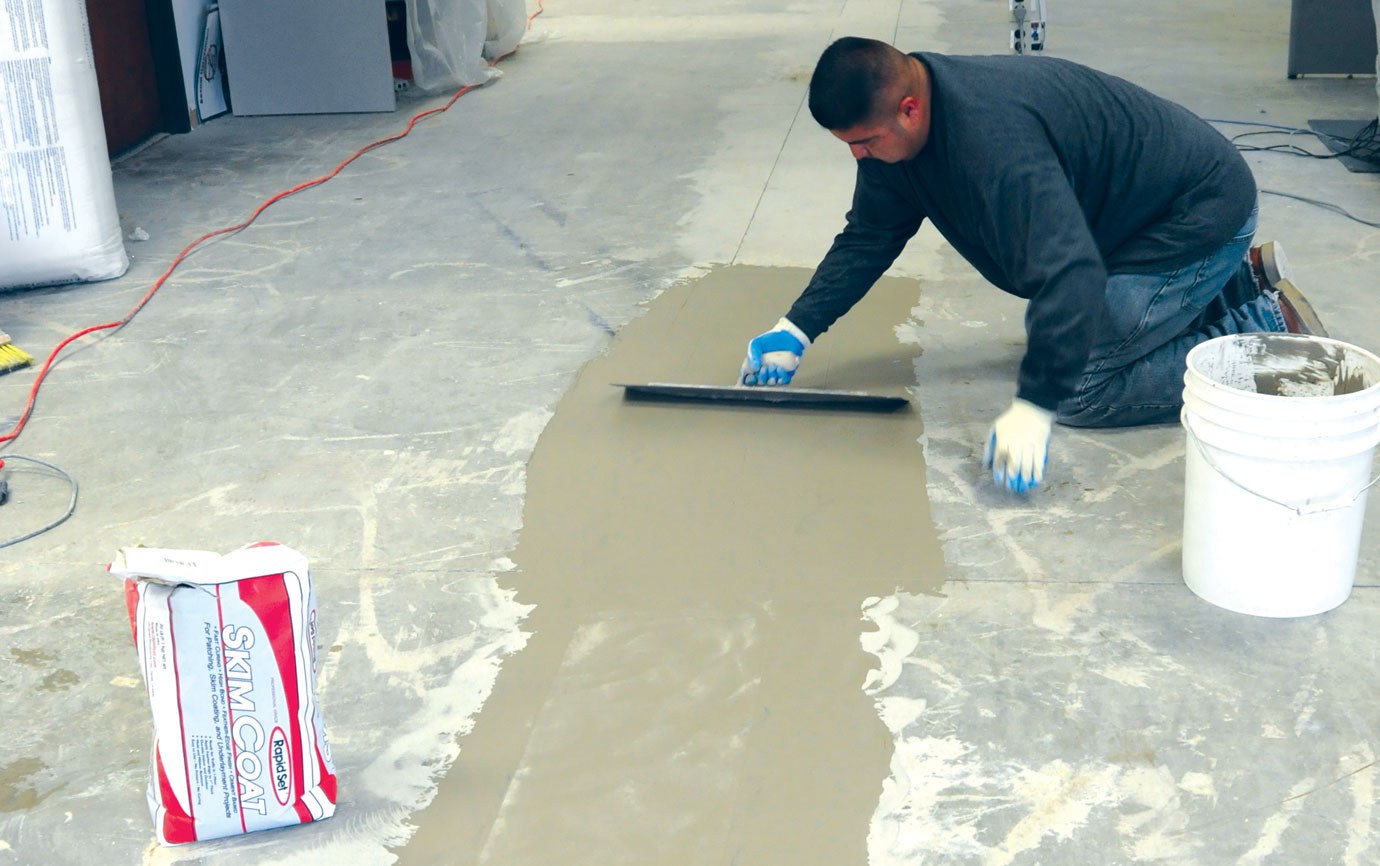
Skim Coating Floor Preparation u2014 Du0026S Flooring
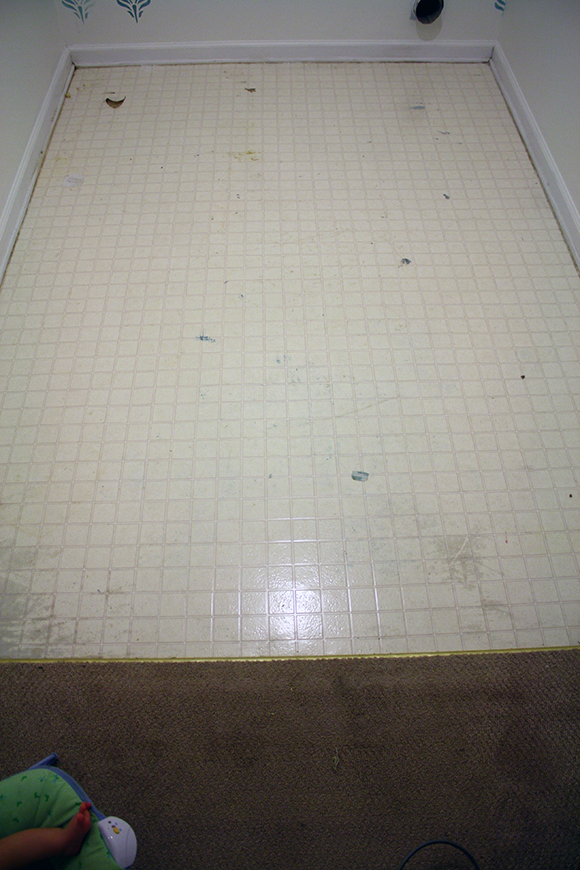
Laying Vinyl Flooring Over Vinyl Flooring – Giant Floor Scranton
Can I lay premium vinyl flooring over a tile floor? Hometalk
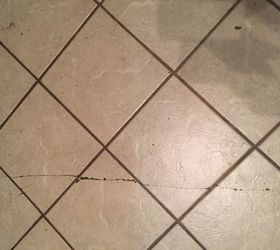
Can You Put Vinyl Flooring Over Tile? – Zothex Flooring

How to Resurface a Floor with Concrete – Semigloss Design

LVP over vinyl flooring DIY Home Improvement Forum

Prep, Prep, and More Prep: Avoiding Installation Problems in LVT

How to Encapsulate Vinyl Tile with Concrete Topping? Part 1/3
Skim coat? replace with new board?

How to Paint Vinyl or Linoleum Sheet Flooring
Related Posts:
- How To Repair Vinyl Flooring Scratches
- Copper Vinyl Flooring
- Vinyl Flooring In Bathroom
- Commercial Vinyl Flooring
- Luxury Vinyl Flooring Bedroom
- Herringbone Vinyl Floor Tiles
- Vinyl Flooring That Looks Like Wood
- Vinyl Flooring For Basement
- Toilet Vinyl Flooring
- Rustic Vinyl Flooring
Skim Coat Over Vinyl Floor: A Comprehensive Guide
Vinyl flooring is an affordable and durable choice for many homeowners, and it’s easy to install. However, over time, vinyl can start to look old and dingy. Applying a skim coat of plaster over the existing vinyl can give it a fresh new look. Skim coating is not a difficult job, but it does require some patience and attention to detail. In this guide, we’ll cover everything you need to know about skim coating over vinyl flooring.
Understanding Skim Coating
Skim coating is a process in which a thin layer of plaster is applied over a surface in order to create an even finish. Skim coating is commonly used on walls and ceilings, but it can also be used on floors. It’s particularly useful for covering up imperfections such as cracks, chips, or dents in the existing surface. Skim coating can also be used to give an old surface a fresh new look.
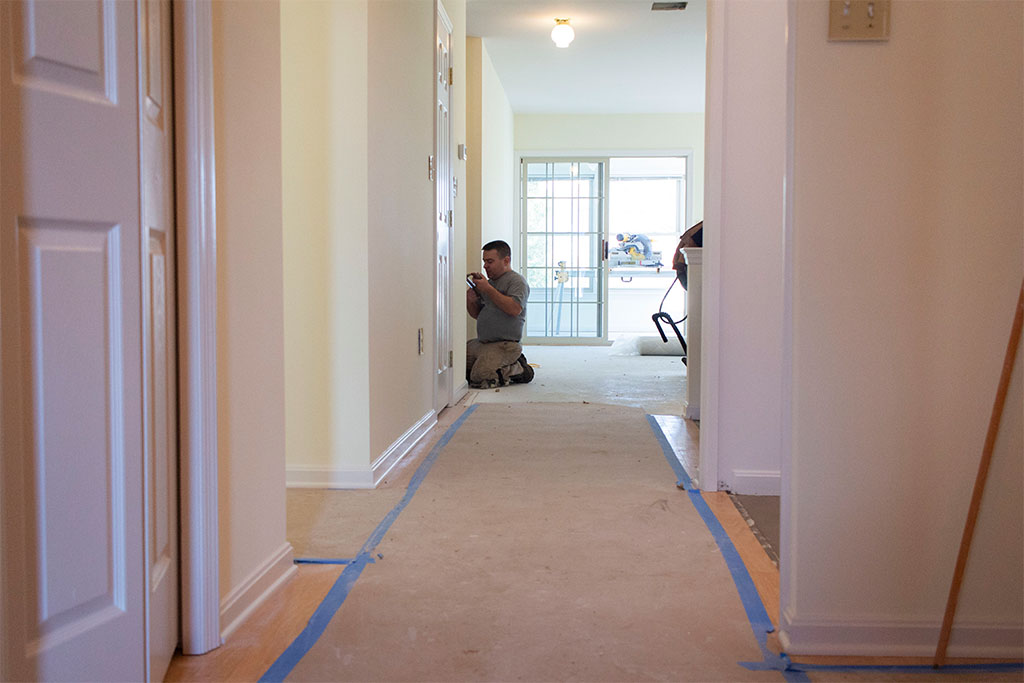
Preparing the Floor
Before you begin skim coating your vinyl floor, you’ll need to prepare the surface. Start by removing any furniture or other items from the room. Then, inspect the surface for any damage or defects that need to be repaired before you begin. If there are any imperfections, use a patching material such as spackle or drywall compound to fill them in. Make sure that the patching material is completely dry before you begin skim coating.
Once you’ve filled in any imperfections, it’s time to clean the floor. Begin by sweeping away any dirt or debris with a broom. Then, use a damp mop to thoroughly clean the entire surface. Make sure that you remove all traces of dirt and grime before you begin skim coating. Finally, make sure that the floor is completely dry before you begin working with the plaster.
Applying the Plaster
Once your floor is prepared, you can begin applying the plaster. Start by mixing up the plaster according to the manufacturer’s instructions. Use a slow-speed drill and a stirring paddle to mix up the plaster until it has reached a creamy consistency. You may need to add more water or plaster depending on how thick or thin you want your skim coat to be.
Once your plaster is mixed, it’s time to spread it out onto the floor. Use a trowel or putty knife to spread out an even layer of plaster over the entire floor surface. You may need to apply several thin layers of plaster in order to get an even finish. Allow each layer of plaster to dry completely before applying the next layer of plaster.
Smoothing Out the Plaster
Once all of your layers of plaster have been applied and dried, it’s time to smooth them out with a sanding block or power sander. Start by sanding down any uneven areas or ridges in the plaster with a coarse-grit sandpaper. Then, switch to a finer-grit sandpaper and sand down any remaining lumps or bumps in the plaster until it is smooth and even.
Finishing Touches
Once your skim coat has been smoothed out, it’s time for some finishing touches. If you want to add color or texture to your skim coat, now is the time to do so. You can use paint or stain to add color or use decorative plasters such as Venetian-style plaster for added texture. Once you’ve added any color or texture that you desire, your skim coat should be ready for foot traffic!
FAQs About Skim Coating Over Vinyl Floor
Q1: How long will my skim coat last?
A1: The lifespan of your skim coat will depend on how well you prepare the surface and apply the plaster layers. With proper care and maintenance, your skim coat should last for several years before it needs to be replaced or touched up again.