Regarding bathroom renovations, one of the essential aspects to consider is the flooring. Tiling your bathroom floor enhances its aesthetics and contributes to its functionality and durability. In this article, we will explore the importance of tiling the bathroom floor before installing a toilet, its benefits, and provide a step-by-step guide to help you achieve a successful tile installation.
Enhancing Bathroom Aesthetics and Functionality with Tiled Floors
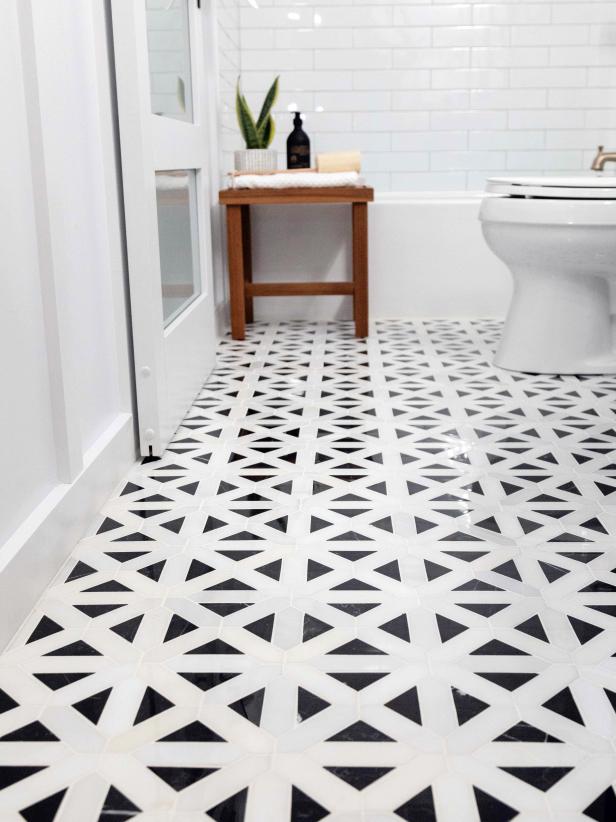
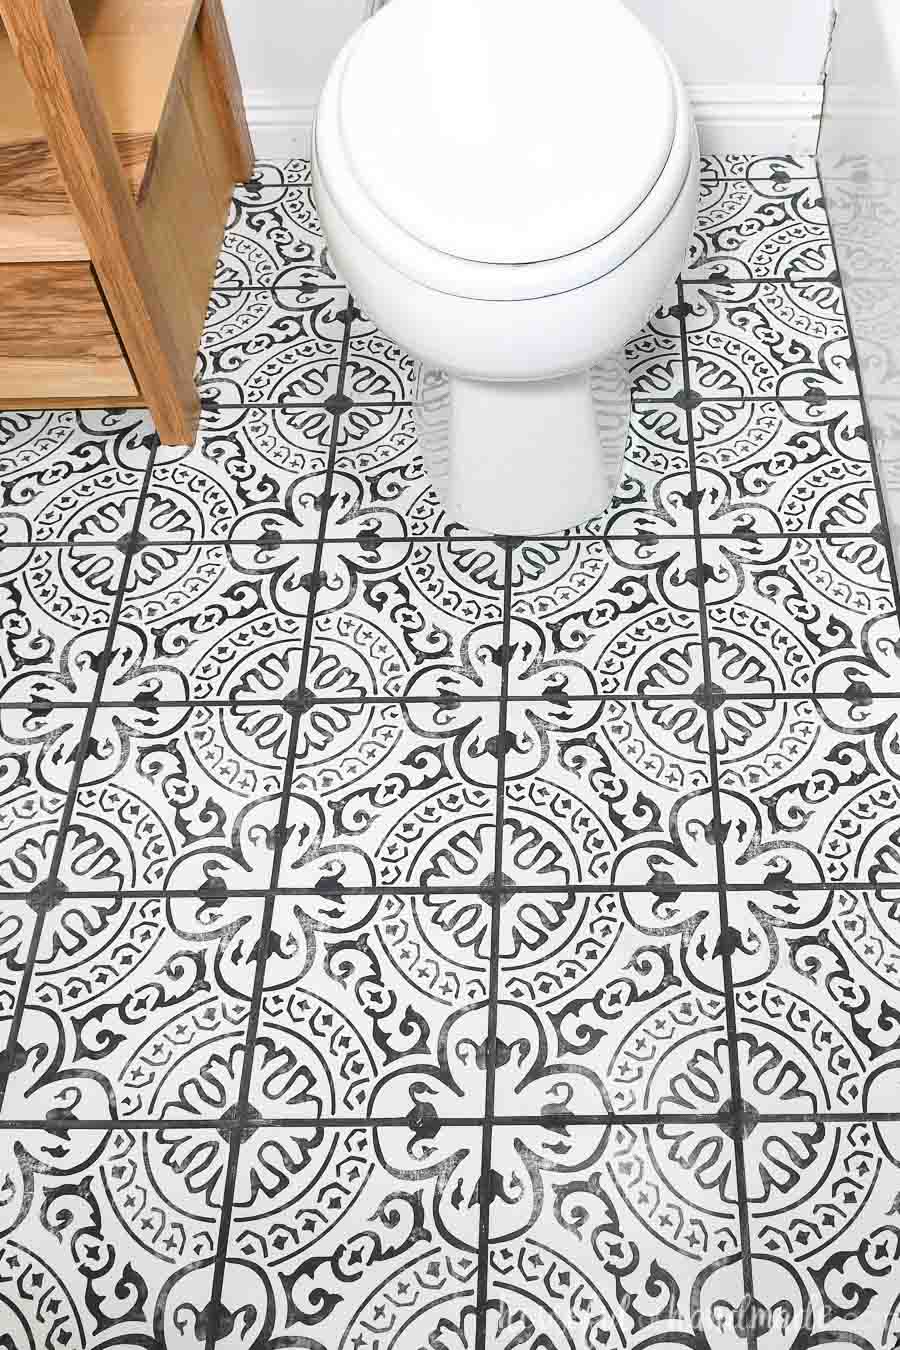
Tiled floors in the bathroom can instantly transform the space, creating a clean, stylish, and inviting environment. With a wide range of tile options available, you can choose from various designs, colors, and patterns to suit your style and complement your bathroom’s overall theme. Additionally, tiled floors are easier to clean and maintain than other flooring materials, making them a practical choice for bathrooms.
The Benefits of Tiling the Bathroom Floor Prior to Toilet Installation
Tiling the bathroom floor before installing a toilet offers several benefits that contribute to the overall functionality and longevity of your bathroom:
Seamless appearance: You achieve a seamless and cohesive look by tiling the entire bathroom floor, including the area beneath the toilet. This eliminates any unsightly gaps or uneven transitions between different flooring materials.
Easy maintenance: Tiled floors are water- and stain-resistant, making them highly durable and easy to clean. With proper sealing and regular maintenance, your bathroom floor will remain in excellent condition for years.
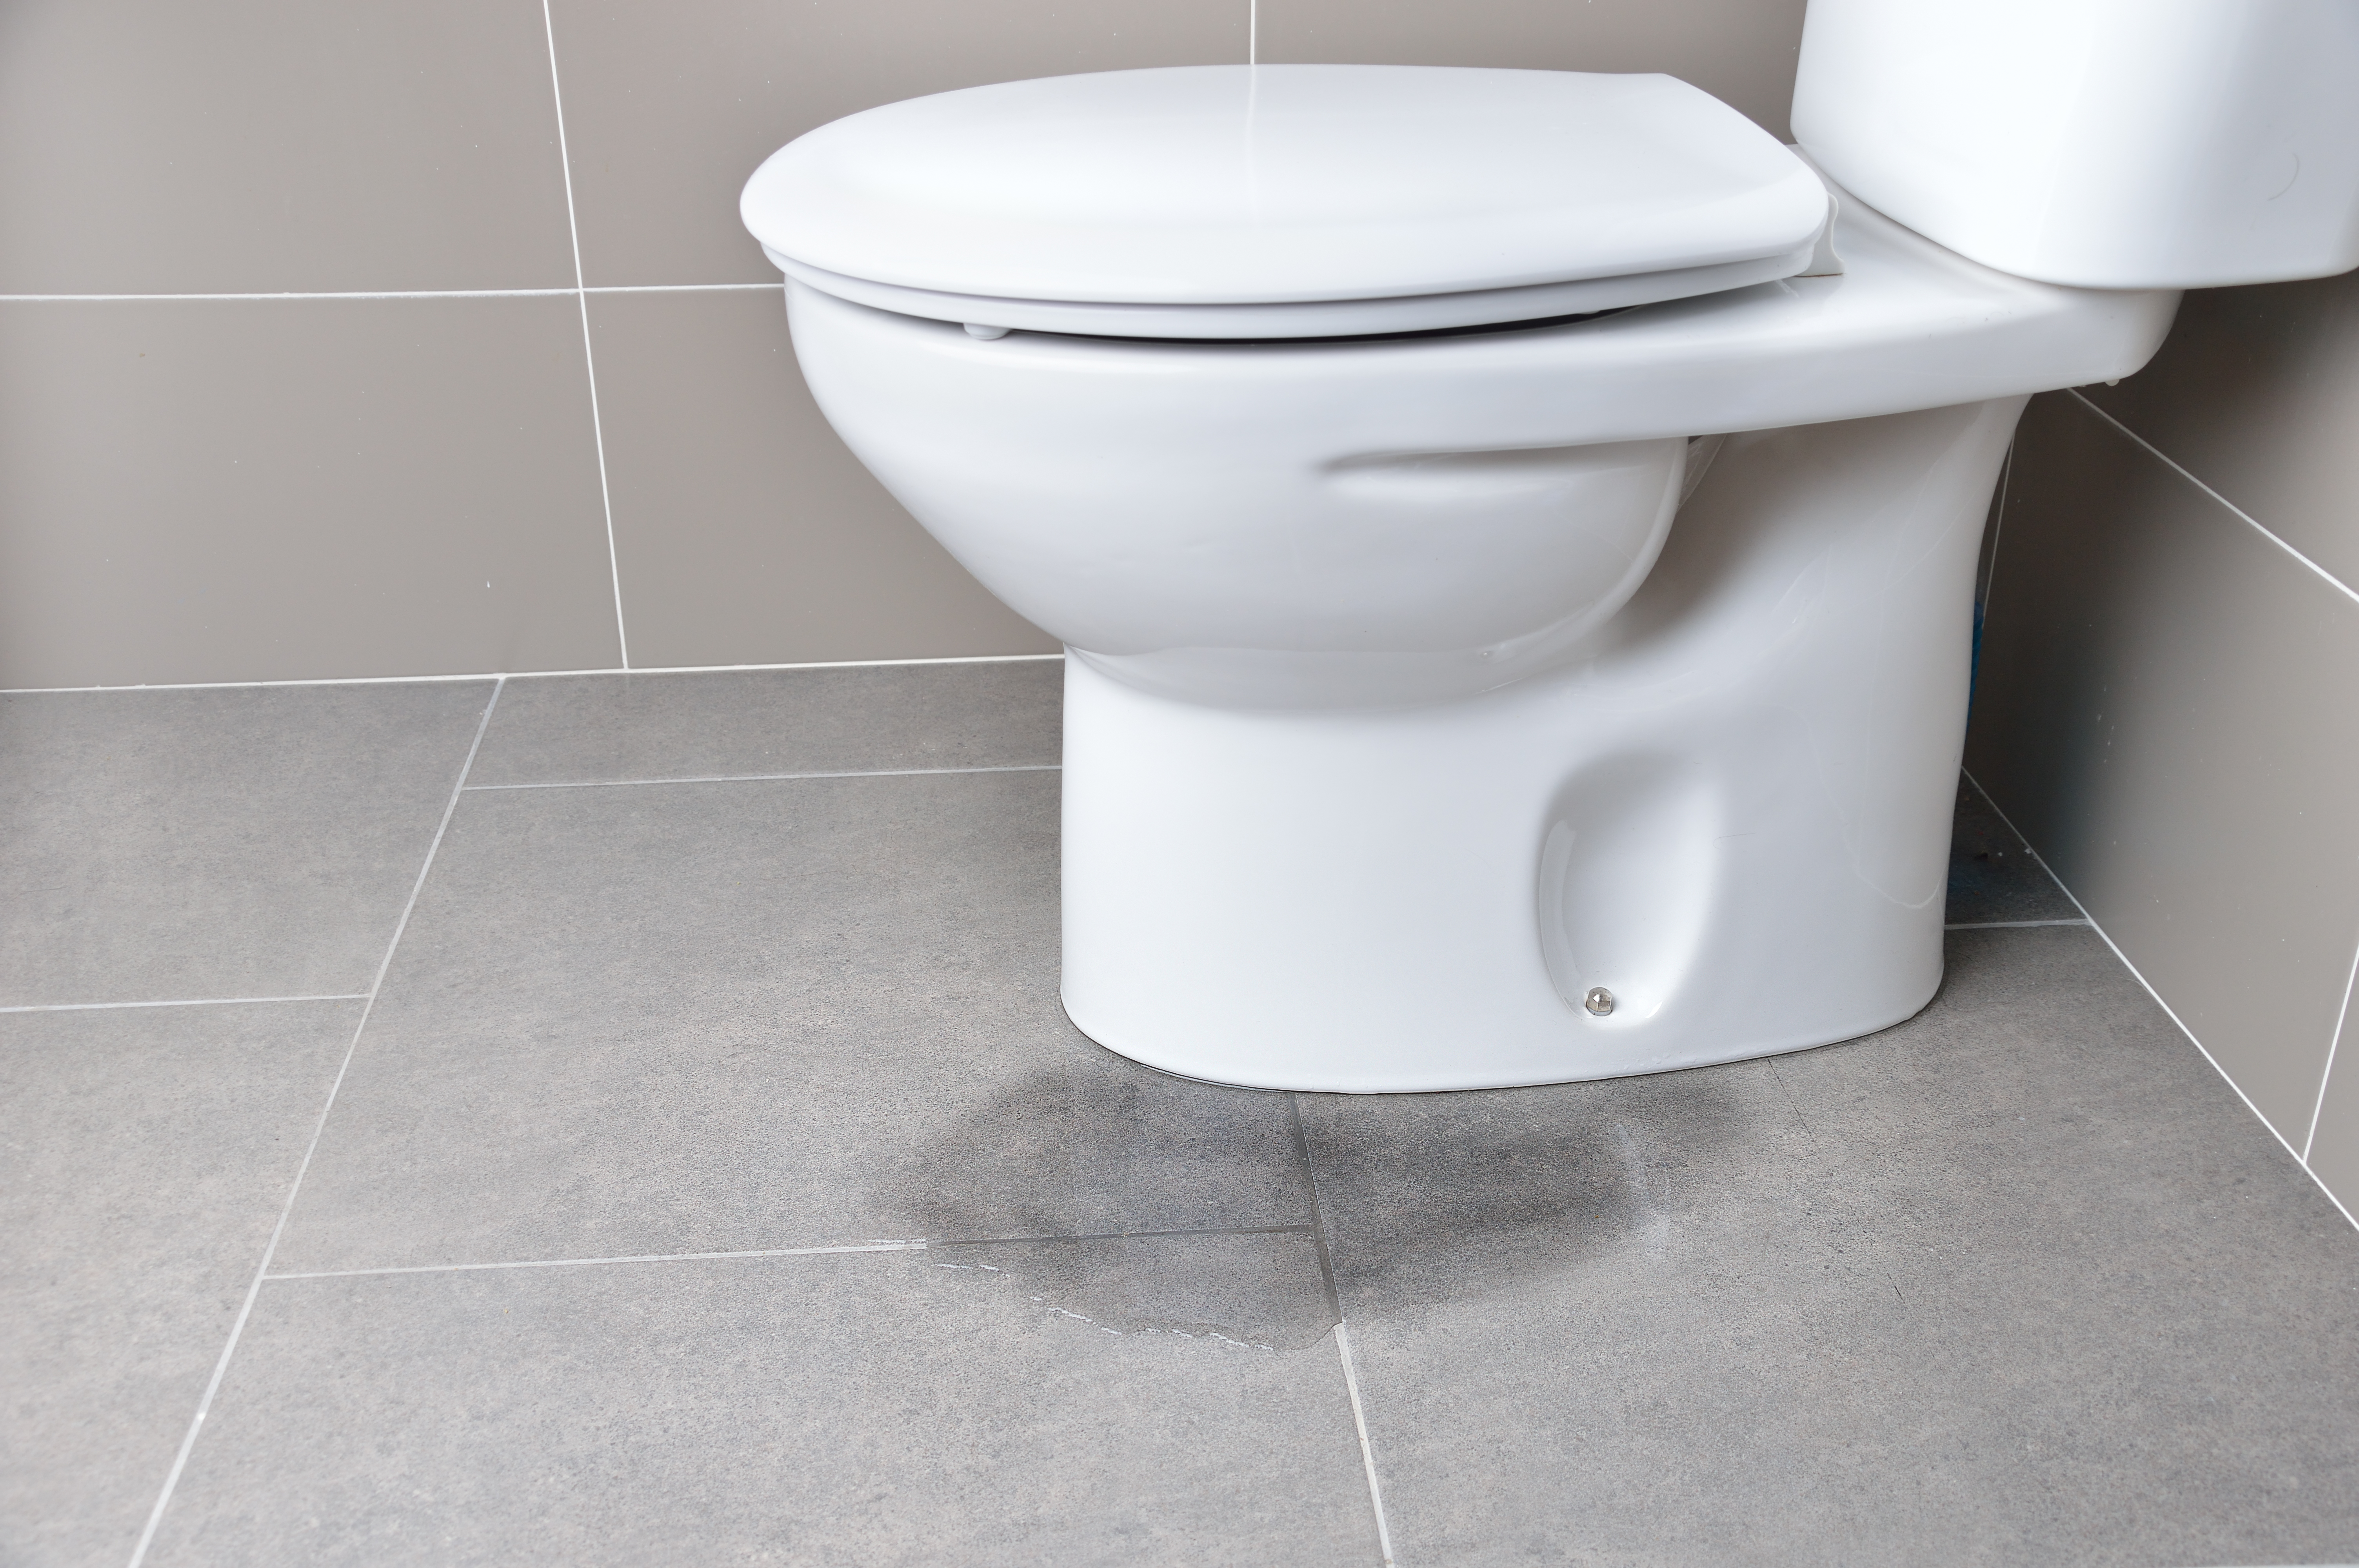
Protection against moisture: The tile acts as a protective barrier, preventing water from seeping into the subfloor and causing damage. This is particularly important in bathrooms, where water exposure is frequent.
Ensuring Proper Tile Placement and Alignment
Proper tile placement and alignment are crucial for achieving a professional and visually appealing result. When tiling the bathroom floor, it’s important to ensure the tiles are laid out evenly and symmetrically. This helps create a harmonious pattern and prevents any noticeable discrepancies.

Preparing the Bathroom Floor for Tile Installation
Before you start tiling your bathroom floor, preparing the surface properly is essential. Follow these steps to ensure a smooth and successful tile installation:
- Clean the floor: Remove any existing flooring material and thoroughly clean the subfloor to remove dust, dirt, and debris. This provides a clean and level surface for the tile installation.
- Repair any damage: Inspect the subfloor for cracks, holes, or uneven areas. Fill and repair these imperfections using suitable materials, ensuring a stable and even surface.
- Apply a waterproofing membrane: In areas prone to moisture, such as bathrooms, applying a waterproofing membrane is highly recommended. This adds an extra layer of protection against water penetration.
Step-by-Step Guide: Installing Tiles on the Bathroom Floor
Follow these steps to install tiles on your bathroom floor:
- Measure and plan: Measure the dimensions of your bathroom floor and plan the layout of the tiles. This includes determining the starting point, ensuring symmetry, and accounting for obstructions like toilets or vanities.
- Prepare the adhesive: Mix the tile adhesive according to the manufacturer’s instructions. Consistency is key, so ensure the adhesive is well-mixed and lumps-free.
- Apply the adhesive: Spread the adhesive onto the subfloor in small sections using a notched trowel. Work in manageable areas to ensure the adhesive doesn’t dry out before laying the tiles.
- Lay the tiles: Place them onto the adhesive, pressing them firmly and evenly. Use tile spacers to maintain consistent gaps between the tiles for grout application.
- Cut tiles as needed: Use a tile cutter or wet saw to cut tiles to fit around edges, corners, or obstacles. Take accurate measurements and make precise cuts for a seamless finish.
- Allow the adhesive to cure: Leave the tiles undisturbed for the recommended curing time specified by the adhesive manufacturer. This allows the adhesive to set and bond the tiles securely.
- Apply grout: Once the tiles are firmly in place, apply grout to the gaps between them. Use a grout float to spread the grout evenly and remove any excess. Allow the grout to dry according to the manufacturer’s instructions.
Expert Tips for Successful Tile Installation
Here are some expert tips to ensure a successful tile installation:
- Use the right tools: Invest in high-quality tile installation tools, including a notched trowel, tile cutter or wet saw, tile spacers, and a grout float. Using the proper tools will result in a more efficient and precise installation.
- Take your time with the layout: Carefully plan the layout of the tiles to achieve symmetry and balance. Dry-fit the tiles before applying adhesive to ensure they align correctly and create the desired pattern.
- Double-check for levelness: Regularly check the levelness of the tiles as you install them. Adjust as needed to avoid any slopes or uneven surfaces.
Tiling your bathroom floor before installing a toilet adds beauty and style to your space and enhances its functionality and durability. With a wide range of tile options available, you can customize the look of your bathroom while ensuring easy maintenance and protection against moisture. By following the step-by-step guide and incorporating expert tips, you can achieve a successful tile installation that will elevate the aesthetics and functionality of your bathroom. Create a stunning bathroom that reflects your style with tiled floors and proper toilet installation.
How Long After Laying Tile Before You Can Install a Toilet? Hunker
How to Tile a Bathroom FloorNext to Curbless Showers — by Home Repair Tutor
How to Lay a Tile Floor HGTV
Laying Floor Tiles in a Small Bathroom – Houseful of Handmade
How to Tile a Bathroom Floor
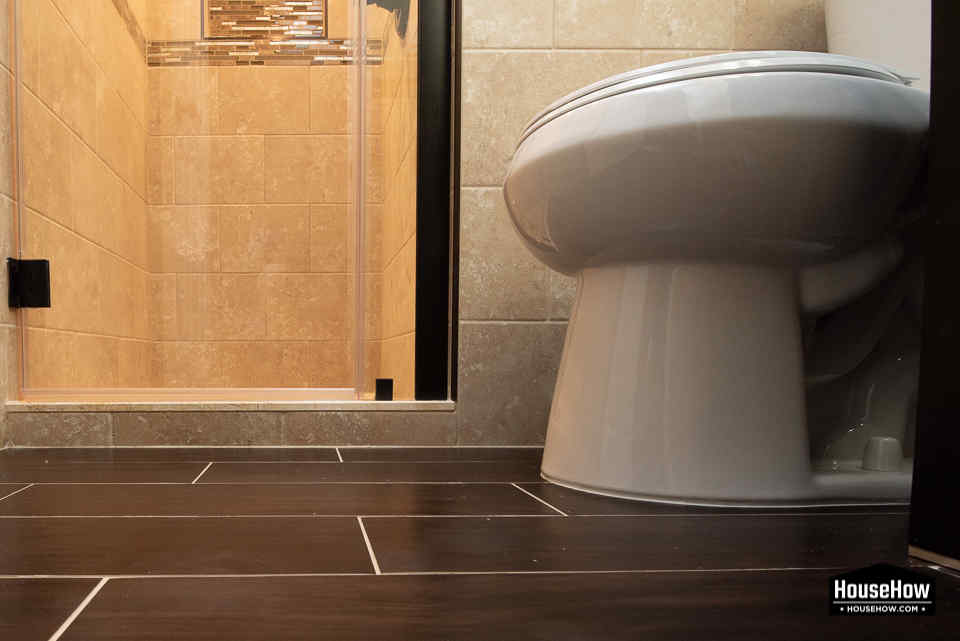
SHOULD YOU TILE AROUND OR UNDER A TOILET?
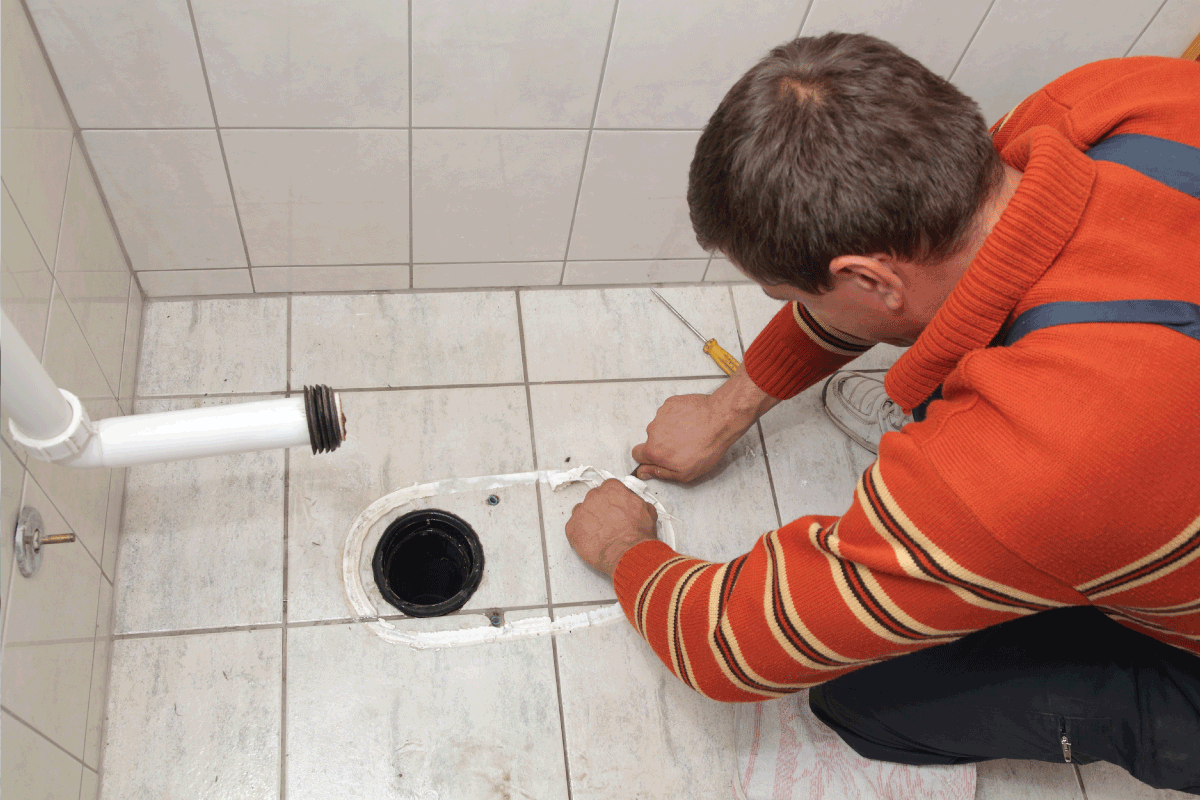
Should A Toilet Flange Go On Top Of The Tile Or Be Flush With The
How to Lay a Tile Floor HGTV
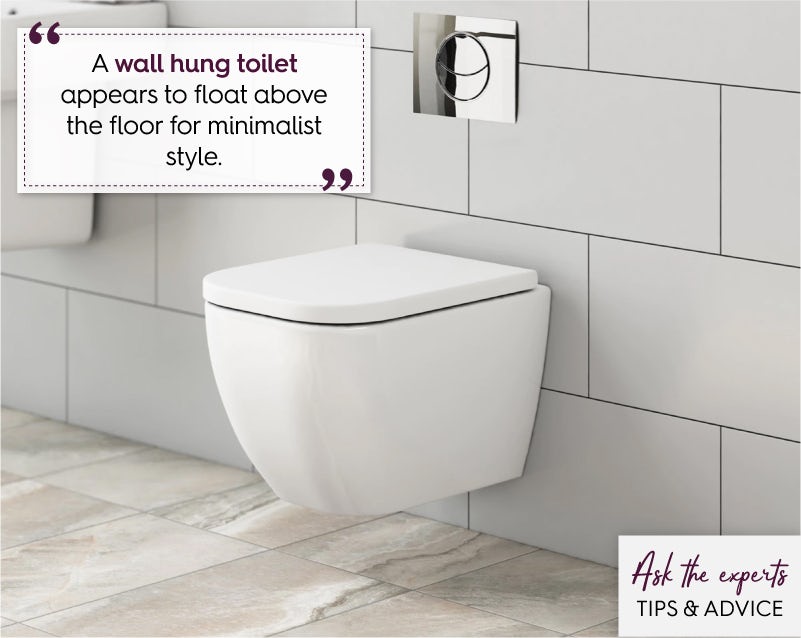
Should I fit the toilet before or after tiling the floor? Bathroom
The Best Flooring Options for Bathrooms – This Old House
Laying Floor Tiles in a Small Bathroom – Houseful of Handmade
Best Flooring for Bathrooms
Related Posts:
- White Bathroom Flooring Ideas
- Bathroom Floor Tile Grout
- Bathroom Floor Tiles
- Vinyl Flooring For Bathroom
- Craftsman Style Bathroom Floor Tile
- Bathroom Floor Non Slip
- Small Bathroom Floor Tile
- Penny Tile Bathroom Floor Ideas
- Cleaning Bathroom Floor Grout
- Warm Bathroom Flooring Ideas
How to Tile a Bathroom Floor Before Installing a Toilet
Tiling a bathroom is a great way to add style and character to your home. It can also help protect the floor from water damage. Installing a toilet on top of a tiled bathroom floor is a common practice, but it’s important to make sure the floor is properly prepared before doing so. In this article, we’ll discuss the steps you need to take to tile a bathroom floor before installing a toilet.
Preparing the Floor for Tiling
The first step in tiling a bathroom floor is preparing the surface. This involves cleaning the area and removing any existing fixtures or tiles that may be in the way. Once the area is clear, you’ll want to check for any signs of water damage or mold. If either of these are present, they should be addressed before tiling begins.
Next, you’ll need to make sure the floor is level and free from any bumps or dips that could prevent tiles from lying flat. You can use a level or straight edge to check for this. If there are any irregularities, they should be filled in with a self-leveling compound before tiling begins.
Choosing the Right Tile
Once the floor is prepped and ready for tiling, it’s time to choose the right tile for your project. When choosing tiles for a bathroom floor, it’s important to select ones that are slip-resistant and water-resistant. You’ll also want to choose tiles that are durable and easy to clean. Natural stone and ceramic tiles are popular choices for bathroom floors, but there are many other options available as well.
Laying Out the Tiles
Once you’ve chosen your tiles, it’s time to lay them out on the floor. Start in one corner of the room and work your way outwards from there. Make sure each tile is level and evenly spaced before moving onto the next one. You may also want to use spacers or wedges to ensure that each tile is even with its neighbor. This will help create an even finished look when you’re done tiling.
Applying Adhesive
Once all of your tiles are laid out, it’s time to apply adhesive to hold them in place. There are several types of adhesive available for tiling projects, so it’s important to choose one that is appropriate for your specific tiles and conditions. Read the instructions carefully before applying the adhesive and follow them closely. Once the adhesive has been applied, you’ll need to wait for it to set before continuing with the next step.
Grouting
Once the adhesive has had time to set, you can begin grouting the tiles into place. Grout is a mixture of sand and cement that helps seal the tiles and prevents water from seeping through them. When applying grout, make sure you’re using enough pressure so that it gets into all of the crevices between each tile. After grouting has been completed, you’ll want to let it dry completely before moving onto the next step.
Sealing
Once all of your tiles have been grouted and allowed to dry completely, it’s time to seal them. Sealing helps protect your tiles from water damage and makes them easier to clean in the future. There are several types of sealant available, so make sure you choose one that is appropriate for your particular type of tile before applying it. Follow the instructions carefully when applying sealant and allow it plenty of time to dry before moving on with your project.
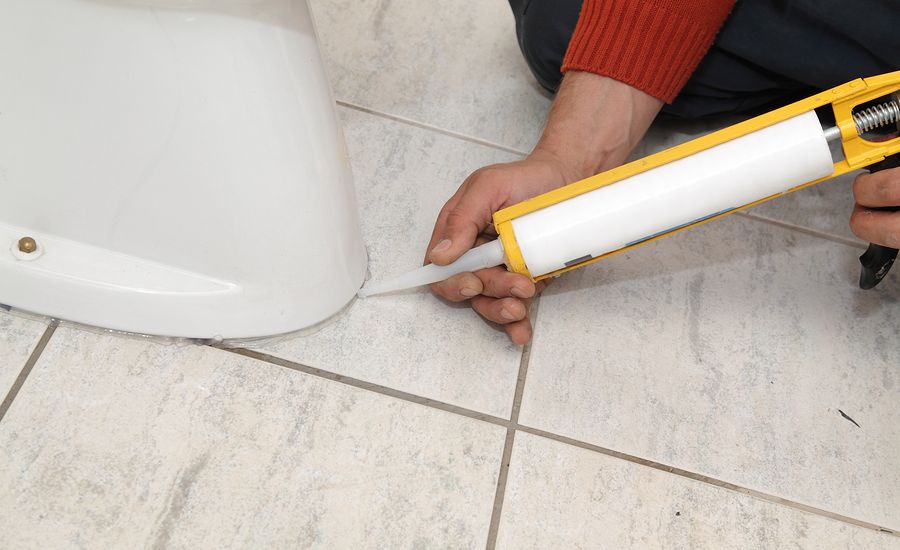
Installing Toilet on Tiled Floor
Once all of these steps have been completed, you can finally install your toilet on top of your newly tiled floor! Make sure you have all of your supplies ready before beginning this process and read all instructions carefully before starting. It’s important to make sure that all bolts are securely tightened down so that there won’t be any shifting when someone sits on the toilet seat. Once everything is in place, you can now enjoy your newly tiled bathroom floor!
FAQs About Tiling A Bathroom Floor Before Installing A Toilet

/BathroomTileFloor-092a6b5be9a843e69b583431fa59c5d7.jpg)
:no_upscale()/cdn.vox-cdn.com/uploads/chorus_image/image/66476967/20_master_bath.7.jpg)
/top-bathroom-flooring-options-1821353-08-10a210908a09459cb96b9313f1d7fde0.jpg)