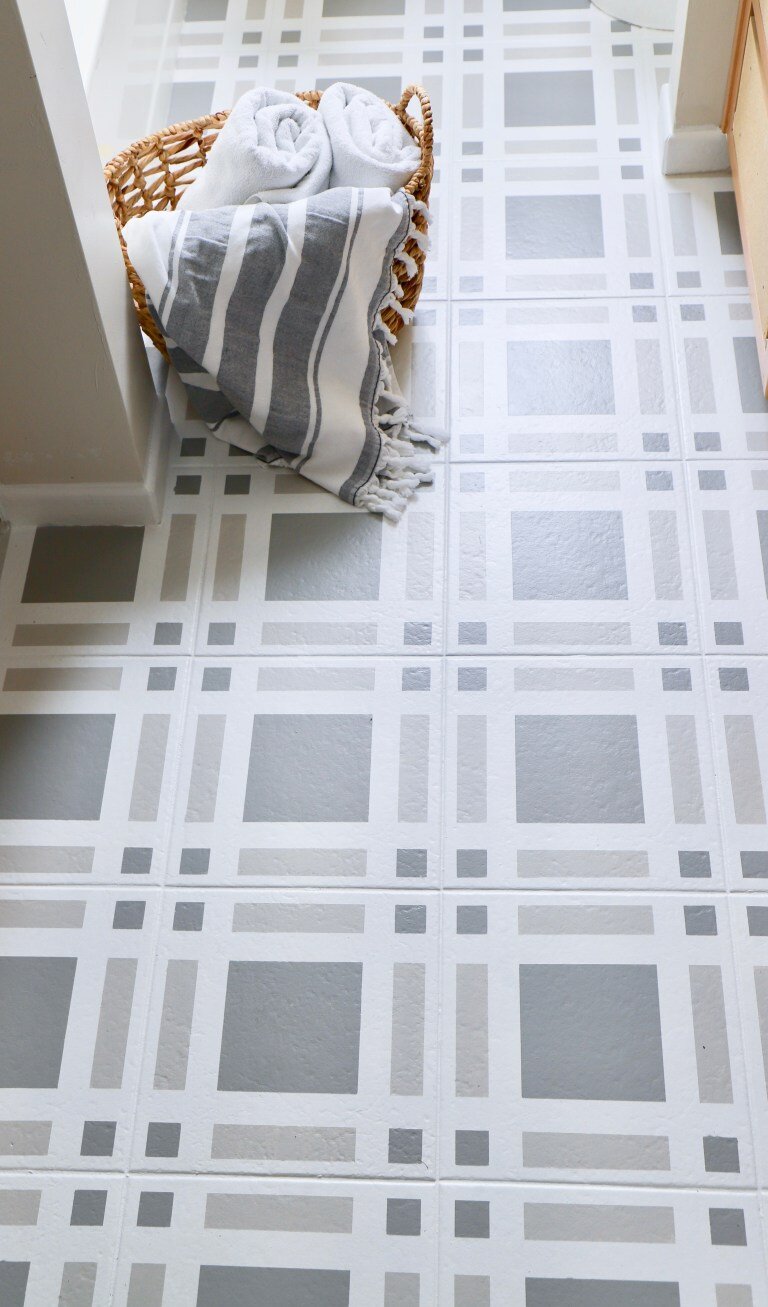
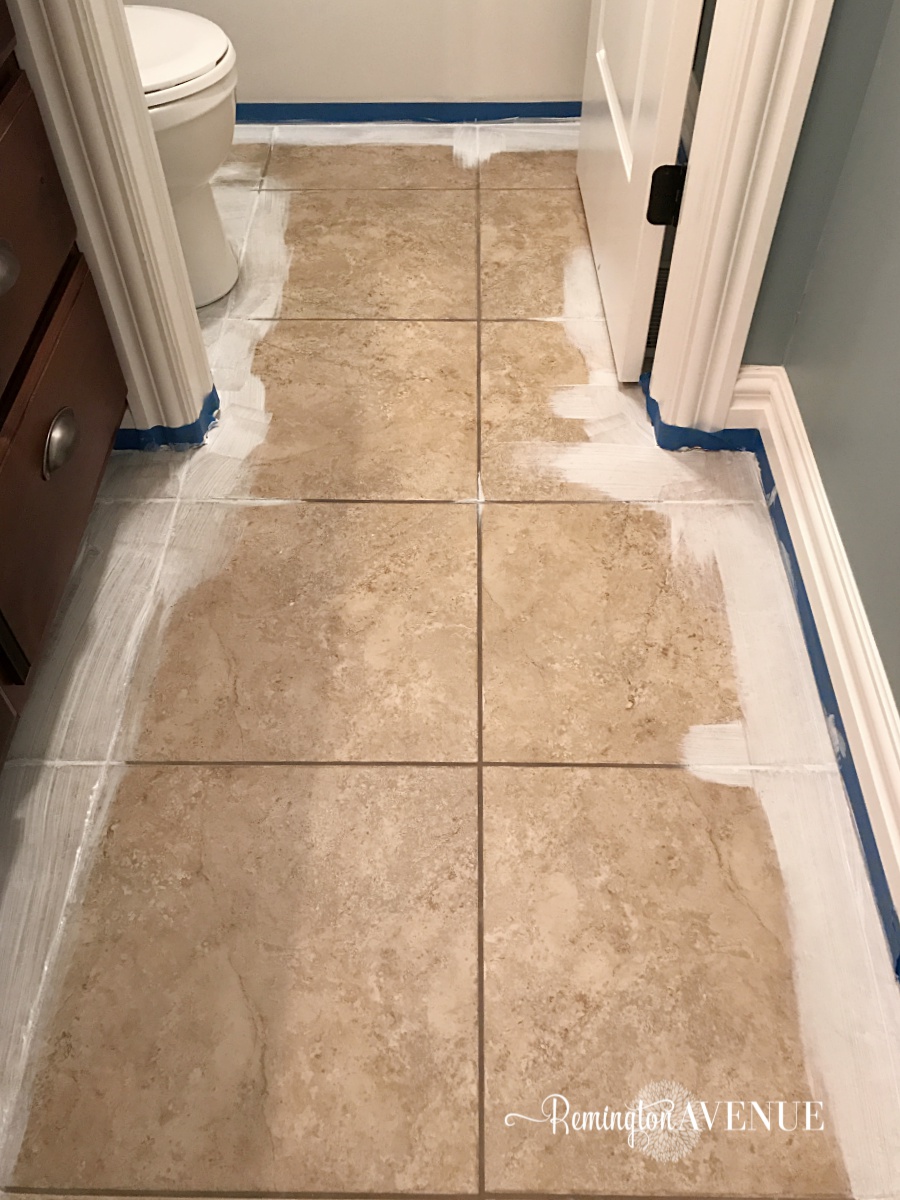
The Art of Transforming Tile Floors with Paint
Painting tile floors might sound unconventional, but it’s a powerful way to refresh your space without the cost or hassle of replacing tiles. I’ve discovered that with the right techniques and a little creativity, you can completely transform a room, making your floors a focal point rather than an afterthought.
- Instant Makeover at a Fraction of the Cost
One of the biggest advantages of painting tile floors is the cost-effectiveness. Replacing tile floors can be expensive, especially when you factor in the cost of materials, labor, and potential unforeseen issues like damaged subfloors. With paint, you can achieve a brand-new look for a fraction of the price. This makes it an ideal solution for those on a budget or anyone looking to update their space quickly and affordably. - Versatility in Design Choices
Painting your tile floors opens up a world of design possibilities. Whether you prefer a minimalist look, vibrant patterns, or something more intricate like faux stone or marble, paint gives you the flexibility to experiment with different styles. You can even create custom designs that reflect your personality, making your floors truly one-of-a-kind. - Reviving Old and Outdated Tiles
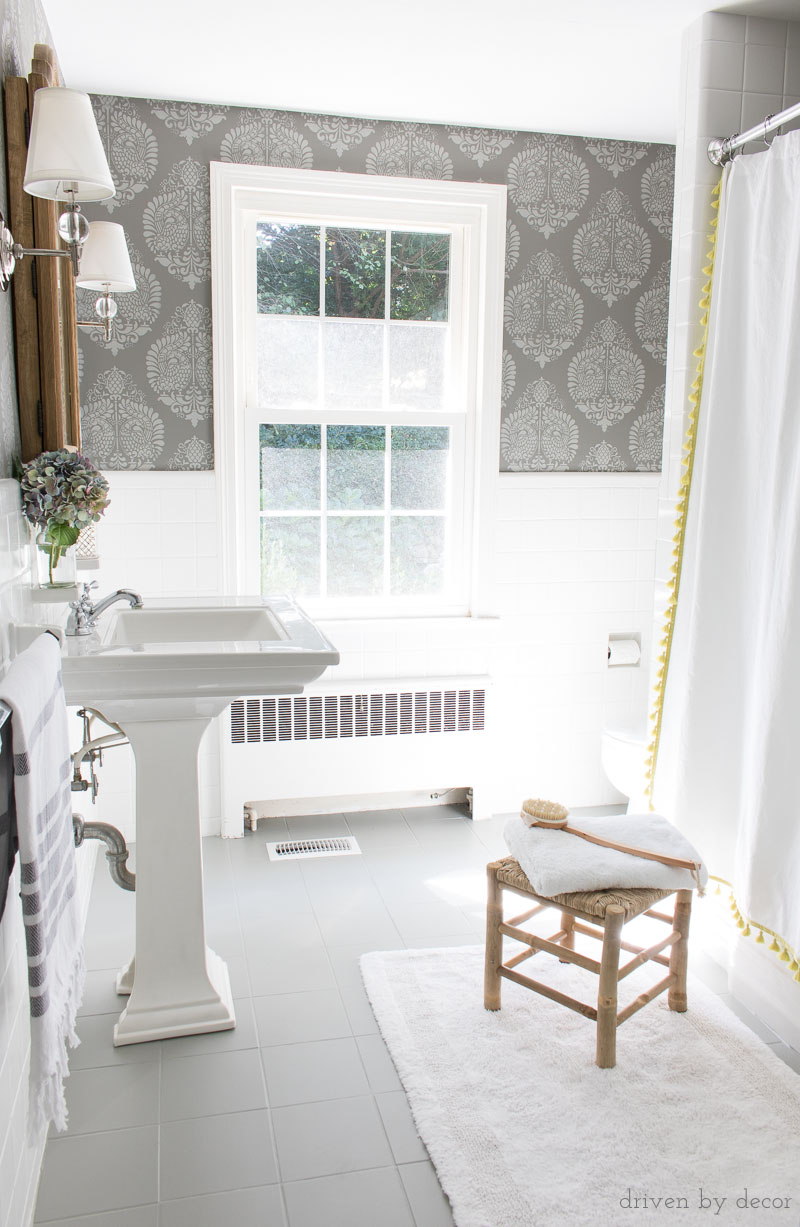
If you’re dealing with old, outdated tiles that you simply can’t stand to look at anymore, painting is a great way to revive them. Instead of enduring the sight of those dated patterns or colors, you can give them a fresh, modern update. This is especially useful in spaces like bathrooms and kitchens, where tiles are often a prominent feature. - Eco-Friendly Renovation Option
Another benefit I’ve noticed is that painting tile floors is an eco-friendly alternative to replacing them. By keeping your existing tiles and simply giving them a new finish, you’re reducing waste and minimizing the environmental impact of your renovation. It’s a win-win situation: you get a beautiful new floor, and the planet benefits too. - Quick and Relatively Easy Process
The process of painting tile floors is surprisingly quick and straightforward. With the right preparation and materials, you can complete a project in just a few days. While it does require some attention to detail—especially when it comes to cleaning and priming the tiles—it’s a manageable DIY project even for beginners. - Long-Lasting Results with Proper Care
When done correctly, painted tile floors can be quite durable. With the right type of paint and a good sealant, your new floors can withstand the daily wear and tear of busy households. Plus, if you ever want to change up the look again, you can easily repaint them in the future.

Choosing the Right Paint and Tools for Your Tile Floor Project
Choosing the right paint and tools is crucial for a successful tile floor painting project. I’ve learned that not all paints are created equal, and the tools you use can make or break your results. Here’s a guide to help you pick the best materials for your project.
Understanding Tile-Friendly Paints
Not all paints work well on tile, so it’s important to choose a product designed for this purpose. Epoxy paint is often recommended for tile floors because it adheres well and provides a durable finish. You can also use high-quality latex or acrylic paint, but make sure it’s specifically formulated for floors to ensure longevity.
The Importance of Primer
Primer is your best friend when painting tile floors. It helps the paint adhere better and ensures a smooth finish. I recommend using a bonding primer, which is designed to stick to hard-to-coat surfaces like tile. This step is essential for avoiding peeling and chipping down the road.
Essential Tools for a Flawless Finish
The tools you use can have a big impact on your results. For a smooth, even application, I’ve found that foam rollers are ideal for large areas, while angled brushes work well for corners and edges. You’ll also need painter’s tape to protect areas you don’t want to paint and sandpaper to rough up the surface of the tiles before priming.
Choosing the Right Sealant
A good sealant is crucial for protecting your painted tile floors. Polyurethane sealants are a popular choice because they provide a durable, clear finish that can withstand heavy foot traffic. Make sure to choose a water-based sealant for indoor projects to avoid yellowing over time.
Testing Your Paint Choices
Before committing to a color or pattern, I always recommend testing your paint choices on a small, inconspicuous area of the floor. This allows you to see how the paint adheres to the tile and how the color looks in your space. It’s better to discover any issues early on than after you’ve painted the entire floor.
Investing in Quality Materials
While it might be tempting to go for the cheapest options, investing in high-quality paints, primers, and tools will pay off in the long run. Better materials provide better coverage, a more professional finish, and longer-lasting results. It’s worth spending a little extra to ensure your hard work doesn’t go to waste.
Creative Pattern Ideas to Elevate Your Tile Floor
One of the most exciting aspects of painting tile floors is the opportunity to get creative with patterns. Whether you’re looking to add a subtle touch of elegance or make a bold statement, there’s a pattern out there that will elevate your space. Here are some of my favorite ideas.
Classic Geometric Patterns
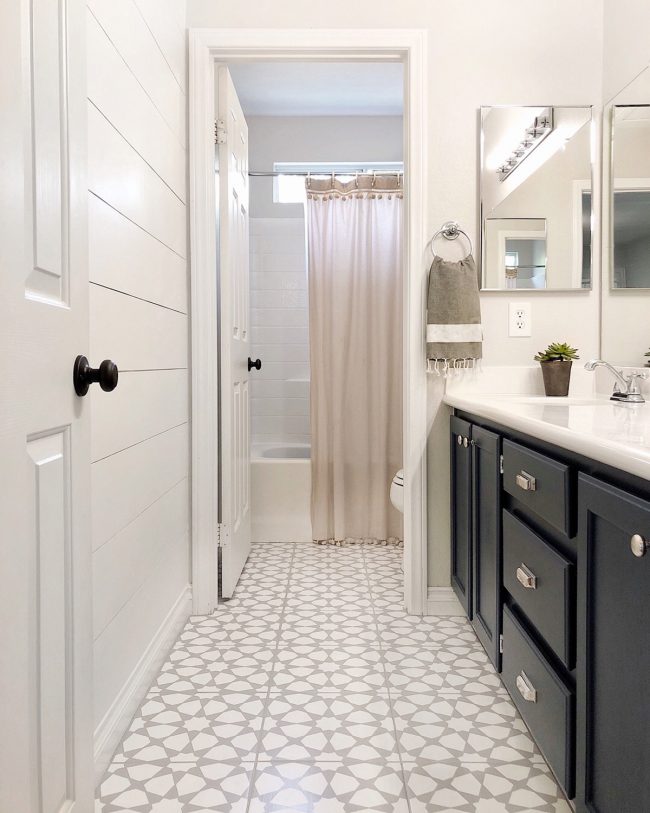
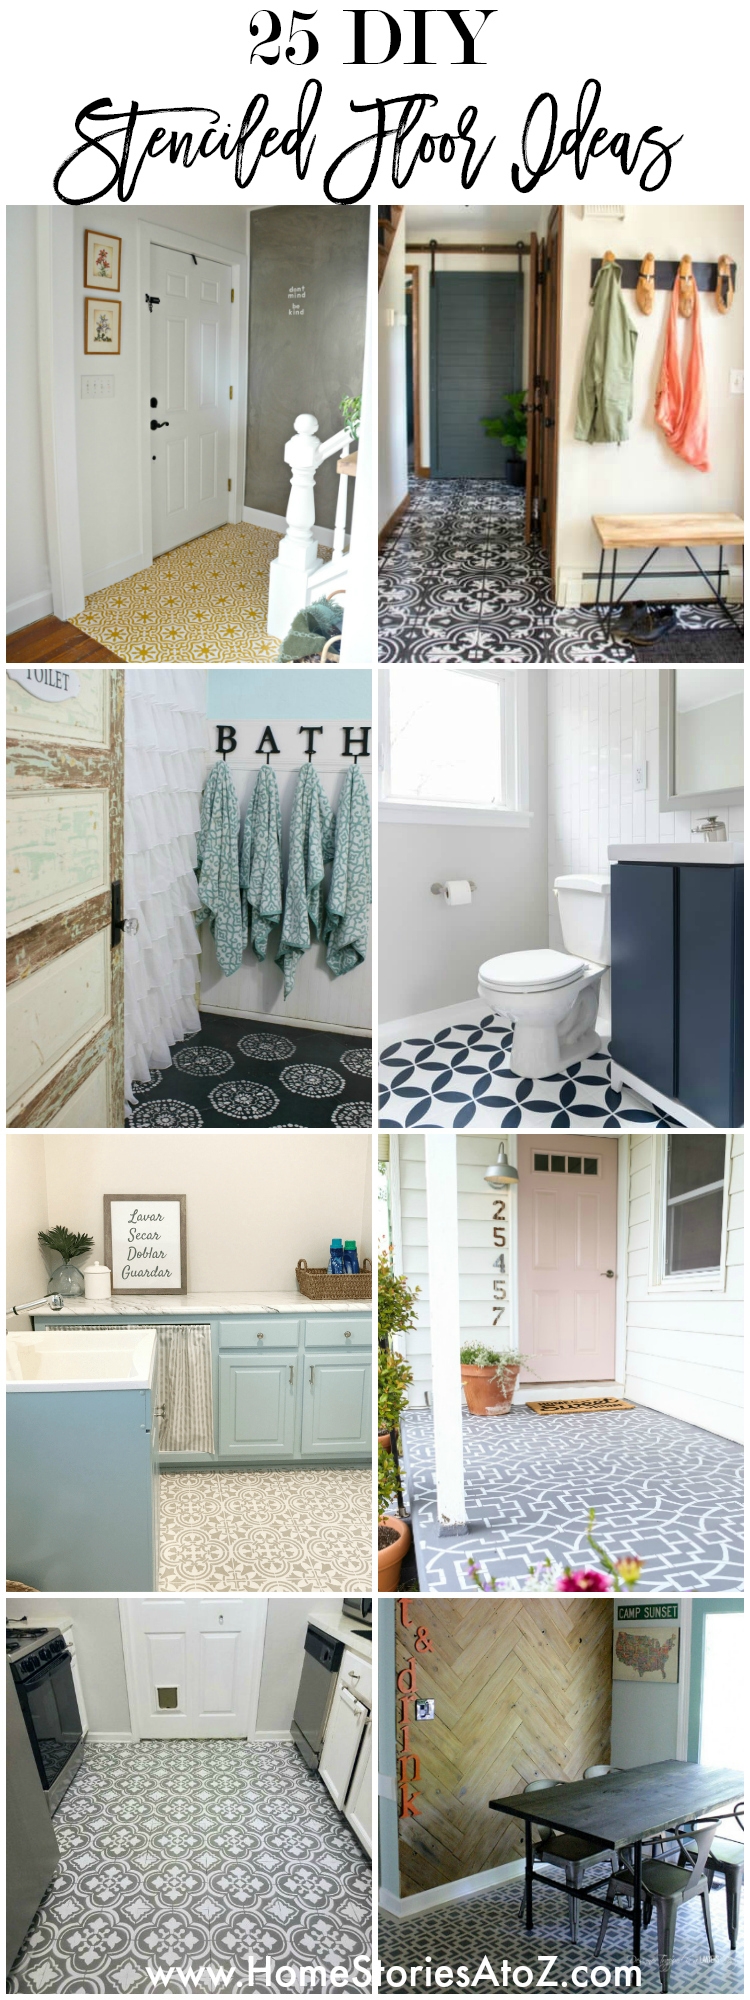
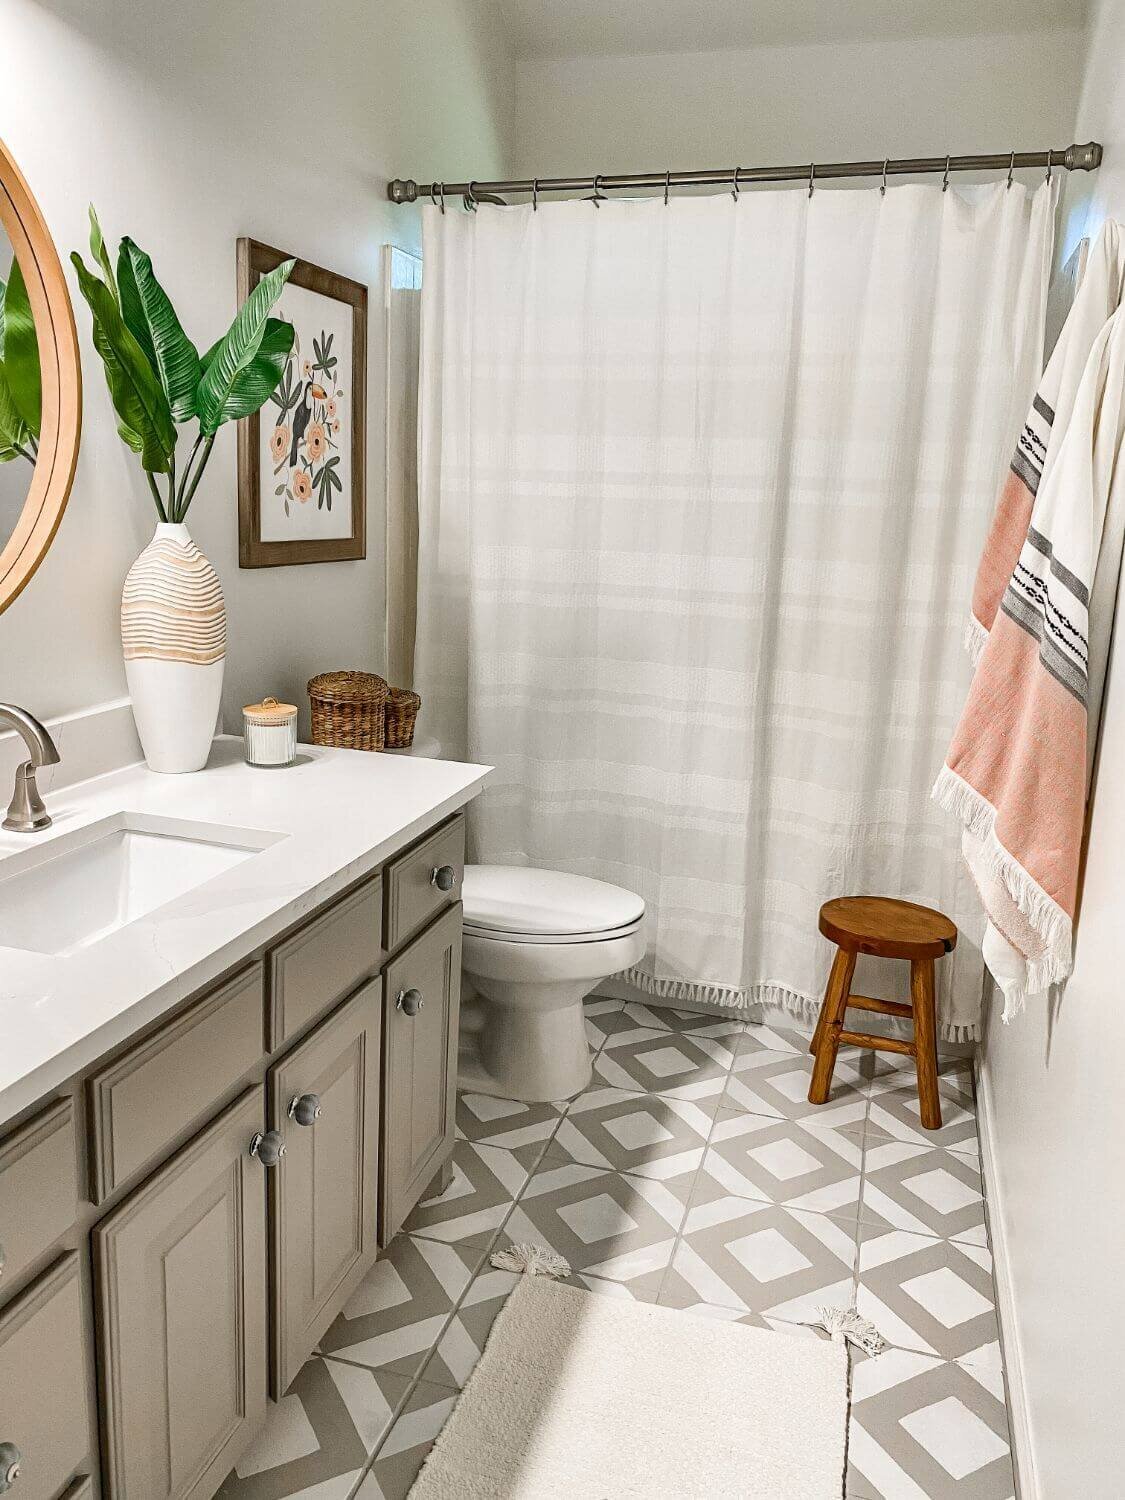
Geometric patterns are a timeless choice that can instantly modernize a space. I love how versatile they are—you can go for simple, clean lines or something more complex like hexagons or diamonds. A black-and-white geometric pattern, for example, can create a striking, contemporary look.
Elegant Stenciled Designs
Stenciling is a great way to achieve intricate designs without the difficulty of freehand painting. You can find stencils in a variety of styles, from Moroccan-inspired motifs to delicate floral patterns. This technique allows you to add a touch of elegance to your floors, creating a truly unique custom look.
Bold Checkerboard Floors
Checkerboard floors are a classic design that never goes out of style. I’ve always admired how this pattern can make a room feel both chic and playful. Whether you choose traditional black and white or mix it up with different colors, a checkerboard floor is sure to make a statement.
Faux Stone or Marble Effects
If you’re looking to mimic the look of expensive materials without the cost, consider painting your tiles to resemble stone or marble. With the right technique, you can create a stunning faux finish that adds a touch of luxury to your space. I’ve found that this approach works especially well in bathrooms and kitchens.
Whimsical and Playful Patterns
For those who love a bit of whimsy, playful patterns like polka dots, stars, or even abstract designs can bring a fun, energetic vibe to your home. This is a great option for kids’ rooms, playrooms, or any space where you want to inject a bit of personality.
Herringbone and Chevron Patterns
Herringbone and chevron patterns are both sophisticated and visually interesting. These patterns can add a sense of movement and depth to a room, making it feel larger and more dynamic. I’ve seen them work beautifully in both traditional and modern settings.
Color Combinations That Make a Statement
The colors you choose for your painted tile floors can have a huge impact on the overall feel of your space. Whether you’re going for something bold and dramatic or soft and subtle, the right color combination can make all the difference. Here are some ideas to inspire you.
Monochromatic Schemes for a Sleek Look
Monochromatic color schemes involve using different shades of the same color to create a cohesive, elegant look. I love how this approach can make a room feel more unified and sophisticated. For example, varying shades of gray can create a chic, modern aesthetic that’s both understated and stylish.
High-Contrast Pairings for Dramatic Effect
If you want to make a bold statement, high-contrast color pairings are the way to go. Think black and white, navy and gold, or deep green and soft pink. These combinations can create a striking visual impact, adding drama and excitement to your floors.
Soft Pastels for a Calming Atmosphere
Pastels are perfect for creating a soft, calming atmosphere in your home. I’ve found that shades like mint green, blush pink, or pale blue can make a room feel more serene and inviting. Pastel floors can work particularly well in bedrooms, nurseries, or any space where you want to promote relaxation.
Bold Primary Colors for a Playful Vibe
Primary colors—red, blue, and yellow—are a fun and playful choice for tile floors. They’re great for spaces like kitchens, playrooms, or any area where you want to inject a bit of energy and joy. I’ve seen bold primary colors used to create vibrant, eye-catching patterns that really stand out.
Earthy Tones for a Natural Look
Earthy tones like terracotta, olive green, and warm beige can create a natural, grounded look in your home. These colors are perfect for creating a cozy, welcoming atmosphere. I’ve always appreciated how earthy tones can make a space feel more connected to the outdoors, bringing a sense of warmth and comfort.
Metallic Accents for a Luxurious Touch
For a touch of glamour, consider incorporating metallic accents into your tile floor design. Gold, silver, and copper can add a luxurious, reflective quality to your floors, making them feel more opulent. I’ve found that metallic accents work beautifully in combination with darker colors, adding a bit of sparkle and sophistication.
Step-by-Step Guide to Painting Your Tile Floor
Painting your tile floors might seem daunting, but with the right preparation and process, it’s a manageable project that can yield stunning results. Here’s a step-by-step guide based on my experience to help you achieve a professional-looking finish.
Step 1: Thoroughly Clean and Prepare the Tiles
The first and most crucial step is to clean your tiles thoroughly. Any dirt, grease, or grime left on the surface can prevent the paint from adhering properly. I recommend using a heavy-duty cleaner or degreaser to ensure your tiles are spotless. After cleaning, allow the tiles to dry completely.
Step 2: Sand the Tile Surface
Once the tiles are clean, the next step is to sand the surface. Sanding creates a rougher texture that helps the primer and paint adhere better. I’ve found that using fine-grit sandpaper (around 220-grit) works well for this purpose. After sanding, wipe down the tiles with a damp cloth to remove any dust.
Step 3: Apply a High-Quality Primer
Priming is essential for achieving a durable finish. Use a bonding primer specifically designed for slick surfaces like tile. Apply the primer evenly across the entire floor, making sure to get into all the nooks and crannies. Allow the primer to dry completely before moving on to the next step—usually, this takes about 24 hours.
Step 4: Paint Your Base Coat
Once the primer is dry, it’s time to apply the base coat of paint. I recommend using a paint roller for large areas and an angled brush for edges and corners. Apply the paint in thin, even layers, and let each coat dry completely before adding another. Depending on the color and coverage, you may need two to three coats.
Step 5: Add Your Design or Pattern
After the base coat has dried, you can start adding your design or pattern. Whether you’re using stencils, painter’s tape, or freehand techniques, take your time to ensure precision. I’ve learned that patience is key here—rushing this step can lead to uneven lines or smudges.
Step 6: Seal the Paint for Durability
The final step is to seal your painted tiles with a protective finish. A water-based polyurethane sealant is a great choice for indoor floors, as it won’t yellow over time. Apply two to three coats of sealant, allowing each layer to dry completely before applying the next. This will protect your beautiful new floor from scratches, scuffs, and moisture.
Maintenance Tips to Keep Your Painted Tile Floors Looking Fresh
Once you’ve gone through the effort of painting your tile floors, you’ll want to keep them looking fresh and vibrant for as long as possible. Proper maintenance is key to ensuring your hard work lasts. Here are some tips I’ve found helpful in maintaining painted tile floors.
Regular Cleaning with Gentle Products
The best way to keep your painted tile floors looking fresh is through regular cleaning. I recommend using a mild, pH-neutral cleaner that won’t damage the paint or sealant. Avoid harsh chemicals or abrasive cleaning tools, as they can cause the paint to wear down prematurely. A soft mop or cloth is usually all you need.
Avoiding Heavy Scrubbing and High Heels
Heavy scrubbing or using stiff-bristled brushes can scratch the paint, so it’s best to avoid these. Similarly, high heels or heavy furniture can leave dents or marks on the floor. I’ve found that placing felt pads under furniture legs and using area rugs in high-traffic areas can help protect the paint.
Touching Up Minor Scuffs and Scratches
Even with the best care, minor scuffs and scratches are inevitable. The good news is that they’re usually easy to touch up. Keep some leftover paint on hand for quick touch-ups, and be sure to apply a little sealant over the area once it’s dry to maintain the protective layer.
Reapplying Sealant as Needed
Over time, the sealant on your painted tile floors may wear down, especially in high-traffic areas. I’ve found that reapplying a fresh coat of sealant every couple of years can help keep your floors looking new. This will also protect the paint from moisture, which can cause it to peel or chip.
Protecting Against Moisture and Humidity
In areas prone to moisture, like bathrooms or kitchens, it’s important to protect your painted tile floors from water damage. I recommend using bath mats or rugs in these areas to absorb excess moisture. Wipe up any spills immediately, and consider running a dehumidifier if your home tends to be humid.
Regular Inspections for Wear and Tear
Lastly, it’s a good idea to regularly inspect your painted tile floors for any signs of wear and tear. Early detection of issues like peeling paint or fading colors allows you to address them before they become bigger problems. With proper care, your painted tile floors can stay beautiful for years to come.
Common Mistakes to Avoid When Painting Tile Floors
Painting tile floors is a rewarding DIY project, but it’s important to avoid common pitfalls that can lead to unsatisfactory results. I’ve learned from experience that attention to detail and proper preparation are key. Here are some common mistakes to watch out for.
Skipping the Cleaning and Preparation Step
One of the biggest mistakes you can make is skipping the cleaning and preparation steps. If the tiles aren’t properly cleaned and sanded, the paint won’t adhere well, leading to peeling and chipping. I always recommend spending extra time on this step to ensure a long-lasting finish.
Using the Wrong Type of Paint
Another common mistake is using the wrong type of paint. Regular wall paint won’t hold up on tile floors, which endure much more wear and tear. Make sure to use paint specifically designed for floors, such as epoxy or high-quality latex paint. This will ensure your floors can handle foot traffic and cleaning.
Neglecting to Use Primer
Primer is essential for creating a strong bond between the tile and the paint. Skipping this step can result in a weak finish that’s prone to peeling. I’ve found that using a bonding primer is particularly effective for tile surfaces, ensuring that the paint adheres properly and lasts longer.
Rushing Through the Painting Process
It’s easy to get excited and rush through the painting process, but this can lead to uneven coverage, streaks, and drips. I always recommend taking your time, applying thin, even coats, and allowing each layer to dry completely before adding the next. Patience is key to achieving a professional-looking finish.
Failing to Seal the Paint Properly
Neglecting to seal your painted tile floors is a mistake that can lead to premature wear and tear. A good sealant protects the paint from scratches, moisture, and fading. I’ve learned that applying multiple coats of a water-based polyurethane sealant is the best way to ensure your floors stay beautiful and durable.
Not Allowing Adequate Curing Time
Finally, one of the most important steps is allowing adequate curing time. Even after the paint feels dry to the touch, it needs time to fully cure and harden. I recommend waiting at least 24-48 hours before walking on the floor and a full week before moving furniture back into the room. This patience will pay off with a finish that lasts.
Tile Stencils for Walls, Floors, and DIY Kitchen Decor Painting
How well do painted tile floors hold up?
DIY: How to Paint Ceramic Floor Tile
painted tile floor u Painting tile floors, Painting ceramic tile
How to Paint Ceramic Floor Tile
How to Paint & Stencil Tile – Remington Avenue
Related Posts:


