I recently had the opportunity to tile a kitchen floor that measured 10 feet in length, and I would like to share my comprehensive experience with you. Tiling a kitchen floor can be a rewarding project that enhances the overall look and functionality of the space.
First and foremost, it is crucial to ensure that the subfloor is in good condition before starting the tiling process. If there are any cracks or uneven areas, it is necessary to repair or level the subfloor to provide a smooth and stable base for the tiles. This step is essential for achieving a professional and long-lasting result.
Next, I carefully measured the kitchen floor to determine the exact tiles needed. Purchasing slightly more tiles than necessary is advisable to account for any cutting mistakes or future repairs. Additionally, selecting high-quality, durable tiles suitable for kitchen use is important to ensure they withstand daily foot traffic and potential spills.
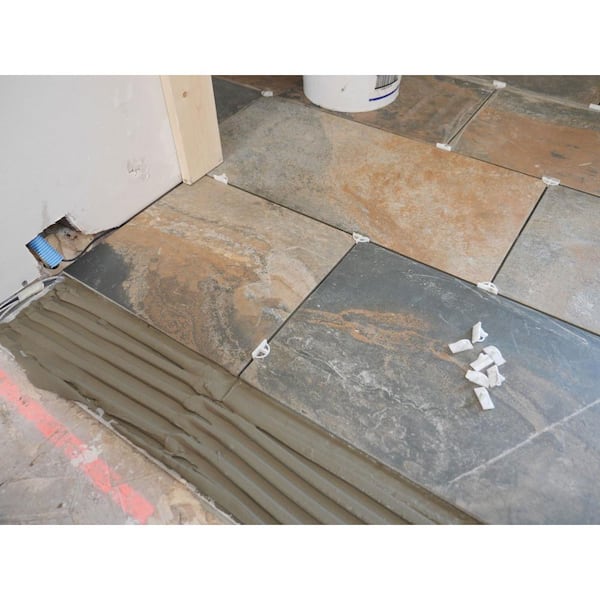
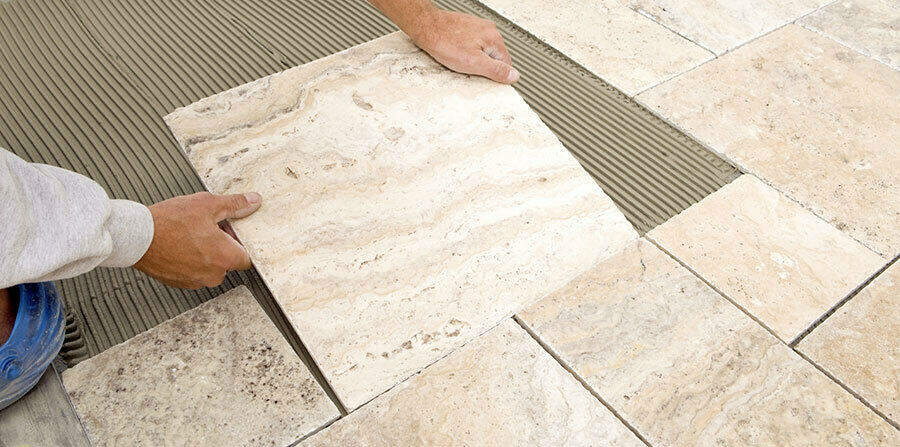
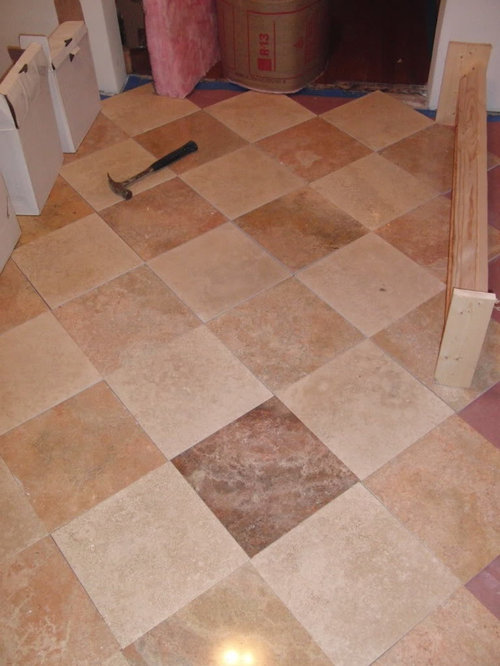
To begin the installation process, I spread thin-set mortar on a small section of the subfloor using a notched trowel. Starting from one corner of the kitchen, I placed the first tile firmly into the mortar and gently twisted it to ensure a secure bond. Using tile spacers, I continued to lay each tile, paying close attention to spacing for even grout lines.
When reaching the edges or corners, I measured and cut the tiles accordingly using a tile cutter or wet saw. Taking accurate measurements and proper safety precautions with cutting tools are crucial for achieving precise and seamless tile placement. It is advisable to wear protective eyewear and gloves while operating the cutting tools.
Once all the tiles were in place, I allowed the thin-set mortar to cure for the recommended time before proceeding to the grouting process. Mixing the grout according to the manufacturer’s instructions, I spread it over the tiles using a grout float, ensuring the gaps between them were filled. After a short drying period, I wiped away any excess grout with a damp sponge, not disturbing the freshly laid grout lines.
The final step in tiling the kitchen floor involved applying a grout sealer to protect the grout lines from stains and moisture. This process helps to maintain the appearance and longevity of the tiled floor. It is important to follow the specific instructions the sealer manufacturer provides to achieve the best results.
Tiling a kitchen floor that measures 10 feet requires careful planning, proper subfloor preparation, accurate measurements, and precise tile placement. It is essential to select high-quality tiles and use appropriate tools and safety precautions during installation. With attention to detail and following the necessary steps, tiling a kitchen floor can create a beautiful and functional space that adds value to your home.
You Are Tiling A Kitchen Floor That Is 10ft
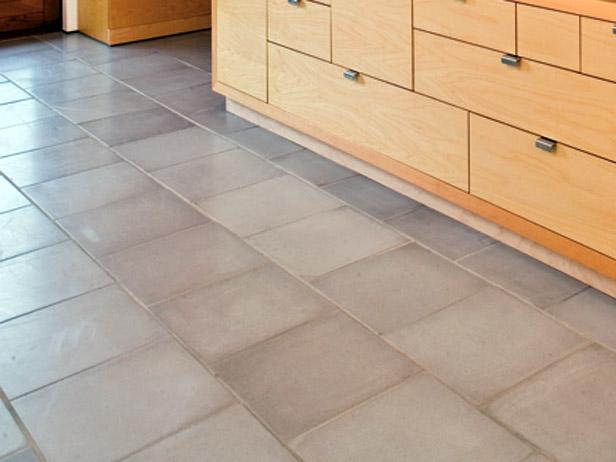
Kitchen flooring has become a very important center point for the house these days. Kitchen flooring is often the one spot which is often overlooked when people begin holding a cooking area renovation project. Ceramics kitchen tiles come in matte or glossy types in colors that are numerous. Terracotta kitchen floor tiles in particular, could be harmed by moisture though it certainly looks attractive and elegant.
You are tiling a kitchen floor that is 10 ft wide by 4 yd long

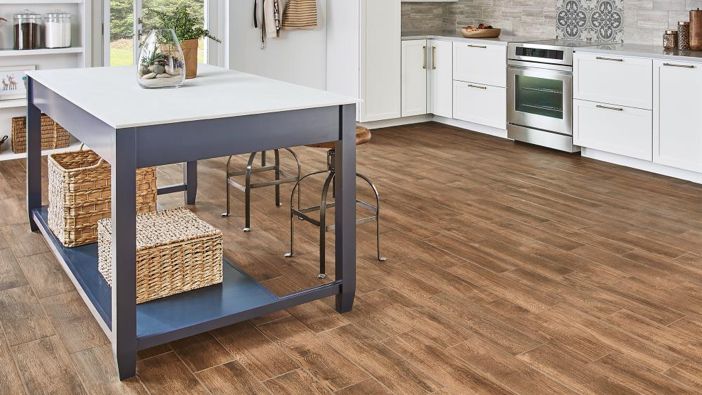
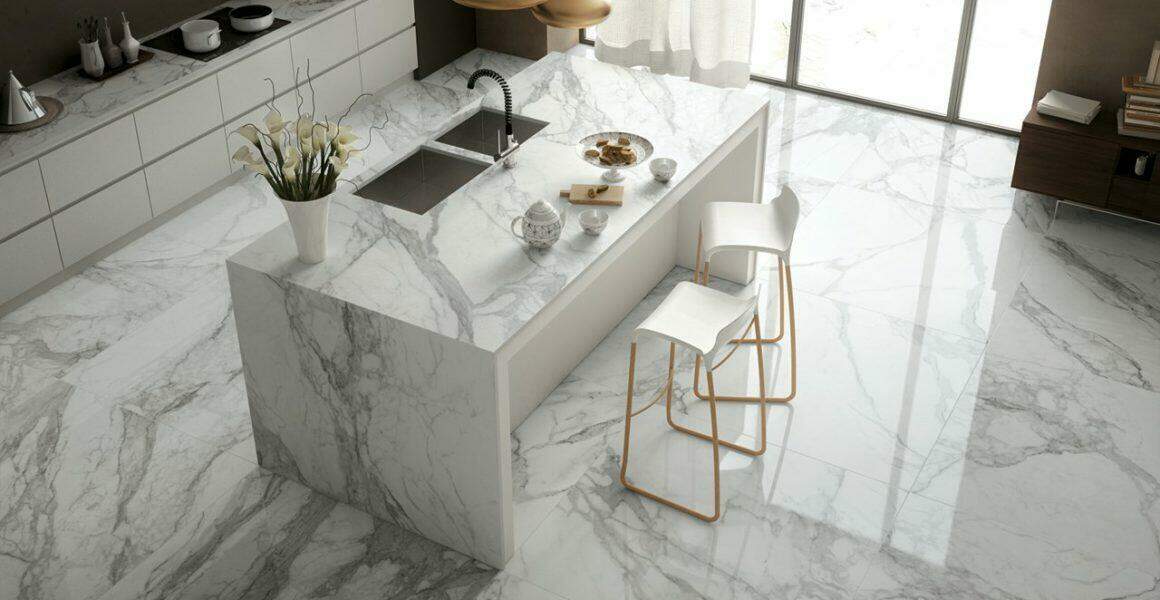
If you want simple to clean floor tiles after the food preparations of yours, buy coated glazed tiles or wood tiles. In case you are searching for much more daring kitchen flooring options, why not try a glass floor? Toughened glass is utilized to develop a sleek look. When you are contemplating placing tiles on the kitchen floor of yours, you can go with slate, granite, travertine, Saltillo and ceramic as well as porcelain.
Complete Guide: How to Install Ceramic Floor Tiles u2013 Rubi Blog USA
Livelynine Peel and Stick Floor Tile 12X12 Inch 32 Pack Light Grey

Kitchen Tile Flooring Options How to Choose the Best Kitchen

Tile Buying Guide
How to Tile a Kitchen Floor Part 2 The Home Depot

Large Format Tile to transform spaces u2013 Rubi Blog USA
FunStick 30 Pack Grey Slate Tile Flooring Peel and Stick Waterproof Floor Tile 12x12In Concrete Vinyl Flooring Peel and Stick Tiles for Floor Bathroom

Livelynine 16-Pack Grey Slate Tile Flooring Peel and Stick Waterproof Vinyl Flooring Sheet Stick On Floor Tile for Bathroom Flooring Kitchen Bedroom

Kitchen Tile Flooring Options How to Choose the Best Kitchen
Tile sizes — what is best for a smallish kitchen?
Porcelain Floor Tile Pros and Cons
/porcelain-floor-tile-advantages-and-disadvantages-1314703_0456-fb03c4c00c274d92ac7413b35b9b0f5b.jpg)
How to Tile a Kitchen Floor Part 1 The Home Depot

Related Posts:
- Commercial Kitchen Floor
- Polished Concrete Floor Kitchen
- Cream Kitchen Floor Tiles Ideas
- Black Slate Tile Kitchen Floor
- Industrial Kitchen Floor Tiles
- Ceramic Tile Kitchen Floor
- Kitchen Floor Designs
- Light Grey Wood Floor Kitchen
- Grey Vinyl Flooring Kitchen
- Country Kitchen Flooring
How To Tile a Kitchen Floor That Is 10ft
Tiling a kitchen floor that is 10ft can be a daunting task, especially for those without any experience. But with the right guidance and the correct materials, tiling a kitchen floor can be a relatively straightforward process. In this article, we will discuss the steps necessary to successfully tile a kitchen floor that is 10ft in size. Additionally, we will go over some important tips and tricks to make sure your project is successful. Finally, we will cover some frequently asked questions about this process.
Getting Started
Before beginning any tiling project, it is important to gather the right materials and tools. This includes tile adhesive, grout, spacers, tile cutters, a ruler, tape measure, level, trowel and chisel. It is also important to make sure that the floor is clean and free of dirt and debris before beginning the project.
Measuring and Marking
Once you have collected all of the necessary materials and tools, it is important to measure and mark out the area in which you will be working. This can be done with a tape measure or ruler. To ensure that the tiles are laid out in an even pattern, it is important to use spacers when marking the area. Additionally, it is important to use a level to make sure that each row of tile is laid out evenly.
Laying The Tiles
Once the area has been marked out and measured correctly, it is time to begin laying the tiles. Start at one corner of the room and work your way outward towards the other side of the room. When laying the tiles, it is important to ensure that they are properly spaced apart and that each row of tile is laid out evenly. Additionally, it is important to remember to use tile adhesive when laying each tile in order to ensure proper adhesion. Allow the adhesive to dry before moving on to the next step.
Grouting
Once all of the tiles have been laid out properly and allowed to dry, it is time to grout them into place. Begin by mixing up a batch of grout according to the directions on the package. Then spread it into all of the gaps between each tile using a trowel or similar tool. Allow it to dry before moving on to the next step.
Finishing Touches
Once all of the grout has been applied and allowed to dry properly, it is time for some finishing touches. This includes wiping down all of the tiles with a damp cloth in order to remove any excess grout from their surfaces. Additionally, it may be necessary to use a chisel in order to remove any stubborn pieces of grout from between each tile. Once this has been done, allow the entire floor surface to dry completely before walking on it or adding furniture back into place.
FAQs
Q: What type of tile should I use for my kitchen floor?
A: The type of tile you should use for your kitchen floor will depend on your personal preference as well as your budget. Common types of tile include ceramic, porcelain, natural stone or wood-look tiles. Additionally, you can also opt for vinyl or laminate flooring if you prefer something more durable and easy to maintain.
Q: How do I know if my tiles are laid out properly?
A: To ensure that your tiles are laid out properly, it is important to measure and mark out the area before beginning your project. Additionally, use spacers when laying each row of tile in order to ensure that they are spaced evenly apart from one another. Finally, use a level during installation in order ensure that each row of tile is laid out properly.
Q: How long does it typically take to tile a kitchen floor?
A: On average, tiling a kitchen floor that is 10ft in size will take approximately 4-6 hours depending on your experience level and how many breaks you take during the project. However, if you are working alone or have limited experience with this type of project, then it may take longer than 6 hours.
Conclusion
Tiling a kitchen floor that is