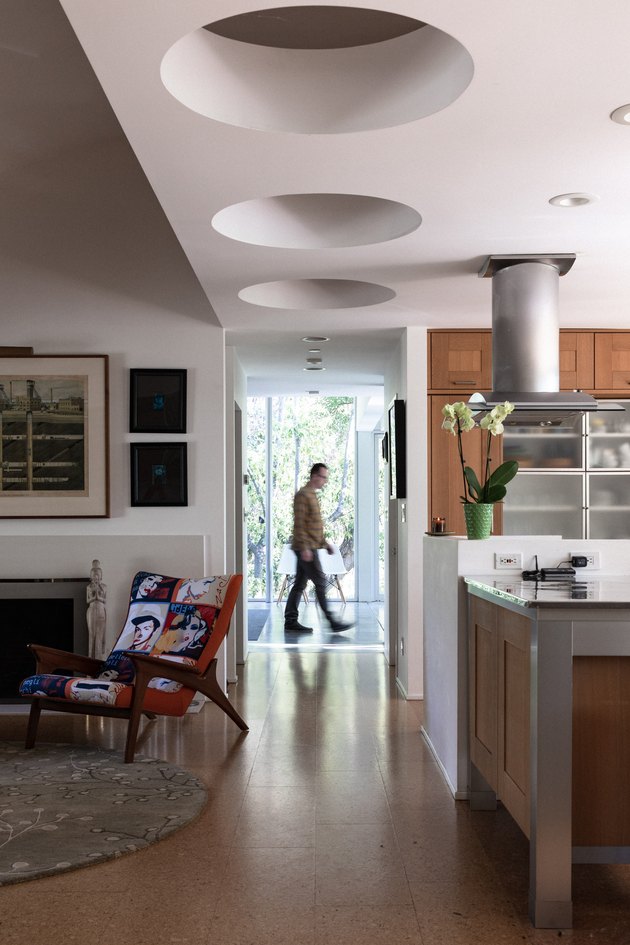
Cork flooring is a versatile and sustainable option that brings warmth and comfort to any space. It is made from the bark of the cork oak tree and offers excellent thermal and acoustic insulation. To maintain its beauty and extend its life, proper finishing is crucial. We will walk you through the process of finishing cork flooring, ensuring you achieve a professional look and long-lasting durability.
Preparation: Setting the Stage for Success
Cleaning and Inspecting the Surface
Before you begin the finishing process, it’s essential to clean and inspect the cork flooring thoroughly. Start by sweeping the floor to remove any loose dirt and debris. Follow up with a damp mop to pick up any remaining particles. Avoid using excessive water as cork is sensitive to moisture. Next, inspect the floor for any damage such as cracks, gouges, or discoloration. Address these issues before proceeding to ensure a smooth and even finish.
Sanding the Cork Flooring
Sanding is a critical step in preparing the cork floor for finishing. It helps to remove any existing finish, smooth out imperfections, and open up the pores of the cork for better absorption of the finish. Use a fine-grit sandpaper (around 150-200 grit) and sand the floor evenly. Always sand in the direction of the cork’s natural grain to avoid scratching the surface. After sanding, vacuum the floor to remove all dust particles, as any residue can interfere with the finishing process.
Choosing the Right Finish
Selecting the appropriate finish for your cork flooring is crucial for achieving the desired look and protection. There are several types of finishes available, including polyurethane, water-based sealers, and natural oils. Polyurethane provides a durable and long-lasting finish, making it ideal for high-traffic areas. Water-based sealers are environmentally friendly and quick-drying, while natural oils offer a more natural look and are easier to apply. Consider the specific needs of your space and choose the finish that best meets those requirements.
Applying the First Coat of Finish
Once the floor is prepped and the finish is selected, it’s time to apply the first coat. Use a high-quality brush or roller to ensure even application. Begin by pouring a small amount of finish into a paint tray. Dip the brush or roller into the finish, ensuring it is evenly coated but not dripping. Apply the finish in long, even strokes, working in small sections to maintain a wet edge. This helps to avoid lap marks and ensures a uniform finish. Allow the first coat to dry completely, following the manufacturer’s recommended drying time.
Sanding Between Coats
After the first coat has dried, it’s essential to sand the surface lightly before applying additional coats. This step helps to smooth out any imperfections and promotes better adhesion of subsequent layers. Use a fine-grit sandpaper (around 220 grit) and sand the floor gently. Be careful not to sand through the finish to the cork itself. Once sanding is complete, vacuum the floor thoroughly to remove all dust. Wipe the surface with a tack cloth to ensure it is clean and free of debris before applying the next coat.
Applying Additional Coats
Typically, two to three coats of finish are recommended for cork flooring. Each additional coat enhances the durability and appearance of the floor. Apply each coat in the same manner as the first, ensuring even coverage and allowing adequate drying time between coats. Lightly sand the floor between each coat to achieve a smooth and professional finish. After the final coat, allow the floor to cure for the recommended period before placing furniture or walking on it.
Finishing Touches and Maintenance
Curing Time and Initial Use
Once the final coat of finish is applied, it’s crucial to allow the floor to cure properly. Curing time varies depending on the type of finish used, but it generally ranges from 24 hours to a week. Avoid placing furniture or rugs on the floor during this period to prevent indentations and ensure the finish sets evenly. After the curing period, you can begin to use the floor normally, but take care to avoid dragging heavy objects across the surface.
Regular Cleaning and Maintenance
Maintaining the beauty and longevity of your cork flooring requires regular cleaning and maintenance. Sweep or vacuum the floor regularly to remove dirt and debris that can scratch the surface. Use a damp mop with a mild, pH-neutral cleaner designed for cork flooring. Avoid using harsh chemicals or excessive water, as they can damage the finish. Place doormats at entryways to reduce the amount of dirt tracked onto the floor, and use furniture pads to prevent scratches and dents.
Handling Spills and Stains
Cork flooring is relatively resistant to stains, but it’s still essential to address spills promptly to prevent damage. Wipe up spills immediately with a soft, dry cloth. For stubborn stains, use a damp cloth with a mild cleaner. Avoid abrasive scrubbing pads, as they can scratch the finish. If a stain persists, consider lightly sanding the affected area and reapplying a small amount of finish to restore its appearance.
Protecting from Sunlight
Cork flooring can fade or discolor when exposed to direct sunlight over time. To protect your floor, use curtains, blinds, or UV-resistant window films to reduce sun exposure. Rearrange furniture and rugs periodically to ensure even fading. If possible, apply a UV-resistant finish to provide additional protection against sunlight.
Preventing Damage from Furniture
Furniture can cause dents and scratches in cork flooring if not properly managed. Use felt pads or coasters under furniture legs to distribute weight and prevent indentations. Avoid rolling heavy furniture across the floor, as this can cause significant damage. For furniture with casters, use wide, rubber wheels and place a protective mat underneath to prevent damage.
Periodic Recoating
Over time, the finish on your cork flooring will wear down, especially in high-traffic areas. To maintain its appearance and protection, periodic recoating is necessary. The frequency of recoating depends on the amount of foot traffic and the type of finish used. Lightly sand the floor to remove the top layer of the old finish and clean it thoroughly before applying a new coat. This will rejuvenate the floor and extend its lifespan.

Common Mistakes to Avoid
Skipping Proper Cleaning
One of the most common mistakes when finishing cork flooring is neglecting to clean the surface thoroughly before starting. Dirt and debris can interfere with the adhesion of the finish, leading to an uneven and unattractive result. Always ensure the floor is clean and dust-free before applying any finish.
Using the Wrong Type of Finish
Choosing the wrong type of finish for your cork flooring can lead to problems down the line. Each type of finish has its specific advantages and disadvantages. Using a finish that doesn’t suit your floor’s needs can result in reduced durability, improper adhesion, or an unsatisfactory appearance. Research and select the appropriate finish based on your specific requirements.
Applying Finish Too Thickly
Applying a finish too thickly is a common error that can lead to bubbles, streaks, and an uneven surface. It’s important to apply thin, even coats to achieve a smooth and professional look. Multiple thin coats are better than one thick coat, as they ensure better drying and curing.
Not Allowing Adequate Drying Time
Rushing the drying process between coats can compromise the quality of the finish. Each coat needs sufficient time to dry and cure before the next one is applied. Follow the manufacturer’s instructions for drying times to avoid tacky surfaces and poor adhesion.
Neglecting to Sand Between Coats
Sanding between coats is essential for achieving a smooth and durable finish. Skipping this step can result in rough patches and poor adhesion of subsequent layers. Always sand lightly between coats and clean the surface thoroughly before applying the next layer.
Ignoring Regular Maintenance
Once the finishing process is complete, it’s crucial to maintain the floor properly. Neglecting regular cleaning and maintenance can lead to premature wear and damage. Establish a routine cleaning schedule and take steps to protect the floor from scratches and stains.
Additional Maintenance Tips
Dealing with Scuffs and Minor Damage
For minor scuffs and damage, use a cork floor repair kit. These kits usually contain a filler that matches the color of your floor and a small brush for application. Clean the area, apply the filler, and smooth it out according to the kit’s instructions. Once it’s dry, lightly sand and apply a finish to blend it with the surrounding area.
Polishing Cork Flooring
Periodic polishing can enhance the shine and appearance of your cork flooring. Use a polish specifically designed for cork, and apply it with a soft cloth or mop. Follow the manufacturer’s instructions for the amount to use and the frequency of application. Avoid over-polishing, as this can build up a residue that dulls the finish.
Addressing Major Damage
For major damage, such as deep gouges or extensive wear, professional restoration may be necessary. A flooring specialist can sand down the entire floor and apply new coats of finish, restoring it to its original beauty. This process is more intensive but can extend the life of your cork flooring significantly.
Climate Control
Maintaining a stable indoor climate is beneficial for cork flooring. Extreme changes in temperature and humidity can cause the cork to expand or contract, leading to gaps or buckling. Use a humidifier or dehumidifier to keep humidity levels consistent, and avoid placing the flooring in areas prone to extreme temperature fluctuations.
Seasonal Maintenance
Seasonal changes can affect your cork flooring. In winter, use rugs and mats to protect against salt and moisture brought in from outside. In summer, take steps to reduce direct sunlight exposure to prevent fading. Regular seasonal maintenance helps keep your floor looking great year-round.

What should I do if my cork flooring is fading?
Fading can occur due to prolonged exposure to direct sunlight. To mitigate this, use UV-protective window coverings, rearrange furniture periodically to avoid consistent exposure to the same areas, and apply a UV-resistant finish to the flooring. If the fading is significant, consider professional refinishing to restore the floor’s original color.
Is it necessary to remove all furniture before finishing cork flooring?
Yes, it is necessary to remove all furniture from the room before starting the finishing process. This ensures an even application and prevents any obstacles that might cause interruptions or damage to the finish. Plan accordingly and allow the proper amount of time for the floor to dry and cure before moving furniture back in.
Can I refinish only a section of the cork floor?
While it is possible to refinish only a section of the cork floor, achieving a seamless look can be challenging. The newly finished area may differ in color or texture from the rest of the floor. For best results, it’s usually recommended to refinish the entire room to ensure uniformity in appearance and protection.
What should I do if the finish is bubbling or peeling?
Bubbling or peeling usually indicates improper application or compatibility issues with the previous finish. If this occurs, you’ll need to sand down the affected area to remove the problematic finish. Clean the area thoroughly, and then reapply the finish, ensuring proper application techniques and adequate drying times are followed.
How can I prevent my cork floor from getting scratched?
To prevent scratches, use doormats at entryways to reduce the amount of dirt and grit brought onto the floor. Place felt pads under furniture legs, avoid dragging heavy objects, and use rugs in high-traffic areas. Regularly clean the floor to remove abrasive particles that can cause scratches.
Is cork flooring suitable for kitchens and bathrooms?
Cork flooring can be suitable for kitchens and bathrooms if properly finished and maintained. It is naturally resistant to moisture, but excessive water can damage it. Ensure the floor is well-sealed and promptly clean up spills to prevent water damage. In bathrooms, use mats to absorb excess moisture and avoid leaving standing water on the floor.

DIY Cork Flooring – Pros, Cons u0026 Green Installation Guide for LEED
Cork Glue Down Floors u2014 Jelinek Cork Group®
5 Different Types of Cork Flooring – Home Stratosphere

Related Posts: